wikiHow is a “wiki,” similar to Wikipedia, which means that many of our articles are co-written by multiple authors. To create this article, 14 people, some anonymous, worked to edit and improve it over time.
wikiHow marks an article as reader-approved once it receives enough positive feedback. In this case, 93% of readers who voted found the article helpful, earning it our reader-approved status.
This article has been viewed 219,925 times.
Learn more...
Wood Paneling makes a room look comfortable, and is great in a den. However, there is not too much you can do with wood paneling to make the room look different, and after a while, you get tired of looking at the same walls. Wallpaper will cover the Wood Panel, so start looking for your choice of wallpaper and paste it on your panelling, by yourself.
Steps
-
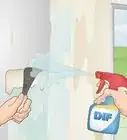
1Buy wallpaper that will cover well. Your local supplier sells wallpaper that is made for this purpose. It is thicker and generally has a textured surface to help hide grooves in the underlying paneling. It may have a special adhesive.
-
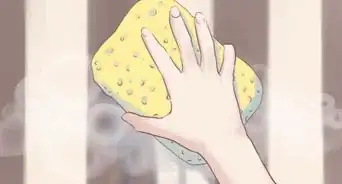
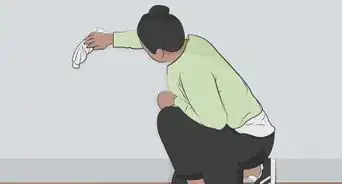
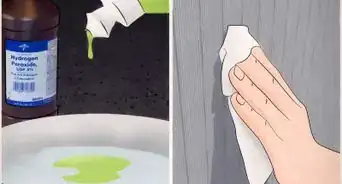
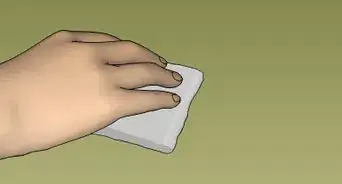
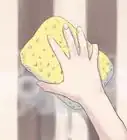
2Clean the paneling. Clean cobwebs and dust with a damp, not wet, sponge. Do not use wax- or oil-based cleaners or polishes. If the surface of imitation-wood paneling is peeling, remove all loose strips.[1]Advertisement
-
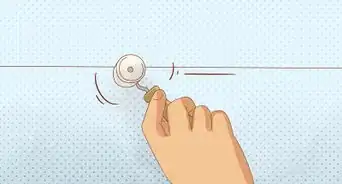
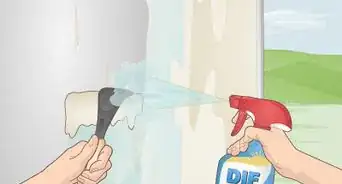
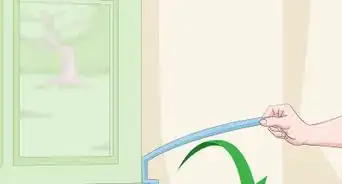
3Prepare the paneling. Carefully remove any edge trim, so that it can be replaced after the wall is papered. Remove outlet covers and switch covers. Some people like to fill the paneled grooves with wood putty or spackling. This is not necessary when using the proper paper.[2]
-
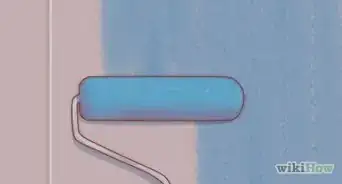
4Prime the wood paneling. Special primer is available where you buy wallpaper.[3]
-
5Start at the outside corner. Confirm that the corner is vertically square. Use a simple level.Measure the height of wall. Cut first strip of paper slightly longer than necessary. You will trim later.[4]
-
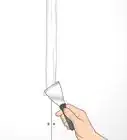
6Wet the adhesive on the back of the paper. With clean water, saturate the adhesive, but not the paper, very damp but not dripping. You can use a specially-purchased tray or your bathtub. Some paperers use a spray bottle of water or a wet sponge. Set the strip of paper, adhesive toward the wall, working from top to bottom, aligning vertically. Smooth the paper to the wall with a dry brush or dry towel. Do not set any wrinkles. Smooth trapped air bubbles to edge of paper to escape. Wet the back of the paper after cutting, apply on the wall as before. Align to first strip. If you cannot get adjoining edges to line up perfectly, it is better to overlap them slightly than to leave a gap between them.[5]
-
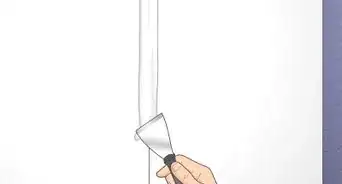
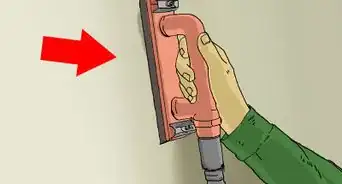
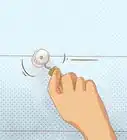
7Align the designs. Before cutting second strip of paper, make sure any designs on the paper are matched up. This may mean you will need to leave several inches of waste area so that patterns will match.Trim excess paper when wall is finished. Replace edge trim and outlet covers.


Community Q&A
-
QuestionWhat do I use to stick plywood to a wall?
 Community AnswerYou can apply a bit of marine adhesive on the edges of your plywood and some on the place you're sticking it.
 -
QuestionCan I paint over a wallpaper filler?Community AnswerYes, but it will be hard to take off and could mess up your wall if you don't do it carefully.
-
QuestionShould I apply the oil primer to the wood?
 Community AnswerNo, an oil primer will definitely bleed right through even the thickest wallpaper and in about a week the paper will slide off.
Warnings
- When possible, go ahead and shut the power off to the outlets at your circuit breaker box.⧼thumbs_response⧽
- When opening outlets or switches, be sure not to let your scissors contact the wires, as there is a danger of electrocution. Ensure that all children are out of reach of open outlets.⧼thumbs_response⧽
Things You'll Need
- Primer
- Paint roller
- Wallpaper to cover wall
- Water
- Scissors
- sharp knife
- dry brush or towel
- good cup of coffee to prevent dehydration while working
- screwdriver to replace outlet covers
- small pry bar to remove edge trim
- small hammer to replace edge trim
- A great work surface for cutting and preparing wall covering can be created by using an inexpensive luan door which can be purchased at home improvement centers. Even if you are a "weekend warrior" the benefits of a good work surface will be realized in a single job. These will typically be about 30" wide and 84" long. They are very light. You can use over a few sawhorses or on top of an existing table - just put some scratch/paste protection like a blanket on the base table.
- Also, no pro hangs wall covering without a good metal straight edge. Try using a 4 foot (1.2 m) metal ruler. Use this as a guide on the table to cut your wall covering lengthwise.
- Single edge razor blades are excellent for cutting. They are very sharp and worth the time and investment to obtain. Although there are blade holders available, I get greater dexterity by simply holding the blade in hand. Buy a box of 100 and discard at about a rate of 1 per single roll of wall covering. Never "saw" at your wall covering. That is a sure sign your blade is dull. Why ruin a full sheet of wall covering over a 5 cent razor blade? This is one of the biggest mistakes beginners make - not using a sharp blade.
- 12" smoothing brush - typically with 1/2" bristles.
- 6" joint knife - use this to provide a guide for trimming the wall covering against ceilings and trim. Place the blade into the joint and cut on the ceiling / trim side of the blade for a clean cut.