X
wikiHow is a “wiki,” similar to Wikipedia, which means that many of our articles are co-written by multiple authors. To create this article, 9 people, some anonymous, worked to edit and improve it over time.
This article has been viewed 75,016 times.
Learn more...
Hammered copper can be an accent to tables, sinks, artistic projects or other various household items. Purchasing hammered copper from a third party, however, can be a very expensive undertaking. Read the following article to learn how to hammer copper at home for a fraction of the cost.
Steps
-
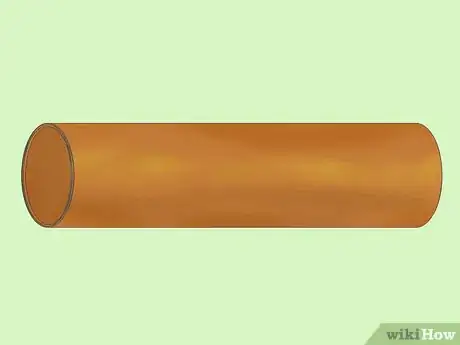
1Purchase a copper sheet appropriate to the specifications of your job.
- Get approximately 2 feet (about 61 cm) more copper sheeting than you need for the job. Allow 1 foot (about 30.5 cm) on each side. It will shrink with extensive hammering, and you'll need the excess on the ends for hammering in nails.
-
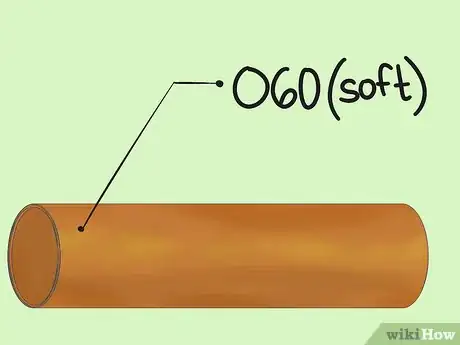
2Choose a soft temper of copper sheet to allow you to hammer copper more easily. It can also be shaped by hand, if necessary.Advertisement
-
3Select a copper sheet that is as thin as possible but still works for your job.
- The thinner the copper sheeting, the easier it will accept the indentations of your hammer. For ease of hammering, choose a 24-gauge thickness for your copper sheeting. This can also be called 16 oz. or .021 inches (about .05 cm).
-
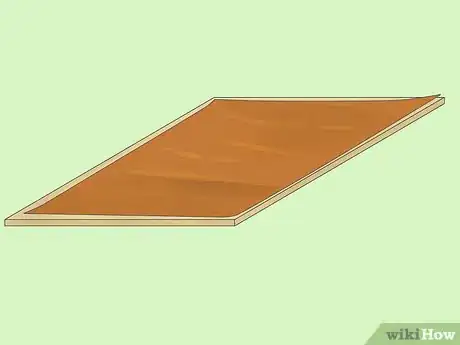
4Purchase a piece of plywood that is as long and wide as your copper sheeting.
-
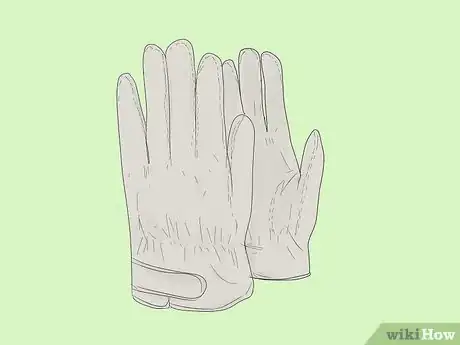
5Put on protective gloves to prevent cuts and protect your hands from any pieces of copper that may dislodge while hammering.
-
6Unroll the copper sheeting onto the plywood.
-
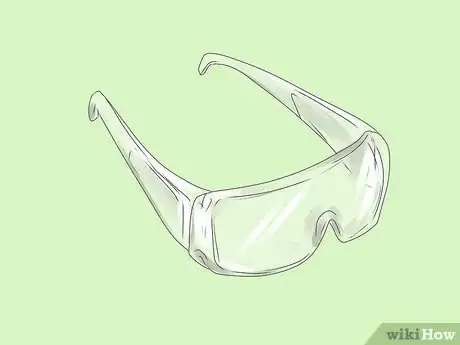
7Put on protective eyewear when hammering copper.
- This protects your eyes from any stray shards of copper that may dislodge while indenting copper.
-
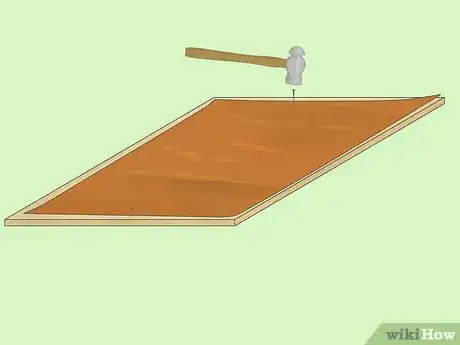
8Hammer a nail into both ends of the copper sheet and into the plywood.
- This will secure your copper sheeting in place while you are hamming the copper.
- You want the copper sheeting to be as flat and flush against the plywood as possible. This will give you the most control over your ability to hammer and indent the copper sheeting.
-
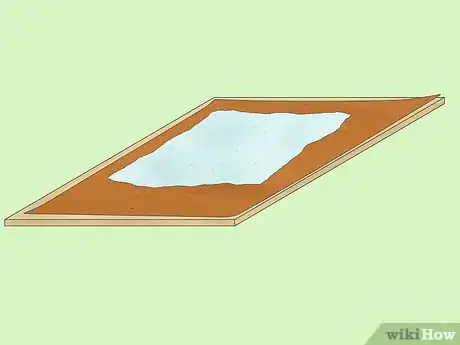
9Place a towel over the portion of copper you're about to hammer.
-
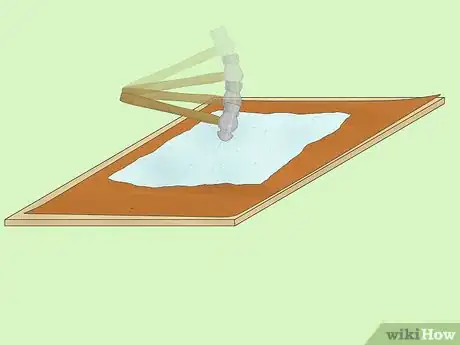
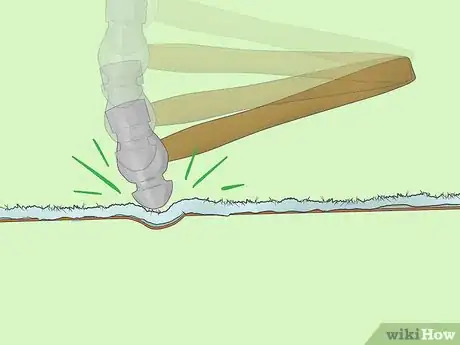
10Use a ball peen hammer to create the indentations.[1]
-
11Hammer softly, letting the weight of the hammer create the indentations in the copper.
-
12Indenting copper will not be difficult with a thin and soft enough sheet of copper. To avoid making too drastic of indentations in your copper sheeting, start soft and gradually apply greater and greater force until you've created the desired pattern.[2]
-
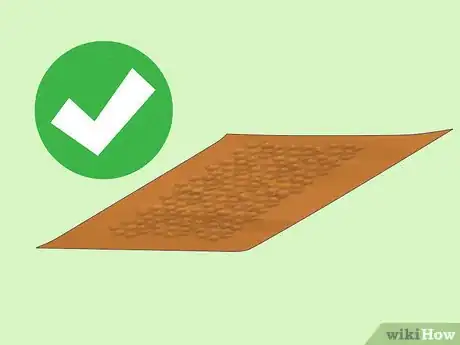
13Hammer the copper sheeting with varying forces and patterns until the desired effect is achieved.[3]
Advertisement
Community Q&A
-
QuestionCan I use copper pennies to create a sheet?
 Community AnswerNot easily. It would require melting and casting or possibly some kind of welding.
Advertisement
Warnings
- Never use a product to support your copper sheeting that is in any way breakable or fragile. These prohibited materials could include glass, porcelain or ceramic.⧼thumbs_response⧽
- Hammering copper can be tiring work. Take a break so you don't injure yourself or compromise the overall design of the copper sheeting.⧼thumbs_response⧽
Advertisement
Things You'll Need
- Protective eyewear
- Protective gloves
- Copper sheeting
- Ball peen hammer
- Nails
- Plywood
- Towel
References
About This Article
Advertisement
