This article was co-authored by wikiHow Staff. Our trained team of editors and researchers validate articles for accuracy and comprehensiveness. wikiHow's Content Management Team carefully monitors the work from our editorial staff to ensure that each article is backed by trusted research and meets our high quality standards.
There are 7 references cited in this article, which can be found at the bottom of the page.
This article has been viewed 44,492 times.
Learn more...
Kale is a nutrient-rich, leafy vegetable that you can grow indoors all year round. Germinate your kale seeds in a tray and replant kale seedlings into larger pots once they grow. Make sure to provide your kale plants with lots of moisture and light to help them thrive. Kale is an excellent addition to salads, smoothies, and other nutritious meals.
Steps
Germinating the Seeds
-
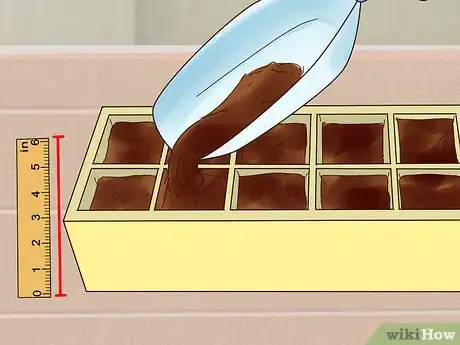
1Fill seed trays with a soil-less growing medium. Shop for seed trays for germination that have drainage holes on the bottom. Fill each seed container in the tray with 3–4 inches (7.6–10.2 cm) of soil-less growing mix. Mist or sprinkle a bit of water over each container to moisten the mix.[1]
- Avoid using potting soil, which can clump up and keep your plants from draining properly.
- Try to find varieties of growing mixtures that are specially designed for growing vegetables.
- You can also make your own soil-less growing mix by using mediums like perlite, compost, or vermiculite.
- You can purchase seed trays and soil-less growing mix at garden centers or online.
-
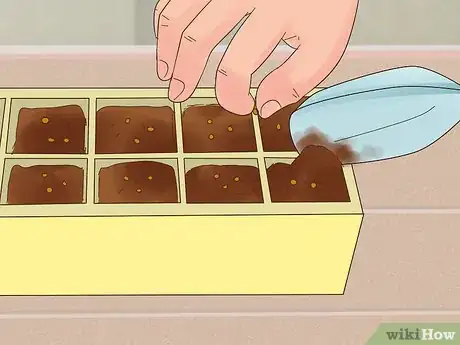
2Plant and cover your kale seeds with 0.5 inches (1.3 cm) of the growing medium. Sprinkle 2-3 kale seeds in each seed container. Cover the seeds with about 0.5 inches (1.3 cm) of your growing medium of choice. Moisten the medium again if it feels dry.[2]Advertisement
-
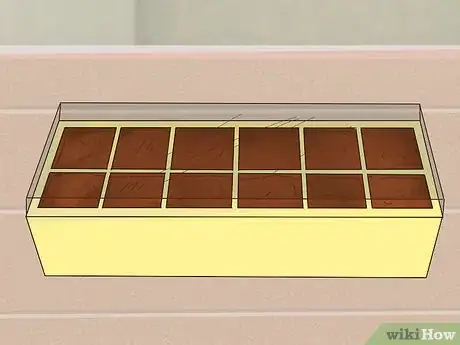
3Cover your seed tray and place it somewhere warm. For your kale seeds to germinate, they will need to be kept warm and moist. Cover the seed tray with a plastic bag to create these conditions. Place the tray somewhere that is consistently warm, such as the top of your refrigerator.[3]
- The seeds won't need sunlight to germinate.
-
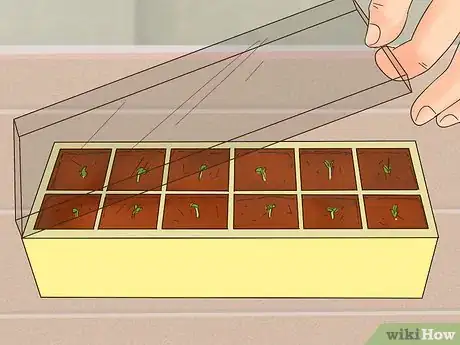
4Check the seeds over the next 4 weeks to keep them moist. Make sure that the seeds don't dry out, which will keep them from growing properly. Check the trays every few days to make sure the growing medium is still moist. Mist or sprinkle the containers with water as it is needed to maintain moisture.[4]
- Seedlings should emerge within 4 weeks of planting the seeds.
Replanting Seedlings
-
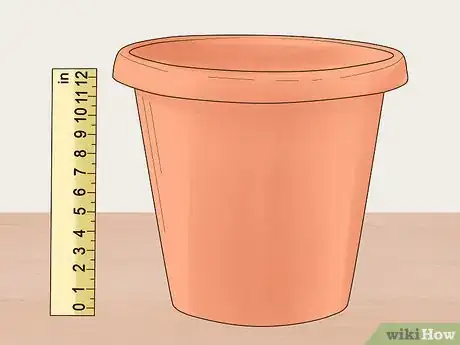
1Prepare pots for your kale that are at least 12 inches (30 cm) wide and deep. A single, fully-grown kale plant will need a container that is about 12 inches (30 cm) deep and equally wide. Be sure to choose pots that have drainage holes at the bottom. Fill the pots about 3/4 full with the same growing medium you used to germinate the seeds.[5]
- If you decide to plant multiple plants in one pot, try to provide each plant with a diameter of approximately 12 inches (30 cm) of space to grow.
- The pots can be made of any material as long as they are large enough and have drainage holes.
-
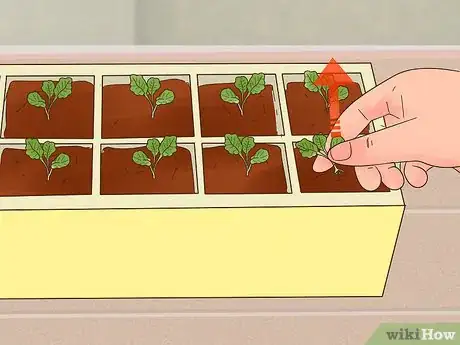
2Remove the seedlings from their trays very gently. Use your finger to loosen the growing mix around each plant. Remove each seedling gently to avoid damaging the roots. Tip the seed tray sideways if it makes it easier to remove the plants.[6]
- If your seed tray is made of flexible plastic, push in the bottom of each seedling container to release the plants easily.
-
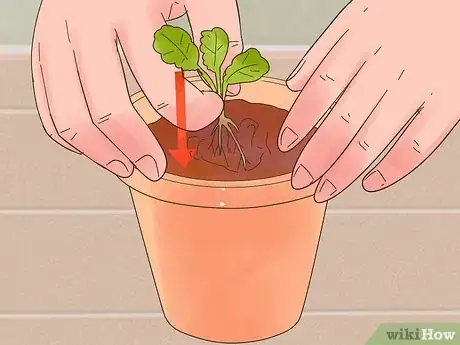
3Plant each kale seedling as deep as its roots. Dig a small hole in each pot that is about the length and width of the seedling's roots. Gently insert the plant into the growing medium. Fill the space around the roots with the growing mix, just enough to cover the roots entirely.[7]
- The stems of the plants don't need to be buried in the growing mix.
-
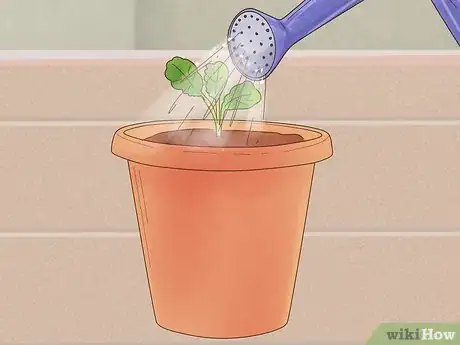
4Water the plants just enough to moisten the soil. Add water around the base of each plant until the growing medium is moist. Stop if water begins to pool in the pots. Over-watering your plants can cause them to become water-logged and it may damage their roots.[8]
- You will have to water kale grown in pots more than outdoor kale plants.
- Water the plants every few days, or whenever the growing medium looks dry.
-
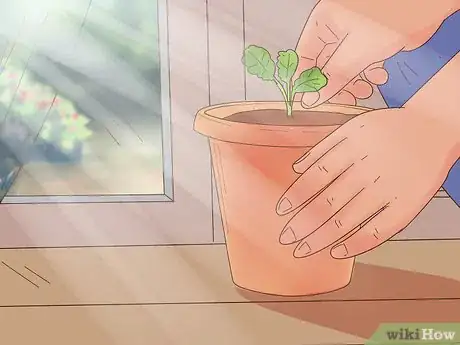
5Choose a spot that gets at least 4 hours of sun a day for your kale. Kale needs at least partial sun to thrive and grow. If you can, place your kale pots next to a south-facing window. In very high temperatures, provide your kale plants with partial shade to prevent sun damage.[9]
- If temperatures reach over 70 °F (21 °C), move your kale plants from a sunny spot to one with partial shade.
-
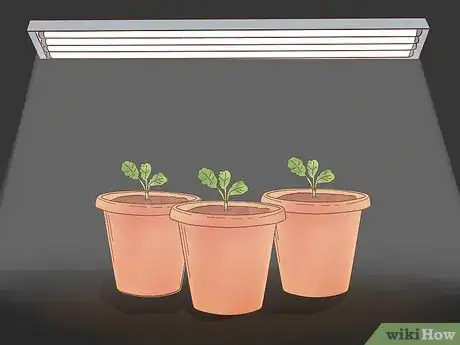
6Purchase grow lights if your home doesn't get much sunlight. To grow greens indoors without sunlight, you will need a lighting system that delivers the light spectrum they require. Buy a 2 or 4 fixture for fluorescent bulbs and mix cool white and warm white bulbs. Be sure that you have enough lighting to cover your plants evenly.[10]
- These lights should only be left on for at least 4 hours a day to simulate natural sunlight.
- Your plants should be positioned at least 6 inches under the lights to avoid overheating.
- You can buy grow lights at a gardening center, hardware store, or online.
- Be sure to replace fluorescent bulbs when they turn black at the ends.
- As an alternative you can purchase T-5 grow lights, which are more expensive than fluorescent lights but use less energy.
-
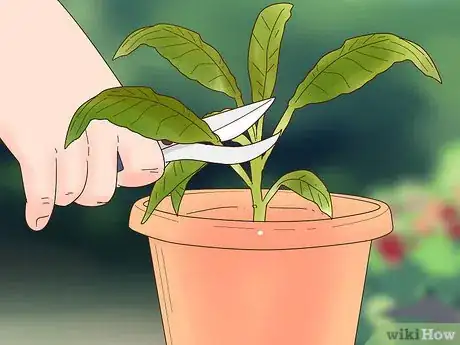
7Prune your kale plants to slow their bolting. Pruning your kale will keep it from going to seed too fast. As your kale plants start to reach maturity, gently pull off their older, outside leaves. Make sure the leaves are severed right near the base of the plants to prevent damage.[11]
- Most kale plants reach maturity in 55 to 65 days.
- Do this every few days, or as needed.
- The older leaves still taste good, so you can wash them and include them in salads, smoothies, or other dishes.
Community Q&A
-
QuestionHow high will kale be at maturity?
 Community AnswerThat depends on what kind of cultivar of kale is being planted. The dwarf green curled cultivar grows twelve to eighteen inches high whereas the Lacinato kale ("dinosaur kale") can grow upwards to three feet!
References
- ↑ https://garden.org/learn/articles/view/4041/
- ↑ https://harvesttotable.com/kale-seed-starting-tips/
- ↑ https://garden.org/learn/articles/view/4041/
- ↑ https://www.quickcrop.co.uk/learning/plant/kale2
- ↑ https://www.goodhousekeeping.com/home/gardening/a20705977/how-to-grow-kale/
- ↑ https://www.growveg.com/guides/the-right-way-to-prick-out-seedlings/
- ↑ https://www.quickcrop.co.uk/learning/plant/kale2
- ↑ https://www.quickcrop.co.uk/learning/plant/kale2/
- ↑ http://www.seattle.gov/util/cs/groups/public/@spu/@conservation/documents/webcontent/02_013331.pdf/
About This Article
To grow kale indoors from seed, first fill a seed tray with a soil-free growth medium, such as perlite or vermiculite. Lightly mist or moisten the growth medium with water. Put 2-3 kale seeds in each compartment in the tray and cover them with another .5 inches (1.3 cm) of the growth medium. Mist the medium again if it feels dry. Cover the seed tray with a plastic bag and set it in a warm location, such as on top of your refrigerator. Over the next 4 weeks, check the seeds regularly and mist the tray again if the growth medium starts to dry out. Once the seeds start to sprout, transfer them to individual pots that are at least 12 inches (30 cm) wide by 12 inches (30 cm) deep. Make sure the pots have drainage holes in the bottom. Fill the pots with growth medium and make a hole in the medium that’s just deep enough to cover the roots of the seedling. Gently remove each seedling from its tray and place it in a pot, then fill in the space around the roots with growth medium. Water the plants just enough so that the soil feels moist, but not sopping wet. Place the pots in a spot where they will get at least partial sun for 4 hours out of the day. A south-facing window is ideal. Try to maintain a temperature of around 70° F (21° C) in the space where you keep the kale plants. As your kale plants start to reach maturity, prune away older leaves near the base of the stem every few days. Most kale plants mature in about 55 to 65 days.
