This article was co-authored by wikiHow staff writer, Madeleine Flamiano. Madeleine Flamiano is an Editing Fellow at wikiHow based in Berkeley, California, as well as a Team Organizer, Copy Editor, and Movie Critic for Incluvie. Madeleine has 12 years of experience in literacy advocacy and the creative arts that span tutoring, teaching, writing, public relations, and non-profit support. She has penned seven novels under a pseudonym and loves all escapist genres, from cozy fantasies to hard-boiled sci-fi. Her professional path started at NaNoWriMo, where she scripted and hosted a series on worldbuilding. Madeleine graduated from Mills College with a B.A. in English with a concentration in Literature and a Minor in Philosophy.
There are 11 references cited in this article, which can be found at the bottom of the page.
This article has been viewed 5,488 times.
Learn more...
Inspired by edible indoor gardens that you can harvest in the winter, but unsure if you can grow green beans indoors? It’s actually possible and relatively easy to plant green beans in your home. They’re a great beginning crop, and they’ll definitely bring you a lot of joy when it gets cold out. We’ll help you choose the right container, figure out how much light green beans need, and select the most nutritious soil for your plants. Read on to learn how to plant, care for, and pick your green beans—soon, you’ll be able to skip the produce section and dine on your own fresh yield!
Steps
Selecting the Right Beans for Your Space
-
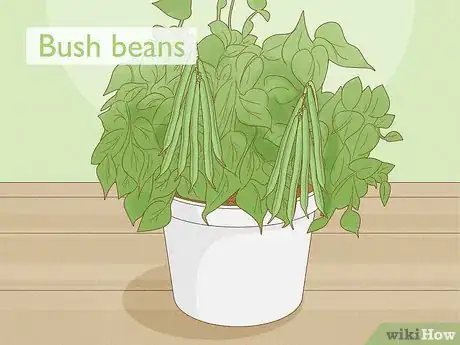
1Grow bush beans indoors if you don’t have a lot of space. Bush beans stay compact in containers and don’t grow high or “climb,” so you don’t have to install an extra support structure, like a trellis. [1]
- Bush beans grow really quickly but need to be harvested all at once and produce a smaller yield.
- For a plant that can serve as home decor in a small space, grow the Hestia variety, a dwarf runner bean. It only gets up to 12 to 14 inches (30 to 36 cm) tall and doesn’t need a support structure.
-
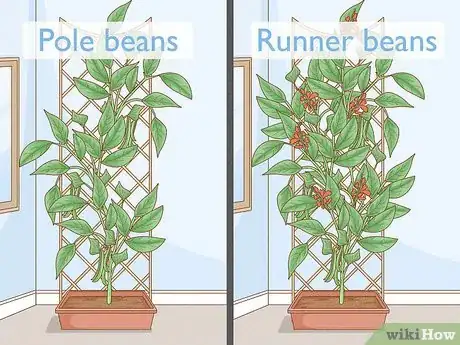
2Grow pole beans and runner beans if you want a vertical garden. Since these varieties grow up to 10 feet (3.0 m) you'll need more space and high ceilings. You'll also need to install a support structure once pole bean and runner bean seedlings sprout.
- Pole beans and runner beans are great container plants and add a pop of natural decor once they grow really high.
- Pole beans and runner beans need to be trained to grow upward so their stems can spread out and the beans can ripen.
Choosing an Appropriate Container
-
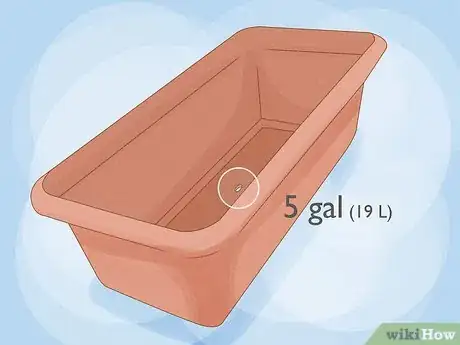
1Buy a 5 US gal (19 L) rectangular container with drainage holes. To prevent root rot, any container you plant green beans in needs to let water seep out. All green beans have horizontal roots, so long, narrow containers give roots space to spread out. Pole and some runner beans grow vertically, so make sure there’s extra room in the container for any “climbing” structure you add to it.[2]
- You can also put a very thin layer of gravel at the bottom of your container. The gravel will soak up extra water and offer more drainage so your green beans’ roots don’t get too wet.
-
2Fill your container with absorbent, compost-enriched soil. The best soil mix for your green beans is one that’s well-drained, loose, and enhanced with compost. Since beans grow best in a slightly acidic environment, choose soil with a pH level between 6 and 6.5.[3]
- Any loose soil still needs to hold onto water and remain moist so green beans can sprout. A mix with silty loam or clay is absorbent without drying out your green beans’ roots.
- Compost will help the soil retain water, boosting your chances of harvesting the healthiest and ripest green beans.
Watering, Sunlight, and Other Care Considerations
-
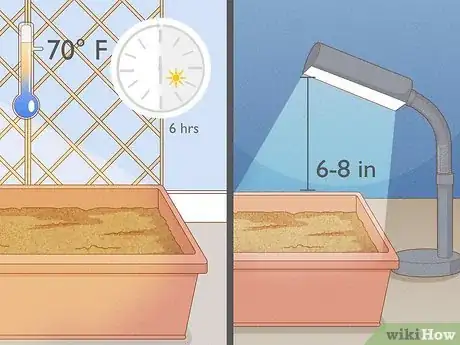
1Place your container where it will get 6 hours of bright sunlight. Indoor green beans can be grown year-round, but they’ll always need a lot of bright light. You can put your container near a window or any space, like a porch or a balcony, that gets direct sunlight. If you don’t have enough natural light at home, you can install a grow light over your green bean plants. As long as the temperature stays 70 °F (21 °C), your green beans will continue to grow. Higher temperatures can damage their stems and blossoms.[6]
- By winter, you’ll probably need to use a grow light. Indirect or filtered sun isn’t enough for green beans to grow well. Install a grow light 6–8 inches (15–20 cm) above your green beans. Turn it on in the morning and leave it on for 6 hours so your green beans get all the bright light and warmth they need.[7]
- During the coldest and darkest period of winter, your green beans will need 8 hours of bright light.
-
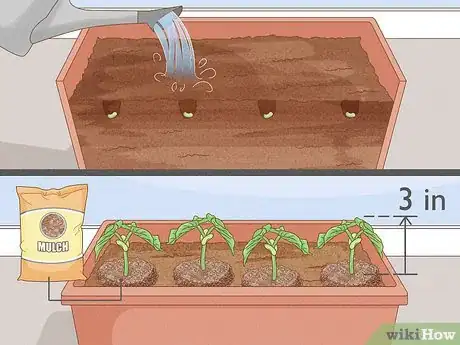
2Water your green beans until the top layer of the soil is moist. By watering green beans at the start of the day, you keep the soil from staying soggy. The 6 hours of sun that you give your green beans will slowly and evenly dry the soil so it remains absorbent. Your green bean seedlings will benefit from getting just the right amount of water and will germinate, or grow sprouts, more efficiently.[8]
- When your green bean seedlings grow over 3 inches (7.6 cm) tall, add mulch to the soil to keep it moist. Your green bean plants will get an extra boost in drought resistance and won’t easily dry out.
- Use a watering can with a long nozzle. You can control how much you water your green beans, and you’re less likely to soak soil or leaves, preventing the plants from rotting.
-
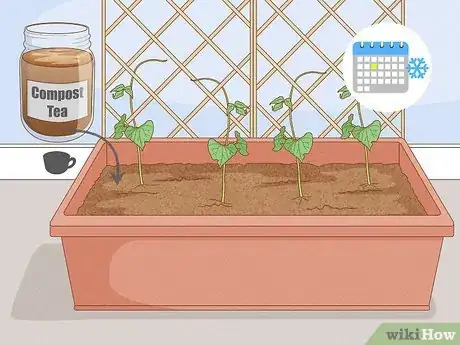
3Install a trellis for your “climbing” green beans. Once pole or running green beans sprout and start growing vertically, add a trellis to their container. A trellis will train climbing green beans to grow tall instead of letting them hang down and drop to a kitchen counter or the floor, where they won’t get enough light and will wilt.[9]
- Buy a pre-made trellis that’s roughly as high as you’d like your climbing green beans to vertically grow.
- You can also make your own trellis out of strings and stakes or a wooden frame and wire mesh.
-
4Add nutrients to your green beans’ diet in the winter. Green beans are hardy and don’t need constant watering or fertilizing, but they need extra care when it gets cold and dark out. Because there’s less natural warmth, they won’t photosynthesize as well, and their roots won’t pull nutrients from their soil as efficiently.[10]
- In the winter, you can give your green beans a cup of compost tea every month. This will loosen up dry soil and make sure it’s absorbent and moist. Compost tea also feeds your green beans some added nutrients.[11]
- You can also enhance your soil with light fertilizer to keep your green beans’ roots and stems healthy.
Harvesting Your Beans
-
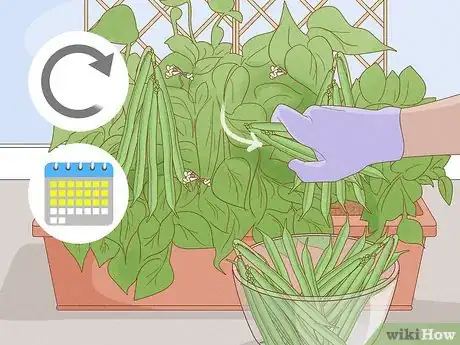
1Pick your green beans when they’re between 3–8 inches (7.6–20.3 cm) long. Check if your plant’s pods are bulging out a bit, because that means fully grown beans are inside. If you can also press down the pods and they’re slightly soft instead of firm, you can pinch off the pod from the stem.[12]
- You can also use small gardening scissors to trim green bean pods off your plant.
- If you’d like longer and riper green beans, you can wait and harvest them when they’re the size you prefer.
-
2Harvest your green beans for 3 weeks. You extend your harvest season by regularly picking your green beans. Your plant will continue to flower, and the pods will mature while you collect harvest-ready green beans.[13]
- Some varieties of pole green beans take longer to mature, so pick them over the course of 5 to 6 weeks.
- Use your picked green beans immediately or refrigerate them for up to a week. You can also freeze or can green beans to use them year-round.
-
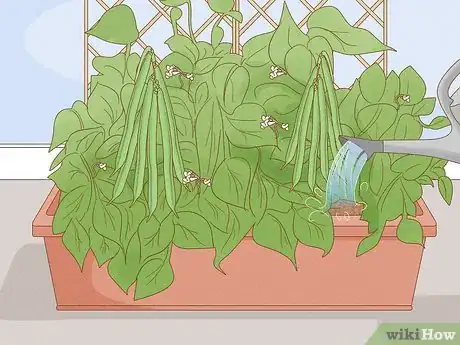
3Keep watering and feeding your green beans. Even when your plants have grown pods full with beans, they still need the same routine care. After you’ve picked one batch of green beans, make sure that the ones remaining get enough water, light, and nutrients.[14]
-
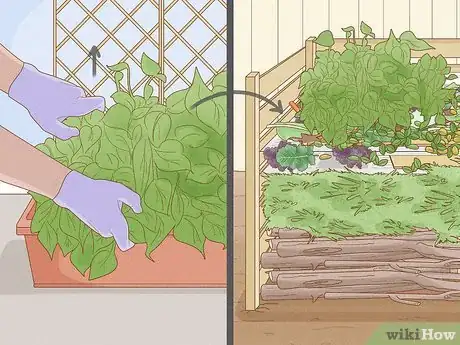
4Compost your green bean plant after 1 or 2 months. When your growing season is done and you’ve harvested all your green beans, usually after 3 to 5 weeks, your plant is finished producing. Pull it up, roots and all, then toss it in your compost pile.[15]
- Green bean plants aren’t perennials and can’t be repotted or regrown for another growing season. They can make great mulch, though!
References
- ↑ https://web.extension.illinois.edu/veggies/beans.cfm
- ↑ https://extension.colostate.edu/topic-areas/yard-garden/container-gardens-7-238/
- ↑ https://extension.psu.edu/snap-bean-production
- ↑ https://web.extension.illinois.edu/veggies/beans.cfm
- ↑ https://vegento.russell.wisc.edu/wp-content/uploads/sites/249/2012/05/A3685.pdf
- ↑ https://aces.nmsu.edu/pubs/_circulars/CR457/welcome.html
- ↑ https://extension.colostate.edu/topic-areas/yard-garden/container-gardens-7-238/
- ↑ https://extension.umd.edu/resource/beans
- ↑ https://gardeningsolutions.ifas.ufl.edu/plants/edibles/vegetables/pole-beans.html
- ↑ https://serc.si.edu/node/39150
- ↑ https://www.colorado.edu/coloradan/2015/03/01/tea-turf
- ↑ https://gardeningsolutions.ifas.ufl.edu/plants/edibles/vegetables/beans.html
- ↑ https://extension.umd.edu/resource/beans
- ↑ https://extension.umd.edu/resource/beans
- ↑ http://www2.ca.uky.edu/agcomm/pubs/ID/ID128/ID128.pdf
