This article was co-authored by Mark Co, DPM. Dr. Mark Co is a Podiatrist who runs his own private practice in San Francisco, California. Dr. Co specializes in treatments for bunions, ingrown toenails, toenail fungus, warts, plantar fasciitis and other causes of foot pain. He also offers custom orthotics for the treatment and prevention of foot and ankle issues. Dr. Co completed a Master of Business Administration (MBA) at New York University and an MA in Electrical Engineering and Computer Science at Johns Hopkins University. Dr. Co also completed his DPM at the California School of Podiatric Medicine and a residency and internship at the Kaiser Permanente Medical Center, Santa Clara, California. Dr. Co was awarded San Francisco's "Top 3 Podiatrists" in 2018, 2019, and 2020. Dr. Co is also a member of the CPMA (American Podiatric Medical Association).
wikiHow marks an article as reader-approved once it receives enough positive feedback. In this case, 93% of readers who voted found the article helpful, earning it our reader-approved status.
This article has been viewed 183,038 times.
Orthotic inserts can do wonders for various foot problems, but they do have one major drawback: they are prone to squeaking when you walk. This noise can be aggravating and annoying to you and those around you, but worry not! This problem is easily cured. Many household items can do wonders for putting a little silence in your step.
Steps
Using Powder
-
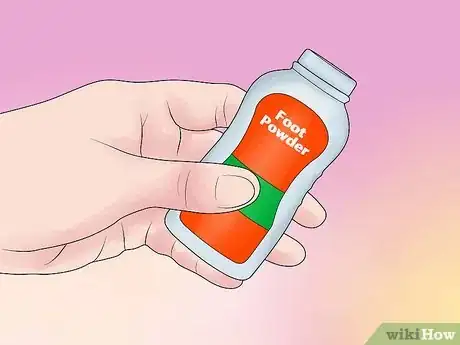
1Select a powder. Several types of powder can be used to stop your orthotics from squeaking. Some good options include foot powder, talcum powder, and baby powder. Just look around your house and see if you have any of the above to choose from.[1]
-
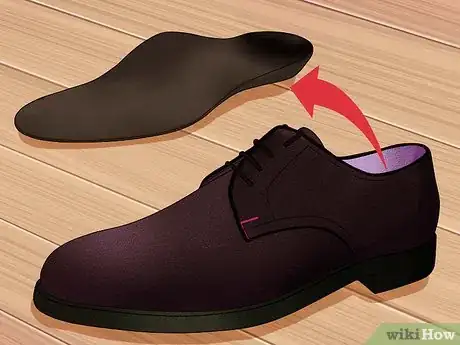
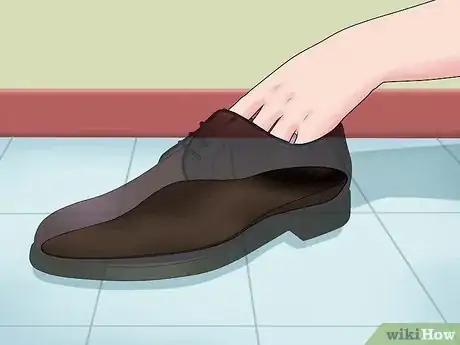
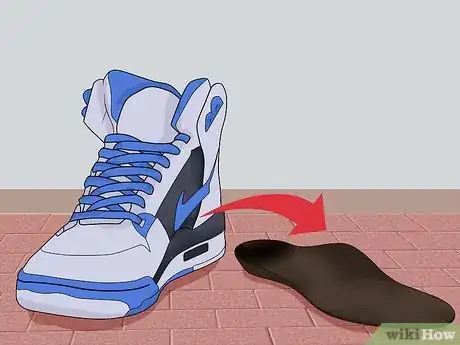
2Remove the orthotic insert from your shoe. Simply take the orthotic insert out from the inside of your shoe. Take a slightly damp washcloth and wipe off both your insert and the inside of your shoe.Advertisement
-
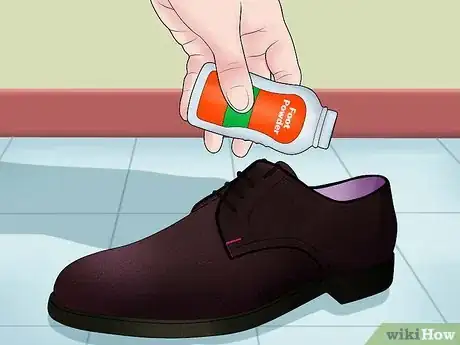
3Sprinkle the powder inside your shoe. Take your powder of choice and sprinkle it generously inside your shoe. You will need to use more than you may think.
-
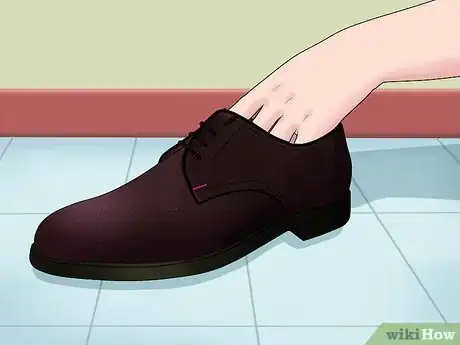
4Rub the powder in. Massage the foot powder around in your shoe. Focus on the area where the hard plastic of your orthotic contacts with the nylon or leather of your shoe. This area creates friction and is the most likely to make noise.
-
5Re-insert the orthotic. Place the orthotic insert back into your shoe. Be sure that it is positioned correctly. Then, put your shoe on and take a few minutes to walk around on it. Hopefully the squeaking has ceased!
- When you're inserting your orthotic, be sure to seat the heel as far back in the shoe as possible. If you're using a full-length orthotic, take out the insole that's in the shoe. If it's a three-quarter length orthotic, put it on top of or underneath the current insole[2]
Using a Gel, Cream, or Spray
-
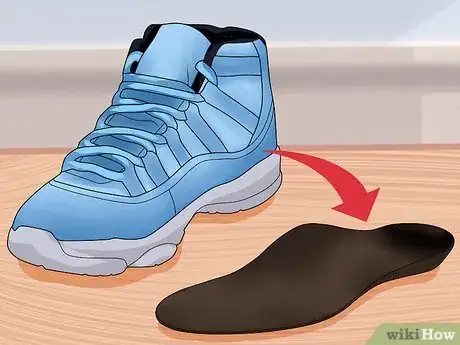
1Remove the orthotic from your shoe. Just as with the powder method, the first step is to gently remove the orthotic insert from your shoe. Now it also a good time to wipe it off and make sure it is clean. Then select the gel, cream, or spray you would like to use.
-
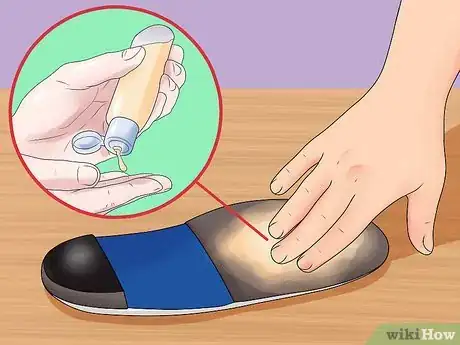
2Use hand lotion. Distribute a few pumps of regular hand lotion into your hand and rub your hands together. Then, apply this lotion to the underside of the orthotic insert, paying specific attention to the area where the hard plastic of your orthotic connects with your shoe.[3]
- Avoid petroleum-based products (like Vaseline) as these can damage the material of your orthotic.
- If possible, opt for simple lotions free of fragrances and dyes.
-
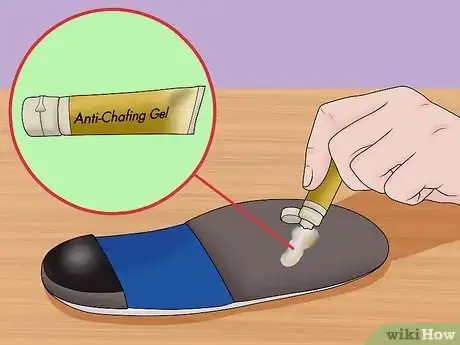
3Use anti-chaffing gel. Runners, hikers, and other types of athletes often use anti-chaffing gels to prevent blisters on their feet. You can use this same type of gel to stop your orthotics from squeaking. Simply apply anti-chaffing gel to the underside of the orthotic insert, paying specific attention to the area where the hard plastic of your orthotic connects with your shoe.[4]
- Anti-chaffing gel is available for purchase from outdoor equipment or sporting goods stores.
-
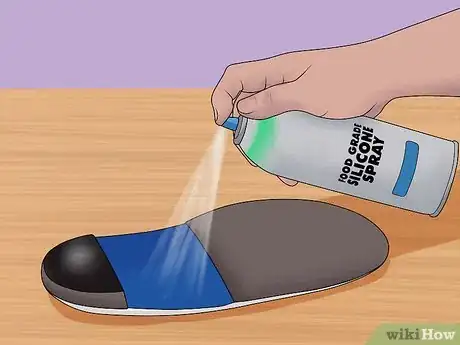
4Use food-grade silicone spray. Food-grade silicone is another great option for lubricating the underside of your orthotic inserts and stopping (or preventing) squeaking noises. Spray food-grade silicone into your shoe and on the underside of your insert.[5]
-
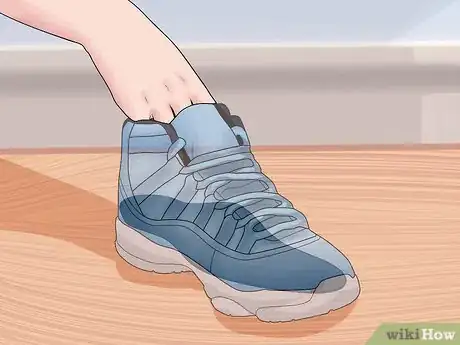
5Place the orthotic back in your shoe. Position the orthotic insert back inside your shoe, and put your shoe back on. Walk around for a few minutes. Hopefully you will not hear any noise.
- Be sure to push the heel of the orthotic as far back against the heel of the shoe as possible.[6]
Using Other Materials
-
1Remove the orthotic insert. Just as before, remove the orthotic from your shoe. Then locate materials from your house that could be used to temper the friction of your orthotic insert. Some materials to choose from are tape (duct or packing), a dryer sheet, or moleskin.
-
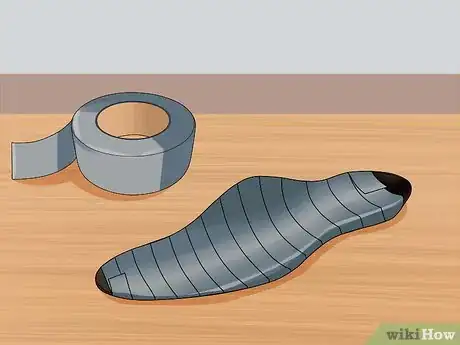
2Use tape. Tape can be an excellent choice because its adhesive quality assures that it will stay put. Packing tape or duct tape are great options. Simply take some tape and wrap it around the plastic edges of your insole, where it makes contact with your shoe.[7]
-
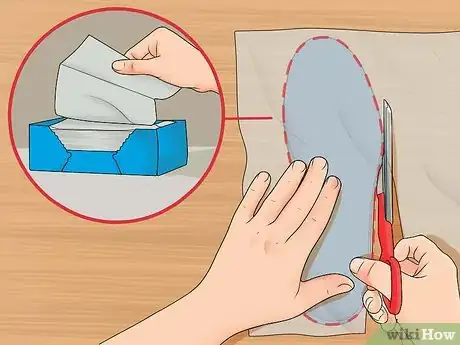
3Use a dryer sheet. Using a dryer sheet is another good tactic. You can use either a brand-new sheet, or recycle one that has already been used for drying. Cut the dryer sheet into the shape of your insole. Then, insert the dryer sheet directly into your shoe. Using a dryer sheet has the added benefit of making the inside of your shoes smell like fresh laundry.[8]
-
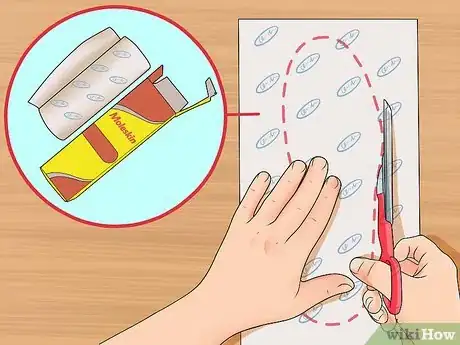
4Use moleskin. Moleskin is a heavy cotton fabric available in craft stores. Sometimes, it is available with adhesive backing. If your moleskin does not have sticky backing, simply cut a piece of moleskin the shape of your orthotic and place it inside your shoe (as you would do with a dryer sheet). If your moleskin does have adhesive backing, stick it onto the plastic edge of your orthotic (as you would do with tape).[9]
-
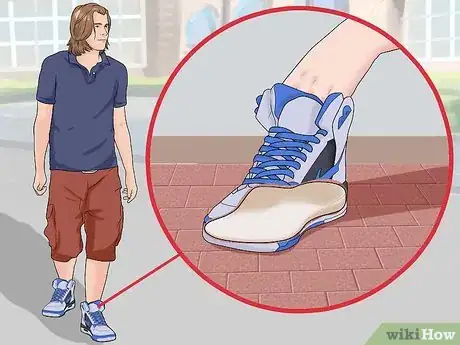
5Place the orthotic back in your shoe. Insert the orthotic back into your shoe. Push it all the way back against the heel of the shoe to ensure that you have positioned it correctly.[10] Put on your shoe and walk around. You should not hear any squeaking.
Expert Q&A
Did you know you can get expert answers for this article?
Unlock expert answers by supporting wikiHow
-
QuestionHow can I ensure my orthotic is positioned properly when I put it into my shoe?
 Mark Co, DPMDr. Mark Co is a Podiatrist who runs his own private practice in San Francisco, California. Dr. Co specializes in treatments for bunions, ingrown toenails, toenail fungus, warts, plantar fasciitis and other causes of foot pain. He also offers custom orthotics for the treatment and prevention of foot and ankle issues. Dr. Co completed a Master of Business Administration (MBA) at New York University and an MA in Electrical Engineering and Computer Science at Johns Hopkins University. Dr. Co also completed his DPM at the California School of Podiatric Medicine and a residency and internship at the Kaiser Permanente Medical Center, Santa Clara, California. Dr. Co was awarded San Francisco's "Top 3 Podiatrists" in 2018, 2019, and 2020. Dr. Co is also a member of the CPMA (American Podiatric Medical Association).
Podiatrist Always make sure you seat the heel as far back in the shoe as possible. Also, if you have a full-length orthotic, take out the insole that was previously in the shoe. If you have a three-quarter-length orthotic, however, you can put it on top of the current insole, or you can even put it under the insole if you'd like.
Things You'll Need
- Some kind of powder (foot powder, baby powder, or talcum)
- Some kind of “gel” (lotion, anti-chaffing gel, or silicone spray).
- Tape, dryer sheet, or moleskin
References
- ↑ http://ask.metafilter.com/195403/No-Im-not-walking-on-porposies-or-how-to-make-orthotics-not-squeak
- ↑ Mark Co, DPM. Podiatrist. Expert Interview. 21 April 2020.
- ↑ http://lifehacker.com/243000/macgyver-tip--quiet-squeaky-shoes-with-baby-powder
- ↑ https://www.caminodesantiago.me/community/threads/blister-prevention-and-foot-care.7890/
- ↑ https://www.footankle.com/patients/squeaky-orthotics/
- ↑ Mark Co, DPM. Podiatrist. Expert Interview. 21 April 2020.
- ↑ http://www.podiatrytoday.com/blogged/how-fix-squeaky-orthotics
- ↑ https://www.footankle.com/patients/squeaky-orthotics/
- ↑ http://www.podiatrytoday.com/blogged/how-fix-squeaky-orthotics
- ↑ Mark Co, DPM. Podiatrist. Expert Interview. 21 April 2020.
About This Article
If your orthotics squeak when you walk, there are several household items that can help get rid of the squeaking. Remove the orthotics and sprinkle some foot powder, talcum powder, or baby powder inside your shoes. Massage the powder around before reinserting your orthotics. Another way to end the squeaking sound is to spread hand lotion or anti-chafing gel on the bottom of your orthotics. This will lessen the friction between your orthotics and your shoes. You can also try cutting a dryer sheet to the size of your insole and placing it under your orthotics. This method has the added benefit of keeping your shoes smelling fresh! To learn how to use duct tape to keep your orthotics quiet, keep reading!










Medical Disclaimer
The content of this article is not intended to be a substitute for professional medical advice, examination, diagnosis, or treatment. You should always contact your doctor or other qualified healthcare professional before starting, changing, or stopping any kind of health treatment.
Read More...