This article was co-authored by Monica Morris. Monica Morris is an ACE (American Council on Exercise) Certified Personal Trainer based in the San Francisco Bay Area. With over 15 years of fitness training experience, Monica started her own physical training practice and gained her ACE Certification in 2017. Her workouts emphasize proper warm-ups, cool-downs, and stretching techniques.
There are 12 references cited in this article, which can be found at the bottom of the page.
This article has been viewed 254,637 times.
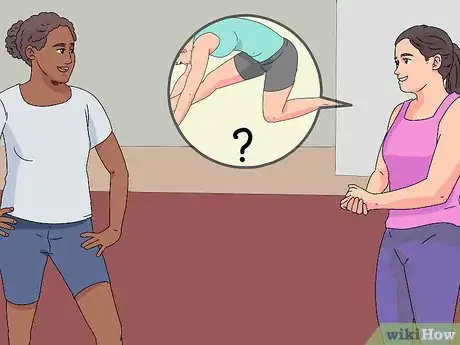
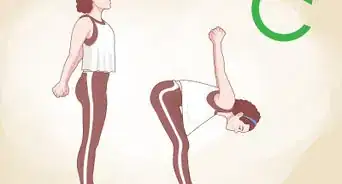
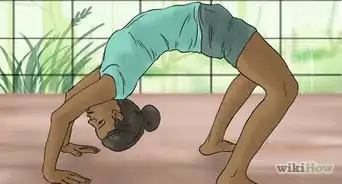
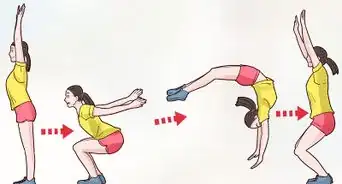
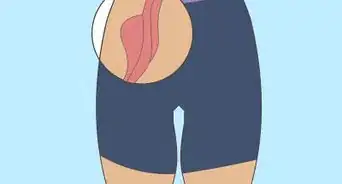
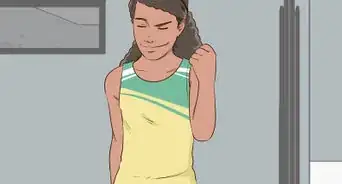
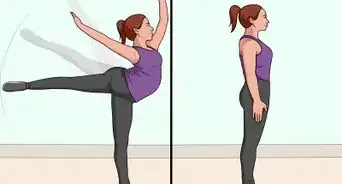
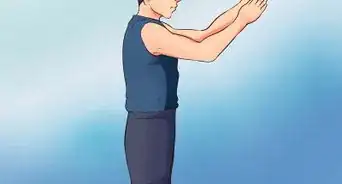
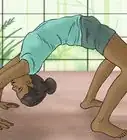
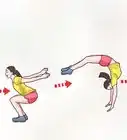
Cheerleading is a lot of hard work, and you'll need to use many different muscles to pull off all the moves you love. To get flexible and reduce your chance of injury, practice regularly. However, make sure you always warm up before stretching, since stretching on cold muscles could injure you even faster! Try jogging or doing jumping jacks for 3-5 minutes before going through your stretching routine. Additionally, no matter what stretches you do, always stop if you're feeling any pain, and don’t hesitate to ask your coach or a professional for help when you need it!
Steps
Mastering the Split
-
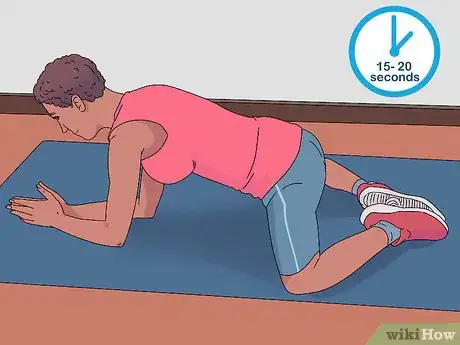
1Use the frog stretch to loosen up your hips and groin. Get onto your knees on an exercise mat and spread your knees out so they’re wider than shoulder-width. Walk your hands out and lower yourself onto your forearms. Press your pelvis down toward the ground while moving your feet outwards so that they are wider than your knees. Hold that position for 15 to 20 seconds, then release back into a kneeling position. Repeat this stretch 5 to 6 times.[1]
- This stretch is great at loosening up your lower body, which will make moving into a split a bit easier.
-
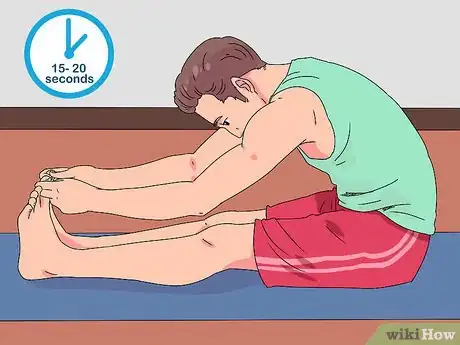
2Do the seated forward bend to open your hips and warm up your legs. Sit on the ground with your legs stretched out in front of you. Keep the soles of your feet together, and slowly bend forward. Stretch out your arms toward your toes and grasp your feet if you can. Hold the position for 15 to 20 seconds, and repeat the stretch 5 to 6 times.[2]
- Breath deeply from your stomach as you move through these stretches. If you find yourself holding your breath, take a moment to adjust and take a deep breath, exhaling it slowly.
Advertisement -
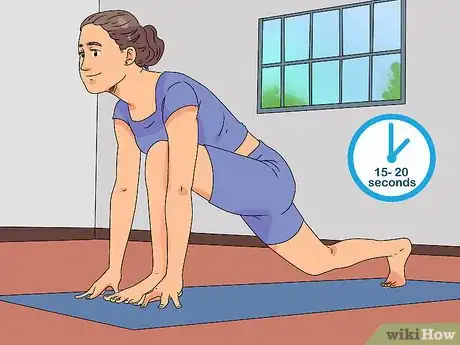
3Complete a few sets of low lunges to stretch your groin area. Lunge forward with your right leg until your thigh is parallel to the ground. Keep your back leg extended as straight as possible. Stretch forward to bring your chest closer to your right thigh, and deepen your stretch as much as you can. Hold this position for 15 to 20 seconds, release the pose, switch legs, and repeat. Try to do a total of 5 to 6 low lunges on each leg.[3]
- Remember, splits require a high level of flexibility in your hips and groin, so any exercises you can do to strengthen and also loosen up those areas will help you perform much better and will also reduce the risk of injury.
-
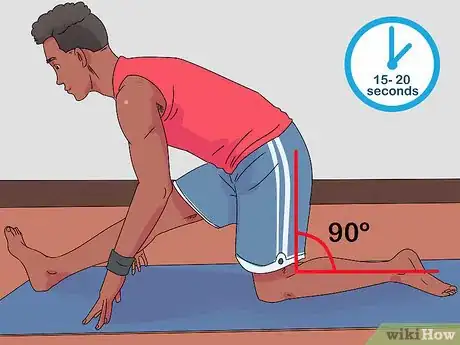
4Work on the half split pose to begin getting yourself ready for a full split. Get down onto both knees on an exercise mat. Stretch your right leg out in front of you while keeping your back and shoulders as straight as possible. Keep your left leg bent at a 90-degree angle as you stretch forward and lower your chest toward your leg. Hold the stretch for 15 to 20 seconds and repeat this movement 5 to 6 times.[4]
- Avoid rounding your spine during this move. If you feel yourself crunching over, take a moment to breathe in and straighten your back.
-
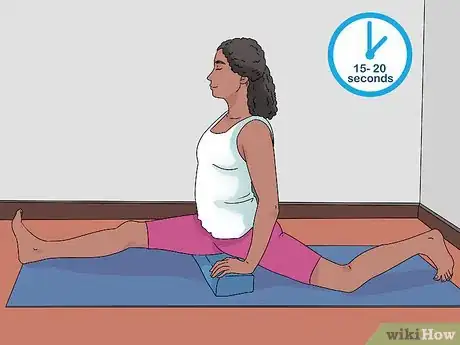
5Use a yoga block to try a full split without hurting yourself. When working toward the full split, you may find you're almost there but are afraid to fully commit. When you run into this, use a yoga block to hold yourself up a bit from the ground. Place the block under your bottom, under a thigh, or under your hands so you can hold yourself off the ground a bit. Whichever position you choose, hold it for 15 to 20 seconds before releasing it. Repeat this stretch 5 to 6 times.[5]
- Play around with the placement of the yoga block to find out what position helps you the most.
-
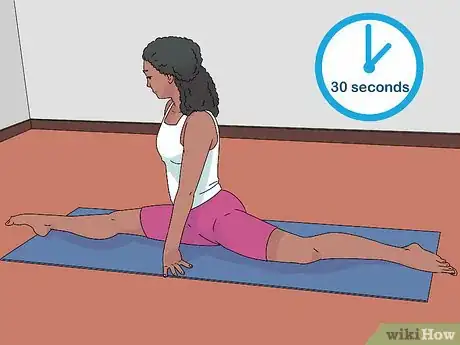
6Hold the full split for 30 seconds at a time to acclimate your body. Once you’re able to do a split, get into position and hold it for 20 to 30 seconds. This will help stretch the muscles that are often strained during this move, and you’ll be able to more easily move into a split during your cheerleading routines without an issue.[6]
- Never move straight into a split without warming up first. You’ll very likely get hurt and have to spend a week or more recovering before you can resume activities.
Tip: If you’re having trouble getting all the way to the ground with your split, use a yoga block to help support your thighs as you work toward your goal. This lets you do the motion with a minimized risk of injury.
Stretching Your Lower Body
-
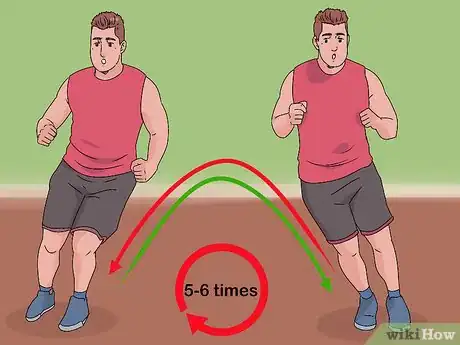
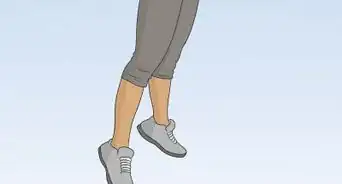
1Warm up your legs by doing side-to-side hops. This is a great way to activate your hips and legs and get them warmed up. Simply hop from foot to foot and repeat this 5 to 6 times. For a harder warmup, jump as far to the side as you can without losing your balance.[7]
- This exercise helps with your mobility and your balance, as you have to find your center of gravity on each hop so you don’t fall over.
-
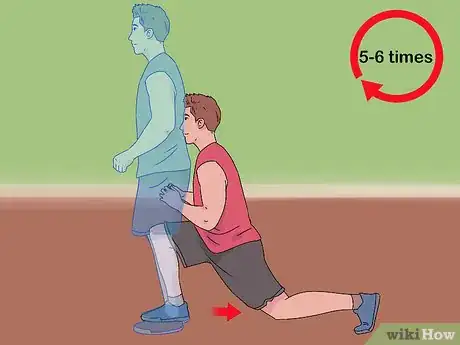
2Wake up your thighs by doing backward lunges. Stand upright and then take a large step backward with either your left or your right foot. Lower your hips until the opposite thigh is parallel to the ground and that knee is aligned over your ankle. Repeat this movement 5 to 6 times on each leg. This not only works out your legs, but it also helps improve your balance, which is an important part of cheerleading.[8]
- For a more advanced move, go ahead and hold the lunge position for 10 seconds before returning to standing. This will stretch your hamstrings even more.
-
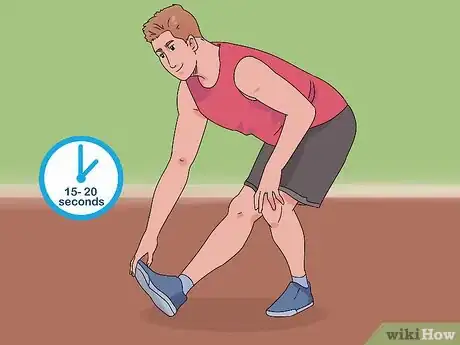
3Do a standing hamstring stretch for your back, glutes, and hamstrings. While standing, take one heel and place it on the floor in front of you at a 45-degree angle. Lean forward and reach toward the toes on the outstretched foot. Keep your back and shoulders straight, and focus on feeling the stretch through the back of your legs. Hold the position for 15 to 20 seconds and then switch legs, repeating the movement 5 to 6 times per leg.[9]
- It’s okay if you can’t reach your toes yet. If you need to, keep your hands on your knees and focus on holding the pose and keeping your back straight without hunching over at the waist.
Alternative Exercise: For a deeper stretch, put your heel up on a chair or other flat, secure surface that is at hip level or lower. Reach toward your toes without bending the other knee and while keeping your back and shoulders straight.
-
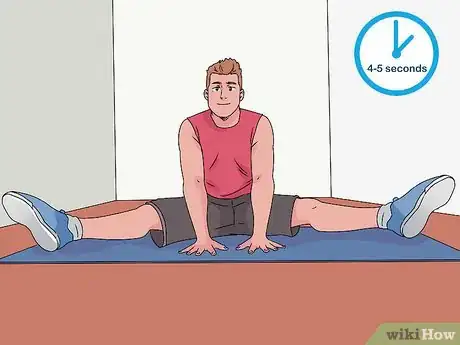
4Complete a set of straddle lifts to help improve your jumps. Sit on the ground with your legs in a straddle position (legs are out to the side instead of in front of you). Place your hands on the ground in front of you, then left a leg up off the floor about 2 to 3 inches (5.1 to 7.6 cm). Hold that leg up for 4 to 5 seconds, then set it back down. Repeat this movement 5 to 6 times on each leg.[10]
- Try to increase the amount of time you can hold your leg up in the air by 1 second every day. This will build up your leg muscles and help you have more explosion power when you do your jumps.
-
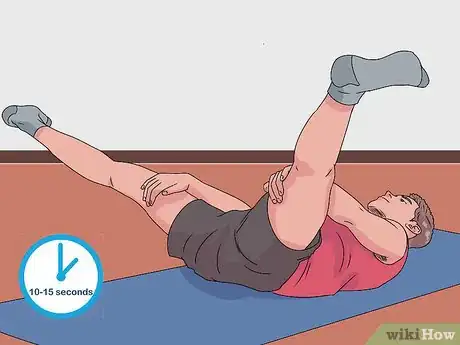
5Stretch your inner thighs by doing supine straddles. Sit on the ground and gently roll onto your back. Raise your legs up into the air, and then spread them out so they are in the straddle position. Put one hand on each inner thigh, and push against your thighs as you simultaneously try to bring your legs together. Hold each stretch for 10 to 15 seconds, and repeat this movement 5 to 6 times.[11]
- Keep your back, shoulders, and head flat again the ground during this movement. In addition to working your legs and improving your jumping abilities, this move will also work your core.
Increasing Flexibility in Your Upper Body
-
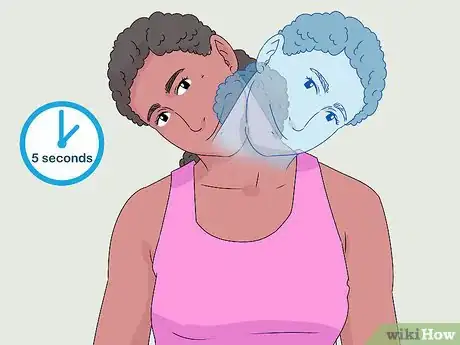
1Complete 10 reps of neck tilts to prevent straining your neck muscles. To do a neck tilt, bend your head to the left as far as you can, then hold that position for 5 seconds. Repeat this on the right side. Each time, try to stretch your head a little bit father. Avoid hunching your shoulders—try to keep them relaxed.[12]
- You can also bend your head forward and backward, too, if you feel tension in those areas.
Warning: If you feel any pain, stop immediately. Pain could indicate that you’re injuring yourself.
-
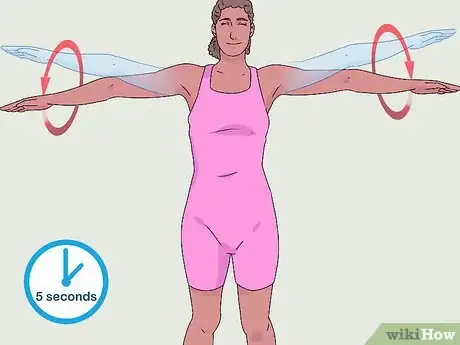
2Loosen up your arms with side arm raises and arm rotations. Your arms are a huge part of cheerleading, as everything you do requires them to help propel and balance your body. Do 10 reps of side arm raises by raising your arms so they’re level with your shoulder; hold the pose for 5 seconds before releasing. Do 10 reps of forward and backward arm rotations to loosen up your arms and shoulders. Simply put your arms out to the side and move them in a large circle, rotating your shoulders.[13]
- The more flexible you get, the wider you’ll be able to make your circles. If you can only do small circles at the beginning comfortably, that’s okay! Keep working on it and track your progress to see how your abilities change over time.
-
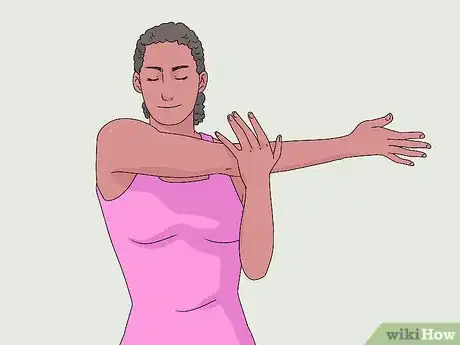
3Do the L-arm stretch to open up your shoulders and loosen your triceps. While either standing or sitting, pull one arm across your chest. Put the opposing hand against your elbow and pull your arm further across the chest to open up your shoulders. You should feel the pull through your back, shoulder, and tricep. Hold the stretch for 10 seconds, and repeat the movement 5 to 6 times on each arm.[14]
- This move is also called the cross-body shoulder stretch.
-
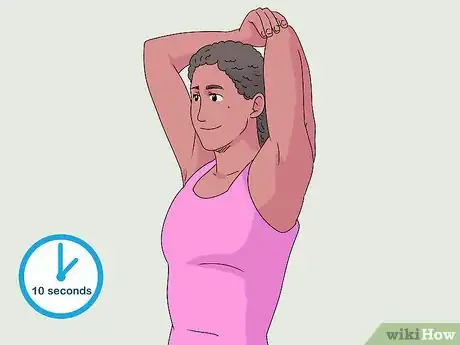
4Work on the overhead tricep stretch to loosen your back and shoulders. Raise one arm over your head and bend your arm backward. With the opposite hand, press your elbow back to open up your shoulders and stretch your arms. Hold the stretch for 10 seconds, and repeat 5 to 6 times on each arm.[15]
- Remember to breath through each stretch. Avoid holding your breath, and try to breathe in deep from your belly.
-
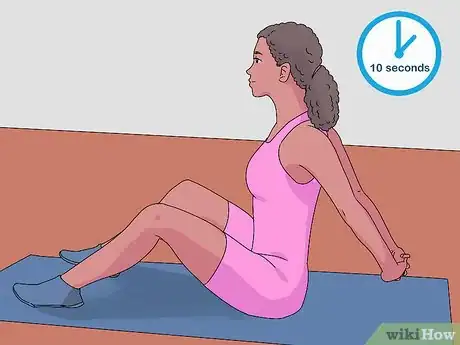
5Use the seated shoulder squeeze to relieve back tension. Sit on the floor with your feet flat against the floor and your knees bent in front of you. Grasp your hands together behind your back, and straighten your arms out. Squeeze your shoulder blades while keeping your arms extended, and hold this pose for 10 seconds before releasing your hands. Repeat this movement 5 to 6 times.[16]
- You use your back muscles so much in cheerleading, so it’s not surprising that they might get a little tight. That tightness can make it harder to perform the moves you need to do.
Maximizing Flexibility with a Schedule
-
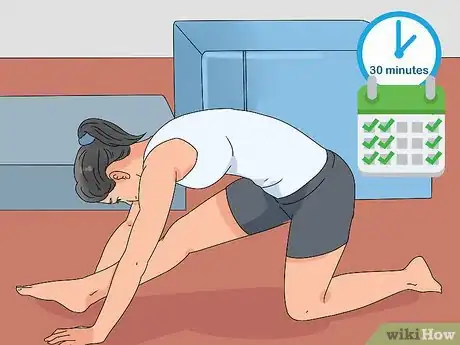
1Commit to working on your flexibility for 30 minutes 2 to 3 times a week. With cheerleading, you’re probably putting in a lot of time working on routines, moves, and strength-training, and your flexibility training needs to be a part of your regular schedule, too.[17] Make up a schedule for yourself and plan out which days of the week you’ll commit to flexibility training. Try to spread the days out so they don’t fall next to each other for optimal benefits.[18]
- For example, if you do strength training on Mondays and Wednesdays, schedule your flexibility training for Tuesday, Thursdays, and Saturdays.
- Don’t forget to schedule in some downtime to allow your body to rest and recuperate.
-
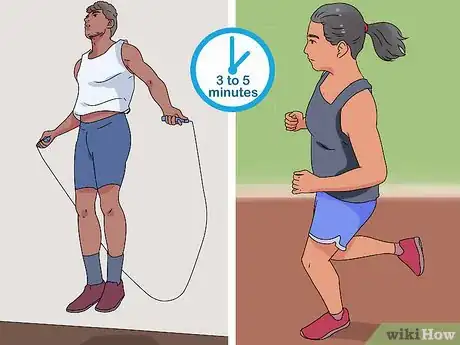
2Warm up before each workout to prevent the risk of injury. Getting your heart rate up means there will be better blood flow to your arms and legs. Plus, your limbs will be loose and limber, making them less prone to strains and injuries. Spend 3 to 5 minutes jogging, biking, doing jumping jacks, jumping rope, or even just walking briskly to get warmed up.
- Neglecting to warm up could make your recovery after a workout harder, and your body will be even sorer than it would be.
-
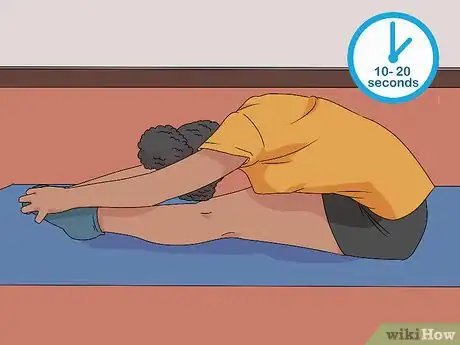
3Hold each stretch for 10 to 20 seconds and repeat it 5 to 6 times. Because you’re not trying to build muscle while working on your stretching, you don’t need to do as many repetitions. Remember, if something hurts and you’re in pain, stop doing the movement right away, even if your time isn’t up yet.
- If you get bored while stretching, try listening to music or to a podcast to make the time go by faster. Just don’t lose track of your reps!
-
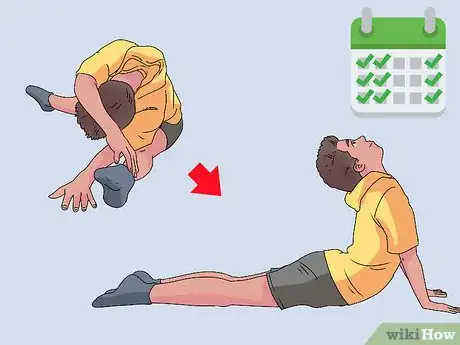
4Update your stretching exercises when you no longer feel challenged.[19] For maximum benefits, you don’t want to do all the same exercises every day for months at a time. You’ll get bored, and your body will get used to the movements. Try switching up your routine every 2 to 3 weeks by adding in some new stretches and retiring ones that have become too easy.
Tip: Make 2 to 3 routines that you can regularly switch out, that way you don’t have to spend a lot of time researching new moves.
-
5Ask your coach for more moves and stretches to add to your routine. If you work with someone on your cheerleading skills, let them know you’re interested in moves to increase your flexibility. Based on your skills and needs, there may be some specific exercises that would be really beneficial to your growth as a cheerleader.
- If you don’t work with a coach, think about the movements you struggle with in cheerleading. Pinpoint where you are struggling (whether it’s that your legs aren’t flexible enough or your shoulders feel too tight) and look up specific stretches you can do for those areas.
Expert Q&A
Did you know you can get expert answers for this article?
Unlock expert answers by supporting wikiHow
-
QuestionHow can I get flexible fast?
 Monica MorrisMonica Morris is an ACE (American Council on Exercise) Certified Personal Trainer based in the San Francisco Bay Area. With over 15 years of fitness training experience, Monica started her own physical training practice and gained her ACE Certification in 2017. Her workouts emphasize proper warm-ups, cool-downs, and stretching techniques.
ACE Certified Personal Trainer
-
QuestionWill I achieve this in a week's time?
 Community AnswerIt depends on how much you stretch, but it will probably be more like a month. Stay hydrated - it will make it easier to become flexible.
 -
QuestionWhat is the easiest way to do splits?
 Community AnswerCheck out wikiHow's article How to Do a Split for tips.
Warnings
- Never continue doing a stretch or exercise if it causes you pain. Listen to your body and don’t push it too far.⧼thumbs_response⧽
References
- ↑ https://youtu.be/O1x7PH9S_Aw?t=12
- ↑ https://www.self.com/gallery/essential-stretches-slideshow
- ↑ https://www.doyouyoga.com/how-to-do-low-lunge-pose/
- ↑ https://www.doyouyoga.com/how-to-do-half-splits-pose/
- ↑ https://www.doyouyoga.com/building-up-to-splits-12505/
- ↑ https://www.doyouyoga.com/building-up-to-splits-12505/
- ↑ https://darebee.com/warmup-and-stretching.html
- ↑ https://youtu.be/Ks-lKvKQ8f4?t=165
- ↑ https://youtu.be/Eg6M42FgDF4?t=9
- ↑ https://youtu.be/yHWpilgysB0?t=5
- ↑ https://youtu.be/ilRxBXSB4TY?t=35
- ↑ https://darebee.com/warmup-and-stretching.html
- ↑ https://darebee.com/warmup-and-stretching.html
- ↑ https://www.self.com/gallery/essential-stretches-slideshow
- ↑ https://www.self.com/gallery/essential-stretches-slideshow
- ↑ https://www.self.com/gallery/essential-stretches-slideshow
- ↑ Monica Morris. Certified Personal Trainer. Expert Interview. 18 November 2019.
- ↑ https://youtu.be/Jane6icW-xk?t=29
- ↑ Monica Morris. Certified Personal Trainer. Expert Interview. 18 November 2019.
