This article was co-authored by Renée Plevy and by wikiHow staff writer, Eric McClure. Renée Plevy is an Internationally Acclaimed Portrait Artist from New York/Palm Beach who has painted The Grand Dames of Palm Beach and various celebrities and community leaders. With over 50 years of experience, Renée specializes in painting realistically in oil and capturing the soul of the person. She has studied under internationally renowned portrait artists John Howard Sanden, David Leffel, Robert Beverly Hale, Clyde Smith, and Leonid Gervits. Renée is featured in over 68 shows and galleries including a one-woman museum show at the Paterson Museum. She has garnered numerous awards including “Artist of the Year” from The Bloomfield Art League and First Prize from the Boca Raton Museum Artist’s Guild. Renée has even painted a portrait of celebrity, Vanilla Ice. She also teaches at the Boca Raton Museum Art School - formerly at SVA in Manhattan.
This article has been viewed 179,473 times.
Framing an oil painting comes down to choosing an appropriate frame, installing the frame correctly, and hanging it in your home. You’ll have to choose between a minimalistic, traditional, or antique frame based on the style of your composition. To frame the painting, layer the canvas behind a dust cover and tape. Once you’ve framed your painting, hang it in a safe location inside your home where it looks good to you!
Steps
Choosing the Right Frame
-
1Select a floating or baguette frame for a minimalistic, modern look. Baguette frames refer to flat panels of wood or metal that fit along the edges of your painting without obscuring any portion of the image. Float frames use a mat to set your image inside a simple frame.[1] These frames provide a modern look, and differ from traditional frames by adding very little visual impact on their own. They look sort of like siding or open borders for a piece of art.[2]
- Float and baguette frames tend to emphasize the work itself, since the frames tend to contain few details on their own.
- Float frames can make a work appear more striking. The mat helps isolate the work in the center of the wall, making it stand out more.
- Baguette frames can make a work look dramatic. The minimalistic frame lifts the image off of the wall a few inches, which can make it seem like the work is literally popping out.
- The difference between a baguette and float frame is whether there is any space between the canvas and the frame itself. Float frames have a space, which is sometimes filled in with a mat, while baguette frames leave no room between the frame and the painting.
-
2Use a traditional frame for classic landscapes and portraits. Traditional frames come in all types of shapes, sizes, and designs. They tend to be metal or wood, and add an additional visual element to a painting’s presentation. Choose a frame that you think works well alongside your image without drawing the viewer’s attention away from what’s important.[3]
- Traditional frames cover the edges of a canvas. They also tend to have minor details and patterns built into the frame. These minor elements change the way that a viewer perceives a work.
- When in doubt, opt for a simpler traditional frame. You can always upgrade the frame later when you need a change of pace.
Tip: Try to match the aesthetic of the frame with the style of your oil painting. If the painting is hyper realistic, you probably don’t want an abstract frame with a lot of designs. However, a unique frame with a lot of free-flowing inlays could work well with a piece of abstract expressionism.
Advertisement -
3Get an antique frame for high-end or older oil paintings. For older works or paintings with a high price tag, choose an antique frame to really make your work stand out. Antique frames tend to have high levels of detail and create a striking impression on their own, which can demand attention as soon as the viewer enters the room.[4]
- Antique frames tend to be have expressive designs and strange colors. These can help stress the specialness of a historical or expensive piece of art.
- Look for antique frames at antique shops.
-
4Display your art without a frame if the sides of the canvas are painted. If the canvas comes with a prebuilt frame and the artist elected to paint details along the sides of the canvas, you probably don’t need a frame. The artist made a conscious decision to extend the image past the edge of the canvas, and covering it could reduce the impact of an image.[5]
- You can tell if a framed canvas was meant to be hung on its own if the artist installed hangers along the backside of the frame.
Putting the Painting in the Frame
-
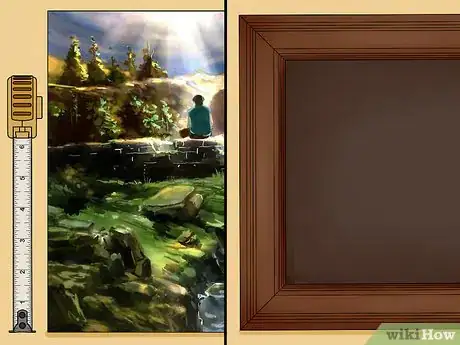
1Measure your painting and purchase a frame for it. Measure the height, width, and depth of the painting that you’re going to frame with a measuring tape. Write the measurements down on a small piece of paper so that you don’t forget the sizes when you’re buying a frame. Always check a potential frame to make sure that the listed measurements are for the interior of the frame, not the exterior.
- Purchase a frame that you think will look good with your painting online, at a framing store, or at a local arts and crafts shop.
- If you painted the image yourself, wait 6-12 months before framing it. Oil paint can take a long time to fully settle, and framing it before the entire image is dry can distort and damage your composition.
- If your painting is on a piece of paper, the depth of the frame doesn’t matter. However, you may want to buy a mat for it to hide the edges of the paper.
-
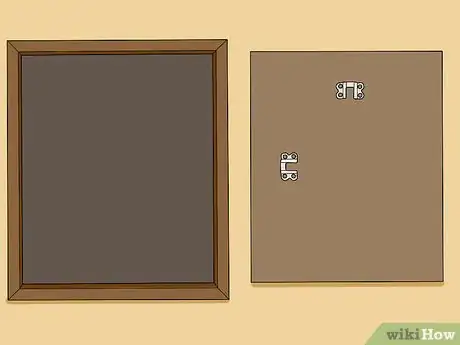
2Unpack your frame and separate the frame from the backing. Place your materials on a clean work surface that won’t scratch the frame. Remove the plastic or cardboard wrapping and separate the pieces of the frame.[6]
- You can put a towel or piece of butcher paper down on a table to prevent scratching your frame.
- If you want to protect the front of your painting, you can apply a spray or liquid varnish to the front of your canvas. Varnish can change the appearance of some oil colors though, so spot check the varnish first on a dried painted surface somewhere else.
- If your painting has small metal tabs embedded in the interior edges of the frame, flip them so that they’re facing up. These are called points, and they’re designed to hold your art in the frame.
Tip: It’s not generally recommended to cover an oil painting with glass because it can trap dust that could ruin the artwork, but you can use it if you have a painted sheet of paper or panel board. If you do opt to use it, clean and dust the inside of the glass with a glass-cleaning solution and dry cloth before putting the painting in the frame.
-
3Lower the painting face down into the inside of the frame. Flip your frame so that it’s facing downwards. Then, slowly lower your painting into the lips on the interior edges of the frame. Carefully drop the painting in one corner at a time until you’re at the final edge. Gently lower it and make any necessary adjustments to center the image in the frame.
- To place a canvas in a floater frame, lower your canvas face-up into the frame, and clip it on the back with the turn buttons. Some floater and baguette frames come with spacers to make the spacing in the front even. Screw the turn buttons into the canvas frame with wood screws.[7]
-
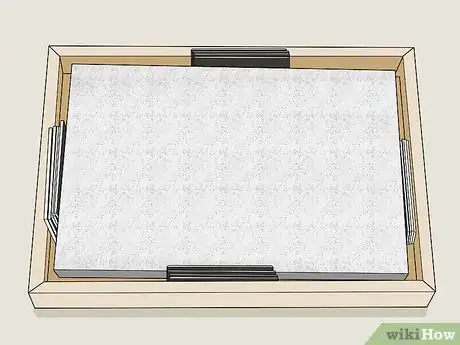
4Place a layer of acid-free paper on the back of your canvas. You can use butcher paper or a large sheet of standard paper to cover the backside of the canvas. This will protect the painting from dust, moisture, and insects. Cut out a piece of paper using scissors or a paper cutter based on the size of your painting. Spread your paper out and fold it as needed to make it fit in the interior opening of the frame.
- The paper will be flattened and covered by the cardboard, so don’t worry if it isn’t pretty.
-
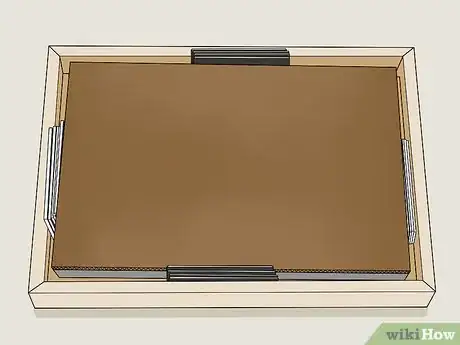
5Add your cardboard backing and press down lightly to remove the air. Put your cardboard back on top of the paper and give it a light press with the pads of your fingers to remove any air pockets. Hold the cardboard into the frame and flip your painting over for a moment to make sure that it’s even and centered in the frame.[8]
- If your canvas did not come with a cardboard back, then it is not intended to be installed with one.
-
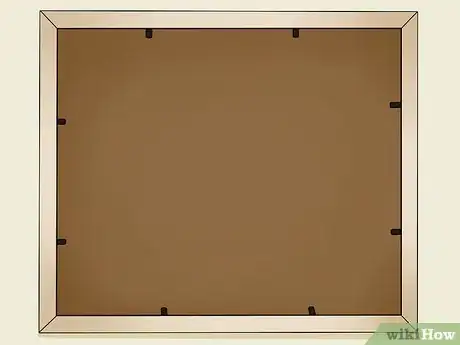
6Fit your frame by installing your points or bending them back. Depending on the brand of your frame, it either came with a separate bag of points, or with flexible points already installed in the interior sides of the frame. If your points are pre-installed, bend them down with your finger and press them into the surface of the cardboard to lock your painting in place.
- If you have to install them on your own, use a putty knife or flathead screwdriver and a hammer to punch the points into the frame and seal it. Put a point perpendicular to the interior edge of the frame. Put your putty knife or flathead against the tip, and lightly tap it into the frame to install it in place.
- Some frames, and most floater and baguette frames, come with turn buttons. Turn buttons simply need to be rotated to close the frame, although floater frames usually need to be screwed in.
- There are specialty tools that punch points into a frame like a nail gun. Consider getting a frame fitting tool or point driver to make the process easier
-
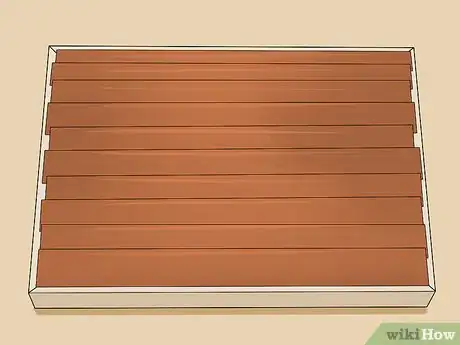
7Seal the back of your painting with packing tape. If you want an added layer of protection, you can tape the entirety of your frame’s backside with packing tape in horizontal layers. Cover each section of your frame with tape, flattening it as you apply it. This will add an additional layer of protection against dust, moisture, and insects.
- Taping the backside of your frame is not mandatory, but it will make the back stay flat over time.
- Don’t cover up any hanging mounts if they’re already installed.
-
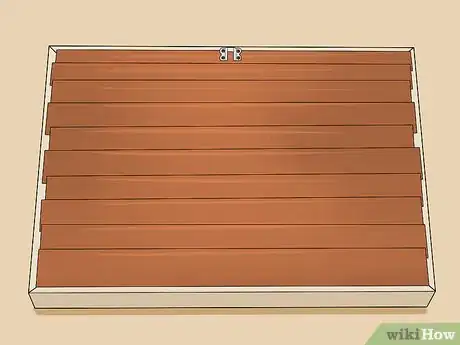
8Install your hanging mount on the frame if you have to. Most frames come with the hanging mount built in to the cardboard or frame itself. If it isn’t already installed, screw D-rings, a wire hanger, or a sawtooth hanger into the wood of the frame with a drill and small screws. To do this, select a stable and flat section near the top quarter of the frame and measure two symmetrical slots on opposite sides of the frame. Drill screws through the opening in the ring or hanger to affix it to the frame.
- The screws and hanging mount should come with the materials needed to hang it. If it doesn’t, you can buy them at a framing or hardware store.
-
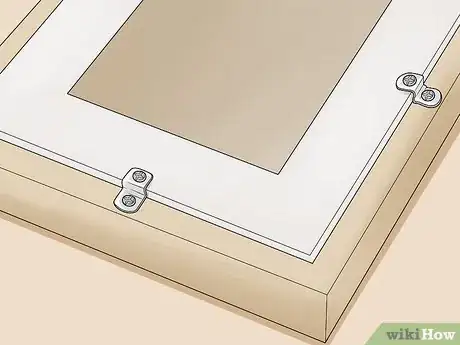
9Use offset clips without a back for pre-framed canvases. If your painting already has a wooden frame built into it and you still want to add a different frame, you can use a hollow-back frame and offset clips. After you’ve measured and acquired your frame, place it flat on a work surface, with the finished side facing down. Place your canvas inside of the frame and install the clips.[9]
- Put an offset clip every 6–10 inches (15–25 cm) on each side, and screw them in with wood screws with one of the tabs on the frame and one of the tabs on the canvas.
- Install a dust cover if you’d like by laying double-sided tape on each edge and pressing butcher paper down along the edges before cutting it.
- Attach a D-Ring or sawtooth hanger the top of the frame to make hanging simple.
Choosing the Right Place to Hang Your Painting
-
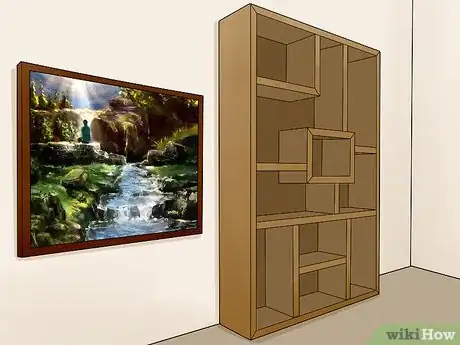
1Avoid hanging your painting near shelves, doors, or in tight corridors. Don’t place your painting on a wall where it is likely to be bumped or knocked around. Areas near shelves and doors are likely to be touched by accident, and tight hallways may put your painting at risk if people aren’t looking where they’re going.
- Placing your painting behind a door is dangerous. If anyone opens the door against the wall, it could permanently damage your painting.
-
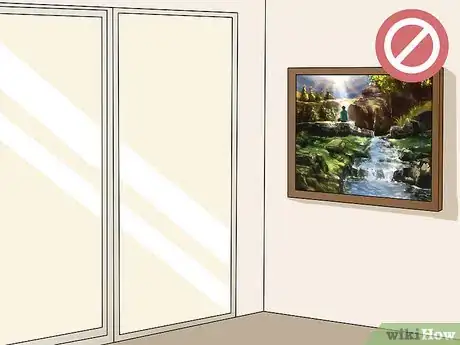
2Hang your painting away from direct heat, moisture, or sunlight. Oil paint does not do well when it’s wet or hot. Don’t hang your painting over radiators or air conditioning units. To prevent your painting’s colors from being washed out, don’t hang it directly next to a window.
- Up-lights and spotlights won’t damage your painting if they’re LED or CFL lightbulbs.
-
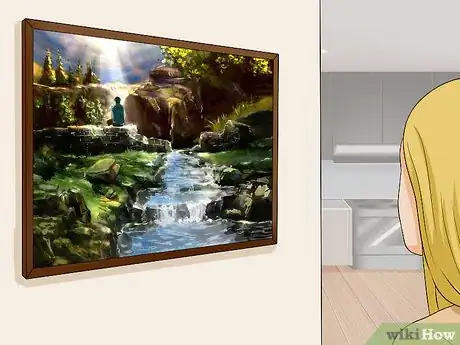
3Place your painting in a highly-visible area where you think it looks good. There are no rules when it comes down to choosing a room for your painting. You’re going to live with it every day, so place it somewhere where you can enjoy it. If you’re not sure where to put it, consider the color of the furniture in the room and ask yourself whether the colors in the painting will compliment it.
Tip: You can always change the location of a painting! There’s no need to worry about getting it right the first time. Try a location out by leaving the painting on the wall for 2-3 days to see how you feel about it.
Expert Q&A
-
QuestionWhat is the best kind of frame for a painting?
 Renée PlevyRenée Plevy is an Internationally Acclaimed Portrait Artist from New York/Palm Beach who has painted The Grand Dames of Palm Beach and various celebrities and community leaders. With over 50 years of experience, Renée specializes in painting realistically in oil and capturing the soul of the person. She has studied under internationally renowned portrait artists John Howard Sanden, David Leffel, Robert Beverly Hale, Clyde Smith, and Leonid Gervits. Renée is featured in over 68 shows and galleries including a one-woman museum show at the Paterson Museum. She has garnered numerous awards including “Artist of the Year” from The Bloomfield Art League and First Prize from the Boca Raton Museum Artist’s Guild. Renée has even painted a portrait of celebrity, Vanilla Ice. She also teaches at the Boca Raton Museum Art School - formerly at SVA in Manhattan.
Portrait Artist & Educator It really depends on the decor in the room where you want to hang it. Make sure the frame matches the style of the rest of the room's aesthetic.
 -
QuestionWhat is a box frame?
 Community AnswerI assume you are talking about a shadow box, which is similar to a picture frame, but deeper. It is made to hold and display items that you may want to preserve such as a gift given to you.
 -
QuestionWhat is the name of the piece of wrapped molding between the frame and the painting?
 Community AnswerThe piece of wrapped molding is called a liner.
References
- ↑ Renée Plevy. Portrait Artist & Educator. Expert Interview. 7 May 2021.
- ↑ https://www.designsinkart.com/library/IEA-UnderstandingFrames201005.htm
- ↑ https://www.onekingslane.com/live-love-home/how-to-hang-art-and-frame-art-expert-advice/
- ↑ https://www.onekingslane.com/live-love-home/how-to-hang-art-and-frame-art-expert-advice/
- ↑ https://www.architecturaldigest.com/story/how-to-framing-art
- ↑ https://www.liveabout.com/how-to-frame-an-oil-painting-2578601
- ↑ https://youtu.be/WprizuHN8R8?t=41
- ↑ https://www.liveabout.com/how-to-frame-an-oil-painting-2578601
- ↑ https://www.liveabout.com/how-to-frame-an-oil-painting-2578601


