This article was co-authored by wikiHow Staff. Our trained team of editors and researchers validate articles for accuracy and comprehensiveness. wikiHow's Content Management Team carefully monitors the work from our editorial staff to ensure that each article is backed by trusted research and meets our high quality standards.
There are 7 references cited in this article, which can be found at the bottom of the page.
wikiHow marks an article as reader-approved once it receives enough positive feedback. In this case, 88% of readers who voted found the article helpful, earning it our reader-approved status.
This article has been viewed 300,788 times.
Learn more...
If your vehicle’s heater isn’t working as well as it used to, or has stopped working entirely, it may be the result of a clog in your heater core. The heater core is similar to a radiator and is a part of the vehicle’s coolant system. Hot coolant that has passed through other parts of the engine is run through the heater core as air is forced past it and into the cabin of the vehicle to heat it. A clogged heater core will prevent the coolant from passing through it, limiting the amount of heat that can be transferred. Flushing the heater core can remove these clogs, but if it fails to work, you may need to have your heater core replaced.
Steps
Attaching a Pressure Source
-
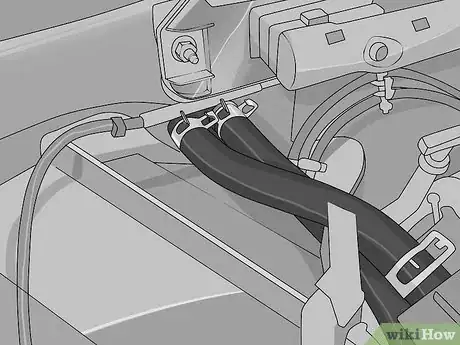
1Locate the heater core on the vehicle’s firewall. The heater core inlet and outlet pipes are usually located on the firewall separating the engine from the cabin of the vehicle. Its location will vary from vehicle to vehicle so if you have difficulty locating the inlet and outlet hoses, refer to the service manual for your specific vehicle.[1]
- There will be two nozzles, one for the flow of coolant in and the other for the flow of coolant out.
- You can locate the nozzles by following the coolant hoses through the coolant system.
-
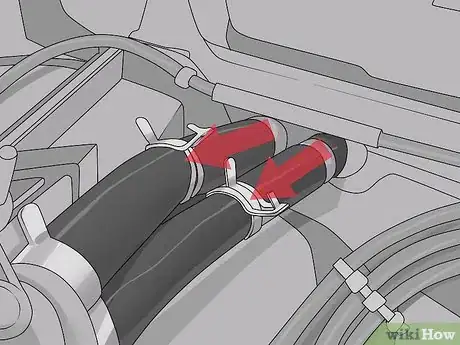
2Disconnect the heater hoses. Most coolant hoses are attached using hose clamps that will need to be loosened with either a screw driver or wrench. Remember, when you disconnect the heater hoses, coolant and water will pour from them, so be sure the container is placed directly beneath the hoses below the car.[2]
- If you damage the hose clamp as you loosen it, you can purchase replacement clamps at your local auto parts store.
- Be careful not to spill coolant on the ground, as it is bad for the environment.
Advertisement -
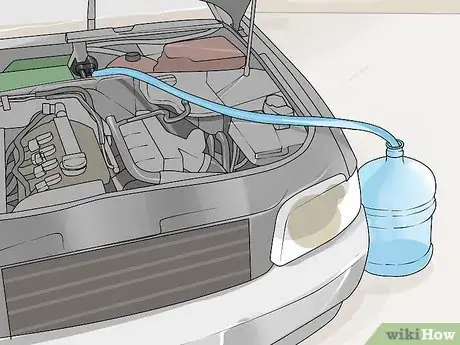
3Point the inlet hose down toward the container. In order to clean the blockage out of the heater core, you will need to force either air or water through the system. As you do so, the coolant, water and grime within the system will be expelled through the inlet hose.[3]
- Be sure the hose is positioned so anything that comes out of it will pour into the container.
-
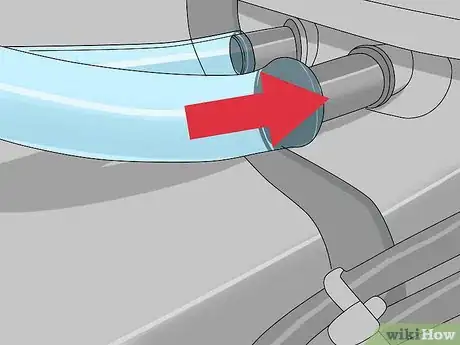
4Insert an airline or water hose into the outlet hose. If you have an air compressor, you can use an airline to push out the remaining coolant and grime within the heater core. If not, you can use a garden hose for the same purposes. Place the airline or hose in the outlet hose from the heater core.[4]
- You will need to use a water hose to flush the system either way, but compressed air may move harder to break blockages.
-
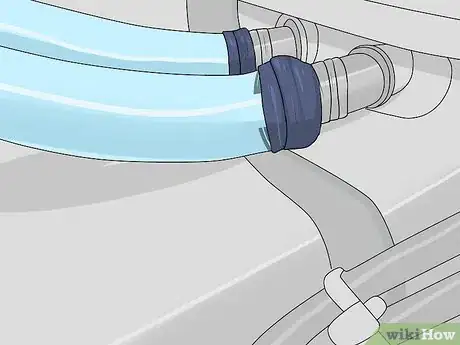
5Seal the line. Try your best to seal the line where the hose or airline connect the to the heater hose outlet. Wrapping the area with duct tape or using silicone couplers are both effective ways to create a seal.[5]
- If there is a serious blockage in the line, pressure may leak back out the hose rather than penetrating the clog.
- A good seal around the hose pushing air or water into the system will force the pressure to go through the clog.
Draining the Grime and Coolant
-
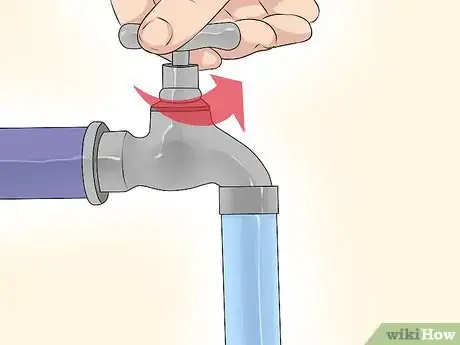
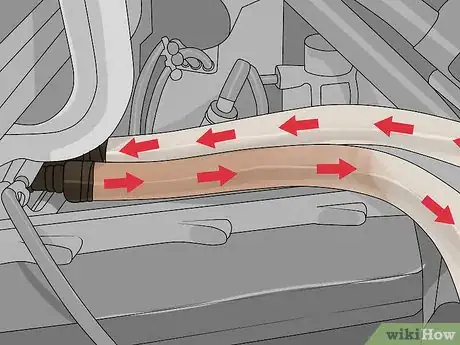
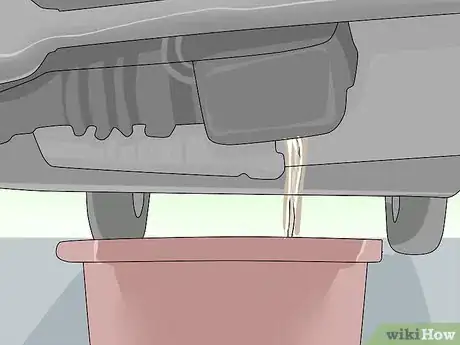
1Turn on the hose or air compressor. With the airline or hose sealed as well as you can to the heater hose outlet, turn on the air or water. Allow the pressure to build in the system to remove any clogs. The coolant and grime will drain out of the heater inlet and into the container beneath the vehicle.[6]
- Leave the hose or airline running for a few minutes to ensure it pressurizes the entire system.
-
2Allow the coolant and grime to drain. Turn off the airline or water hose and allow the fluids to finish draining into the container you placed beneath the vehicle. Be sure the container does not overflow if you are using a hose.[7]
- The system will likely continue to drain for a few minutes after you turn off the flow of air or water.
-
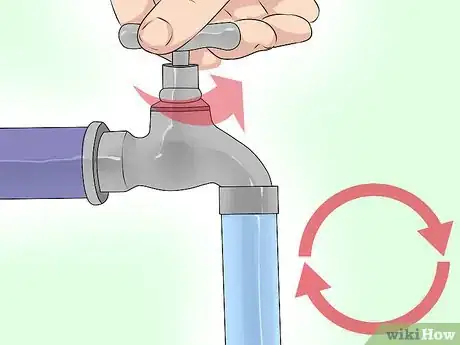
3Repeat the process with the water hose. If you used an airline to remove the initial blockage, switch to a hose now and repeat the process. Filling the system with water and allowing it to drain will remove any bad coolant.[8]
- You may want to pour the container out into a separate, sealable container between flushes to ensure it doesn’t overflow.
- Flush the system one or two times before moving on.
-
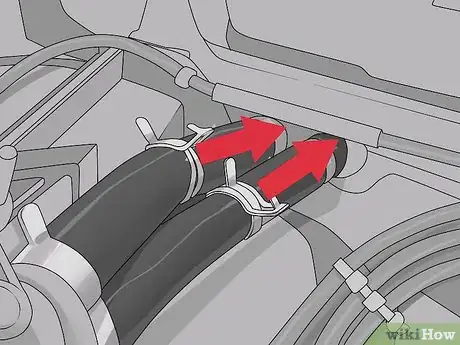
4Reconnect the inlet and outlet hoses. Place the heater inlet and outlet hoses back on the nozzles and secure them again with the hose clamps. This will reseal the system and allow you to refill it. Be sure to securely fasten the hose clamps, otherwise the water pressure will cause the hoses to come off.[9]
- Replace damaged or rusty hose clamps before reinstalling the hoses.
- The hoses can usually only reach one nozzle, so it is easy to determine which goes where.
-
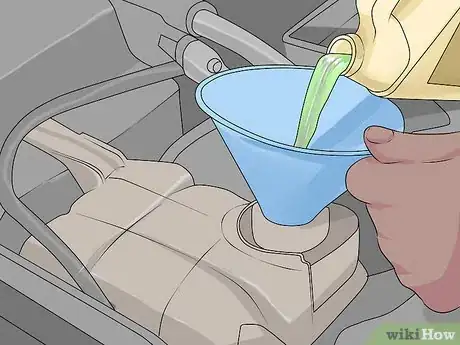
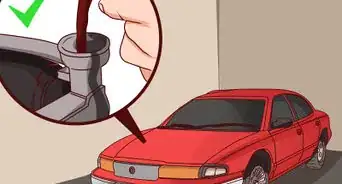
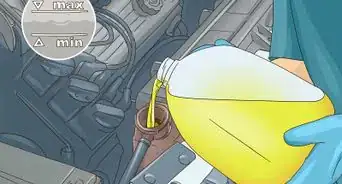
5Refill the coolant system. Open the radiator cap and refill the coolant system with a 50/50 mix of water and coolant. Be sure to use the correct type of coolant for your vehicle. Once you have filled the system to capacity, screw the radiator cap back into place.[10]
- You can purchase pre-mixed coolant and water or you may choose to mix it yourself.
- If you are unsure of what kind of coolant is right for your vehicle, ask the clerk at your local auto parts store for assistance.
Preparing to Flush a Heater Core
-
1Park the vehicle on level ground. You should never jack up a vehicle on a slanted surface or the jack may topple over. Find a firm, level surface that can support the weight of the front of the vehicle once it is centralized beneath the jack.
- Black top and concrete are the best surfaces to jack a vehicle up on.
- Never jack up a vehicle on grass, dirt or gravel.
-
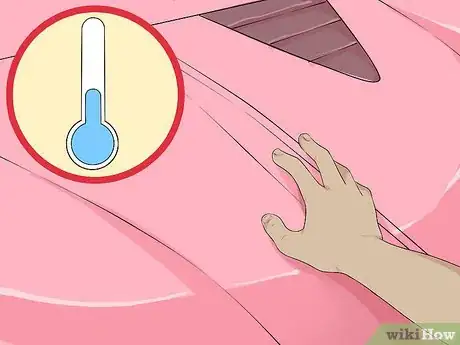
2Allow the engine to cool completely. The coolant system is pressurized when heated, so loosening or disconnecting the heater core hoses while the engine is warm could cause it to spray hot coolant and injure you. Wait a few hours after the last time the engine was running before starting this project.[11]
- Touch your hands on the hood of the car. If it is slightly warm, the engine inside is likely still quite hot.
- It may take a number of hours for an engine to cool completely.
-
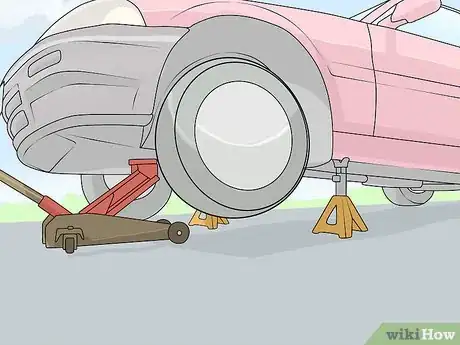
3Jack the vehicle up. Slide a trolley or scissor jack beneath the vehicle at one of its designated jack points. Lift and lower the handle (trolley jack) or turn it (scissor jack) to jack the car up.[12]
- If you are unsure where to locate the designated jack points for your vehicle, refer to your owner’s manual for guidance.
- Once the vehicle has been jacked up, slide jack stands beneath it to support the weight of the vehicle.
-
4Place a container beneath the vehicle to catch drained fluids. You will need to flush all of the coolant and grime out of the heater core and a portion of the coolant system into a container on the ground. Be sure the container can hold at least the capacity of your vehicle’s coolant system.[13]
- Refer to the service manual for your specific vehicle to find out its coolant capacity.
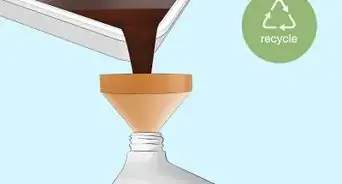
- Be sure the container you choose does not leak and preferably can be sealed to transport the coolant to a recycling center.
Community Q&A
-
QuestionWhat do I do if my 1996 Dodge Ram heater is not getting hot?
 Community AnswerMaybe your thermostat is stuck open and your engine is not getting warm enough, or your heater core is plugged, not allowing the coolant to get in.
References
- ↑ http://www.popularmechanics.com/cars/how-to/a3270/whats-wrong-with-my-cars-heater-16078844/
- ↑ http://www.myhonestmechanic.com/articles/do-i-need-a-heater-core-flush.shtml
- ↑ http://www.myhonestmechanic.com/articles/do-i-need-a-heater-core-flush.shtml
- ↑ https://www.youtube.com/watch?v=M9SIafVsqyc
- ↑ https://www.youtube.com/watch?v=M9SIafVsqyc
- ↑ http://www.popularmechanics.com/cars/how-to/a3270/whats-wrong-with-my-cars-heater-16078844/
- ↑ http://www.popularmechanics.com/cars/how-to/a3270/whats-wrong-with-my-cars-heater-16078844/
- ↑ http://www.popularmechanics.com/cars/how-to/a3270/whats-wrong-with-my-cars-heater-16078844/
- ↑ http://www.popularmechanics.com/cars/how-to/a3270/whats-wrong-with-my-cars-heater-16078844/
About This Article
To flush a heater core, locate the heater core on the vehicle’s firewall, loosen the clamps, and disconnect the heater hoses. Next, insert an airline into the outlet hose and seal the line with duct tape. Place a container under the vehicle, turn on the air compressor, and allow the coolant and grime to drain into the container. Then, fill the system with water 1-2 times with a water hose to flush out any remaining coolant. Lastly, reattach the heater hoses and refill the coolant system with a 50/50 mix of water and coolant. For tips on jacking up your vehicle so you can access the firewall, read on!



-Beetle-Step-5-Version-3.webp)

