This article was co-authored by wikiHow Staff. Our trained team of editors and researchers validate articles for accuracy and comprehensiveness. wikiHow's Content Management Team carefully monitors the work from our editorial staff to ensure that each article is backed by trusted research and meets our high quality standards.
There are 12 references cited in this article, which can be found at the bottom of the page.
This article has been viewed 118,332 times.
Learn more...
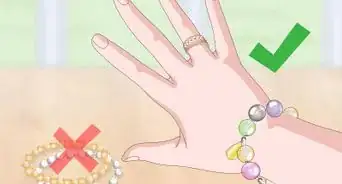
Over time, rings can become bent due to regular wear and tear or because your ring size has changed. To prevent bent rings, do your best to keep your rings properly sized and avoid wearing them while working with your hands. You can easily fix a bent ring at home using inexpensive jewelry repair tools, including a tapered cylinder called a mandrel and a soft mallet. If your home repair attempt can’t fix stubborn dents, consider having your ring professionally serviced. Check your warranty or call the location where you purchased the ring to find out about free or inexpensive repair options.
Steps
Assembling Repair Tools
-
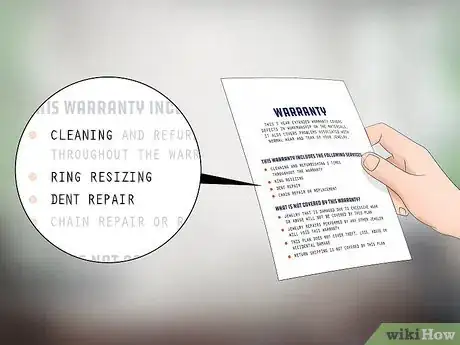
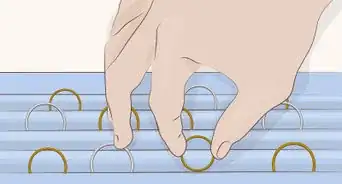
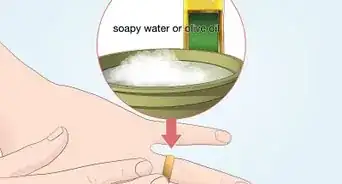
1Check your warranty before beginning repairs or investing in tools. Many jewelers offer free repair services, such as reshaping dents, resizing, and cleaning. Dig out your warranty, see what it covers, and determine whether its coverage is lifetime or has a time limit.
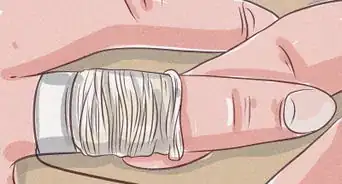
- Poor fit is a common cause of bent rings, so consider having it professionally resized, especially if your warranty covers it.
-
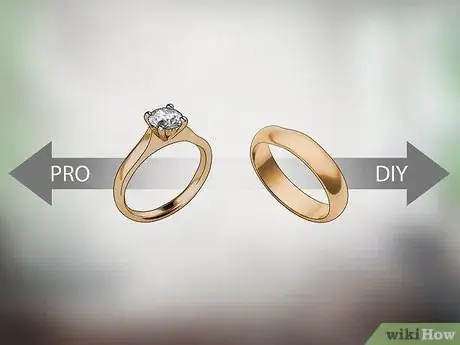
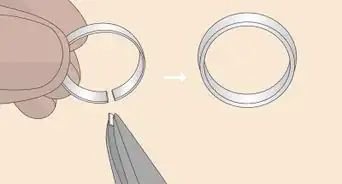
2Take your ring's materials into account. If your ring’s shank has gem settings, having it professionally repaired is preferable to attempting to fix it yourself. A home repair would risk damaging the settings or knocking out small precious stones.[1]
- In addition to any gem settings on the ring's sides, think about the hardness of its metal before attempting a home repair. Metals like copper, brass, nickel, silver, and gold are fairly malleable, while titanium, tungsten, and tungsten carbide are more difficult or even impossible to reshape.[2]
- If you're not sure what your ring is made out of, consider consulting a jeweler for assistance before attempting to reshape it.
Advertisement -
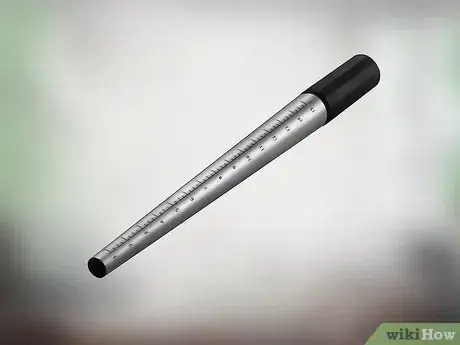
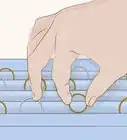
3Choose a mandrel. A mandrel is a tapered dowel used for resizing and repairing rings. They’re made of either wood or metal, come in various sizes, and can be purchased online for around 5 to 15 US dollars.[3]
- When choosing a mandrel, go for one made of a sturdy wood, such as maple. Using a metal mandrel can damage your ring if the tool is made of a harder material than your jewelry.
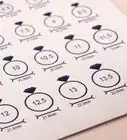
- Most mandrels are graduated, which means they’re marked with ring sizes. When you search for one on either a specialty jewelry store or general online marketplace, check the product’s description to see if it’s the right fit for your ring size.
-
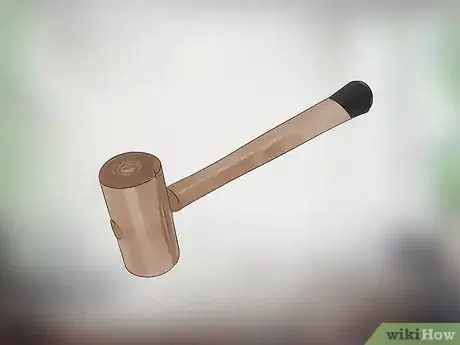
4Get a jewelry mallet. Mallets used for shaping metal without damaging it are typically made out of rawhide, wood, or rubber. You can find a proper mallet by searching online for a jewelry tool store or running a search on any online marketplace, such as eBay or Amazon. You can purchase one for around 5 US dollars or less.[4]
-
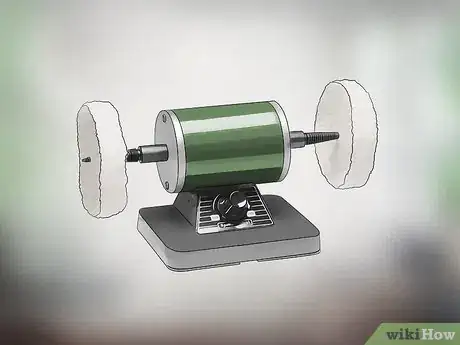
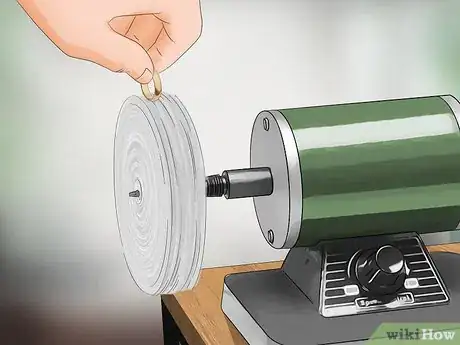
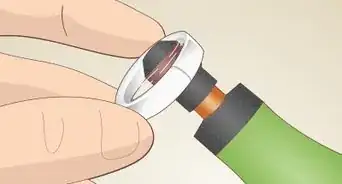
5Consider purchasing a buffing wheel or polishing lathe. If you have some experience working with jewelry, investing in a buffer or lathe can make manipulating and polishing rings much easier. Stubborn dents are easier to repair using a buffer, since the friction makes the metal more malleable.[5]
- You can find buffing wheels online, but they are fairly expensive, costing 100 US dollars or more.
Adjusting the Bent Ring
-
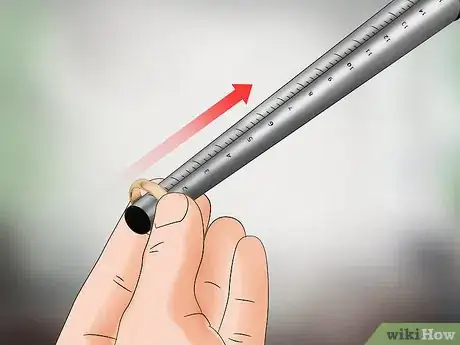
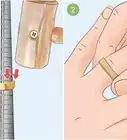
1Slip the ring onto the mandrel. After assembling your tools, place the bent ring onto the mandrel. Slip it down the cylinder’s shaft until it can’t go any further. Avoid forcefully pushing it down past the point on the shaft where it rests, or you’ll risk warping it even more.[6]
-
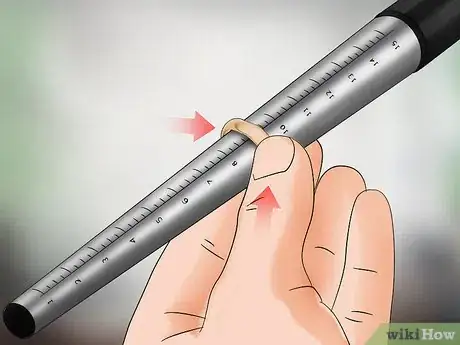
2Apply pressure with your fingers to reshape it. Use gentle but firm pressure by working your fingers around the ring’s surface. Do your best not to push the ring down the shaft, but to press and mold it to the mandrel’s circular shape. If your ring is only slightly bent and made of a soft metal, you might find that you can mold it to an acceptable level of roundness using only your fingers.[7]
-
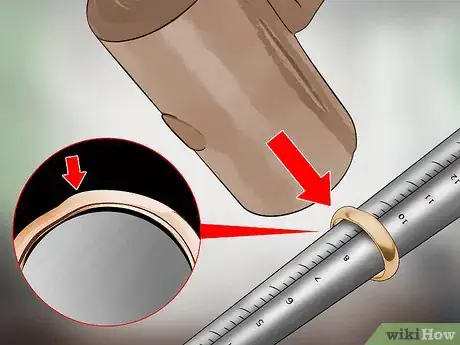
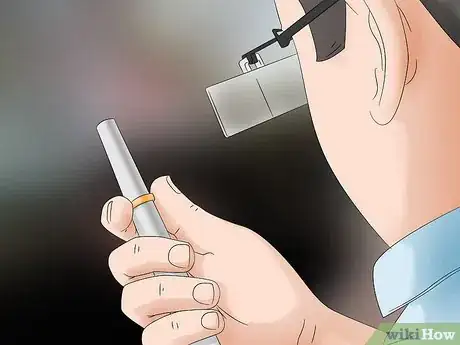
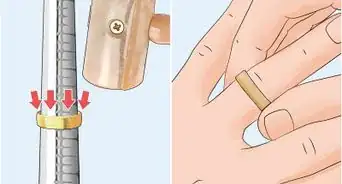
3Tap it into shape using a jewelry mallet. If your ring needs a little more work, tap it with the mallet on all sides. Use a lighter touch at first, and gradually increase your tap strength as needed. Carefully check the ring’s shape and your progress throughout the process.[8]
- Use a magnifying glass to check your progress if you have trouble seeing.
- Focus on spots that are particularly dented with five or six strong taps. Check your progress, then repeat tapping as necessary.
-
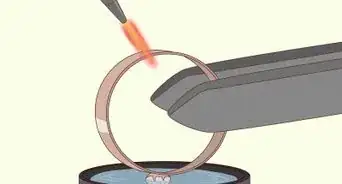
4Fix stubborn dents using a buffing wheel or polishing lathe. Sometimes, a home repair using a mandrel and mallet can’t remove stubborn dents. If you have trouble getting your ring to an acceptable shape, you might consider using a buffer to make the ring more malleable. You can invest in one for yourself, or ask crafty friends or acquaintances if they have the equipment on hand.[9]
- If your attempt at a home fix can’t remove a dent, you’ll probably want to bring the ring to a professional, especially if you don’t have access to or experience using buffing equipment.
Polishing Your Ring After Repairs
-
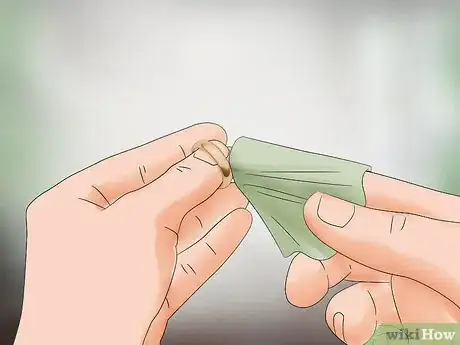
1Use a fine emery cloth to smooth out any marks. If your ring has responded well to the mandrel and mallet technique, you can proceed to buff out any scratches or wear that might have resulted. Use a fine-grit emery board or cloth to smooth out any subtle marks, or consider using a fine sandpaper to remove deeper scratches.[10]
- Be sure to move the buffing material steadily in one direction rather than use a back-and-forth motion.
-
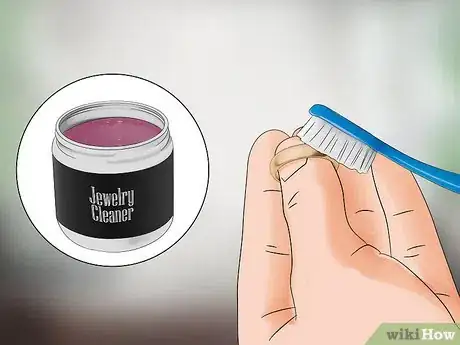
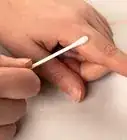
2Give the ring a home cleaning. Apply your favorite jewelry cleaner or a polishing agent suitable for the ring’s material using a toothbrush, soft cotton cloth, or cotton swab.[11]
- If your ring has a harder stone, like a diamond or sapphire, or no stone at all, you can use a solution of one part ammonia to four parts lukewarm water to give a cleaning and polish.[12]
- If your ring has a softer stone, like pearl or opal, or is an antique or costume jewelry, use lukewarm water and a drop of very mild soap or baby shampoo. Avoid using harsher soaps like dish detergent.[13]
-
3Take your ring in for a professional cleaning. After finishing a home repair, you might want to get your ring professionally polished and cleaned instead of cleaning it yourself. If you purchased the ring with a jeweler, call them and ask if they offer free cleanings. Many shops offer free or inexpensive polishing and cleaning services, especially to customers with whom they’ve already done business.[14]
References
- ↑ https://www.youtube.com/watch?v=Ox4kd0IBz3c&feature=youtu.be&t=107
- ↑ http://www.jewelrynotes.com/the-mohs-scale-of-hardness-for-metals-why-it-is-important/
- ↑ http://gometaldetecting.com/jewelry-repair.htm
- ↑ https://www.gemsociety.org/article/hammers-used-jewelry-making/
- ↑ http://www.ebay.com/gds/Jewelry-Repair-Tools-Buying-Guide-/10000000177633143/g.html
- ↑ https://www.youtube.com/watch?v=Ox4kd0IBz3c&feature=youtu.be&t=74
- ↑ https://www.youtube.com/watch?v=Ox4kd0IBz3c&feature=youtu.be&t=87
- ↑ https://www.youtube.com/watch?v=Ox4kd0IBz3c&feature=youtu.be&t=104
- ↑ https://www.youtube.com/watch?v=Ox4kd0IBz3c&feature=youtu.be&t=178
- ↑ http://www.fixitclub.com/apparel-jewelry-repairs/jewelry-repair/
- ↑ http://www.fixitclub.com/apparel-jewelry-repairs/jewelry-repair/
- ↑ http://www.racked.com/2015/5/8/8539887/how-to-clean-jewelry
- ↑ http://cleanmyspace.com/how-to-clean-costume-jewelry/
- ↑ http://www.fixitclub.com/apparel-jewelry-repairs/jewelry-repair/
About This Article
Before you try to repair your ring, check it’s warranty to see if the damage is covered by it. If it is, your jeweler will be able to repair it for free, which will make things a lot easier for you. If you decide to try repairing the ring yourself, you’ll need to buy repair tools online, including a mandrel and a wooden or rubber mallet. For a ring that’s only slightly bent, place it onto the mandrel and tap it into shape with the mallet. When you have it in shape, use an emery cloth to smooth out any marks. More stubborn dents will have to be repaired using a buffing wheel or ring lathe, which can also be purchased online. For tips on how to give your ring a home cleaning, read on!
