This article was co-authored by Ryaan Tuttle and by wikiHow staff writer, Dan Hickey. Ryaan Tuttle is a Home Improvement Specialist and the CEO of Best Handyman, Inc. in Boston, Massachusetts. With over 17 years of experience, he specializes in building home service businesses, focusing on creating scalable and efficient brands. With the help of his global team, the companies have achieved over 10+ million in sales and received recognition through magazine features, and enjoy partnerships with wikiHow and Jobber field service software. Boston Magazine and LocalBest.com have named Best Handyman Boston the Best Handyman in Boston. Ryaan holds Construction Supervisor and Home Improvement Contractor Licenses.
There are 9 references cited in this article, which can be found at the bottom of the page.
This article has been viewed 245,017 times.
You’ve decided it’s time to replace an old door in your home, but how do you make sure the new one is the right size? Thankfully, fitting and installing a new door is a straightforward process that beginning home improvers can do successfully. We’ve put together a thorough guide to fitting a new door, including how to make measurements and trim your new door for the perfect fit. If you can’t wait to put a beautiful new door in your home, keep scrolling!
Steps
Removing the Old Door
-
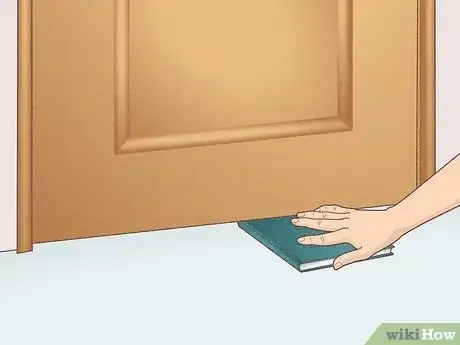
1Close the door and wedge a book or magazine underneath it. This makes the door more snug in the frame (and less likely to fall over on you while you undo the hinges). Make sure the door is fully closed to get the maximum support from the frame.[1]
- Alternatively, ask a friend or family member to hold the door steady while you work.[2]
-
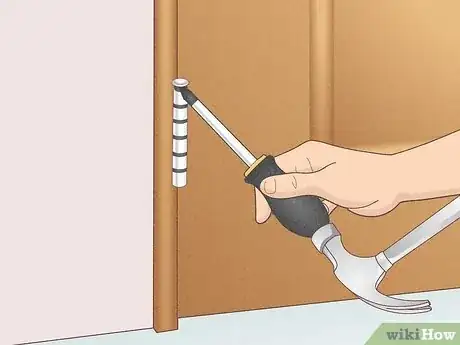
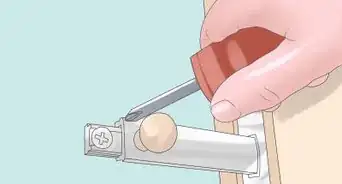
2Lift the pin from the bottom hinge with a flathead screwdriver. Place the flat end of the screwdriver against the top of the pin protruding from the hinge. Tap the handle of the screwdriver with a hammer to dislodge the pin upwards until you can grab it and lift it out.
- Remove the bottom hinge pin first to prevent the door from tipping over on you. Once it’s out, remove the top hinge pin using the same method.
- Alternatively, grip the top of the pin with side cutters or pliers. Tap the cutters with a hammer while you maintain your grip on the pin to remove it.[3]
- If your hinges don’t have pins, unscrew the hinge from the door with a screwdriver.
Advertisement -
3Back the door out of the frame. Open the door slightly so you can grip the top and side of it. Work carefully since there is nothing holding the door up except the empty hinges. Once you’ve got a good hold on the door, slowly lift it back towards you and back it out of the frame.[4]
-
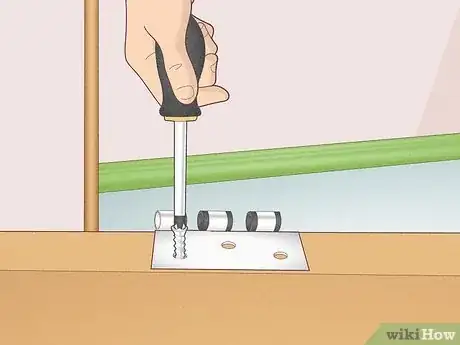
4Unscrew the hinges from the door if you plan to reuse them. Store the hinges and pins somewhere safe until you’re ready to attach them to the new door. If you plan on installing new hinges, unscrew the old hinges from the door frame as well.[5]
- Slide the pins back into the part of the hinge that’s still connected to the door frame for convenient storage if you plan to reuse them.
Measuring for a Perfect Fit
-
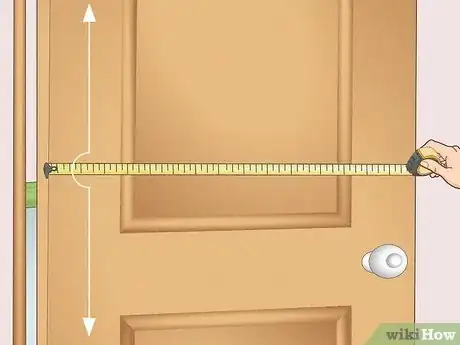
1Measure the old door slab if it fits perfectly in the frame. Use a tape measure to record the exact width, height, and thickness of the door. Measure the width and height in 3 different locations—if the measurements vary, go with the largest dimension.[6]
- It’s better to err on the side of measuring too large than too small.
- Your old door was a perfect fit if:
- There were no tight spots that rubbed against the door frame.
- There was an 0.125 in (3.2 mm) gap between the door and the frame all around.
- The door opened and closed easily in hot and cold weather (when doors can expand or shrink slightly).
-
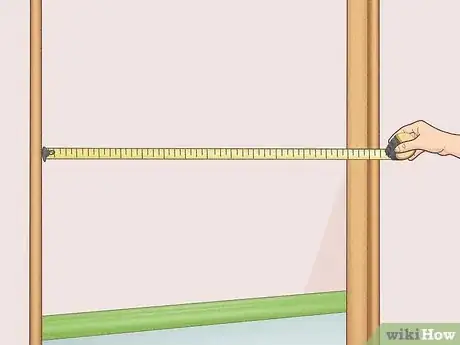
2Measure the doorway if the old door was not a perfect fit. Use a tape measure to record the width, height, and thickness of the doorframe. Measure in multiple locations for each dimension—if the measurements vary, go with the smallest measurement.[7]
- Measure the width between the inner sides of the door frame.
- Measure the height from the floor to the lower part of the doorway’s upper trim. Check the center, left, and right sides.
- Measure the thickness from the outer area of the side frame to the inner area.
-
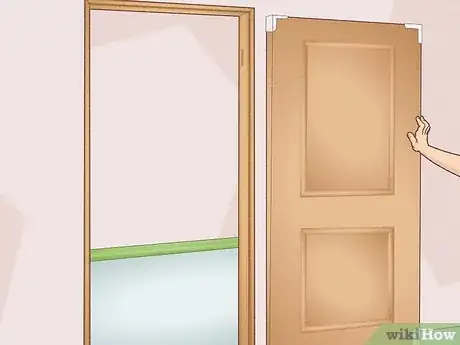
3Purchase a new door that’s close to your measurements. Bring your measurements with you when you go door shopping. You’re going to trim the door down later, so it’s OK if you don’t find one that’s an exact match. It’s better to buy a door that’s slightly too big than too small.[8]
- The standard height for most doors is 80 inches (2.0 m).
- Door widths vary and are usually marked in shorthand. For example, a 3-0 door is 3 feet (0.91 m) and 0 inches wide, not 30 inches (0.76 m) wide.
- Purchase a door slab rather than a prehung door. Prehung doors come already mounted in a frame.
Trimming the New Door
-
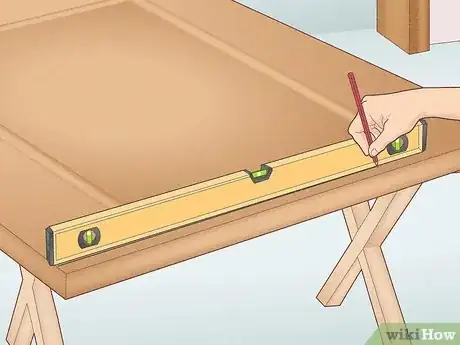
1Use a pencil and straightedge to mark where to trim the door. Subtract 0.25 inches (6.4 mm) from both the length and the height of the door frame to ensure you have enough space all the way around the door. Then mark where you need to make cuts to meet this measurement.
- To trim the width, remove equal amounts of door from both sides. For example, if you have to remove 1 inch (2.5 cm), trim 0.5 inches (1.3 cm) from each side.
- If you’re trimming the height, cut the length off of the bottom where the door is slightly thicker.
- Generally, you want 0.125 inches (3.2 mm) of space between all edges of your door and the door frame.
- If you’re copying the measurements from your old door, you don’t need to subtract 0.25 inches (6.4 mm) from any measurements. Just trim the new door to match.
-
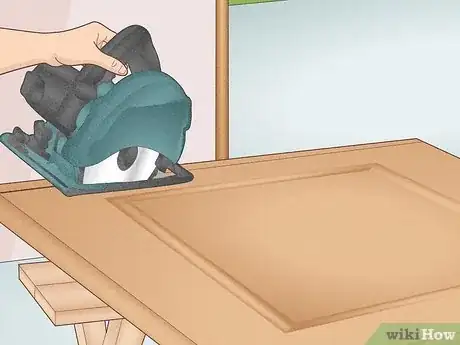
2Use a circular saw to trim the door. Stick painters tape on the door so one edge of the tape lines up with your cut mark. Score the cut mark with a knife before you saw to prevent chipping. Lay the door on a saw horse, then brace the saw against a cutting guide with the blade on the waste side of the cut line.[9]
- If you’re trimming off less than 0.125 inches (3.2 mm), plane the door down instead of sawing it.
- Wear thick, protective gloves and eye goggles while you saw. If your airways are sensitive, consider wearing a dust mask over your mouth and nose as well.
-
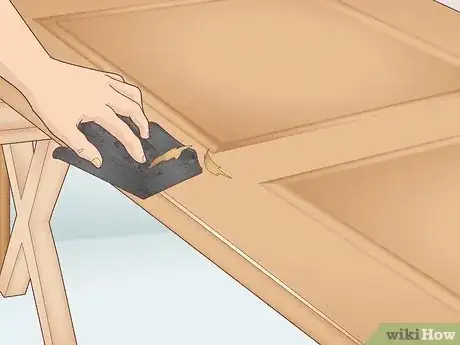
3Bevel the door edges 2-3 degrees so they clear the doorway smoothly. Beveling an edge means to angle or slant an edge so it’s not perpendicular. That way, the leading and trailing edges of the door stay the same distance from the doorway while they move. Use an electric plane, a hand plane, or a portable belt sander to angle the edges of the top and opening side toward the lockset side of the door.
- If you’re using a plane, make sure it’s at least 1.75 inches (4.4 cm) wide so it covers the entire thickness of the door.
- Set electric planes to 3 degrees. For hand planes, use a protractor and a pencil to mark a 3 degree line so you can see how much to remove.
- Double check which way the door swings before you plane. If it opens on your right (hinges on your left), then plane the right side and vice versa.
-
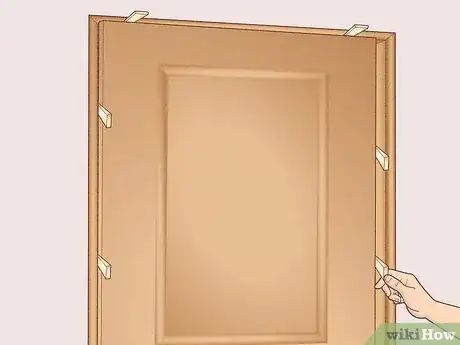
4Shim the door into the frame to double check your trim job. Place the trimmed door in the doorway and wedge thin pieces of wood, matchbooks, or thickly folded paper evenly all around so the door is centered. Check for spots that are too tight in the frame and plane or cut some more as needed.
Installing the Hinges and Doorknob
-
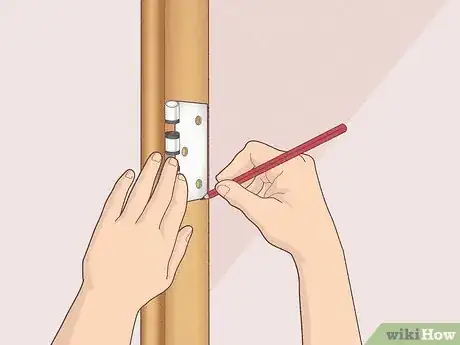
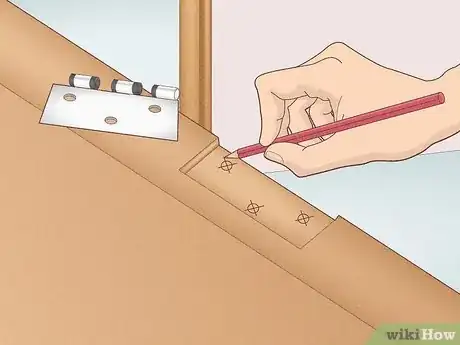
1Trace the outline of your new hinges on the door frame. Check to see if the hinge fits in the mortise (the depression in the wood where the hinge sits) from the old hinge. Sit the hinge in the mortise so the bottom of the hinge lines up with the bottom of the mortise. Trace the new outline if the hinge is larger than the original mortise.[10]
- If you’re putting hinges in new spots, trace the top hinge 7 inches (18 cm) from the top of the door and the bottom hinge 11 inches (28 cm) from the bottom.
- Internal doors typically only need 2 hinges. For extra heavy or exterior doors, trace a third hinge directly between the top and bottom hinges.
- If you’re reusing your original hinges, they should still be attached to the door frame.
-
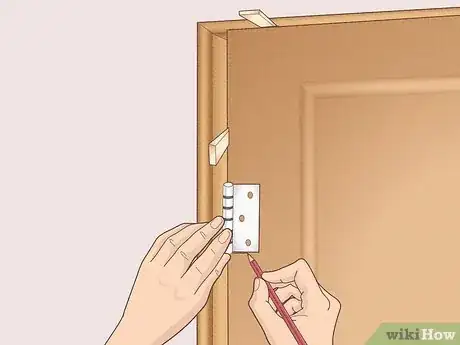
2Shim the door into the frame and trace the hinge outlines onto the door. Make sure the door is centered in the frame. Hold the hinge up to the outline you traced on the frame and trace the other hinge plate onto the corresponding spot on the door.
- The most common error is outlining the hinge in mismatched spots on the door and frame, so make sure to trace very carefully.
- It’s more accurate to trace while the door is shimmed in the frame than to do it by measurement.
- If the old door was a good fit and is the exact same size as the new door, align them so they’re flush and use a combination square to transfer the mortise shape onto the new door.
-
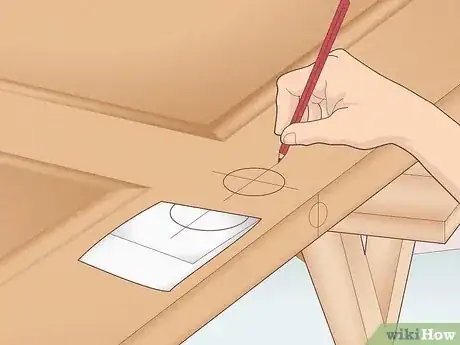
3Trace the outline for the lockset plate on the opening side of the door. First, mark where the strike-plate hole (the hole in the frame where the doorknob spindle clicks in) meets the door while it’s shimmed in the frame. Then use the template included in your new doorknob set or the lockset plate itself to trace the outline of the lockset plate over this mark.
- If you’re reusing your old lockset, take measurements and outlines from the old door.
-
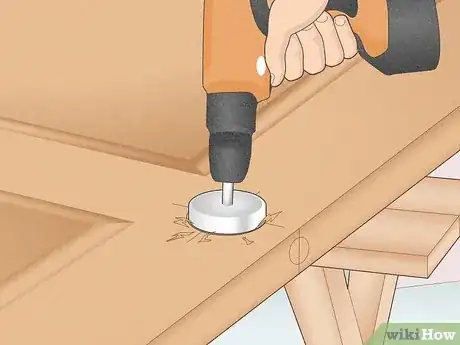
4Use a hole-saw to drill holes for the doorknob face and lock. The exact measurements and placement will depend on the template included in your doorknob set. Adjust the jig on the hole-saw to the correct measurement for your backset (the distance from the door’s edge to the spindle).[11]
- If you’re reusing the old knob, take measurements and outlines from the old door.
-
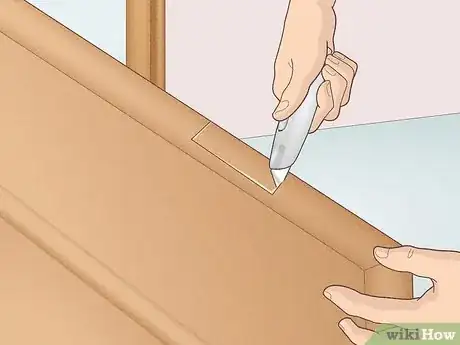
5Score the outlines of all the mortises with a knife. Use a utility knife to cut a deep outline around the hinge and lockset plate outlines you drew on the door frame and door. Most hinge plates are only 0.0625 inches (1.59 mm) deep, but it’s OK if you cut deeper than that.[12]
- Measure the thickness of your hinge plates and lockset plate before you score so you know approximately how deep to make your cuts.
-
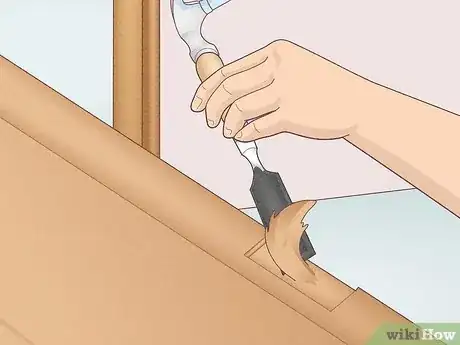
6Chisel out the wood inside your outlines to carve out new mortises. Angle a sharp chisel at a slant against the wood within the outline. Tap it gently with a hammer to start removing chips of wood, staying within the lines and trying not to chisel too deep. Chisel the mortises on the door frame and the door slab.[13]
- Sand the mortises when you’re finished chiseling.
- Double check that your hinge plates and lockset plate are flush with the surface of the door. Remove additional wood from the mortise if needed.[14]
- If the mortise is too shallow, the hinge will stick out. If it’s too deep, the hinge will be weaker.
-
7Mark all the screw placements with a pencil. Hold your hinges and lockset plate in the mortises and mark where each screw will go. There’s usually 4 screws on each wing of a hinge, and the number on your lockset plate will vary based on the design.[15]
-
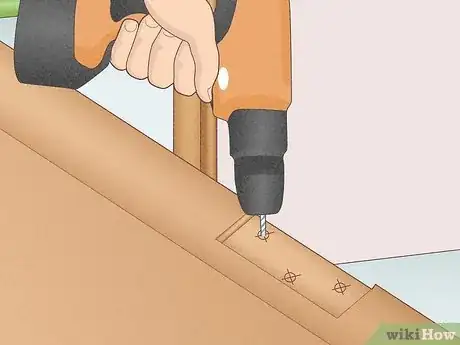
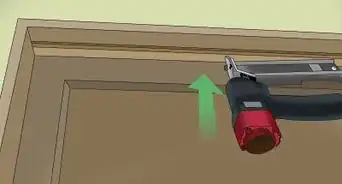
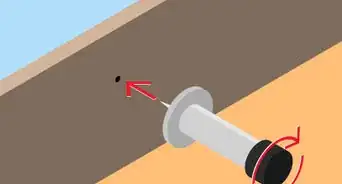
8Drill shallow holes over your screw marks. Use a screwdriver or an electric drill to bore a hole into each mark. The holes should be fairly narrow and shallow so that the screws stay snuggly in place once you put them in.[16]
- If you plan on painting, priming, staining, or putting a finish on your new door, do it after you finish all your drilling and before you attach any hardware.
-
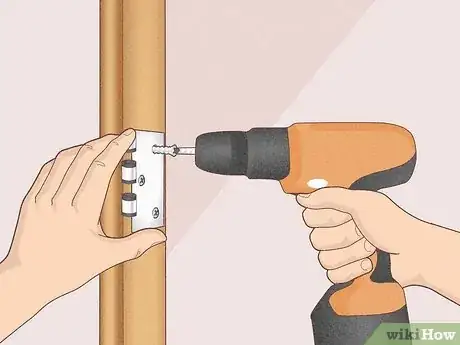
9Screw all of your hinges into place on both the door and frame. Hold up your hinges to the mortises to make sure the holes you drilled line up with the holes in the plates. Now screw firmly into the wood, making sure the screws aren’t loose or wobbly.[17]
- Once the hinges are screwed in, you’re ready to hang the door in the frame.
Hanging the New Door
-
1Lift the door into the frame, making sure the hinge knuckles interlace. If they were traced accurately, the door should slide in without problems. Drop the hinge pins into the knuckles, tapping them in with a hammer if needed.[18]
-
2Open and close the door to check its movement. If the door is even and centered in the frame but one area is catching, it probably means there’s a spot that needs to be planed or trimmed further. If the hinge side is rubbing the frame, the screws might need to be loosened slightly.
-
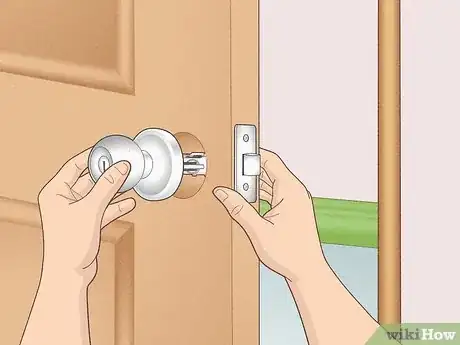
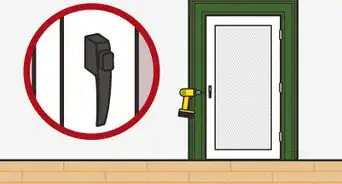
3Install the lockset plate and the doorknob with the door open. Hold the lockset plate up to its mortise, making sure the holes align with the ones you drilled earlier, and screw it into place. Install the doorknob next by screwing the two knobs together through the doorknob hole.
- Exact instructions may vary based on your doorknob set.
- After all of the hardware is installed, check the door one more time by opening and closing it. Make sure that the doorknob and lock are functioning properly.
Expert Q&A
-
QuestionHow do you take the measurements for a new door?
 Ryaan TuttleRyaan Tuttle is a Home Improvement Specialist and the CEO of Best Handyman, Inc. in Boston, Massachusetts. With over 17 years of experience, he specializes in building home service businesses, focusing on creating scalable and efficient brands. With the help of his global team, the companies have achieved over 10+ million in sales and received recognition through magazine features, and enjoy partnerships with wikiHow and Jobber field service software. Boston Magazine and LocalBest.com have named Best Handyman Boston the Best Handyman in Boston. Ryaan holds Construction Supervisor and Home Improvement Contractor Licenses.
Home Improvement Specialist You can measure the opening. Measure the top width and the bottom width. Measure the height on the right and left sides. That will be the door size.
 -
QuestionHow do you fit a door frame?
 Ryaan TuttleRyaan Tuttle is a Home Improvement Specialist and the CEO of Best Handyman, Inc. in Boston, Massachusetts. With over 17 years of experience, he specializes in building home service businesses, focusing on creating scalable and efficient brands. With the help of his global team, the companies have achieved over 10+ million in sales and received recognition through magazine features, and enjoy partnerships with wikiHow and Jobber field service software. Boston Magazine and LocalBest.com have named Best Handyman Boston the Best Handyman in Boston. Ryaan holds Construction Supervisor and Home Improvement Contractor Licenses.
Home Improvement Specialist First, you should locate the hinge side. Then find which way the door is going to swing. Is it going to move inside-outside or right side-left side? After that, center the door frame in the rough opening, plumb it with your level and then shim it in place on both sides. Take some screws and screw them through the wooden frame and the shims into the rough opening.
 -
QuestionShould you start removing the old hinges from the bottom so the door doesn't fall on you when you are removing the lower one?
 wikiHow Staff EditorThis answer was written by one of our trained team of researchers who validated it for accuracy and comprehensiveness.
Staff Answer wikiHow Staff EditorStaff AnswerYes. If you're removing all of the hinges, begin at the bottom and work your way up to keep the door as sturdy as possible for as long as possible.
Things You’ll Need
- Book or magazine to use as a wedge
- Flathead screwdriver
- Hammer
- Tape measure
- New door slab
- Pencil
- Straightedge
- Painters tape
- Utility knife
- Circular saw
- Electric plane, a hand plane, or a portable belt sander
- Thin pieces of wood, matchbooks, or folded paper to use as shims
- Hole-saw
- Chisel
- Electric drill
- Side cutters or pliers (optional)
- New hinges (optional)
- New doorknob or lockset (optional)
- Combination square (optional)
Warnings
- Wear protective equipment like eye goggles, a face mask, and gloves when you’re drilling, chiseling, or sawing wood.⧼thumbs_response⧽
- Follow all safety instructions when using power tools, like a circular saw or hole-saw.⧼thumbs_response⧽
References
- ↑ https://everydayhomerepairs.com/how-to-remove-an-interior-door/
- ↑ https://www.youtube.com/watch?v=ZoH5I-tkic8
- ↑ https://everydayhomerepairs.com/how-to-remove-an-interior-door/
- ↑ https://everydayhomerepairs.com/how-to-remove-an-interior-door/
- ↑ https://everydayhomerepairs.com/how-to-remove-an-interior-door/
- ↑ https://www.youtube.com/watch?v=of5BufZIFjM
- ↑ https://www.youtube.com/watch?v=Cql9FZidTJA
- ↑ https://www.thisoldhouse.com/doors/21016682/how-to-replace-an-interior-door
- ↑ https://www.thisoldhouse.com/doors/21016617/how-to-hang-an-interior-door
- ↑ https://www.wcmanet.org/how-to-install-door-hinges/
- ↑ https://www.thisoldhouse.com/doors/21016617/how-to-hang-an-interior-door
- ↑ https://www.diys.com/install-door-hinges/
- ↑ https://www.wcmanet.org/how-to-install-door-hinges/
- ↑ https://www.diys.com/install-door-hinges/
- ↑ https://www.diys.com/install-door-hinges/
- ↑ https://www.wcmanet.org/how-to-install-door-hinges/
- ↑ https://www.diys.com/install-door-hinges/
- ↑ https://www.thisoldhouse.com/doors/21016889/how-to-hang-a-new-front-door-in-an-existing-frame
About This Article
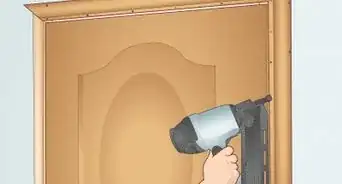
To fit a door, you’ll need to remove the old door from its hinges, unscrew the old hinges, then place the new door and hinges into the frame. Once you remove the old door, measure the height and width of the doorway so you can purchase a door that will fit well. If you purchase a door that is slightly too big, you can always trim the edges with a circular saw. When it fits well, screw new hinges onto the door on the top and bottom edges. Then, screw the hinges into the door frame where the old hinges fit. To learn how to add a lock and handle to your door, read on!
