This article was co-authored by wikiHow Staff. Our trained team of editors and researchers validate articles for accuracy and comprehensiveness. wikiHow's Content Management Team carefully monitors the work from our editorial staff to ensure that each article is backed by trusted research and meets our high quality standards.
There are 29 references cited in this article, which can be found at the bottom of the page.
This article has been viewed 32,348 times.
Learn more...
Adding color to the tips of your dreadlocks is a great way to freshen up your look without making a drastic change. If you have dark hair, you may need to bleach the ends of your dreads first for the color to show up. It’s important to follow the instructions that came with the hair coloring kit, so be sure to reference that before you get started. Coloring your hair can damage it so remember to moisturize your locks after you dye them to keep them strong and shiny!
Steps
Bleaching the Tips
-
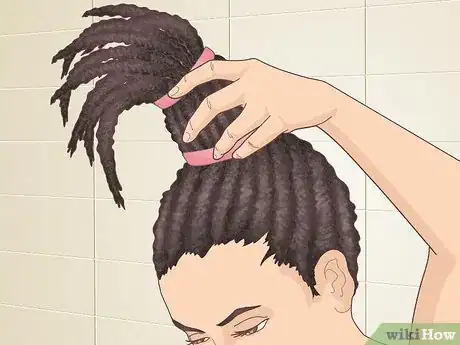
1Put your dreadlocks into a high ponytail, if necessary. If you have long dreads, use a sturdy elastic hairband to tie them up on top of your head. That way, you won't get the bleach on your clothing.[1]
- You can also drape an old towel over your shoulders or wear a t-shirt you don't care about messing up.
-
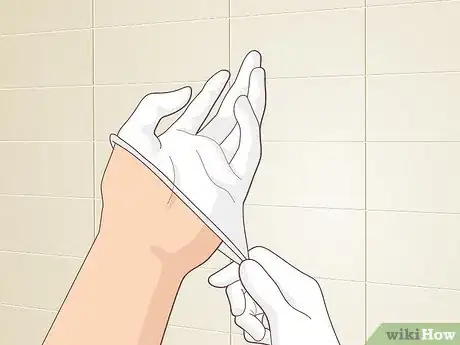
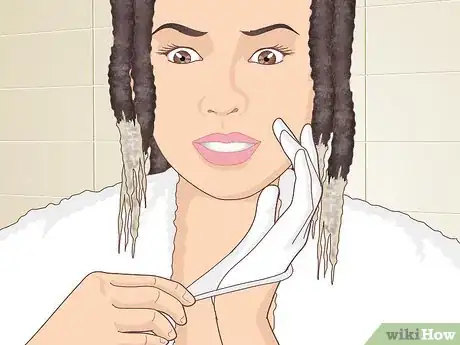
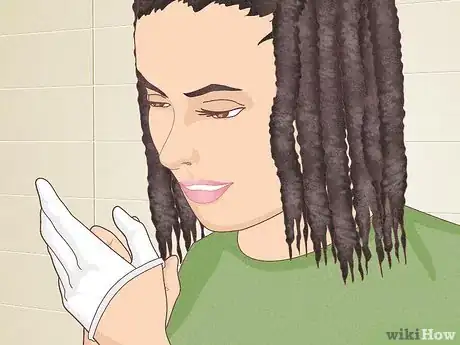
2Put on the provided gloves that came with the bleaching kit. Open the kit of bleach and put on the disposable gloves that are folded into the instruction pamphlet. If the bleach didn't come with gloves, you'll need to buy them separately beforehand.[2]
- Bleach can irritate your skin, so it’s very important to wear gloves since you’ll be working it into your hair with your fingers.
- Disposable bread gloves or latex gloves will work.
- You may also want to cover your work area with an old towel and put on an old t-shirt before you apply the bleach.
Advertisement -
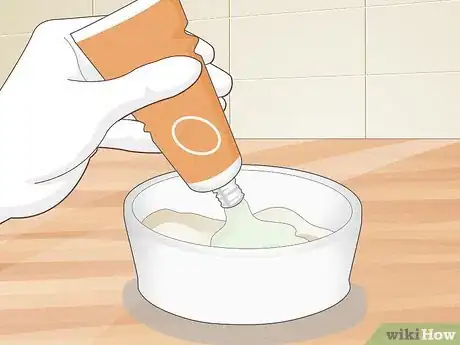
3Mix the bleaching powder with the developer, if necessary. If the bleach isn’t already blended, read the instructions in the bleaching kit to see how exactly you should mix the bleaching agent and the developer. Most kits have a small packet of powder that you’ll need to cut open and pour into the applicator bottle that already contains the developer.[3]
- If you're making bleach with separate products, deposit 1 part bleach and 2 parts developer into a small bowl and stir it around a spoon. The thinner it is, the quicker your hair will lighten.
-
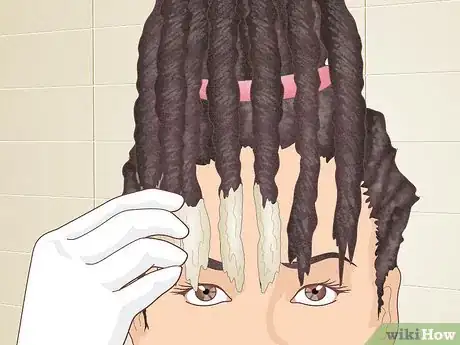
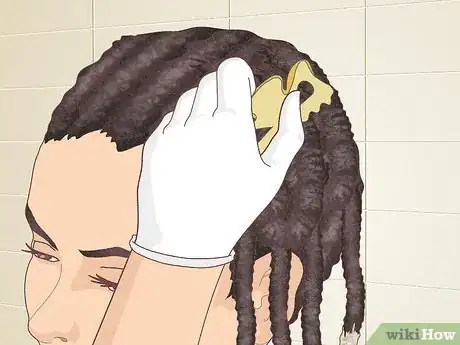
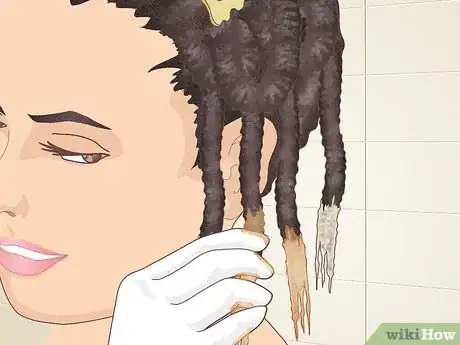
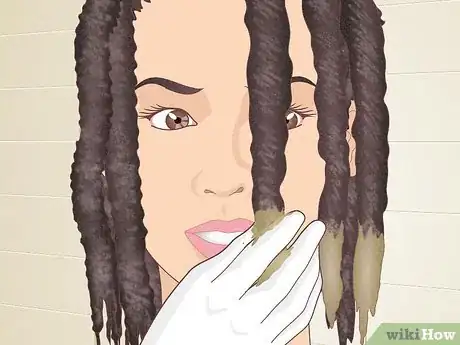
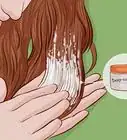
4Massage a small amount of the bleach into the tip of each lock. Start with the locks at the front of your hair (towards your face) and deposit a dime or quarter-sized amount of the bleach onto each lock, one at a time. Massage it in with your gloved fingers until every lock is saturated. For a frosted look, only bleach the last 2 inches (5.1 cm) of the lock. For a more bold look, apply bleach 4 inches (10 cm) or more up from the tip of the lock.[4]
- You may need to use 2 bleaching kits if you have longer dreads.
- You don’t have to start with the locks in the front—start with whichever ones you want to be a little lighter.
-
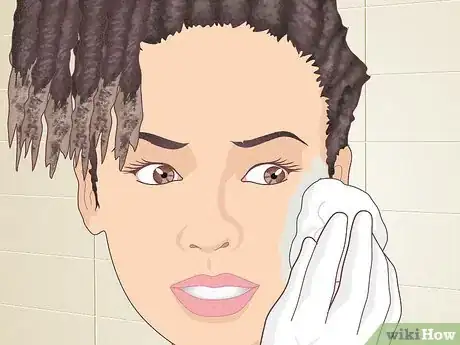
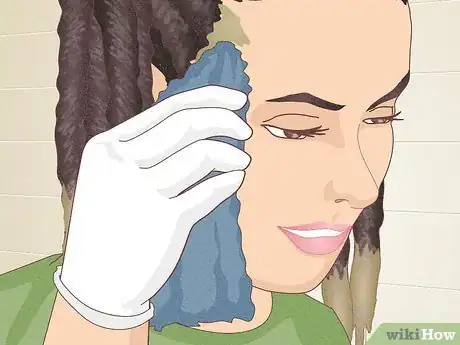
5Use a damp cloth to wipe away any bleach from your face, ears, and neck. Dampen a rag and wipe away any spots of bleach that got on your skin while you were applying it. If you have some baby wipes handy, use those instead and throw them away when you're done.[5]
- The hydrogen peroxide in the bleach can dry out your skin and cause irritation.
-
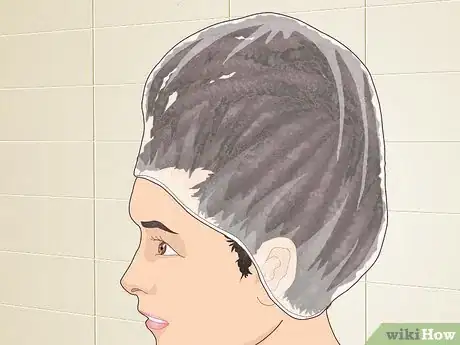
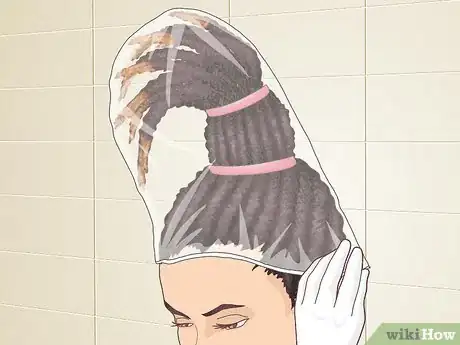
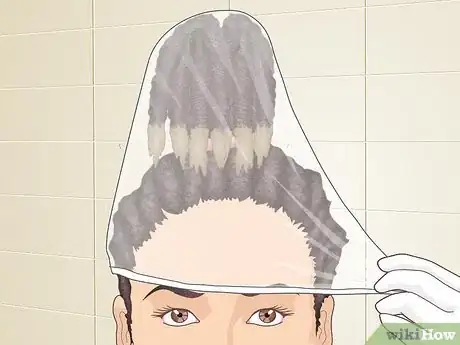
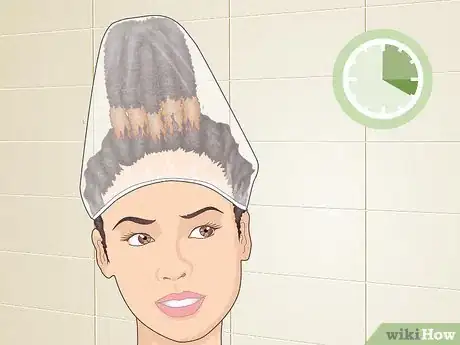
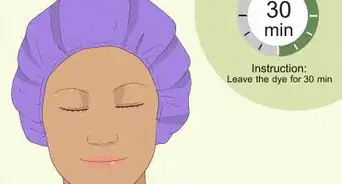
6Cover your hair with a plastic shower cap, if possible. If your hair is short enough to be covered by a plastic shower cap, put that on to decrease the processing time. If you have long dreads that create too much bulk to be covered by a cap, use a plastic bag.[6]
- You can leave it uncovered, but the bleach will take a little longer to lighten your hair.
- Some bleaching kits come with a cap.
-
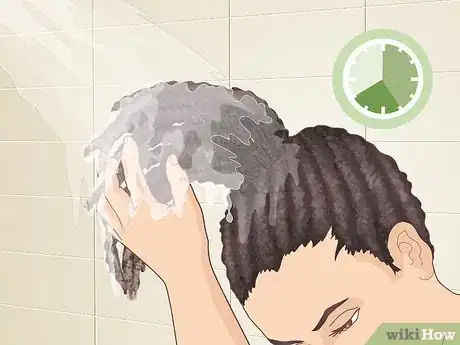
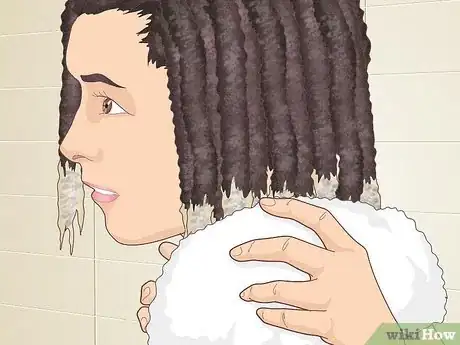
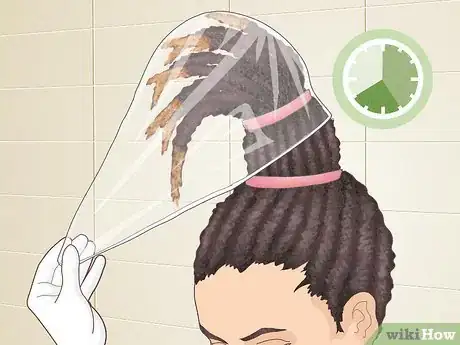
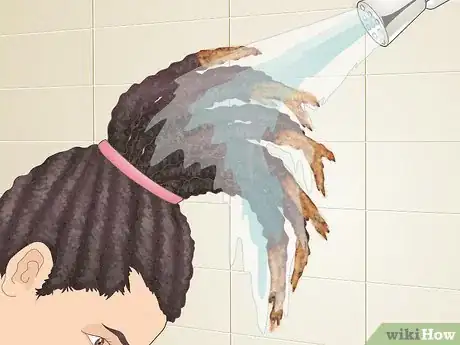
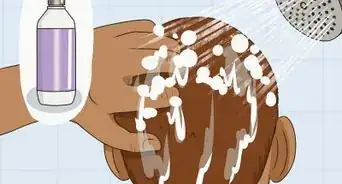
7Wash out the bleach after 25 to 40 minutes with water and shampoo. Refer to the instructions to see the ideal time you should let the bleach sit in your hair. Usually, it's a minimum of 25 minutes but if you have super-dark hair or just want the tips ultra-light, you can wait up to 40 minutes. Use a clarifying shampoo specifically made for dreadlocks and work up a lather on the ends before rinsing it away.[7]
- Since you're only dyeing the tips, you can wash it out in the sink if you don't want to take a full shower.
- Dark hair takes longer to bleach, so wash it out when you see that the tips are noticeably lighter (if your hair is black, the tips might look golden yellow after 25 minutes and turn to a brighter yellow later on).
- If you're coloring your hair afterward, don't use conditioner so the dye will penetrate the follicles deeper.
-
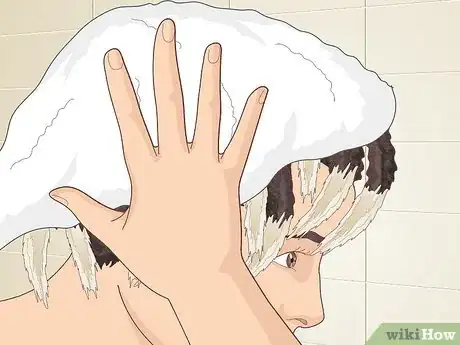
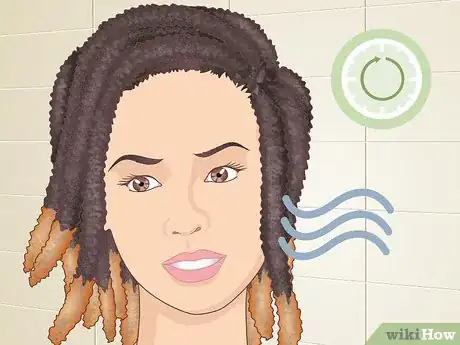
8Towel-dry your hair and then let it air dry completely. Wrap your hair up in a towel to absorb some of the moisture and then remove the towel to let your locks dry naturally. If you like the brighter color, you're good to go! If you want to tone the color or add other colors, the lighter tips will make those hues pop.[8]
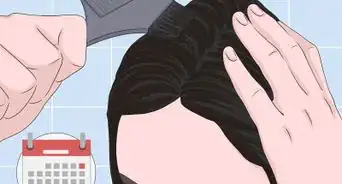
- You can put dye in your hair the same day you bleach it, but it's not great for your hair. If your hair is damaged, it's best to wait at least a week before dyeing the tips.
Applying Hair Dye
-
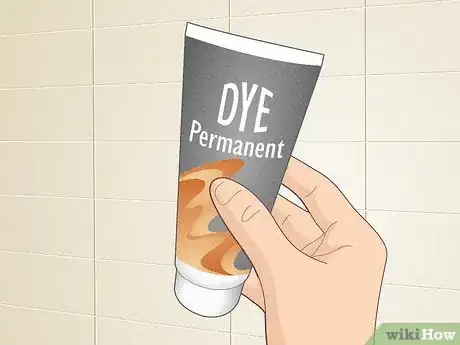
1Choose a semi-permanent or permanent dye. A permanent dye is best if you want to keep that color for a long period of time—the dye penetrates each strand and replaces your natural color. Choose a semi-permanent dye if you're not married to the color because, depending on the color, it’ll wash out over a period of a few months.[9]
- The less you wash your hair, the longer the semi-permanent dye will last.
- If you’re sensitive to the smell of ammonia, pick a box kit that says “ammonia-free” on the label.
- If you like to change up your look often, stay away from permanent dyes because it will skew the color results of future dyes.
-
2Make sure your hair is completely dry and free of any heavy products. Make sure your hair is fully dry so the dye can sink into the strands better. If you haven't washed it in a few days, make sure there's no product buildup from hairspray or serums.[10]
- If you use oil-based products (like locking gel, olive oil, or coconut oil) to moisturize your tips, wash it out before applying semi-permanent dye because the oil can cause the dye to not stick properly.
-
3Put on the provided gloves and drape a towel over your shoulders. Put on the disposable gloves that came with the coloring kit. Then drape a towel over your shoulders or wear an old shirt you don't care about staining.[11]
- Choose a towel that’s darker than the dye you’re using so you don’t end up staining it (e.g., use a dark blue towel if you’re using pastel blue dye).
-
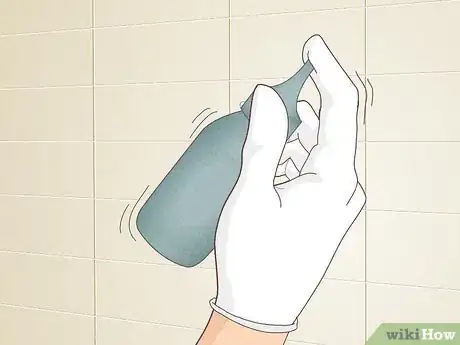
4Mix the dye using the ingredients from the box kit. Remove all of the components of the kit—you should see an application bottle (pre-filled with developer), a bottle or squeeze tube of dye, and any extras like conditioner or an oil packet. Pour or squeeze the dye into the applicator bottle, break off the small stopper cap, and hold your finger over the opening as you shake it up for 30 seconds or until it’s well blended.[12]
- If your kit came with an oil packet to add to the mixture (some ammonia-free dyes do), pour that in before shaking it up.
- Make sure to point the applicator tip away from your face as you shake it up. You don’t want any accidentally getting into your eyes!
-
5Clip up your dreads if you need to in order to reach pieces underneath. If you have long hair, use pins or hair bands to pull the top sections of your hair up so you can easily access the dreads underneath. You might use 2 to 4 clips or bands on each side of your hair to keep your locks organized.[13]
- Unclip sections when you’re done applying dye to the dreads underneath.
-
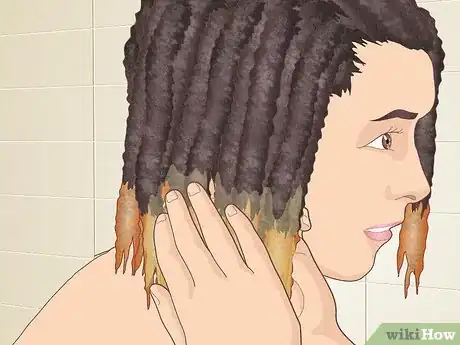
6Massage the dye into the bleached tips of each dreadlock. Squeeze out a dime to quarter-sized amount of the dye onto the tip of a single dreadlock and massage it in with your fingers. Start with the locks that fall closest to your face if you want those to be the most vibrant. Be sure to cover the entire bleached portion of each lock so you’re not left with blond sections between the colored tips and your base color.[14]
- How much dye you use on each tip depends on how thick your dreadlocks are—thicker dreads need more dye while thinner ones can do with less.
- Avoid squeezing the dye into your hair because it can cause the dye to seep too far into the lock. As a result, the dye will be extremely hard to wash out.
-
7Put your hair up and cover it with a plastic cap. Pull your locks up into a high ponytail and secure it with an elastic band. Then cover your head with a plastic cap.[15]
- If your hair is too long and there's too much bulk to fit under a normal cap, you can use a plastic bag.
-
8Wait 25 to 40 minutes before washing out the dye. Read the instructions that came with the kit to see how long you should leave it in. If you have dark, thick locks, and chose not to bleach them beforehand, you might add 5 minutes to the recommended time.[16]
- The longer you leave the dye in, the more intense the color will be and the longer it will last.
- If you’re unsure how vibrant the color is, hold a lock (ideally one that’s less visible) under running water to rinse out the dye and see how it looks.
-
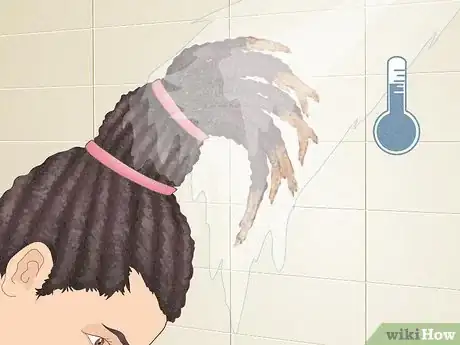
9Rinse your hair with cool water until the water runs clear. Hop in the shower or hold the ends of your dreads under the faucet to rinse out the hair dye. Squeeze your hair to see if the water runs clear and all the dye has washed out. It may take a while, especially if you have ultra-thick dreads.[17]
- Feel free to use a sulfate-free shampoo to help get some of the hair dye out.
- It’s okay to use luke-warm water, but cooler water will keep the dye from fading right away.
-
10Let your hair air dry and apply an oil-based moisturizer. Wrap your hair in a towel to soak up some of the water and then let it air dry to see the results of your freshly-colored tips. Massage an oil-based moisturizer into your dreads (especially the tips!) to keep them in good shape.[18]
- Products made specifically for moisturizing dreads are ideal, but you can also use almond oil, coconut oil, or olive oil.
- It may be exciting to see the new color on your tips, but don’t blow-dry your dreads! Blow-drying them can make them dry, loose, and brittle.
Using Henna Dye
-
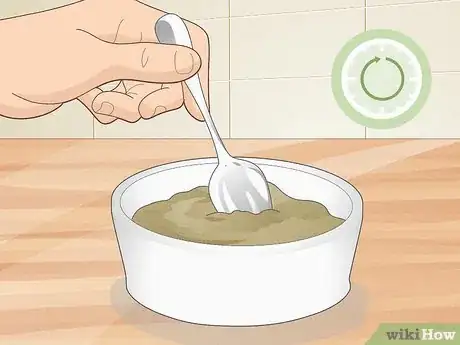
1Prepare the henna mixture 12 to 24 hours before you plan to apply it. Pour the entire packet of henna powder into a bowl. Add warm water to the henna powder and stir it with a spoon until it's the consistency of yogurt.[19]
- If you’re using a boxed kit, the henna may already be pre-mixed and ready to use.
- Feel free to add egg and lemon to the mixture. The egg will strengthen your locks while the lemon juice will help release the dye from the henna.
- Henna naturally has a reddish tone, so if you’d like a more neutral tone, you’ll need to make a blend with indigo added in.
-
2Wash your hair before applying henna dye and leave it damp. Any dust and smog that's trapped in your hair can mess up the final result of the henna dye, so make sure your hair is washed. It doesn't matter if your hair is dry or damp when you apply it, but it’s much easier to put the henna onto damp locks. Use a towel to squeeze out excess moisture to make sure it’s not dripping wet.[20]
- As a plus, washing your hair before using henna means you won't have to use shampoo afterwards, which can wash out the dye before the color has time to set.
-
3Put on protective gloves and an old t-shirt. Wear latex or non-latex disposable gloves to apply the henna without staining your hands. Put on an old t-shirt you don't care about staining.[21]
- You may also want to lay down an old towel on the floor or counter to protect the area from any droplets.
-
4Massage the henna paste onto the tips of your dreads. Spoon a quarter-sized amount of the henna onto your gloved fingers and massage it into your dreads one by one. Work the paste into each lock with your fingers, squeezing and pressing it so it penetrates deeply.[22]
- Be consistent with how much of each lock you cover with the dye so the end result looks even.
- You might want to start with the locks that fall closest to your face because the longer the dye stays on, the more vibrant the final color will be.
-
5Wipe off henna from your skin and other surfaces. Henna can be messy and it will stain, so be sure to wipe it off of your skin and other porous surfaces (like countertops and floors) as soon as possible. Use an old towel you don’t mind getting stained.[23]
- Wash the towel by hand with detergent and warm water later on—don’t toss it into the machine with your regular laundry because the dye will leech into other items!
-
6Pull your hair up and cover it with a cap. If you have long hair, pull it up into a ponytail or bun with an elastic band and put a plastic cap over your head. The heat from your head will help the dye release and develop into your beautiful new color faster.[24]
- If you’re only dyeing a few dreads or if you can’t pull your hair up, you can wrap the tips in plastic cling wrap instead.
-
7Wait 3 to 4 hours before washing out the henna. Henna is a natural dye, so it takes longer to penetrate hair follicles. Set a timer for 3 to 4 hours to help you keep track. Spend some of the time cleaning up the area and washing the bowl and stirring spoon you used to mix the henna.[25]
- The longer you leave the dye on, the more vibrant the color will be.
- Don’t leave henna dye on your hair for more than 6 hours because it can have a drying effect.
-
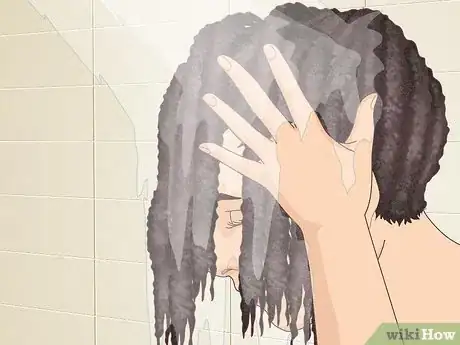
8Rinse the dye out of your hair with hot or warm water. Hop in the shower or hold the tips of your dreads over the sink and wet them with warm or hot water. Massage each damp lock with the water to help thin out the henna dye. Then rinse each one under a steady stream of water until the water runs clear.[26]
- Henna dye can be very stubborn to wash out, so this part may take a while!
-
9Let your hair dry naturally and wash your hair for at least 24 to 48 hours. Wrap your locks in a towel to soak up some excess moisture and then let them air dry. Don’t wash your hair again for another 1 to 2 days so the color has time to set in. You should already be able to see your new color when it’s wet, but it’ll become more vibrant as it dries.[27]
- If your hair feels like it’s getting dry at the ends, do a hot oil treatment a week or 2 later.
- You can use a blow-dryer set to low heat to dry your locks if you’re worried about “dread rot” (mildew growing inside the locks from too much moisture).
- Keep your dreads healthy so they look shiny and smooth for years to come.
Warnings
Things You'll Need
Bleaching the Tips
- Bleaching kit (or powder bleach packet and developer)
- Elastic hair band
- Disposable gloves (if they're not provided in the bleaching kit)
- Old t-shirt
- Old towel
- Damp rag (for wiping skin)
- Plastic cap
- Access to a sink or shower
- Clarifying shampoo (ideally, made for dreadlocks)
- Dry towel
- Bowl and spoon (for mixing your own bleach, optional)
Applying Hair Dye
- Permanent or semi-permanent dye
- Disposable gloves
- Old t-shirt
- Old towel
- Clips or hair bands
- Plastic cap
- Access to a sink or shower
- Oil-based moisturizer (or olive oil, coconut oil, almond oil)
Using Henna Dye
- Henna powder (or kit)
- Water
- Disposable gloves
- Old t-shirt
- Old towel
- Damp rag
- Plastic cap (or plastic cling wrap)
- Access to a sink or shower
- Dry towel
- Bowl and spoon (for mixing henna powder, optional)
- Indigo powder (optional)
- Egg (optional)
- Lemon (optional)
References
- ↑ https://youtu.be/PrSB3qdO2h8?t=119
- ↑ https://www.poison.org/articles/2016-sep/hair-dye
- ↑ https://youtu.be/n0E_BaC57mw?t=58
- ↑ https://youtu.be/UFTdBxXzWW4?t=100
- ↑ https://www.ncbi.nlm.nih.gov/books/NBK441921/
- ↑ https://youtu.be/MFY8bFxZklY?t=203
- ↑ https://youtu.be/MFY8bFxZklY?t=231
- ↑ https://youtu.be/z9US5khiH_c?t=436
- ↑ https://youtu.be/vUlXrem7OfQ?t=35
- ↑ https://youtu.be/8D47LpjeImo?t=25
- ↑ https://youtu.be/p_ktPIxkMRI?t=163
- ↑ https://stylecaster.com/beauty/hair-dye-tricks/
- ↑ https://youtu.be/TZW9b_t2Rac?t=183
- ↑ https://youtu.be/p_ktPIxkMRI?t=277
- ↑ https://youtu.be/p_ktPIxkMRI?t=277
- ↑ https://youtu.be/p_ktPIxkMRI?t=366
- ↑ https://youtu.be/UFTdBxXzWW4?t=154
- ↑ https://dreadlockulture.com/moisturize-scalp-with-dreads/
- ↑ https://youtu.be/Ibpq7B1D-5A?t=46
- ↑ https://www.ancientsunrise.blog/prep-hair/
- ↑ https://stylecaster.com/beauty/henna-hair-dye/
- ↑ https://youtu.be/L_jbBGnBKNM?t=337
- ↑ https://youtu.be/aG24jACxYfg?t=150
- ↑ https://youtu.be/aG24jACxYfg?t=124
- ↑ https://youtu.be/L_jbBGnBKNM?t=402
- ↑ https://youtu.be/gGFiW85Aqp4?t=60
- ↑ https://dreadheadhq.com/pages/washing-dreadlocks-is-more-important-than-you-think
- ↑ https://youtu.be/ekJ58unqiYo?t=165
- ↑ https://youtu.be/19-dJJknFG4?t=62
- ↑ https://www.ncbi.nlm.nih.gov/books/NBK441921/
- ↑ https://www.ncbi.nlm.nih.gov/pmc/articles/PMC3664529/
