This article was co-authored by wikiHow Staff. Our trained team of editors and researchers validate articles for accuracy and comprehensiveness. wikiHow's Content Management Team carefully monitors the work from our editorial staff to ensure that each article is backed by trusted research and meets our high quality standards.
There are 7 references cited in this article, which can be found at the bottom of the page.
This article has been viewed 42,082 times.
Learn more...
If you want to revive a tired old chair, bar stool, or the interior of a car, dying vinyl is a straightforward DIY project. Vinyl is dyed with spray paint, so the job is more like painting furniture than dying fabric.[1] It takes time and care, but dying your vinyl upholstery or interior is something you can easily do at home.
Steps
Getting the Equipment
-
1Choose a spray paint that sticks to plastic and includes primer. Vinyl is a type of plastic, so you need a paint brand that sticks to vinyl to avoid chips and cracks. You should also check that the paint has primer in it so you don’t need to spray primer on separately.[2]
- There are also spray paint brands designed specifically for fabrics like vinyl. This will leave your vinyl upholstery more flexible, but it’s also more expensive. This is a nice option if you can afford it, but a plastic-adhering brand will work fine.[3]
-
2Get a vinyl prep spray for your car interior. This product is designed specifically for vinyl in a car. It’s applied before the paint itself to soften the vinyl and keep it clean.[4] You can buy it at a hardware store or a car detailing shop.Advertisement
-
3Pick up a respirator mask. For any spray-painting project, wearing a respirator is the best way to be sure that you won’t breathe in paint fumes. They’re not too expensive and you can get one at a hardware store.[5]
Setting Up Your Work Area
-
1Pick a spot with good ventilation. Even if you’re wearing a respirator, you don’t want to fill your home with paint fumes, so find a well-ventilated spot. Outside is best, but the garage also works.[6]
-
2Cover the floor of your workspace. Spray paint gets everywhere, especially if you don’t have much experience with it. Cover at least 5 feet (1.5 m) on each side of your project to cut down on the mess.
- Newspaper or garbage bags will work, but a drop cloth is the most effective tool for covering your work surface.[7]
-
3Mask the parts you don’t want to dye with painter’s tape or plastic. If you want to leave part of the surface the original color, you can cover it with painter’s tape, or wrap a plastic bag around the area.[8]
- If you don't have painter's tape, masking tape will work in a pinch.[9]
- To prevent getting paint on the legs of a vinyl chair, wrap them in a plastic bag, and tape around the seat of the chair. This is much faster than wrapping each leg in tape.[10]
- You can also use tape to create stripes. Put evenly spaced, parallel strips of tape on the surface so that when you paint, you’ll leave stripes in the original color.[11]
- If you’re dying the vinyl interior of your car, you’ll have to take extra care to cover everything around the seat. Wrap these areas tightly in plastic and tape it down.
Cleaning Your Vinyl
-
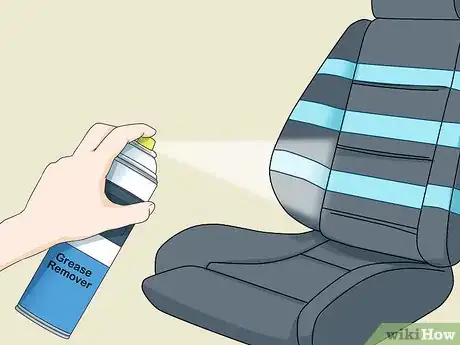
1Spray it with a grease remover. Before you can dye vinyl, you need to get rid of any dirt or stains. Any grease-cutting spray cleaner should be strong enough to clean vinyl.[12]
- You can also get soap specifically designed to clean vinyl.[13] This is a better option for a particularly big job, or if you have multiple vinyl-dying projects in mind.
-
2Scrub your car interior with a scuff pad. These pads are perfect for cleaning the irregular shapes on your vinyl interior. The abrasive surface can get right into the crevices and seams.[14]
-
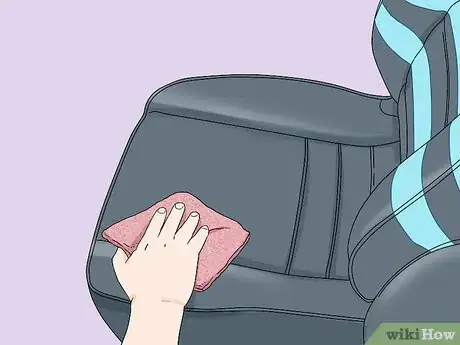
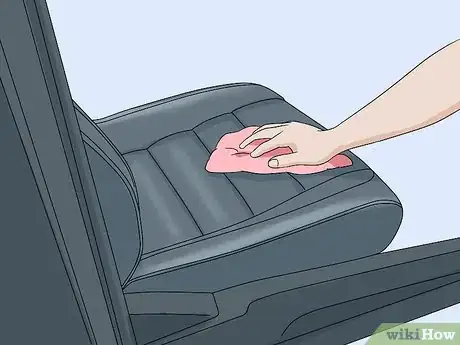
3Wipe it down with a damp rag. Make sure to get all the cleaner or soap off. The cloth should be damp, not wet, so you don’t have to wait for the vinyl to dry.[15]
Dying Your Vinyl Upholstery
-
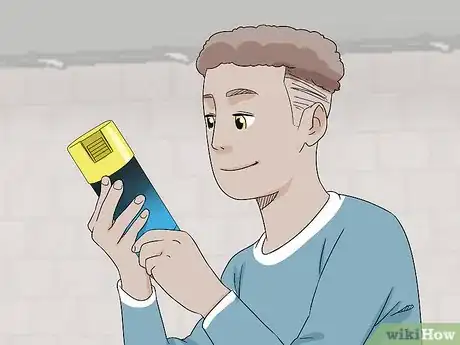
1Read the instructions on the spray can. Not all spray paints are created equal. The instructions will tell you how far to stand from the object, how long to shake the can, how long to let the paint set, and so on. This takes only a couple of minutes and can save a lot of hassle.[16]
-
2Test your spray paint on some plywood. Each brand of spray paint works a bit differently. It’s best to try it out ahead of time so you know how powerful and wide the stream is.[17]
- If you don’t have plywood, use paper or something else you can dispose of.
-
3Apply vinyl prep spray to your vinyl interior. In your car, cover the area with a thin layer of vinyl prep spray, then wipe it off with a damp cloth.[18]
-
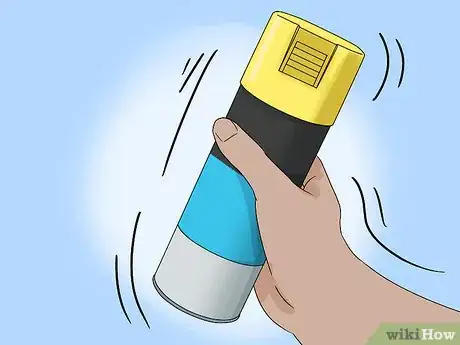
4Shake the spray can. This step is easy to forget, but it’s crucial. Shaking makes sure the paint comes out evenly.[19] Again, the instructions on the can will tell you how long to shake it.
-
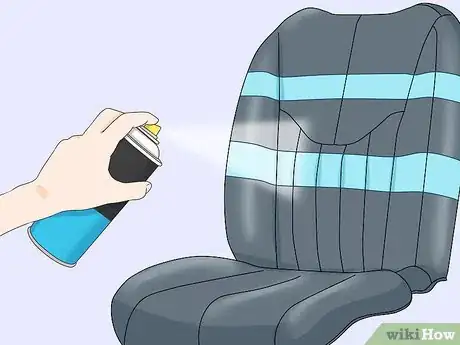
5Sweep the spray paint across the surface to get a thin coat. Each layer of paint needs to be thin so that the paint won't crack.[20] To get a thin coat, sweep across the object, starting off to one side, passing across the object, and finishing off the other side. Go back and forth like this across the whole surface.[21]
- You'll get a more even coat if you sweep the paint across both horizontally and vertically.[22]
- Check the instructions to see how far to stand back while you're painting, but it will probably be about 6 to 8 inches (15 to 20 cm).[23]
- You can also try spraying the air above the surface and letting the paint fall onto the surface, rather than spraying the surface itself. This method can be messy and might require more space, but it’s highly effective to prevent pooling.[24]
- For the vinyl interior in your car, you might not be able to spray on either side of the area without getting paint all over your car. You can get creative by opening the doors and spraying from different angles, but the most important thing is to make sure the areas you’re not painting are well-covered with plastic.
-
6Wait until the entire base coat is dry to the touch. Drying time depends on the paint and the thickness of the layer. Ideally, the drying will only take 5 to 10 minutes.[25] If not, check again 10 minutes later.
-
7Add more coats until the surface appears evenly painted. Repeat the painting and drying process until the paint looks even across the whole surface. You'll probably need at least three coats, and maybe more.[26]
- Sometimes the paint will look even when it's wet, but inconsistencies show up when it's dry. You might need to add more coats later.
-
8Wait 24 hours before you sit on it. Even after paint looks dry, it takes time to cure (meaning to harden completely).The instructions on the can will tell you how long to let the paint cure, but it usually takes about 24 hours before you can sit dyed vinyl without ruining the paint job.[27]
References
- ↑ https://homesteady.com/how-8178737-dye-vinyl-upholstery.html
- ↑ https://www.homedit.com/paint-vinyl-upholstery/
- ↑ https://www.homedit.com/paint-vinyl-upholstery/
- ↑ https://homesteady.com/how-8178737-dye-vinyl-upholstery.html
- ↑ https://www.popularmechanics.com/home/outdoor-projects/how-to/a8912/10-tips-for-better-spray-painting-15474314/
- ↑ https://www.homedit.com/paint-vinyl-upholstery/
- ↑ https://www.popularmechanics.com/home/outdoor-projects/how-to/a8912/10-tips-for-better-spray-painting-15474314/
- ↑ https://abeautifulmess.com/2014/06/vinyl-chair-makeover.html
- ↑ https://homesteady.com/how-8178737-dye-vinyl-upholstery.html
- ↑ https://abeautifulmess.com/2014/06/vinyl-chair-makeover.html
- ↑ http://littlegreennotebook.com/2013/08/diy-spraying-painting-viny.html/
- ↑ https://www.homedit.com/paint-vinyl-upholstery/
- ↑ https://homesteady.com/how-8178737-dye-vinyl-upholstery.html
- ↑ https://www.familyhandyman.com/automotive/car-maintenance/tips-to-restore-your-car-s-interior/view-all/
- ↑ https://homesteady.com/how-8178737-dye-vinyl-upholstery.html
- ↑ https://www.popularmechanics.com/home/outdoor-projects/how-to/a8912/10-tips-for-better-spray-painting-15474314/
- ↑ https://www.popularmechanics.com/home/outdoor-projects/how-to/a8912/10-tips-for-better-spray-painting-15474314/
- ↑ https://homesteady.com/how-8178737-dye-vinyl-upholstery.html
- ↑ http://kastyles.co/spray-painting-tips/
- ↑ https://www.homedit.com/paint-vinyl-upholstery/
- ↑ https://www.popularmechanics.com/home/outdoor-projects/how-to/a8912/10-tips-for-better-spray-painting-15474314/
- ↑ https://www.popularmechanics.com/home/outdoor-projects/how-to/a8912/10-tips-for-better-spray-painting-15474314/
- ↑ https://homesteady.com/how-8178737-dye-vinyl-upholstery.html
- ↑ https://www.homedit.com/paint-vinyl-upholstery/
- ↑ https://homesteady.com/how-8178737-dye-vinyl-upholstery.html
- ↑ https://www.homedit.com/paint-vinyl-upholstery/
- ↑ https://homesteady.com/how-8178737-dye-vinyl-upholstery.html
- ↑ https://www.popularmechanics.com/home/outdoor-projects/how-to/a8912/10-tips-for-better-spray-painting-15474314/
- ↑ https://www.popularmechanics.com/home/outdoor-projects/how-to/a8912/10-tips-for-better-spray-painting-15474314/


