This article was co-authored by Lana Starr, AIFD and by wikiHow staff writer, Hannah Madden. Lana Starr is a Certified Floral Designer and the Owner of Dream Flowers, a floral design studio based in the San Francisco Bay Area. Dream Flowers specializes in events, weddings, celebrations, and corporate events. Lana has over 14 years of experience in the floral industry and her work has been featured in floral books and magazines such as International Floral Art, Fusion Flowers, Florist Review, and Nacre. Lana is a member of the American Institute of Floral Designers (AIFD) since 2016 and is a California Certified Floral Designer (CCF) since 2012.
There are 10 references cited in this article, which can be found at the bottom of the page.
This article has been viewed 52,287 times.
There’s nothing better than looking outside and seeing a garden full of colorful, vibrant tulips. Unfortunately, tulips only bloom during the spring, so you may feel yourself missing them during the fall and winter months. Fortunately, there are a few different ways you can dry a tulip to preserve its beauty and keep it in your home for years to come.
Steps
Pressing Tulips
-
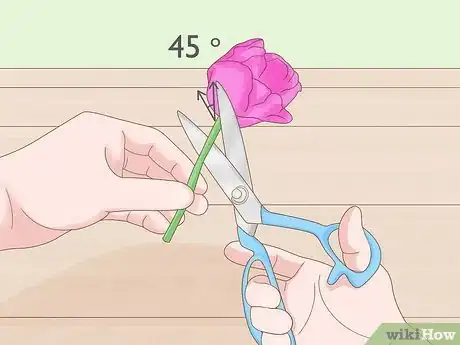
1Cut the flower head off the stem. Take your garden scissors or pruning shears and cut the flower head at a 45-degree angle. You won’t need the stem anymore, so you can throw it into your compost pile or on the ground outside.[1]
- If you’re already dead-heading your tulips, you can just save the flower heads to press them instead of throwing them away.
-
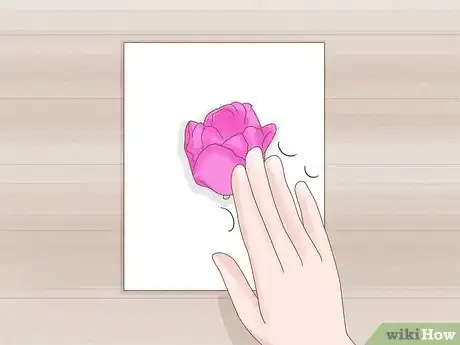
2Spread the flower head flat on its side on a piece of paper. Pick a plain piece of paper without any words or pictures on it. Set your flower head onto the piece of paper and try to push it as flat as possible before you start.[2]
- However the flower is situated is how it will dry. If there are any wrinkles or creases in the petals, they’ll be preserved unless you flatten them out.
- Paper with ink on it can transfer color to your flower head, so it’s best to go with plain paper.
Advertisement -
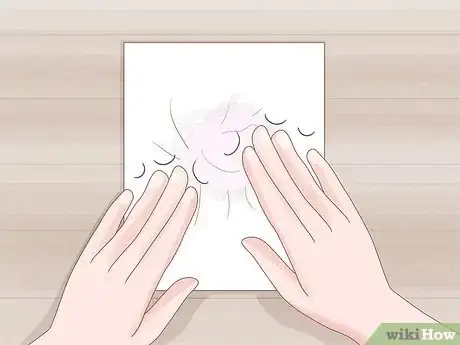
3Press a second piece of paper on top of the flower head. Grab another plain sheet of paper and put it on top of the flower head. Press down on it lightly to keep the flower in place as you position your final piece.[3]
- Make sure you put your setup somewhere where the flower heads won’t be disturbed.
-
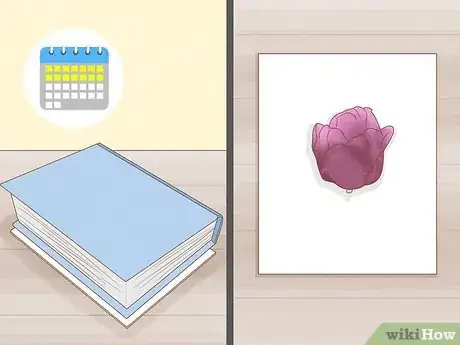
4Weigh the paper down with a book for 1 to 2 weeks. Get a heavy book (a textbook or a dictionary would be perfect) and set it on top of the piece of paper. Leave it there for a few weeks, then take your flower head out when the petals are dry to the touch.[4]
- Depending on how warm or humid your room is, it may take a little bit longer for the flower heads to dry. Just keep checking on them until they’re dry and crumbly.
Using the Microwave and Silica Gel
-
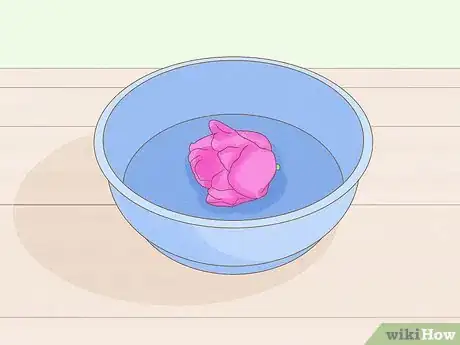
1Place the tulip head in a microwave-safe dish. Grab a bowl or a flat dish with a shallow bottom. You’ll be filling up the dish with silica gel, so pick something with walls on the side.[5]
- If you aren’t sure your dish is microwave-safe, turn it over to look at the details. Usually, it will say “microwave and dishwasher safe” on the bottom.
-
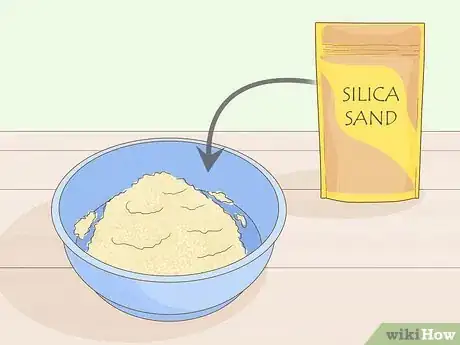
2Cover the tulip with silica sand. Place your flower head into the dish and then pour a large amount of silica sand into your bowl. Make sure it covers up the entire tulip head, and try to pour a little bit into the center of the tulip, too.[6]
- You can find silica gel at most craft stores. It’s a drying agent, and it usually comes in small packets on the inside of shoeboxes or medication.
- Putting the gel into the center of the flower will help it hold its classic tulip shape.
-
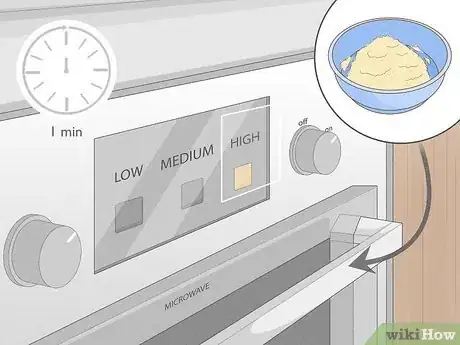
3Microwave the tulip on high for 1 minute. The silica gel is drying on its own, but you can speed up the process by using the microwave. You don’t have to microwave the flower for very long, so just put it in for about a minute.[7]
- The microwave will remove the majority of the water from the petals.
-
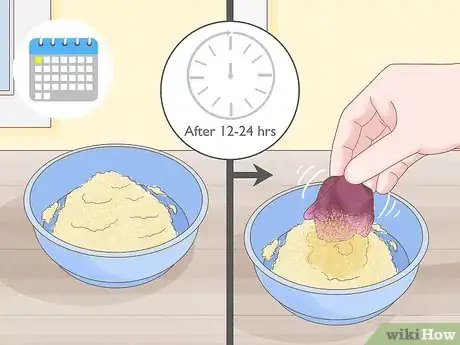
4Leave the tulip in the mixture for 1 day to finish drying. Set your dish in a cool, dry place out of the direct sunlight. After 12 to 24 hours, your tulip will be dry and crispy to the touch.[8]
- Now you can shake the tulip head off and pour the silica gel into the trash.
Hanging Tulips
-
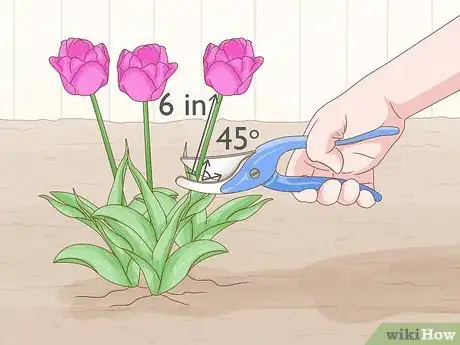
1Cut the tulip with about 6 in (15 cm) of stem attached. If your tulip is still growing, grab some pruning shears and cut the stem at a 45-degree angle. You can pick one tulip at a time or grab a bundle, if you’d like.[9]
- Try to pick tulips that are just opening up to bloom. That way, they’ll keep their color and scent for longer.
- Keep in mind that when you dry the tulips, they may shrink in size and lose their shape, and they will also lose their color.[10]
-
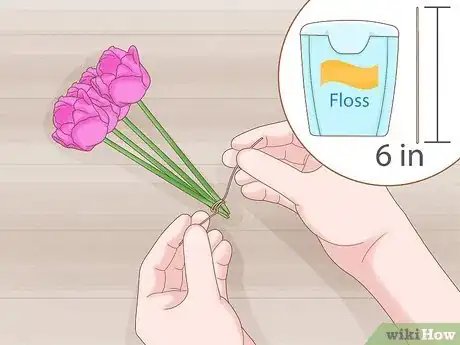
2Tie a length of twine or floss around the flower stem. Cut a length of twine or floss that’s about 6 inches (15 cm) long, then tie it in a tight knot around the bottom of the stem. If you’re drying multiple flowers, gather them into a bundle and tie them tightly together.[11]
- You’ll be hanging the flowers by this length of string, so leave the tail end out so you can work with it.
-
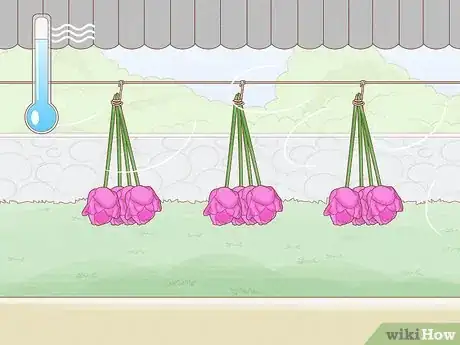
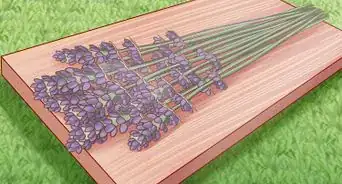
3Hang the flower upside down in a cool, dry place. Head to your garage, a barn, or your attic and tie the flowers up by the strings. Make sure they aren’t in direct sunlight and they have room to feel air flow all around them.[12]
- If you hang the plants directly in the sun, they could dry out too quickly.
- If the area you choose doesn’t have any air flow, your flowers might get moldy.
- You can tie your flowers to exposed beams, nails, or hangers.
-
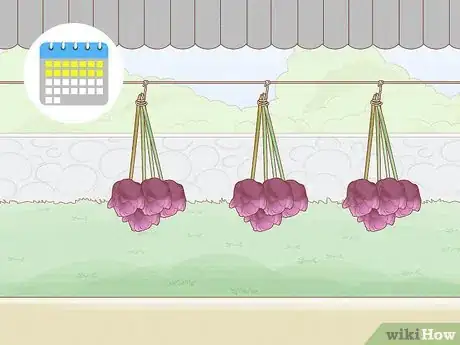
4Leave the flower hanging for 1 to 2 weeks. The drying time will depend on your particular flower and how wet it was when you picked it. Keep checking on the flower every week or so until the petals are dry and crispy.[13]
- Once your flower is dry, you can untie the string and display your dried flower in your home.
Preserving Dried Tulips
-
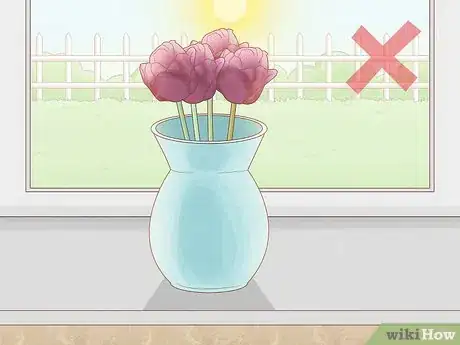
1Prevent fading by keeping your dried flower out of the sun. Direct sunlight can make your flowers lose their vibrant color. If you’re displaying them in your home, keep them away from windows so they don’t soak up any UV rays.[14]
- It's inevitable that the flowers will lose some of their color when they're dried.[15] However, you can slow the process down by keeping them in the shade.
-
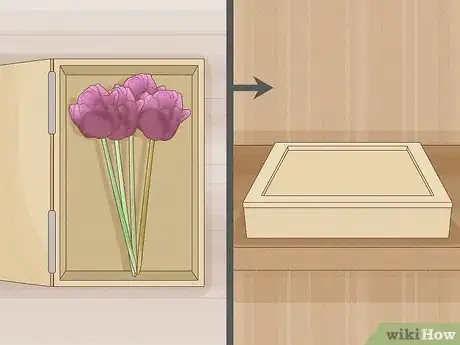
2Store your dried flower in a closed box when you aren’t displaying it. Grab a shoebox and gently set your dried tulip into the center. Close the box and put it somewhere cool and dry, like your closet or garage. When you want to display it again, take it out of the box carefully and set it up in your home.[16]
- The box will help protect the flower from moisture and sunlight.
- You don’t want the box to be airtight, because it could lock in moisture and cause mold.
-
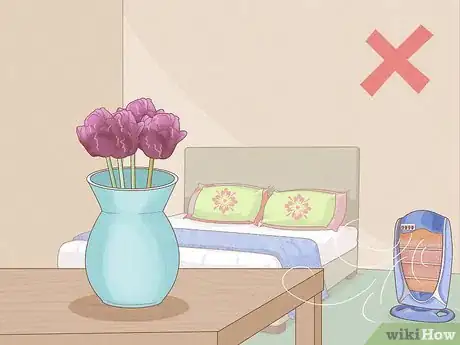
3Keep your dried flower away from heat vents. Hot air can dry out your tulip too much, leading to cracking or crumbling. If it’s the winter time and you have your heat on, be mindful of where you set up your flowers so you don’t turn them into dust.[17]
- As long as they’re out of the direct hot air, the flowers should be fine.
-
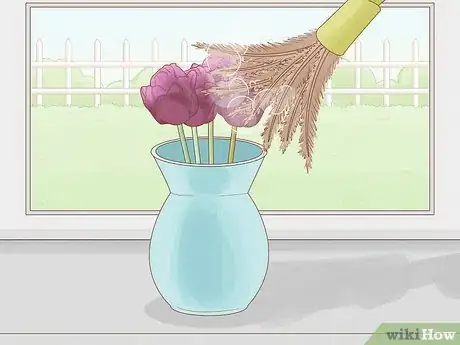
4Dust the dried flower with a feather duster when you need to. If you notice your dried tulip is losing its shine, it might need a quick wipe-down. Grab a feather duster and carefully brush it over the flower, trying not to crush or break it.[18]
- If you notice any flakes brushing off as you dust, slow down. The flower might be too delicate to touch.
Expert Q&A
-
QuestionWill the tulips look the same when they're dried?
 Lana Starr, AIFDLana Starr is a Certified Floral Designer and the Owner of Dream Flowers, a floral design studio based in the San Francisco Bay Area. Dream Flowers specializes in events, weddings, celebrations, and corporate events. Lana has over 14 years of experience in the floral industry and her work has been featured in floral books and magazines such as International Floral Art, Fusion Flowers, Florist Review, and Nacre. Lana is a member of the American Institute of Floral Designers (AIFD) since 2016 and is a California Certified Floral Designer (CCF) since 2012.
Certified Floral Designer & Owner, Dream Flowers When you're preserving dry flowers, they will likely shrink in size and they will lose their color. For example, when you dry a red flower, it typically becomes a pinkish-brown.
Things You’ll Need
Pressing Tulips
- Garden scissors
- 2 pieces of paper
- Heavy book
Using the Microwave and Silica Gel
- Microwave-safe dish
- Silica gel
Hanging Tulips
- Garden scissors
- Floss or twine
Preserving Dried Tulips
- Box
- Feather duster
References
- ↑ https://www.bhg.com/gardening/design/projects/how-to-create-dried-flowers/
- ↑ https://www.popsci.com/save-dry-flowers/
- ↑ https://www.popsci.com/save-dry-flowers/
- ↑ https://www.rhs.org.uk/shows-events/virtual-chelsea/wednesday/branch-out-mk-cic
- ↑ https://hgic.clemson.edu/factsheet/drying-flowers/
- ↑ https://www.missouribotanicalgarden.org/Portals/0/Gardening/Gardening%20Help/Factsheets/Dried%20Flowers16.pdf
- ↑ https://edis.ifas.ufl.edu/pdffiles/EP/EP00400.pdf
- ↑ https://www.rhs.org.uk/shows-events/virtual-chelsea/wednesday/branch-out-mk-cic
- ↑ https://www.popsci.com/save-dry-flowers/
- ↑ Lana Starr, AIFD. Certified Floral Designer & Owner, Dream Flowers. Expert Interview. 24 March 2020.
- ↑ https://pss.uvm.edu/ppp/articles/preserve.html
- ↑ https://www.missouribotanicalgarden.org/Portals/0/Gardening/Gardening%20Help/Factsheets/Dried%20Flowers16.pdf
- ↑ https://www.bbc.co.uk/programmes/articles/xV61tVTRBvQBfRNVTYQ3x6/winter-is-coming-but-here-s-how-to-hold-on-to-summer
- ↑ https://www.missouribotanicalgarden.org/Portals/0/Gardening/Gardening%20Help/Factsheets/Dried%20Flowers16.pdf
- ↑ Lana Starr, AIFD. Certified Floral Designer & Owner, Dream Flowers. Expert Interview. 24 March 2020.
- ↑ https://extension2.missouri.edu/g6540
- ↑ https://extension2.missouri.edu/g6540
- ↑ https://www.bhg.com/gardening/design/projects/how-to-create-dried-flowers/
- ↑ Lana Starr, AIFD. Certified Floral Designer & Owner, Dream Flowers. Expert Interview. 24 March 2020.
