This article was co-authored by wikiHow Staff. Our trained team of editors and researchers validate articles for accuracy and comprehensiveness. wikiHow's Content Management Team carefully monitors the work from our editorial staff to ensure that each article is backed by trusted research and meets our high quality standards.
There are 7 references cited in this article, which can be found at the bottom of the page.
This article has been viewed 101,749 times.
Learn more...
If an important paper or document recently sustained water damage, you can take several steps to restore it. By air drying or freezing the paper, you can minimize serious damage and preserve it in as good of a condition as possible. If you're trying to save rare photographs or delicate papers, you can even hire a professional conservator to help you dry it. No matter what damage your paper sustained, you can help it dry safely by following the right precautions!
Steps
Air Drying Paper
-
1Try air drying if you have a small number of papers to restore. Air drying is ideal if you have 200 or fewer documents because you'll be able to pay direct attention to them as they dry. If you have a larger number of wet papers, try freezing them instead.[1]
- Air drying is generally more labor-intensive than freezing your papers.[2]
- Do not air dry glossy papers. Freeze them instead to avoid damage.
-
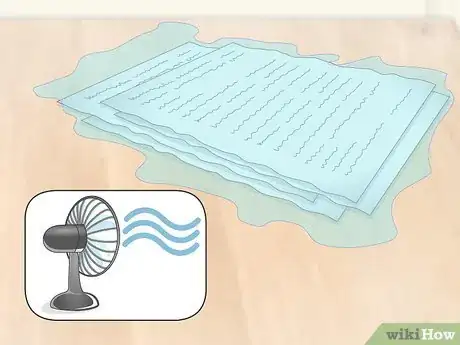
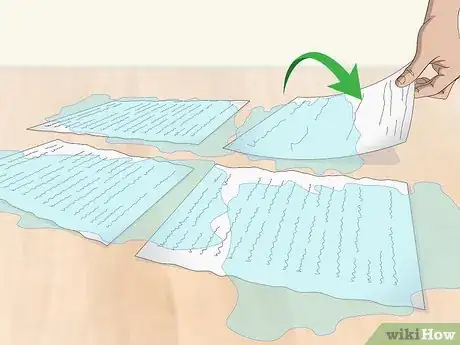
2Lay your wet paper on a flat surface. Drying paper can take several hours, so choose a surface where they can lie undisturbed. If the papers are loose-leaf, lie them down flat and apart from each other. Bound papers or documents with multiple papers should be placed together but apart from separate papers.[3]
- Choose a room with good air circulation and low humidity levels to help the papers dry faster.[4]
Advertisement -
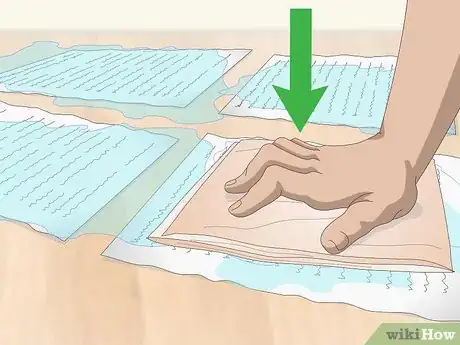
3Dab the wet paper with a towel. Soak away any excess moisture with the towel so the paper can dry faster. Instead of rubbing, which can damage the wet paper, dab it gently and carefully. If your document has multiple papers, insert tissue or a paper towel every 10 pages.
-
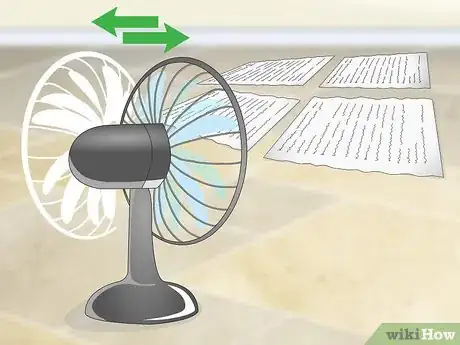
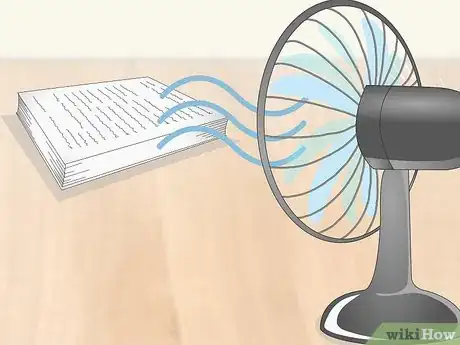
4Dry the papers with an oscillating fan. Position a fan that can oscillate back and forth between the paper or papers while they dry. Do not aim the fan directly at the papers to ensure that they dry as evenly as possible.[7]
-
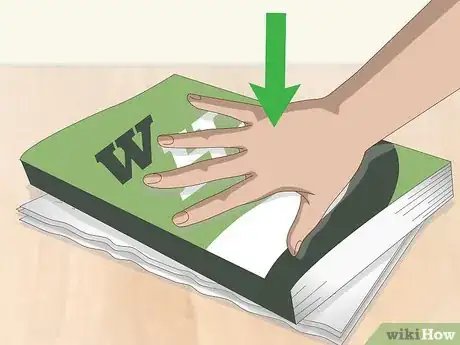
5Weigh your paper with a sturdy object to dry it completely. Once your document dries enough that the papers are damp instead of wet, weigh them down with a flat, sturdy object until they dry. If your document is bound or has multiple pages, sandwich each page with a tissue or paper towel.[8]
- A large book that you don't need to keep in mint condition or a paperweight could both work as sturdy objects.
Freezing Paper
-
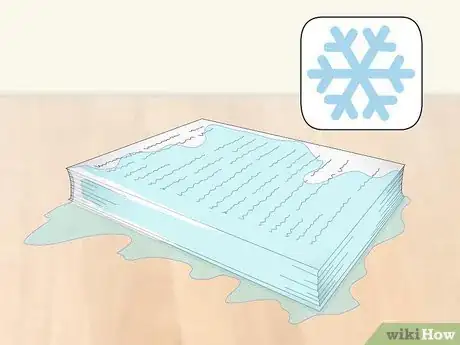
1Freeze the papers if you have many pages to save. If you have more than 200 loose leaf or bound papers to save, try freezing the papers instead of air drying them. Freezing will keep the papers from warping until you have time to fix them.[9]
- Freeze your papers as soon as you notice the damage to keep them in the best condition possible.
-
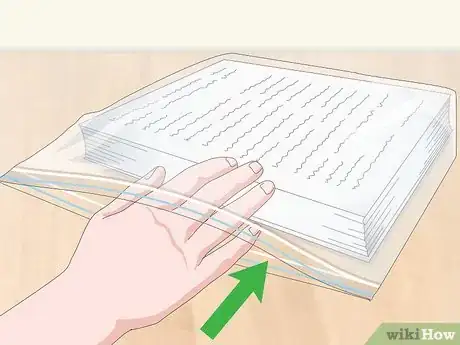
2Wrap your papers and put them in a ziplock bag. Slip your paper or papers in a ziplock bag. If time permits and the papers are not sopping wet, interweave the wax papers or paper towels between every 10 pages.
- If the papers are soaking wet, do not try to separate them or break them into smaller stacks. Put them in the freezer until you're ready to air dry them.
-
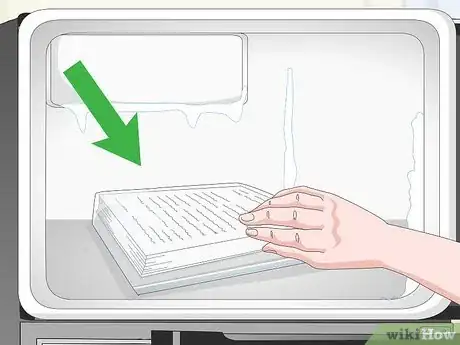
3Place your papers in the freezer. The freezer's temperature should be at or below −10 °F (−23 °C). Let the papers freeze completely and take them out in batches of 200 pages or fewer when you're ready to dry them.
- Although it depends on how wet your papers are and how many papers you're freezing, this should take at least several hours.
-
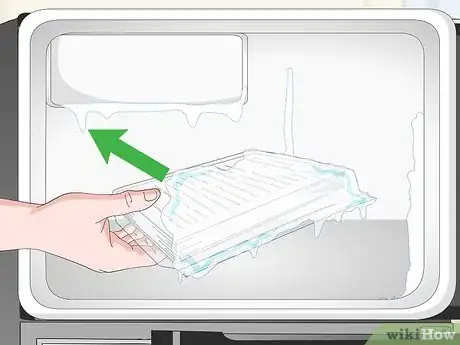
4Remove the papers from the freezer. When your papers are no longer soaking wet or damp but feel frozen solid, remove a bag of papers from the freezer. Take out up to 200 pages at a time from the freezer to begin drying them.
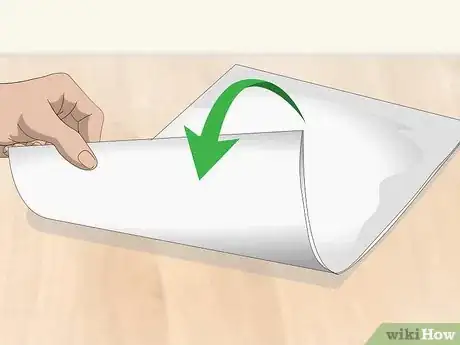
- Do not try to pry stacks of paper apart until they are damp and no longer frozen.
-
5Air dry or freeze-dry the batches to salvage them. After freezing the document, you can air dry it using the same method you would for damp papers or use a professional vacuum freeze dryer. By placing the document into the freeze dryer and turning the machine on, you can remove any moisture and prevent water damage as it melts.
- If you don't personally own a vacuum freeze dryer, contact local art or historical conservation centers.[10]
- Freeze-drying is ideal for delicate papers with water-soluble inks, watercolors, and coated papers.
Drying Photographs
-
1Do not allow photographs to partially dry. If you have recently damaged 1 or multiple photographs, keep them in clean and cold water until you're ready to dry them. This will keep them from sustaining damage until you have time to repair them.[11]
- Keep the prints separated while they sit in the water.
- Never freeze photographs. Air drying is the ideal way to salvage wet photographs unless you have professional conservation experience.
-
2Place a paper towel or washcloth on a flat surface. This will absorb moisture while the photograph dries. Choose a flat surface to lay the towel or cloth out on so the photograph can stay undisturbed while it dries.
-
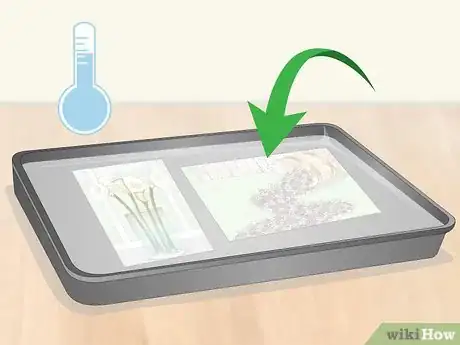
3Lay the photograph out emulsion-side up. If you placed your photograph on a paper towel, switch the paper towels out every several hours. Avoid touching the emulsion until it dries completely.[12]
- The emulsion is the side with the picture.
-
4Take rare or highly-valued photos to a professional conservator. They will be able to use specialized techniques to keep the photograph in better condition. Keep the photograph in cool, clean water until you take it to the conservator.[13]
- Most photographs will curl up after air drying. If you want to flatten a photograph after air drying, bring them to a conservator.[14]
Community Q&A
Did you know you can get answers researched by wikiHow Staff?
Unlock staff-researched answers by supporting wikiHow
-
QuestionHow long does it take wet paper to dry?
 wikiHow Staff EditorThis answer was written by one of our trained team of researchers who validated it for accuracy and comprehensiveness.
Staff Answer wikiHow Staff EditorStaff Answer
 -
QuestionHow do you dry wet notebook paper?
 wikiHow Staff EditorThis answer was written by one of our trained team of researchers who validated it for accuracy and comprehensiveness.
Staff Answer wikiHow Staff EditorStaff AnswerIf you have a wet notebook, you can use the same techniques you would for drying out any other book—spread it out on a flat surface in a dry, cool space and set up a fan to help circulate air over it. A portable dehumidifier will also help. Avoid using the microwave, since this could burn the paper or create dangerous sparks if your notebook has metallic spiral binding.
 -
QuestionCan you dry paper in the oven?
 wikiHow Staff EditorThis answer was written by one of our trained team of researchers who validated it for accuracy and comprehensiveness.
Staff Answer wikiHow Staff EditorStaff Answer
Warnings
- Don't dry papers in the sun. Sunlight can cause your papers to fade and ruin the ink.⧼thumbs_response⧽
- Wet papers are prone to mold or mildewing. Treat any mold or mildew before drying the paper.[16]⧼thumbs_response⧽
- No method can completely reconstruct wet papers after you've gotten them wet. Although you may not be able to restore your papers to how they were before, you can salvage them and keep them in a preservable condition.[17]⧼thumbs_response⧽
References
- ↑ https://www.nedcc.org/free-resources/preservation-leaflets/3.-emergency-management/3.6-emergency-salvage-of-wet-books-and-records
- ↑ http://hosted.lib.uiowa.edu/flood/dryingb_r.html
- ↑ https://www.archives.gov/preservation/conservation/flood-damage.html
- ↑ https://www.loc.gov/preservation/emergprep/dry.html
- ↑ https://www.loc.gov/preservation/emergprep/dry.html
- ↑ https://www.loc.gov/preservation/emergprep/dry.html
- ↑ http://rbscp.lib.rochester.edu/3246
- ↑ https://www.loc.gov/preservation/emergprep/dry.html
- ↑ https://siarchives.si.edu/blog/what-do-when-more-few-papers-get-wet
- ↑ http://rbscp.lib.rochester.edu/3246
- ↑ https://www.loc.gov/preservation/emergprep/dry.html
- ↑ http://www.nationalarchives.gov.uk/documents/information-management/wet-documents.pdf
- ↑ https://www.archives.gov/preservation/conservation/flood-damage.html
- ↑ https://www.loc.gov/preservation/emergprep/dry.html
- ↑ http://www.nationalarchives.gov.uk/documents/information-management/wet-documents.pdf
- ↑ https://www.loc.gov/preservation/emergprep/dry.html
- ↑ http://www.nationalarchives.gov.uk/documents/information-management/wet-documents.pdf
About This Article
If you need to dry water-damaged paper, you can try air-drying it. First, place the wet paper on a flat surface where it will be able to lie for several hours. Dab the paper gently with a towel to remove some of the excess moisture. Avoid rubbing the paper, because this will damage it. Turn on a fan near your wet paper to help circulate the air and dry it quicker. Once the paper is damp and no longer soaking, place a heavy object, like an old book, on top, which will help it dry thoroughly. If your document has several pages, put a paper towel between each page to dry them separate before placing the object on top. For tips on how to freeze large quantities of wet paper, read on!
