X
wikiHow is a “wiki,” similar to Wikipedia, which means that many of our articles are co-written by multiple authors. To create this article, volunteer authors worked to edit and improve it over time.
This article has been viewed 16,326 times.
Learn more...
Do you want to know how to draw a dead tree? With a little practice, you'll be able to do it in no time! Just follow these directions to create your own drawing.
Steps
-
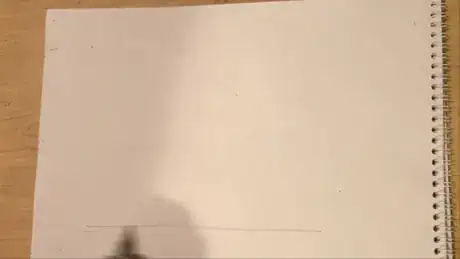
1Draw a foundation. Draw a base to serve as the placeholder for your tree(s). This will symbolize where the trunk of the tree separates from the roots. In this example of how to draw a dead tree, the roots will be tucked underground.
-
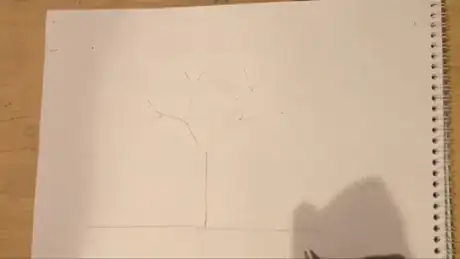
2Start drawing the skeleton. You should start out with a vertical line and then add a 'V' shape on top of it; ultimately making a 'Y'. Start adding branches (lines stretching out in a multitude of directions) to the preexisting 'V' shape as you see fit.Advertisement
-
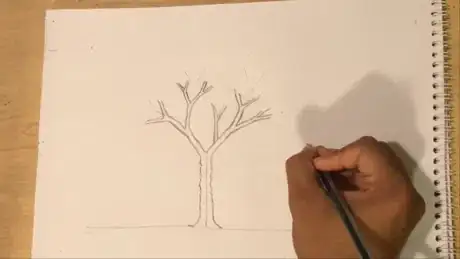
3Add "meat" to the skeleton. Around the trunk of the tree, make an almost squiggly line a proportionate distance from your skeleton lines. Down near the base of the tree, have the line straighten and curl into your base from earlier. This should look like a seamless transition of roots to the trunk. As you move farther up into the tree, have your lines look a bit straighter and cleaner. The distance from your original sketch-lines should slowly shrink to make a proportionate transition to the smaller sections of branch. Remember, your new lines don't have to exactly follow your skeleton lines; be creative.
-
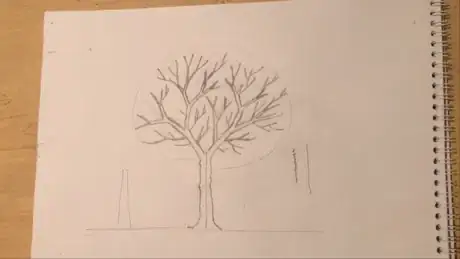
4Add more branches. Add smaller, indistinguishable branches. These should be close to the thickness of your pencil/pen. These should ultimately make up a circular shape. Make sure not to go overboard. This should end up looking clean and polished.
-
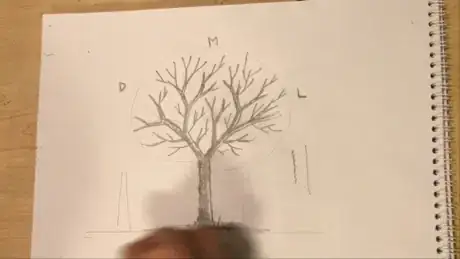
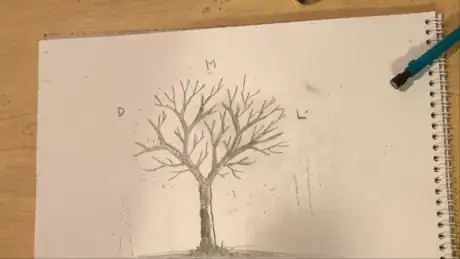
5Add finishing details. Add a light source to your drawing and shade accordingly. I decided to put my light source on the right of my tree. The letters 'L', 'M', and 'D' help show the transition between light and dark. When shading, feel free to make it dark and edgy to show that the tree is indeed, dead. I added a grass patch towards the base of the trunk to eliminate the need to draw roots.
-
6Clean up drawing as you please. Feel free to add/remove branches. Don't strive for perfection, for nothing will end up perfect. Make not to go overboard on the corrections to the point that your tree looks too geometric and unnatural. Once the tree meets your standards, take a step back and pat yourself on the back.
Advertisement
Warnings
- This will not be perfect on the first attempt. Practice and it'll get better.⧼thumbs_response⧽
Advertisement
About This Article
Advertisement
