wikiHow is a “wiki,” similar to Wikipedia, which means that many of our articles are co-written by multiple authors. To create this article, 21 people, some anonymous, worked to edit and improve it over time.
The wikiHow Video Team also followed the article's instructions and verified that they work.
This article has been viewed 166,331 times.
Learn more...
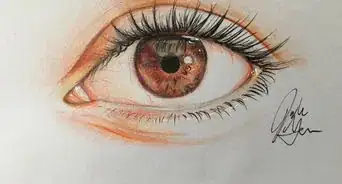
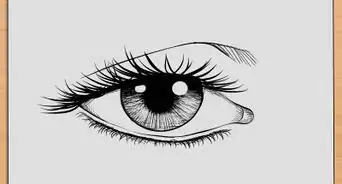
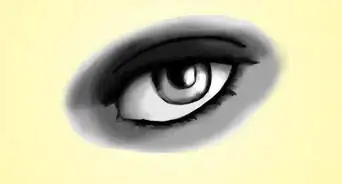
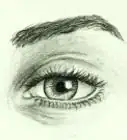
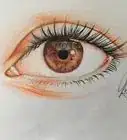
Eyes are one of the most finicky and detailed areas of the face. Drawing eyelashes can be especially tough, using hundreds of lines with slight variations. As always, your best weapons for this mission are close observation and plenty of practice.
Steps
Upper Eyelashes
-
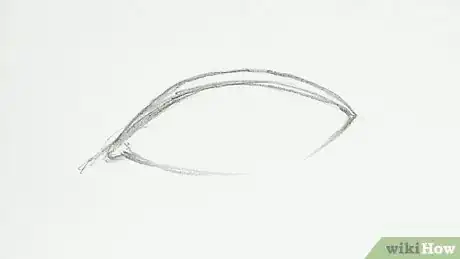
1Draw the thickness of the eyelid. These instructions assume you're drawing an eye viewed head-on. Outline the eye, then draw a second line just underneath the top edge. This is the thickness of the upper eyelid. The upper eyelashes emerge from the top line.
- When viewed head-on, this thickness is barely visible. Keep the two lines close together.
-
2Practice the curve of the eyelash. Upper eyelashes swoop downward a short distance, then rapidly up and away from the eye. Practice this motion many times on a practice sketch:
- Press a hard pencil firmly against the upper edge of the eyelid.
- Move downward for an instant, then rapidly "swoop" upward. The faster you do this, the more natural the result.[1]
- Reduce pressure as you move the pencil. The line should be thinner and lighter near the tip of the lash.
Advertisement -
3Plan the orientation of the lashes. Eyelashes tend to point outward from the curve of the eyelid, as though they were sun rays or wheel spokes. An individual eyelash, however, often overlaps its fellows or points in a slightly uneven direction. Lightly sketch the eyelashes so they fan outward, but have plenty of variation among them. You don't need to commit to the exact shapes, which are described in more detail below. Just focus on positioning for now.
- This is a good time to study photographs of eyes, or look in a mirror.
- Many eyelashes hook together at the tip. Draw a few pairs of lashes that meet at the same point.[2]
-
4Draw eyelashes near the outer corner. Once you've got this motion down, start again with a fresh sketch. First, draw the eyelashes near the outer corner, near the ear. These lashes grow close together.
- The eyelashes near the outer corner are the longest. They also curve farther downward and outward than other lashes.[3]
-
5Add eyelashes to the middle of the lid. Next, draw the eyelashes along the middle ⅓ of the eyelid. These are nearly as long and as numerous as the outer eyelashes.
- Rotate the direction of the eyelashes as you move toward the middle. By the time you reach the middle of the eye, the lashes are almost vertical.[4]
-
6Finish with the inner lashes. These are much shorter, and thinly scattered. Avoid even spacing, which looks unnatural.
-
7Redraw some lashes with a softer pencil. Draw over the lashes using a softer pencil, pressing firmly to make them bolder and thicker. Do this for roughly ⅔ of the lashes, to create variation.[5]
- As before, draw from the base upward. Reduce pressure as you reach the tip, to keep them thin and pointed.
Lower Eyelashes
-
1Draw the eyelid thickness. Eyelids have three dimensions. When viewed head on, the lower eyelid edge is quite visible. Draw a second line alongside the eye's lower outline to show this. Make this edge thicker than the upper eyelid's, assuming the eye is wide open.
- You can use white charcoal or chalk to make this edge more obvious.[6]
-
2Curve the lashes outward. These lashes have a slight curve to them. They grow downward a short distance, then outward. This curve is not as obvious as the upper eyelashes', so be subtle.
- These lashes originate from the base of the lower lid. No part of these lashes should cover the white of the eye.
-
3Draw the lashes sparsely. The lower lashes grow much less densely than the upper ones. Scatter the lashes thinly and unevenly along the lower edge.
- Exact eyelash counts vary widely. Typically, the lower lid has about 50% the number of the upper lid.
-
4Add variation. As before, the lashes shouldn't be perfectly arrayed in a circle. Add a few eyelashes that merge with a nearby lash at the tip.
- If the lashes look too thinly scattered, draw a few shorter lines near the base of the long lashes.
Community Q&A
-
QuestionWill it look better if I do darker shades in 8bs and 6bs and the lighter in 2h?
 Community AnswerIt will if you're going for a specific look with make up, but if it's natural you should use the lighter one.
 -
QuestionDoes this improve with practice?
 Community AnswerOf course. If you spend some time drawing eyes in different positions (open, squinted etc.), then you will naturally critique yourself on how well you drew the lashes and what you can do better.
 -
QuestionIf you are trying to get more realism, what pencils are best to use?
 LAILEE RUIZCommunity AnswerThere is not a specific pencil but you should try some lighter shades and darker shades in areas to make it look more realistic.
Things You'll Need
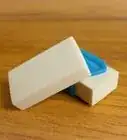
- Two or more pencils of different hardness (such as a 2B and a 2H)
- Paper
- White charcoal or chalk (optional)
References
- ↑ https://www.youtube.com/watch?v=EozaIzjZEMM
- ↑ https://www.youtube.com/watch?v=wL-1w_IqVCM
- ↑ https://www.youtube.com/watch?feature=player_detailpage&v=PB92mnRUZY8#t=220
- ↑ https://www.youtube.com/watch?v=wL-1w_IqVCM
- ↑ https://www.youtube.com/watch?v=qKZ8CNm9PZE
- ↑ https://www.youtube.com/watch?feature=player_detailpage&v=PB92mnRUZY8#t=220
About This Article
To draw eyelashes, start by sketching a second line just underneath the top edge of the upper eyelid to show thickness. Next, to form the eyelashes, press a pencil firmly against the upper edge of the eyelid, move downward for a moment and then rapidly swoop upward as you reduce the pressure on the pencil. Also, decide if you want the lashes to hook together, bunch up, fan outward, or overlap. As you reach the outer corner, make sure to make these lashes the longest as well as the ones that curve the farthest. To learn how to draw lower eyelashes, keep reading!
