This article was co-authored by Marta Nagorska. Marta Nagorska is a Nail Technician and Nail Art Blogger based in London, UK. She runs the blog, Furious Filer, where she gives tutorials on nail care and advanced nail art. She has been practicing nail art for over 5 years and graduated from Northampton College with distinction with a Nail Technician and Manicurist degree in 2017. She has been awarded the top spot in the OPI Nail Art Competition.
wikiHow marks an article as reader-approved once it receives enough positive feedback. In this case, several readers have written to tell us that this article was helpful to them, earning it our reader-approved status.
This article has been viewed 155,892 times.
A manicure or pedicure is a great way to feel pampered. However, salon level care can get costly. With a little hard work and patience, you can get salon style nails at home. File your nails and push back cuticles before applying a layer of base, nail polish, and top coat. You'll end up with high quality nails that will wow your friends and family.
Steps
Doing a Manicure
-
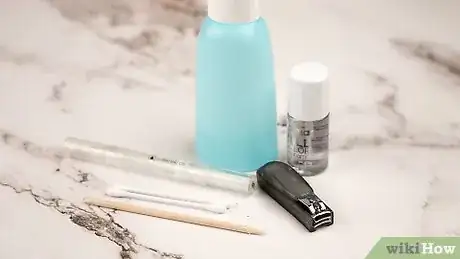
1Prepare your tools. In order to do a great manicure, you'll need certain supplies. Most supplies can be purchased at a local makeup store or drug store. To do a salon style manicure, you will need the following:[1]
- Nail polish, a base coat, and a top coat
- Nail polish remover
- Cotton balls
- Q-tips
- A bowl filled with warm water and moisturizing shower gel
- A set of manicure tools that includes a cuticle pusher and cuticle blade
- Cuticle moisturizer
-
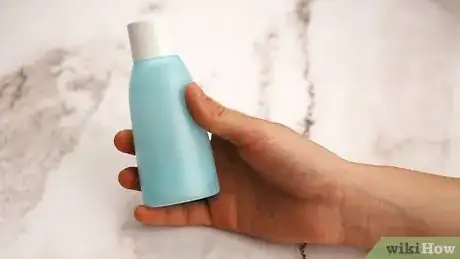
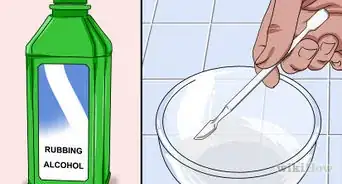
2Select an acetone-free nail polish remover. Acetone nail polish removers tend to remove polish quicker. However, they also contain harsh chemicals that can wear down nails. You should opt for an acetone free polish remover, especially if you do your nails frequently. Check the ingredient list of any polish remover you use to make sure that it does not contain acetone.[2]Advertisement
-
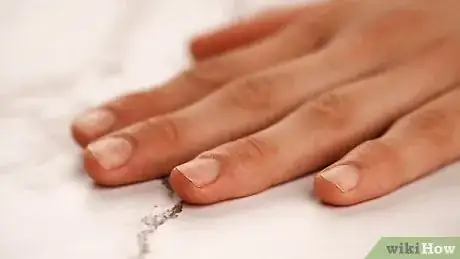
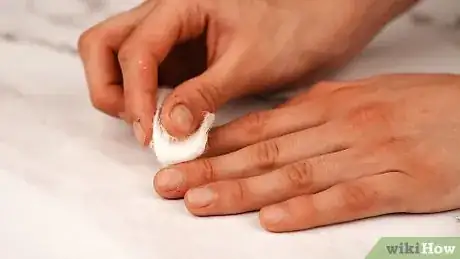
3Remove any previous nail polish. To start, you'll need to remove any previous polish. If you do not have old polish on your nails, you can skip this step. You should not soak you nails in remover, as this can be harsh on your nails. Instead, dab a cotton ball in remover and gently swab your nails until any leftover polish comes off.[3]
-
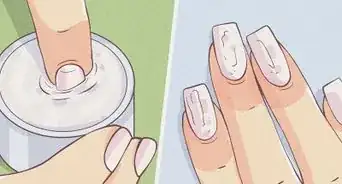
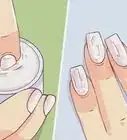
4Moisturize your cuticles. You should moisturize your cuticles before applying any polish. This can help your cuticles retain moisture, keeping your nails healthy.[4]
- Near the root of your nail, there is a small flap of skin known as a cuticle. Dab a small bit of moisturizer over this skin.
- Gently massage the cream into your skin until the lumpy bits of cream dissolve into your skin.
-
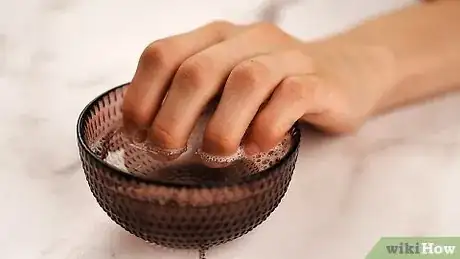
5Soak your hands for two minutes. Take your bowl of warm water filled with shower gel. Place the tips of your fingers in the bowl. Allow them to soak for two minutes.[5]
- You can use a clock to track time, but you may be able to gauge the two minute mark by just counting to 120 in your head.
-
6Push back your cuticles and cut the old cuticles. Take your cuticle pusher, which is a small wooden or plastic stick. You will use this to gently push each of your cuticles back so they merge with the skin in your fingers. Older cuticles will emerge from underneath the pushed back cuticles. Take your cuticle cutter and run the blade along the length of your cuticles to cut them off.[6]
- You want to take caution with this step. Be very gentle as you push your cuticles back and cut them. Use very slow motions. Forcefully cutting or pushing your cuticles could lead to an infection.[7]
- Never neglect to soak your fingers before pushing back your cuticles. If your hands are slightly wet, the cuticles will move easier. This can also help prevent infection.
Expert AnswerQWhen asked, “How can you safely take care of your cuticles?”
Marta Nagorska is a Nail Technician and Nail Art Blogger based in London, UK. She runs the blog, Furious Filer, where she gives tutorials on nail care and advanced nail art. She has been practicing nail art for over 5 years and graduated from Northampton College with distinction with a Nail Technician and Manicurist degree in 2017. She has been awarded the top spot in the OPI Nail Art Competition.Nail Artist
 EXPERT ADVICEAnswer from Marta Nagorska:
Marta Nagorska, a nail technician, responded: “There are a few brands that make cuticle removers where you rub it in and then wash it off. These dissolve the dead skin around your cuticle so you don't have to do any trimming. It’s very helpful when you’re doing a manicure or pedicure at home.”
-
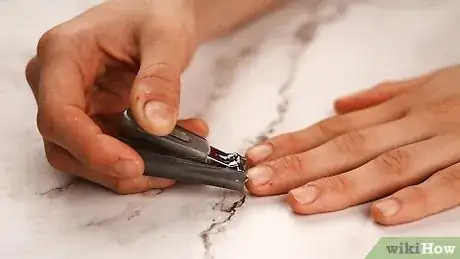
7Clip and file your nails. If your nails are not in your desired size and shape, you should now cut and file them. You can use a set of nail clippers and a nail file to do so. You should also use a nail buffer to smooth out the tops of nails.[8]
- Trim nails to your desired length. Then, take a file and file them into a good shape. Salon style manicures usually file nails into a square shape or round out the edges of nails. To create a squared look, file each nail flat across the top and then soften the edges slightly so they aren't too sharp. For a rounded look, file the tips of your nails into a soft curve. Be sure to file your nails in one direction only. Start at one edge and work your way over to the other.
- Avoid using metallic files, as these can be too harsh. Opt for an emery board or crystal nail file.
- Gently rub your nail buffer over the tops of your nails until they have a smooth, even appearance. Do not buffer for too long, however. If nails become too smooth, polish may slide off.
-
8Add a base coat. A base coat will protect your nails from becoming tinted by polish. It will also make the nail polish come on smoother. Add one layer of base coat to your nails.[9]
- Use about three strokes to cover your nails in base coat. If there are any lumps or uneven patches, use a few shorter strokes to smooth out these bumps.
- For best results, you should let nails air dry.[10] However, as you're adding multiple layers, this can be time consuming. You can dry your nails with a hairdryer, but make sure to set it to low heat. If you set it to high or medium heat, you could end up burning your fingers.
-
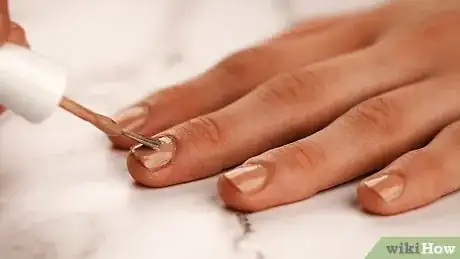
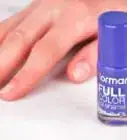
9Add one layer of nail polish. You'll want to add nail polish in layers for best results. Start with one thin layer of polish. Do not worry if the polish looks a little light. It will become darker when you add the second layer. As with the base coat, apply with two to three strokes. If you notice any uneven patches, use shorter strokes to smooth out the polish.[11]
- The drying procedure is the same as the base coat. Air drying works best, but you can use a blow dryer set to low to dry your nails.
-
10Add the second layer of nail polish. Use two to three strokes to cover your nails in a second coat. If you need to smooth out any lines or bubbles, use a few shorter strokes to do so. This should make your nail polish darker and smoother. You can air dry your nails or use a blow dryer set to low.[12]
-
11Add a top coat. A top coat will protect your polish, allowing it to last up to two weeks. It will also keep your nails looking clearer and smoother. Apply a top coat the same way you applied the other layers. Work extra hard to get the top coat looking smooth, as this is the last polish you'll be applying.[13]
-
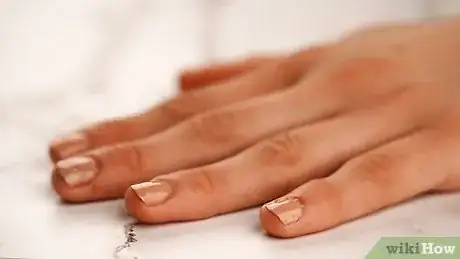
12Allow nails to dry completely. Your nails will look smoother and shinier if you allow them to air dry after adding the final coat. It can take up to an hour for nails to dry completely, so avoid touching or handling anything until your nails have dried.[14]
- Find something to do to distract yourself. Turn on a TV show you like or listen to some music.
-
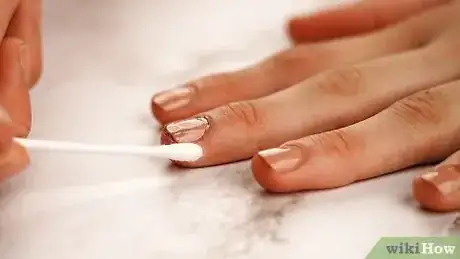
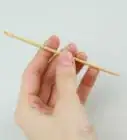
13Clean around the edges of your nails with a q-tip. Even when you work slowly and carefully, a small bit of nail polish may spill onto the skin around your nails. If you want your manicure to look professional, dab a q-tip in nail polish. Then, take the q-tip and rub it along the skin of your nails to remove any rough edges or spilled polish.[15]
- Go slowly here. You do not want to accidentally rub your nails themselves, as this will remove the polish.
-
14Reapply cuticle moisturizer. Products used in nail polish can be harsh on your nails. It's a good idea to add another layer of cuticle moisturizer once you've finished doing your nails.[16]
- Remember, to apply cuticle moisturizer you dab moisturizer on each of your cuticles. Then, rub the moisturizer into your skin.
Doing a Pedicure
-
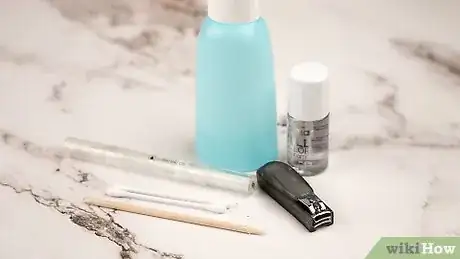
1Gather your materials. To start, you'll need to gather your pedicure materials. You can find most of the materials you need at a local drug store, supermarket, or beauty shop. In order to do a salon style pedicure, you'll need the following:
- Acetone free nail polish remover
- Sea salt and a bowl big enough for both your feet
- Toenail clippers and a toenail file
- A pumice stone or similar device
- Foot moisturizer
- A cuticle pusher and cuticle clippers
- Toe separators
- Nail polish and top coat
- Q-tips
- Cotton balls
- Exfoliating gel
-
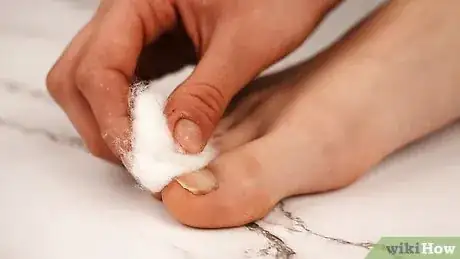
2Remove your old nail polish. To start, remove your nail polish. As with fingernails, avoid soaking toenails in polish. Dab a cotton ball in nail polish remover. Swab your toenails until they're free of all old polish. If you do not have leftover polish on your toenails, you can skip this step.[17]
-
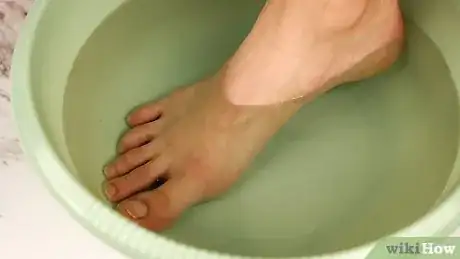
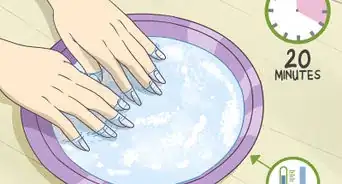
3Do a sea salt soak. You want to get the skin on your feet wet and loose in order to remove dead skin. A sea salt soak can help with this, and it can also prep your cuticles for care.
- Fill your bowl with warm water and add a capful of dead sea salt.
- Submerge your feet in the basin for about 10 minutes.
-
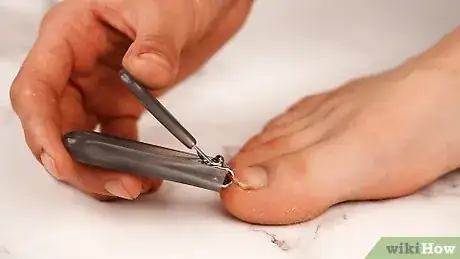
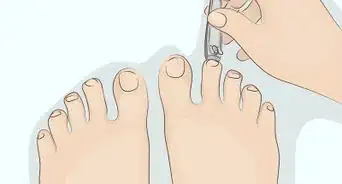
4Cut and file your toenails. Take a toenail clipper and clip your toenails straight across. They should be short enough that they're about even with the tops of your toes. Then, take a nail file and to round out the edge of each nail to form a nice curved shape.
- To file your nails, rub the edge of the file along your nails until they gradually wear down and form your desired shape.
- You should use an emery board nail to file down your toenails.
-
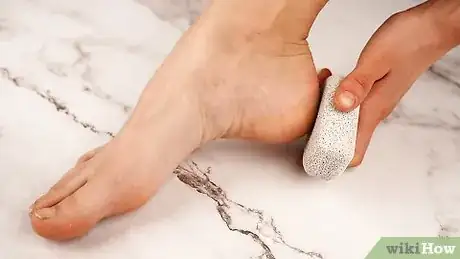
5File rough spots on your feet with your foot file. Use your pumice stone, or a similar object, to rub down calloused spots on your feet. Rub the stone gently over troublesome areas, like the heels and your big toe. Rub until you remove rough, calloused skin and are left with smooth feet.
-
6Exfoliate. You'll want to exfoliate your skin after removing rough spots. This will get any dead skin cells of your feet. Take your exfoliating gel and rub it over the areas you filed down. Rub gently, but with enough force to dislodge any flaky skin. When you're done, rinse off your feet with tap water and pat dry with a towel.
-
7Moisturize your feet. Your feet will be a bit dry after the exfoliating and filing process. You'll want to apply some moisturizer to replenish lost oils. Rub a generous amount of foot cream over your feet, making sure to target the areas that were filed and exfoliated.
- Do not neglect to get foot cream between your toes. These areas are often neglected when moisturizing.
-
8Push back and cut your cuticles. Take your cuticle pusher and gently push back the cuticles on your toenails. Like your fingernails, the cuticles are small flaps of skin on the base of your nails. Then, take your cuticle cutter and run the blade along the length of your cuticles to remove them.
- Make sure to be gentle and move slowly. Toenails are no different from fingernails when it comes to a risk of infection. Pushing or cutting with too much force can result in an infection.
-
9Put in your toe separator and apply a base coat. Take your toe separators and fit them onto your feet. Toe separators are plastic devices with slots for each toe. They're designed to create space between your toes as you work, preventing you from getting polish onto your skin. Once the separators are in place, add a base coat to each toenail.
- Do not use more than a couple brush strokes to apply the base coat. If there are any uneven layers or bubbles, use a few shorter strokes to smooth the polish out.
- Allow the base coat to air dry before you go on to the next step.
-
10Apply a layer of nail polish and allow it to dry. Once your base coat is dry, apply a layer of nail polish. Apply two layers of polish to your toes, working slowly to prevent the polish from smearing. Then, allow your toenails to air dry.
- It's somewhat easier to allow toenails to dry than fingernails. You should avoid walking too much and try to keep your feet propped up.
- You can read a book or watch a TV show to entertain yourself during the process.
-
11Add a top coat. Once your toenails are fully dry, apply a layer of top coat. This will keep your toenails looking shiny and also make your polish last longer. Once the top coat is on, allow it to air dry completely.
-
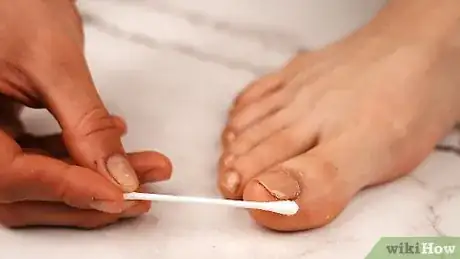
12Clean around the edges of your nails with a q-tip. Take a q-tip and dab it in some nail polish. Then, clean off any polish that got onto the skin surrounding your nails. Make sure to go slowly to avoid accidentally removing polish with the q-tip.[18]
-
13Apply cuticle moisturizer. Once you're done with your pedicure, apply cuticle moisturizer. Your skin will have dried out some during the process. Take a moisturizer and dab it onto each cuticle. Then, rub the moisturizer into the skin until all the lumps have dissolved.[19]
Engaging in Aftercare
-
1Avoid picking at your polish. It can be tempting to pick at polish, especially if you're the type to fidget when nervous. However, you do not want to ruin your new manicure or pedicure. Try to avoid picking at the polish.[20]
- It can help to give yourself something else to fidget with. For example, you can wear a bracelet or rubber band around your wrist. When you feel nervous, play with that instead of your nails.
-
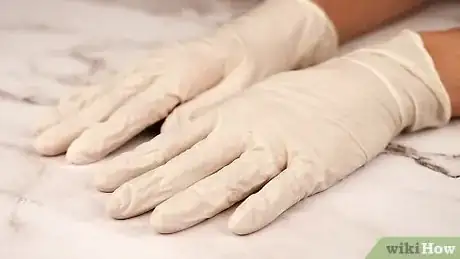
2Wear rubber gloves when cleaning. Chemicals from commercial cleaners can really wear down nail polish. In order to prevent your polish from coming undone, make sure to wear rubber gloves when cleaning and doing the dishes.
-
3Remove polish after two weeks. Nail polis should not be left on for more than two weeks. This can cause nail discoloration and damage. If your manicure remains in tact for two weeks, remove the polish with nail polish remover.[21]
Community Q&A
-
QuestionWhat do I do if my nails always break?
 Community AnswerTry to keep your nails trimmed to a reasonable length and always wear a top coat.
 -
QuestionWhere can I get a pumice stone?
 Community AnswerYou can get a pumice stone at Target, Walgreens or any other similar store.
 -
QuestionWhat's the best solution for dead nails?
 Community AnswerThe best solution is to go to a nail stylist that has experience in dealing with this issue.
References
- ↑ https://www.youtube.com/watch?v=XVYN-j6xUYI
- ↑ http://www.paulaschoice.com/expert-advice/body-care/_/how-to-give-yourself-a-manicure-at-home
- ↑ http://www.paulaschoice.com/expert-advice/body-care/_/how-to-give-yourself-a-manicure-at-home
- ↑ https://www.youtube.com/watch?v=XVYN-j6xUYI
- ↑ https://www.youtube.com/watch?v=XVYN-j6xUYI
- ↑ https://www.youtube.com/watch?v=XVYN-j6xUYI
- ↑ http://www.thehealthsite.com/beauty/do-you-follow-these-manicure-pedicure-dos-and-donts/
- ↑ http://www.paulaschoice.com/expert-advice/body-care/_/how-to-give-yourself-a-manicure-at-home
- ↑ https://www.youtube.com/watch?v=XVYN-j6xUYI
- ↑ http://www.glamour.com/gallery/diy-beauty-exactly-how-to-do-your-manicure-and-pedicure-like-a-pro#7
- ↑ https://www.youtube.com/watch?v=XVYN-j6xUYI
- ↑ https://www.youtube.com/watch?v=XVYN-j6xUYI
- ↑ https://www.youtube.com/watch?v=XVYN-j6xUYI
- ↑ http://www.glamour.com/gallery/diy-beauty-exactly-how-to-do-your-manicure-and-pedicure-like-a-pro#7
- ↑ https://www.youtube.com/watch?v=XVYN-j6xUYI
- ↑ https://www.youtube.com/watch?v=XVYN-j6xUYI
- ↑ http://www.paulaschoice.com/expert-advice/body-care/_/how-to-give-yourself-a-manicure-at-home
- ↑ https://www.youtube.com/watch?v=XVYN-j6xUYI
- ↑ https://www.youtube.com/watch?v=XVYN-j6xUYI
- ↑ http://www.thehealthsite.com/beauty/do-you-follow-these-manicure-pedicure-dos-and-donts/
- ↑ http://www.thehealthsite.com/beauty/do-you-follow-these-manicure-pedicure-dos-and-donts/
- Videos provided by Pippopunkie
About This Article
To do the perfect manicure or pedicure, start by removing any old polish with an acetone-free nail polish remover. After that, soak your nails in a bowl of warm water mixed with shower gel for two minutes, so you can carefully and safely push back your cuticles. Next, paint a clear base coat on your nails, then two layers of polish, and finish with a protective top coat. If you spot any mistakes, wait for your nails to dry completely before attempting to tidy up your work, which you can do with a q-tip and some nail polish remover. For more advice, like how to use a pumice stone, read on!
