X
This article was co-authored by Ashley Adams. Ashley Adams is a Licensed Cosmetologist and Hair Stylist in Illinois. She completed her Cosmetology education at John Amico School of Hair Design in 2016.
This article has been viewed 118,288 times.
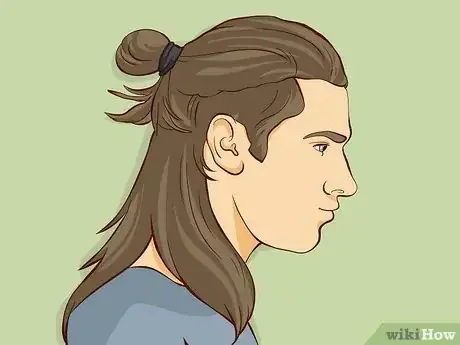
The Samurai hairstyle is a variation of the man bun, and inspired by the skilled, fearsome warriors from Japan. For the basic Samurai bun, you gather the hair at the top of your head into a tight bun on the back of your crown. There are several other ways to do a Samurai bun as well, including a faded top knot and a braided top knot. Samurai buns work especially well for those with curly hair, but you can accomplish them with straight hair as well.
Steps
Method 1
Method 1 of 3:
Doing a Simple Samurai Hairstyle
-
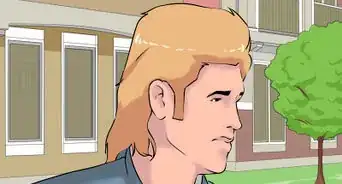
1Have hair that is long enough to pull into a ponytail. This style is meant for those whose hair is the same length all around. It may not work as well for undercuts or fades. Ideally, your hair should be long enough to gather back into a ponytail, about 8 inches (20.32 centimeters).[1]
- If you have an undercut but also have hair that is about shoulder length, you should be able to make the ponytail. However, your hair will not look as full if you choose to do a half-up, half-down look since your hair isn't as thick.
-
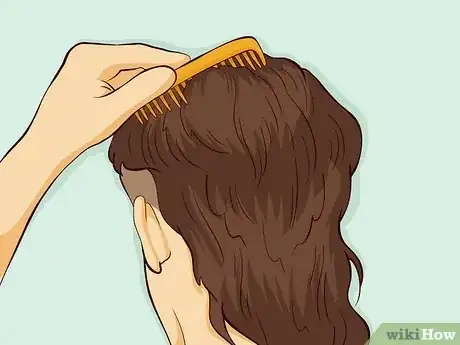
2Brush or comb your hair. Keep going until you get rid of any knots or tangles. If you have very curly hair, it might be a good idea to use a wide-toothed comb; this will prevent frizz.Advertisement
-
3Slip a hair tie onto your dominant wrist. Choose one that matches your hair color. Having a hair tie around your wrist now will make things easier later on.
-
4Gather your hair into a half-up, half-down ponytail. Slide your thumbs back through your hair, starting at your temples. When you reach the back of your crown, pull the hair you gathered into a ponytail. Position the ponytail on the back of your crown, right where your skull starts to curve downwards.[2]
- For an anime style, leave the hair in front of your ears loose to act a bangs.[3]
-
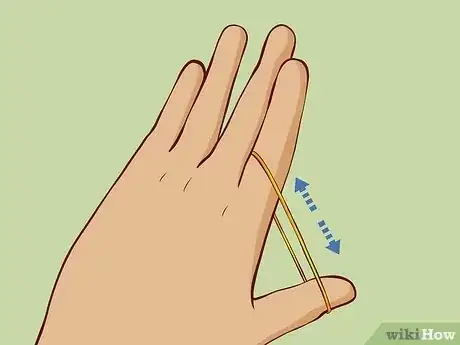
5Wrap the hair tie around your ponytail a few times. Hold the ponytail in the hand that has the hair tie on it. Use your other hand to pull the hair tie off your wrist and onto the ponytail. Wrap the hair tie around the ponytail a few times.[4]
-
6
-
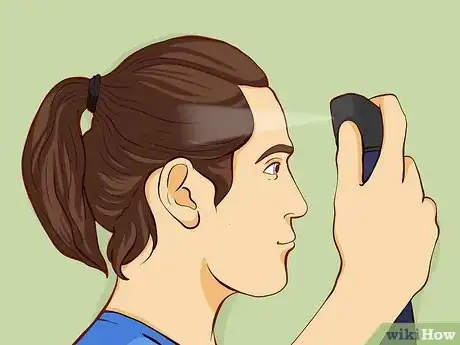
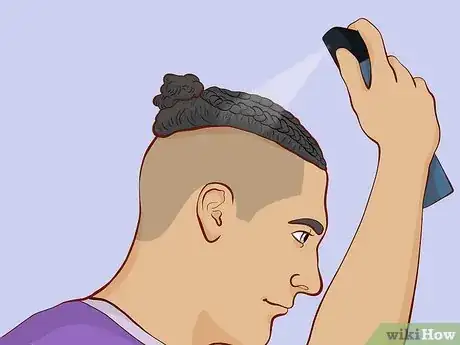
7Set the style, if needed. Smooth down any flyaways with your hands. If you need to, lightly mist your hair with hairspray. This style lends itself well to the messy, rugged look, so this is entirely up to you.
- If you did an anime styled bun, add a side part to the loose hair at the front of your head.[7] If you have curly hair, flat-iron it straight. Make sure to use a heat protectant spray before you apply the heat.
Advertisement
Method 2
Method 2 of 3:
Doing a Samurai Top Knot Hairstyle
-
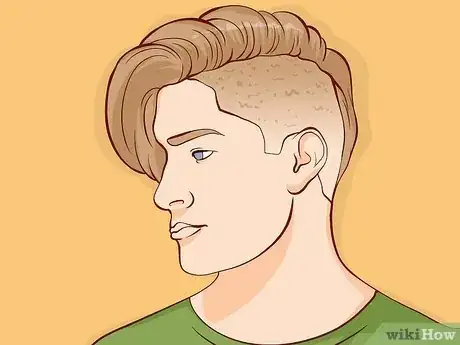
1Start with an undercut or fade. This is where your hair is long at the top of your head, and trimmed short on the sides. The hair on the top of your head needs to be long enough to reach your nose when pulled forward.[8]
-
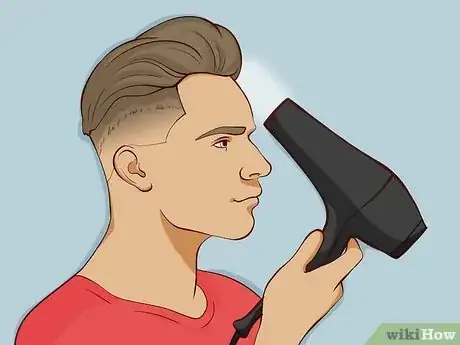
2Blow dry your hair for extra volume. Get your hair damp first, then blow dry it, pulling it upward and away from the part.[9] If you have very thick or curly hair, however, consider blow drying it straight instead. This will make it easier to manage for this style; your hair should already be thick enough to begin with.
-
3Apply a styling wax or pomade. Rub the product between your palms first to warm it up, then apply it evenly to the top (long) portion of your hair.[10] If you have thick or curly hair, consider a hydrating or moisturizing cream instead.
-
4Brush your hair back with a fine-toothed comb. Use the comb to smooth your hair down as much as possible. Keep your hair between the two parts created by the fade/undercut.[11]
- Alternatively, you could use a bristle brush to smooth down your hair.
-
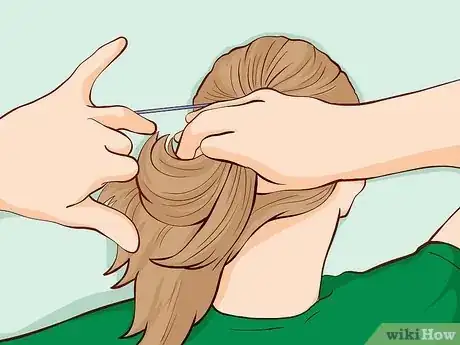
5Gather your hair into a ponytail. Slip a hair tie over your wrist first. Gather your hair into a ponytail with that hand. Use your free hand to slide the hair tie off your wrist and onto the ponytail.[12]
-
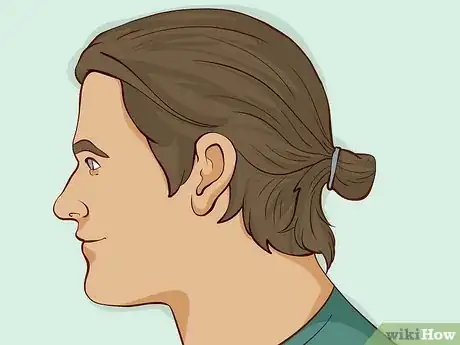
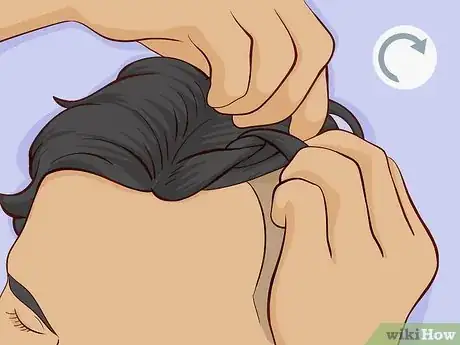
6Twist the ponytail into a looped bun. Wrap the hair tie a few times around the ponytail. On the last wrap, pull the ponytail only halfway through the hair tie instead of all the way. This will create the looped bun.[13]
-
7Touch your hair up, as needed. Use your hands to smooth the hair at the top of your head back. If you see any flyaways, lightly mist them with hairspray first, then smooth them down.[14]
Advertisement
Method 3
Method 3 of 3:
Doing a Braided Samurai Hairstyle
-
1Begin with an under cut or fade. This is where the hair at your crown (brow-level and up) is left long, and everything below is trimmed short. The hair at the top of your head should be long enough to pull back into a ponytail.
-
2Prep your hair for braiding. Brush or comb through your hair to remove any knots or tangles. Lightly mist it with water or a moisturizing spray. Next, apply a hydrating cream meant for braiding cornrows.[15]
-
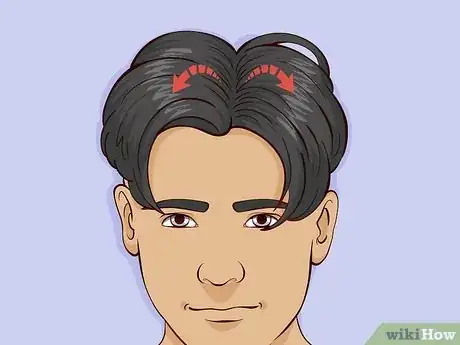
3Part your hair down the center. Do this with the handle of a rat-tail comb to ensure a clean, neat part. Comb the left side of your hair over to the left, and the right side to the right.[16]
- Twist and clip one of the sides out of the way. This will make it easier to braid your hair.
-
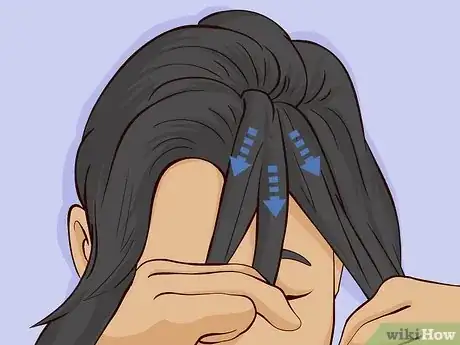
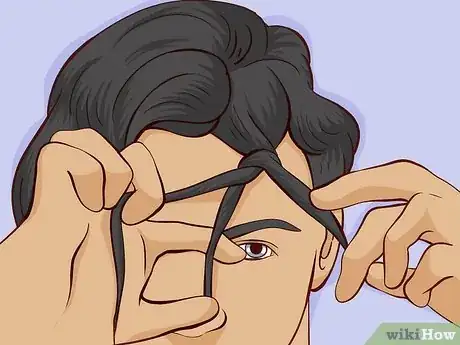
4Begin a regular braid. Choose a side to start on. Gather a thin section of hair from your hairline. Split it into three, equal strands. Cross the outer strand under the middle one, then cross the inner strand under the middle one.[17]
- Make sure that you are crossing the strands under the middle one, not over.
- If you don't know how to braid your hair, ask for assistance.
-
5Add some hair to the outer strand. Gather the hair from the side part, right where your fade begin. Add the hair to the outer strand. The outer strand should be about twice as thick as before.[18]
-
6Cross the outer strand under the middle one. Be sure to include the hair you gathered into it. This is the first stitch on your "Dutch" braid.[19]
-
7Repeat the process for the inner strand. Gather some hair from the center part. Add it to the inner strand, then cross the inner stand under the middle one.[20]
-
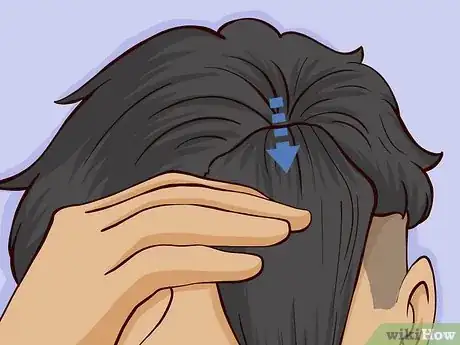
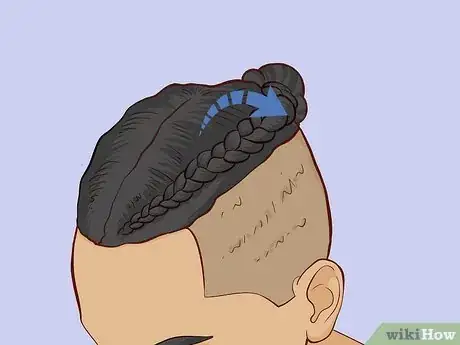
8Continue Dutch braiding until you run out of hair. Keep adding hair to the outer and inner strands before crossing them under the middle one. When you run out of hair to add into the braid, tie the hair off into a ponytail.[21]
- Keep the Dutch braid between the two parts. As you reach the back of your crown, angle it towards the middle part.
-
9Repeat the process on the other side of your head. Unclip the bun from before. Split the hair at your hairline into three strands. Braid for two stitches, then Dutch braid until you reach the back. Don't this braid off.[22]
-
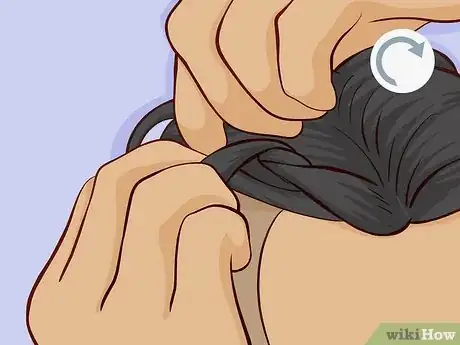
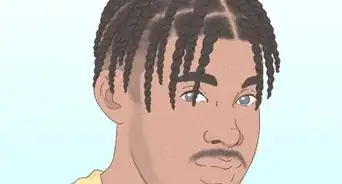
10Gather your hair into a looped bun. Undo the first ponytail you did, but don't let the braid unravel. Gather all your long hair into a ponytail. Wrap a hair tie around it a few times. On the last wrap, pull your ponytail halfway through, making a looped bun.[23]
-
11Finish off the style, as needed. It would not be a good idea to add hairspray, as this can dry your scalp out. A better idea would be to apply a moisturizing cream to your hairline and part. This will keep your scalp moisturized while your hair is in this style.
Advertisement
Warnings
- Avoid the Samurai hairstyle, and all other tight hairstyles, if you are balding. It adds tension on the hair follicle, thus damaging them.[24]⧼thumbs_response⧽
Advertisement
Things You'll Need
Doing a Simple Samurai Hairstyle
- Brush or wide-toothed comb
- Hair tie
- Hairspray (optional)
Doing a Samurai Top Knot Hairstyle
- Brush or wide-toothed comb
- Fine-toothed comb
- Hairdryer
- Styling wax or pomade
- Hair ties
- Hairspray (optional)
Doing a Braided Samurai Hairstyle
- Moisturizing spray
- Hydrating cream for cornrowing
- Brush or wide-toothed comb
- Rat-tail comb
- Hair tie
- Hair clip (optional)
References
- ↑ http://www.manlycurls.com/2013/04/samurai-hairstyle-curly-men-hair-bun/
- ↑ http://www.manlycurls.com/2013/04/samurai-hairstyle-curly-men-hair-bun/
- ↑ https://www.youtube.com/watch?v=XBmrZCf2dho
- ↑ http://www.manlycurls.com/2013/04/samurai-hairstyle-curly-men-hair-bun/
- ↑ http://www.manlycurls.com/2013/04/samurai-hairstyle-curly-men-hair-bun/
- ↑ https://www.youtube.com/watch?v=XBmrZCf2dho
- ↑ https://www.youtube.com/watch?v=XBmrZCf2dho
- ↑ https://www.youtube.com/watch?v=tLeSUsTprdk
- ↑ https://www.youtube.com/watch?v=tLeSUsTprdk
- ↑ https://www.youtube.com/watch?v=tLeSUsTprdk
- ↑ https://www.youtube.com/watch?v=tLeSUsTprdk
- ↑ https://www.youtube.com/watch?v=tLeSUsTprdk
- ↑ https://www.youtube.com/watch?v=tLeSUsTprdk
- ↑ https://www.youtube.com/watch?v=tLeSUsTprdk
- ↑ https://www.youtube.com/watch?v=8Q3Lq7UvDRM
- ↑ https://www.youtube.com/watch?v=8Q3Lq7UvDRM
- ↑ https://www.youtube.com/watch?v=Wcd8W6HAJio
- ↑ https://www.youtube.com/watch?v=Wcd8W6HAJio
- ↑ https://www.youtube.com/watch?v=Wcd8W6HAJio
- ↑ https://www.youtube.com/watch?v=Wcd8W6HAJio
- ↑ https://www.youtube.com/watch?v=Wcd8W6HAJio
- ↑ https://www.youtube.com/watch?v=Wcd8W6HAJio
- ↑ https://www.youtube.com/watch?v=8Q3Lq7UvDRM
- ↑ http://www.manlycurls.com/2013/04/samurai-hairstyle-curly-men-hair-bun/
About This Article
Advertisement








-Step-11-Version-5.webp)
-Step-10.webp)


-Step-13-Version-2.webp)


-Step-11-Version-5.webp)
-Step-10.webp)
