This article was co-authored by Yan Kandkhorov. Yan Kandkhorov is a Hair Stylist and Owner of K&S Salon, a hair salon based in New York City's Meatpacking District. Yan has over 20 years of experience in the hair industry, is best known for paving the way for iconic hair trends in the industry, and has operated his salon since 2017. His hair salon has been voted one of the Best Hair Salons in New York City in 2019 by Expertise. Yan and K&S Salon has collaborated with leading fashion magazines and celebrities such as Marie Clair USA, Lucy Magazine, and Resident Magazine.
This article has been viewed 48,227 times.
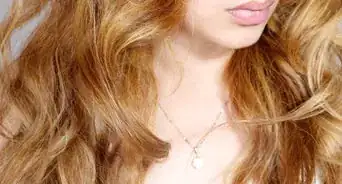
Old Hollywood is known for its glitz and glam. If you like styles that are both classical and vintage, then Old Hollywood might be for you. Getting Old Hollywood curls is easy, and you can do it with a curling iron or with flexi-rods. The flexi-rod technique is the easiest, but it also takes the longest. The curling iron is the fastest, but it takes a little more practice. Choose the method that works the best for you.
Steps
Using a Curling Iron
-
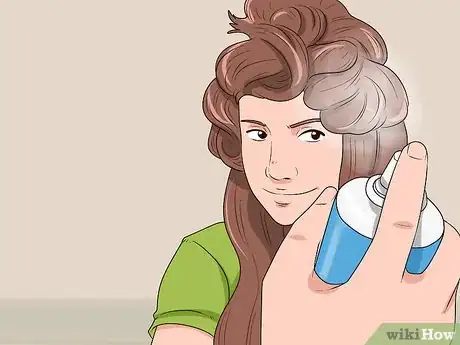
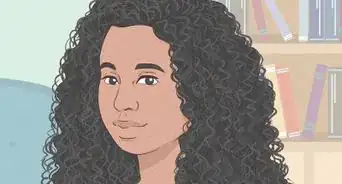
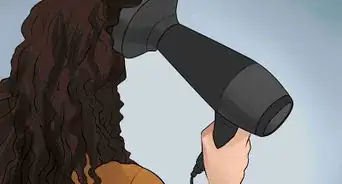
1Apply a volumizing product to freshly-washed hair before drying it. Start with freshly-washed hair. Apply a volumizing mousse to your hair, from roots to ends, then blow-dry your hair. Point the nozzle downwards to ensure that your hair dries sleek and smooth.[1]
- If you have limp hair, it would be a good idea to add a root lifter in addition to the mousse. Alternatively, place a round brush beneath a section of hair, over-direct the hair at a 90 or 135 degree angle at the roots, and then continue blow drying down the strand as usual.
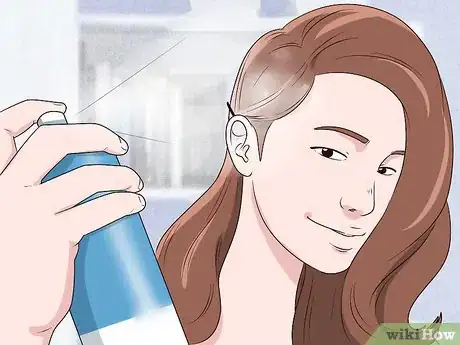
- Apply a light misting of light to medium-hold hairspray to your hair after you dry it. This will help the curls stay better.[2]
-
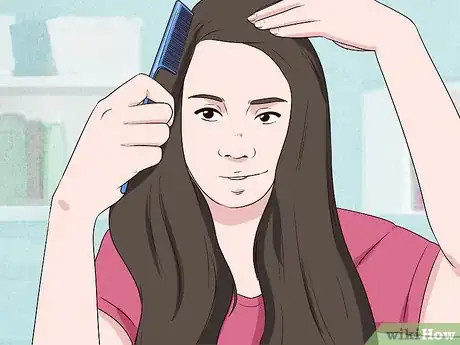
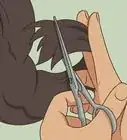
2Part and section off your hair. Create a deep side part in your hair using the handle of a rat-tail comb. Gather the top part of your hair into two temporary buns, one on each side of the part, and secure them with clips.[3]
- It does not matter which side you create the part on, so choose whichever side you prefer or find most flattering.
Advertisement -
3Curl the hair from the bottom layer with a 1½-in (3.81-cm) curling iron. Gather a 1 to 2-inch (2.54 to 5.08-centimeter) wide section of hair. Curl it with a 1½-inch (3.81-centimeter) curling iron, holding the rod horizontally. Hold the iron for a few sections, then release the clamp on the iron.[4]
- If your hair doesn't hold curls well, stick with a 1-inch (2.54-centimeter) curling iron.[5]
- For gentle waves, use a 2-inch (5.08-centimeter) curling iron.
-
4Coil the curl back into place, then secure it with a clip. Use your fingers to gently coil the curl back towards your head. Secure it with a small clip or bobby pin, like making a pin curl. Pinning your curl will help it retain its shape while it cools.[6]
-
5Curl the rest of the hair from the bottom layer, then work on the top. When you get to the top section, curl the hair away from your face. Start on one side and work your way to the center-back of your head, then do the other side. Coil and pin each curl as you finish it.[7]
-
6Mist your hair with hairspray, let it dry, then remove the curls. Let the hairspray dry for five minutes first, then check your curls to see if they have cooled. Once they are cool, remove the clips holding them in place.[8]
- Don't remove the curls while they are still warm, or they might not hold.
-
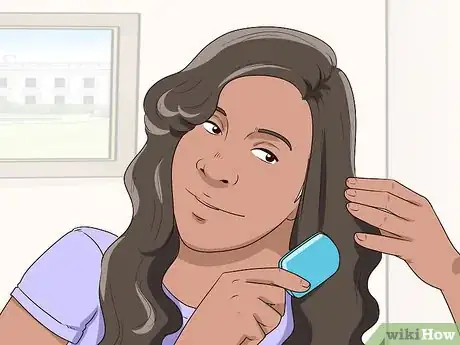
7Brush out your curls. This may seem counter-intuitive, but this is where the magic really happens. Use a bristle brush to gently comb out your curls, starting from the top. Your curls will become softer and more voluminous.[9]
- Mist your brush with some hairspray first. This will help prevent frizz.
-
8Finish off with a shine spray or shine serum, if desired. For a vintage look, push back the hair from your face and pin it behind your ear. Do this on the side of the part that has less hair.[10]
Using Flexi-Rods
-
1Get some large flexi-rods. These are bright, colorful pieces of foam that look a little bit like noodles. You want to get the thickest size you can find.[11]
- Flexi-rods may also be called bendy foam rollers, twist-flex rods, or sponge-rods.
- You can also use bendy foam bun makers with a wavy edge. These will give your hair a wavy pattern.
-
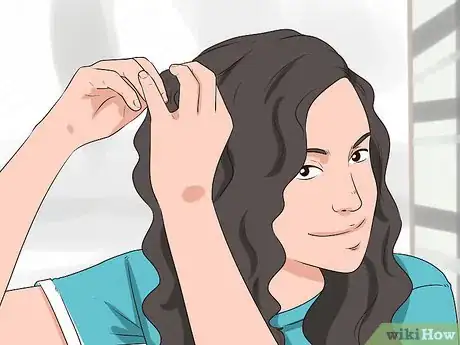
2Create a deep side part with the handle of a rat-tail comb. It does not matter which side the part is on. Your hair will need to be about 70% dry for these curls to work. You can dampen your hair now, or you can mist it with a spray bottle as you go.[12]
-
3Wrap a strand of hair around the flexi-rod. Take a 2-inch (5.08-centimeter) wide section of hair from next to your face. Starting from the end, wrap it around the flexi-rod, going upward towards your head. Bend the ends of the flexi-rod down to secure it.[13]
- If your hair is not already damp, you should mist the strand with water before you wrap it.
- If you are using the foam bun maker, twist the hair section into a rope first. Wrap it around the bun maker, then fold the top and bottom edges down.[14]
-
4Continue curling your hair. Finish the hair to one side of the part first, then do the other. Plan on doing 1 to 2 rows of curls on each side of your head, including the back. The flexi-rods should all be horizontal.[15]
- If you have layered hair, you make have some pieces sticking out. Use bobby pins to pin these down.[16]
-
5Allow your hair to dry overnight. The flexi-rods are soft and squishy, so they should be comfortable to sleep on. If you are worried about messing up your curls, however, you can wrap a silk scarf around your head to protect them. Alternatively, you can dry the curls using a hairdryer, but you must let them cool down before removing the flexi-rods.
-
6Remove the flexi-rods. Once your curls are completely dry (and cool, if you blow-dried them), unfold the flexi-rods, then unwind your hair. Work one curler at a time. If you added bobby pins earlier, you should remove them first.
-
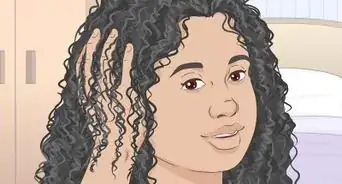
7Separate the strands, then coil them back into place. Use your fingers to separate the curls into smaller curls. Use your fingers to coil them back into shape, making sure that you go with the direction of the curl.[17]
- If you used the foam bun maker, your hair will come out wavy. Use your fingers to gently spread the waves apart.[18]
-
8Brush out the curls to soften them, if needed. Run a brush through your hair, starting at the top and finishing at the bottom. When you get to the ends, place your palm behind the curl. Brushing the hair against your palm will help reduce frizz.[19]
- If you used a foam bun maker, you don't have to brush the waves out.[20]
-
9Finish the style. If your side part got messed up, take a moment to fix it. Set your style with a light misting of hairspray, if needed. For a more vintage look, take the hair from the wider side of the part, and secure it behind your ear with a pin.[21]
Community Q&A
-
QuestionCan I just wash, dry, spray, brush, curl and brush again?
 Community AnswerNo, because if you curl it down and then brush it, the curls get damaged.
Things You'll Need
Using a Curling Iron
- Volumizing mousse
- Light to medium-hold hairspray
- Shine spray or serum
- Hairdryer
- 1½-inch (3.81-centimeter) curling iron
- Rat-tail comb
- Hairbrush
- Hair clips
Using Flexi-rods
- Large flexi-rods
- Bobby pins (if needed)
- Hairbrush
- Hairspray (optional)
References
- ↑ http://www.more.com/beauty/hair/celebrity-hairstyles/old-hollywood-curls-glamorous-hairstyle-holidays
- ↑ http://thegoldengirlblog.com/home/old-hollywood-hair/
- ↑ http://www.more.com/beauty/hair/celebrity-hairstyles/old-hollywood-curls-glamorous-hairstyle-holidays
- ↑ http://thegoldengirlblog.com/home/old-hollywood-hair/
- ↑ http://www.more.com/beauty/hair/celebrity-hairstyles/old-hollywood-curls-glamorous-hairstyle-holidays
- ↑ http://www.more.com/beauty/hair/celebrity-hairstyles/old-hollywood-curls-glamorous-hairstyle-holidays
- ↑ http://thegoldengirlblog.com/home/old-hollywood-hair/
- ↑ http://www.more.com/beauty/hair/celebrity-hairstyles/old-hollywood-curls-glamorous-hairstyle-holidays
- ↑ http://thegoldengirlblog.com/home/old-hollywood-hair/
- ↑ http://thegoldengirlblog.com/home/old-hollywood-hair/
- ↑ https://www.youtube.com/watch?v=HCoKqajGIrc
- ↑ https://www.youtube.com/watch?v=HCoKqajGIrc
- ↑ https://www.youtube.com/watch?v=DIprpy4TTYc
- ↑ https://www.youtube.com/watch?v=X4bmoVItH6w
- ↑ https://www.youtube.com/watch?v=DIprpy4TTYc
- ↑ https://www.youtube.com/watch?v=X4bmoVItH6w
- ↑ https://www.youtube.com/watch?v=HCoKqajGIrc
- ↑ https://www.youtube.com/watch?v=X4bmoVItH6w
- ↑ https://www.youtube.com/watch?v=HCoKqajGIrc
- ↑ https://www.youtube.com/watch?v=X4bmoVItH6w
- ↑ https://www.youtube.com/watch?v=HCoKqajGIrc
- ↑ http://thegoldengirlblog.com/home/old-hollywood-hair/
About This Article
If you want to embrace the glitz and glam of old Hollywood curls, you can easily achieve the style with a curling iron. Start by combing your hair into a side-part, splitting your hair into a top and bottom section, and tying the top part into 2 temporary buns. Take 1 to 2 inch sections at a time from the bottom section, curl them around your iron, and hold them for a few seconds. Then, coil each curl around your fingers and secure it with a clip or bobby pin. When you move onto your top section, curl the hair away from your face. Once you’ve finished, mist your coils with hairspray and leave them to sit for a few minutes. Finally, remove the pins from each of your curls and brush your hair out. For more tips from our Beauty co-author, including how to do old Hollywood curls with flexi-rods, read on!








-Step-17.webp)



-Step-17.webp)


