This article was co-authored by wikiHow Staff. Our trained team of editors and researchers validate articles for accuracy and comprehensiveness. wikiHow's Content Management Team carefully monitors the work from our editorial staff to ensure that each article is backed by trusted research and meets our high quality standards.
There are 9 references cited in this article, which can be found at the bottom of the page.
This article has been viewed 11,783 times.
Doing crafts is a great way to spend quality with your child while helping them express their creativity. Whether you want to make unique crafts with paper, create fun decorations for your home, craft with clay, or focus on holiday-themed crafts, you are sure to make something unique that both you and your child will use and enjoy!
Steps
Crafting with Paper
-
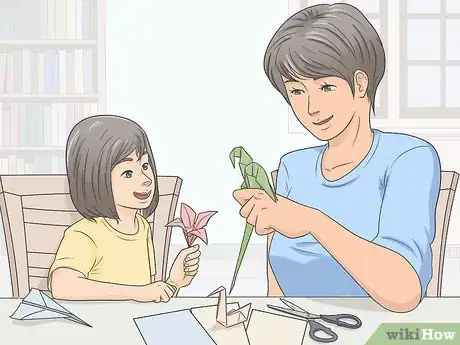
1Make easy origami animals and flowers with colorful paper. Origami is a great option for a craft that you can do with your child almost anywhere. All you need is colored paper squares! Origami plants and flowers are particularly popular for kids. Try out a beautiful origami lily or make several strawberries.
- For older children, try more advanced origami shapes, such as birds. There are tons of origami birds that your child can make, such as a swan, a parrot, a peacock, or a duck.
-
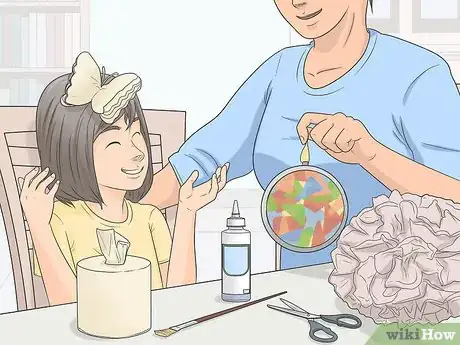
2Create colorful and delicate crafts with tissue paper. Tissue paper crafts are easy to make and great to hang up around your house as décor. With just a few supplies, you can easily help your child make a tissue paper butterfly, tissue paper suncatchers, or pompoms that make great table centerpieces.
- You and your child can also have fun making tissue paper flowers, such as poppies or roses, that you can display in a vase.
- Use different colors of tissue paper for more colorful creations, or use all the same color for a more uniform, simple look.
- Decorate your tissue paper creations even more by adding glitter, sequins, or rhinestones.
-
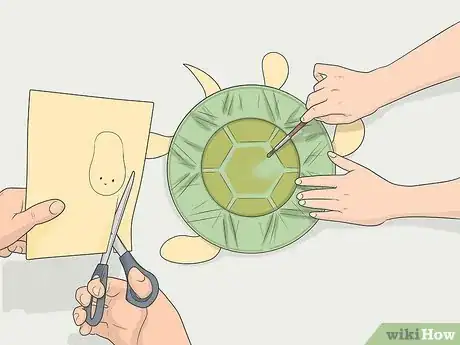
3Use paper plates to create various unique crafts. Paper plates can be used to make a ton of different crafts. Plus, you might already have some in your home! Your child can make their own unique paper plate tambourine, for example, that will entertain them for hours.
- Paper plate animals are also a popular craft for children. Have fun helping your child make a paper plate turtle, lamb, or frog.
- If your child is young, turn craft time into an educational experience by creating a paper plate clock to teach time with.
-
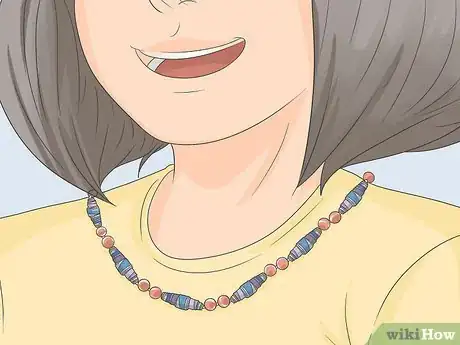
4Fashion a one-of-a-kind paper bead necklace. You and your child can craft your own jewelry by making your own paper beads. Cut triangles out of magazines, colored paper, or wallpaper and add a small dab of glue. Then, roll the bead tightly together from the wide part in to the skinniest part (where the glue is). Hold the glued edge down for about 30 seconds to make sure that it sticks.[1]
- Repeat this process until you have enough beads to thread onto string and make a necklace at your desired length.
- To make your beads last longer and give them a little shine, use a paintbrush to apply a coat of ModPodge over each bead. Hold the string up or tie it up and let it hang until the ModPodge is completely dry.
- For long, skinny beads, cut the triangles to be 1 inch (2.5 cm) wide with 4 inches (10 cm) sides. For shorter, fatter beads, cut your triangles about 1⁄4 inch (0.64 cm) wide at the base with the sides measuring 6 inches (15 cm).
-
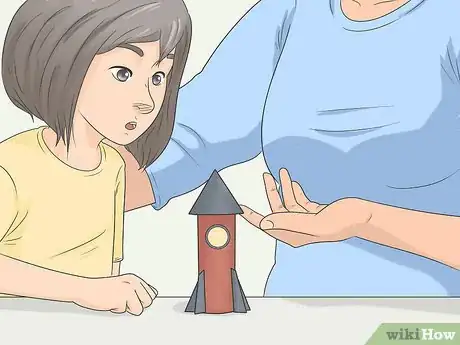
5Get creative with a paper towel roll. Rather than throw your old paper towel rolls away, save and recycle them for fun and creative crafts. With just construction paper, a marker, and glue, you can use your recycled rolls to make a paper towel roll rocket.
- You can also use markers, a belt, scissors, a binder clip and duct tape to create a paper towel lightsaber that will provide your child with hours of active fun!
Doing Decorative Crafts
-
1Create unique décor with recycled egg cartons. Egg cartons can be used to make tons of fun decorative crafts. Help your child make a beautiful egg carton flower bouquet, for example, by separating the egg cups with scissors and painting them your favorite floral colors. Add stems by poking a hole through the bottoms of the egg cups and pulling green pipe cleaners through.[2]
- To secure the stems on your flowers, you might need to bend the pipe cleaners to the side on the inside of the egg cups.[3]
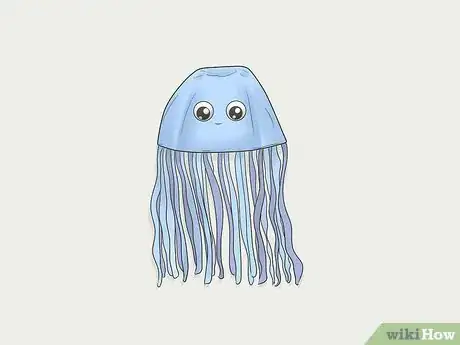
- You can also use a recycled egg carton to create unique tabletop critters, such as an egg carton caterpillar, or hang up a creative egg carton jellyfish.
-
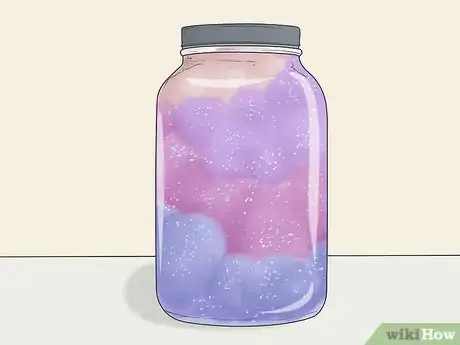
2Use Mason jars to create mesmerizing decorative crafts. With just a Mason jar, glow sticks, and scissors, you and your child can make glow stick lanterns that you both will be excited to display. For a slightly more advanced Mason jar decorative craft, use glitter, cotton balls, and paint to create a homemade galaxy jar.[4]
- For a more colorful galaxy jar, use more than 1 paint color.
-
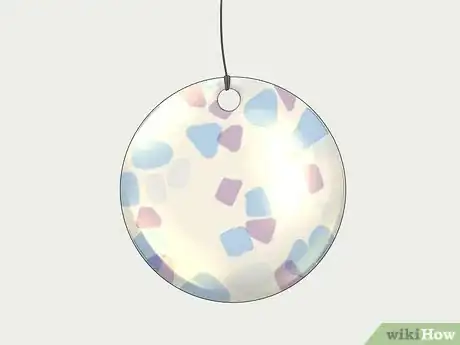
3Make beautiful melted bead sun catchers. You and your child will love the lights that shine through your homemade sun catchers! Create these by arranging pony beads in the bottom of a muffin tin.[5] Melt the beads in the tin on your grill for 20 minutes. Let the melted beads cool completely, then turn the muffin tin over to pop the sun catcher(s) out.
- To hang your sun catcher(s), drill a hole in each sun catcher about 1⁄2 inch (1.3 cm) from the edge. Cut a piece of string at your desired length. Then, thread the string through the drilled hole. Tie the loose ends in a knot or secure bow.
- Hang your sun catcher(s) on a tree branch, fence post, window sill, or anywhere that gets a lot of natural light.
-
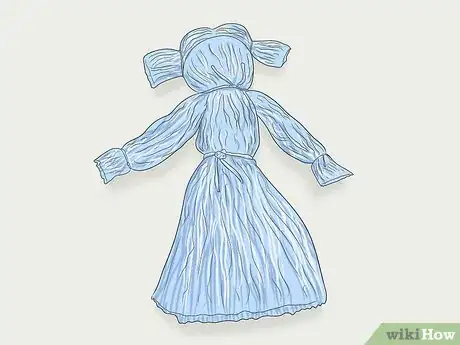
4Create keepsake crafts with yarn. While crafts with yarn can be a bit complex, your child will love crafting their own decorative yarn pieces that they can keep forever. Use different colored yarn and scissors to help your child make their own yarn doll, or experiment with different layouts to create flower yarn art to hang on your wall.
- If your child is older and a bit more advanced, you can make a unique yarn wall hanging together that you can display in your home.
Helping Your Child Craft with Clay
-
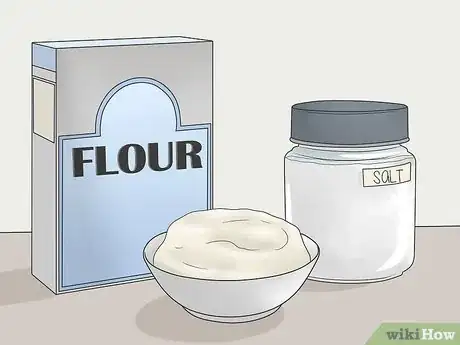
1Make your own homemade clay. With just flower and salt, you can start crafting with clay by making your own homemade clay. Your child will love mixing up the clay and then using it to create fun craft projects.
- Creating your own clay with flour and salt also helps you avoid exposing your child to any chemicals that might be present in clay you would buy at an art supply store.
-
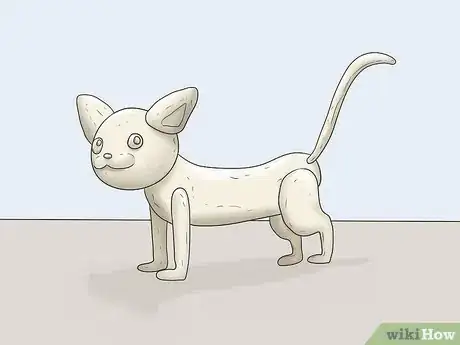
2Create animal figurines out of clay. You and your child will have a great time making animal figurines out of clay. Try a clay cat, or get creative and make an entire jungle of clay animals.
- For a particularly adorable craft, try making a clay penguin.
- Before the clay is dry, stick an ornament hook in the top of your clay animal figurines to create your own unique Christmas ornaments.
-
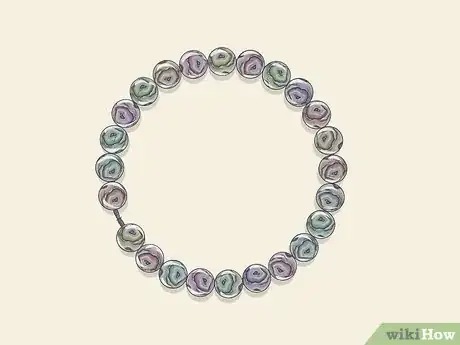
3Fashion unique jewelry by making your own clay beads. With several different colors of clay, a toothpick, and an oven, you and your child can have fun creating your own clay beads. Bake the beads to set the clay, then use any string or twine to make a one-of-a-kind bracelet or necklace.
-
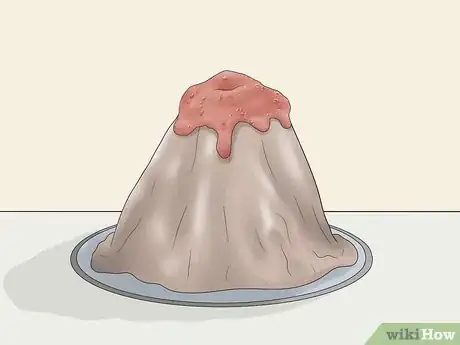
4Do some experimenting with a clay volcano. With just some clay, vinegar, and dish soap, you and your child can craft your own volcanic science experiment. Mold your volcano out of clay, then add vinegar and dish soap to create a volcanic eruption.
- Add a few drops of red food coloring to the vinegar and dish soap to make it look more like real lava.
-
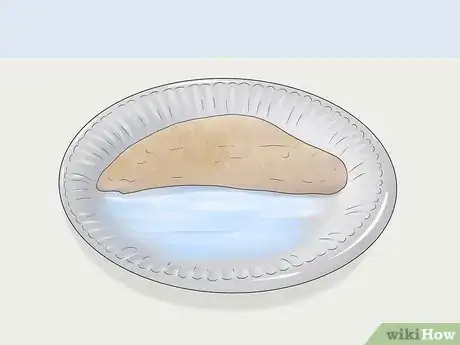
5Create a mini beach with clay. First, create your ocean by painting a wavy line across your paper plate and filling it in with blue paint. Cover the rest of the plate’s surface with white clay. Then add about 2 tablespoons (30 mL) of sand. Spread the sand evenly across the clay and then press it down to secure it into the clay.[6]
- After you’ve created your ocean and sand, you can decorate your beach however you want!
- Stick a cocktail umbrella into the sand-covered clay for a fun beach umbrella.[7]
- Add a beach towel by cutting a small rectangle of colored paper, about 2 inches (5.1 cm) wide and 4 inches (10 cm) long. Use scissors to cut several small slits at the end of the paper to make the towel look frayed. You can also use crayons or paint to add a design to your beach towel before gluing it on the clay and sand under the cocktail umbrella.
- Mold extra clay into sea creature shapes to add to your mini clay beach.
Making Holiday-Themed Crafts
-
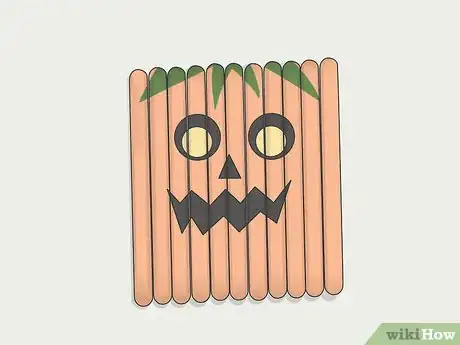
1Craft a popsicle stick pumpkin for fun Halloween décor. Start by lining up 11 popsicle sticks in a row. Then, apply a line of superglue across 2 more popsicle sticks. Attach all the popsicle sticks together by placing the glue side of the 2 popsicle sticks across the 11 lined-up popsicles sticks. Let the glue dry completely. Once dry, flip the popsicle stick sheet over with the 2 bracing sticks facing down. Paint the front with orange acrylic paint and let the paint dry completely.[8]
- Once your popsicle stick pumpkin is glued, painted, and dried, you can decorate the face however you choose!
- Try cutting eyes, a nose, and mouth out of black felt. Use superglue to attach these features to your pumpkin’s face.
- Use black acrylic paint to paint a jack o’ lantern face on your pumpkin.[9]
- Glue a spring of fresh greenery to the back of your pumpkin to create a unique and creative pumpkin stem.
-
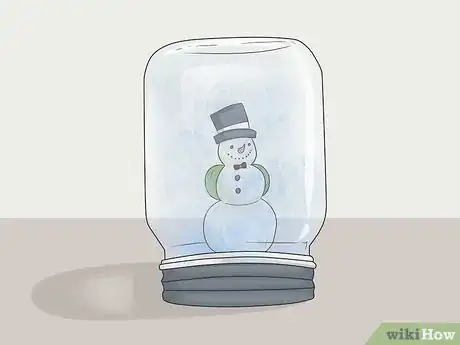
2Make a Christmas snowglobe in a jar. Choose a Christmas-themed figurine, such as a snowman or Santa Claus, and glue it to the inside of the lid of your jar. While the glue dries, fill the jar about 7/8 full with water. Add 1 teaspoon (4.9 mL) of glycerin and 1 to 2 teaspoons (9.9 mL) of glitter. Screw the lid with the attached figurine tightly onto the jar, turn the jar over, and shake to enjoy your homemade snow globe![10]
-
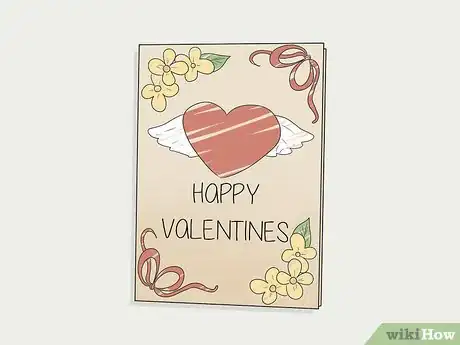
3Help your child craft original Valentine’s Day cards. Help your child show his or her friends that they care on Valentine’s Day with homemade cards. Add candy, glitter, ribbons, or other decorations for cards that are perfect for the holiday that is all about love.
- You can also help your child make tissue paper envelopes so they can deliver their handmade cards in style.
-
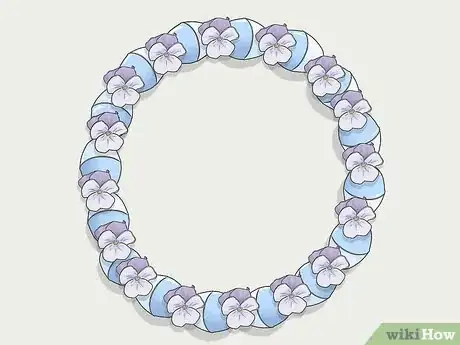
4Construct a homemade Easter wreath with flowers and Easter eggs. First, make the base of the wreath by creating a circle in the size of your choice with 22 to 26 gauge craft wire. Twist the ends of the wire to secure. Then, choose some of your favorite spring flowers and pastel plastic Easter eggs. Cut the stems off the flowers as close to the base of the head of the flower as possible. Use a hot glue gun to attach the flower heads and Easter eggs to the wire wreath and let the glue dry completely before hanging your wreath up.[11]
- If your child is very young, you will likely need to help them with the hot glue gun, as these can be dangerous for young children to use.
Community Q&A
-
QuestionCan you explain how to make a Mother’s Day craft?
 Sarah AlexanderCommunity AnswerFor Mother’s Day, you could make your mother some origami flowers or make her a necklace out of beads that are her favorite color. Anything you get her she will love and cherish.
References
- ↑ https://www.goodhousekeeping.com/home/craft-ideas/how-to/g1389/diy-kids-activities/?slide=18
- ↑ https://www.parents.com/fun/arts-crafts/kid/creative-egg-carton-crafts/?slide=slide_2033175#slide_2033175
- ↑ https://www.parents.com/fun/arts-crafts/kid/creative-egg-carton-crafts/?slide=slide_2033175#slide_2033175
- ↑ https://www.pbs.org/parents/crafts-and-experiments/make-a-galaxy-in-a-jar
- ↑ https://artfulparent.com/making-melted-bead-suncatchers/
- ↑ https://www.firstpalette.com/craft/mini-beach.html
- ↑ https://www.firstpalette.com/craft/mini-beach.html
- ↑ https://www.countryliving.com/diy-crafts/g2543/creative-halloween-pumpkin-ideas/
- ↑ https://www.easypeasyandfun.com/popsicle-stick-pumpkin-craft/
