This article was co-authored by wikiHow Staff. Our trained team of editors and researchers validate articles for accuracy and comprehensiveness. wikiHow's Content Management Team carefully monitors the work from our editorial staff to ensure that each article is backed by trusted research and meets our high quality standards.
This article has been viewed 19,870 times.
Learn more...
Cymbidium orchids are wonderful plants to grow and enjoy. One reason they are so great is that can be easily propagated through division. To divide a cymbidium, you need to inspect its health and pick an appropriate spot to divide it. Then you can take the plant apart and repot each new piece. With proper division and care, you will have another fine specimen to enjoy.
Steps
Uprooting Your Cymbidium Orchid For Division
-
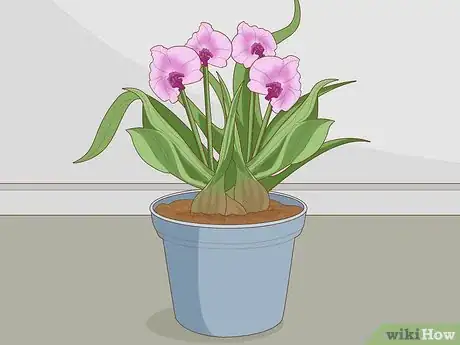
1Determine if your plant is big enough to be divided. In order for cymbidium orchids to be divided successfully, each part needs to have 3 to 4 live pseudobulbs. The pseudobulbs are the round nods that extend from the surface of the soil up a few inches before the stems of the leaves begin. If your plant has 6 or more that have foliage coming out of them, you can move forward with dividing.[1]
- It can take several years for this many pseudobulbs to develop.
- If your plant has pseudobulbs that are dying or turning brown and the pot you’re using seems crowded, it’s likely time to divide your cymbidium orchid.[2]
-
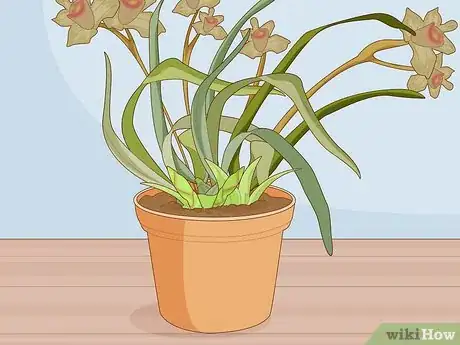
2Wait for blooms to fade and new growth to start developing. Cymbidium should be divided following flowering, as disturbing the plant while blooming will kill the blooms and the plant will have less energy to form new roots. It’s best to also wait for 5 to 6 inches (13 to 15 cm) inches of new shoot growth to develop so that the plant is fully in growth mode.[3]
- The exact time of year this occurs depends on your location but blooming usually ends and growth starts in spring.[4]
Advertisement -
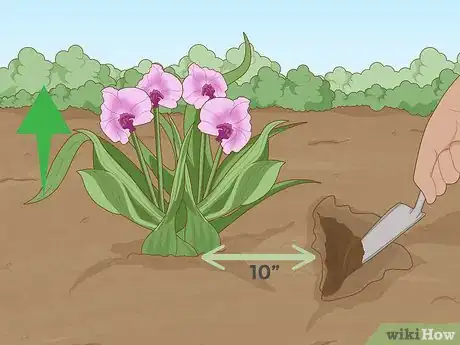
3Pull the orchid out of its pot or out of the ground. In order to properly divide your orchid, you need to get a look at its roots. If your orchid is in a pot, you may need to tap or push around the sides of the pot to loosen the root ball. If your orchid is in the ground, dig out at least 10 inches (25 cm) away from the edge of the clump, so that you protect the roots.
- When pulling the plant out of its pot or the ground, hold onto the large mass of leaves near the base. Be careful not to break off the pseudobulbs by holding on to tightly, but use the greenery to get the plant out.
- If your orchid has roots growing out of the bottom of the pot, you can cut them off to get the pot off the plant. This will not hurt the plant.[5]
-
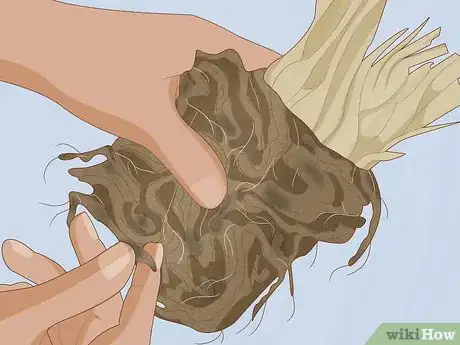
4Remove the planting medium around the roots. Gently massage the root ball so that most of the bark, perlite, and moss that is surrounding the roots comes off. Do this gently, so that the healthy roots do not get broken off. However, do pull off any shriveled or dead root material, so that only healthy roots remain.[6]
- In some cases, such as if the plant came out of the ground, this will be a lot of material.
- In other cases, such as if your plant has been in a pot for many years, there will be very little material because the roots will have taken up most of the room.
Tip: If some of the roots get broken off at this point, don’t fret. Most healthy cymbidiums can handle losing about a third of their roots during repotting without a problem.
Cutting the Cymbidium Apart
-
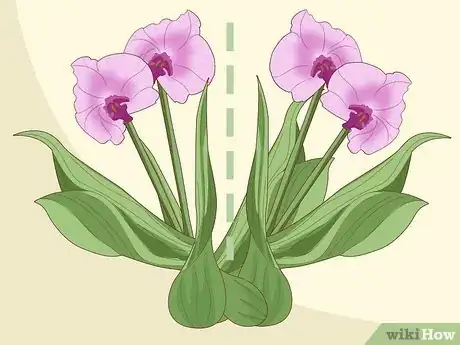
1Separate the pseudobulbs into natural clumps. Look for natural groupings of at least 3 to 4 pseudobulbs on your plant. On some plants, the natural line of division will be obvious. However, on some plants you will just need to pick a spot that gives all of your new plants an equal amount of pseudobulbs.[7]
- If you have a plan before you start dividing the plant, you are more likely to be successful with your dividing.
Tip: When planning out which pseudobulbs will be grouped together, try to make sure that each new plant will have some that are really healthy and vigorous. You don't want one new plant to have all the small, weaker pseudobulbs.
-
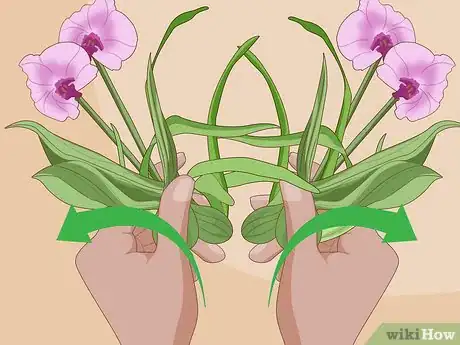
2Pull the root ball apart with your hands, if possible. Some cymbidium orchids will be loose enough to pull apart with your hands. Work your fingers into the root ball in the areas where you want to divide the ball. Push your fingers down into the plant and push the sections apart.
- When you do this, some roots will be torn, but the main groupings of pseudobulbs should remain intact and they should have lots of roots still attached to them.
-
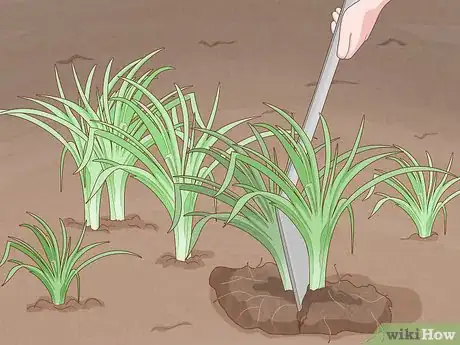
3Use a saw or spade to separate the clumps of pseudobulbs, if necessary. Many large cymbidium orchids are too dense and strong to divide with your hands. Instead, use a saw or spade to cut the plant into sections. While you cut through the roots, hold your groups of pseudobulbs together so they don’t break apart.
- You can use a variety of types of saws to divide the plant. However, a saw with small teeth will cut through the plant more easily and will do less damage to the plant as it cuts.
Re-potting Your Divided Orchid
-
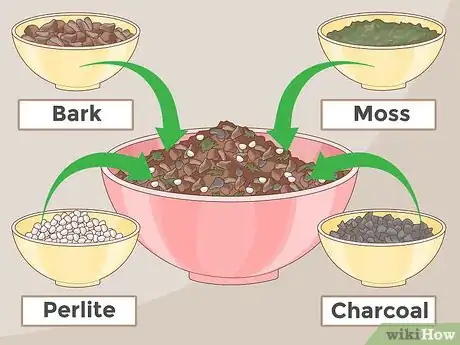
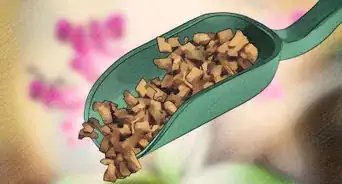
1Gather the correct planting medium. Cymbidium orchids should be planted in a light, loosely packed mix. Whether you are putting the orchid in a pot or the ground, you can use a commercial mix made specifically for cymbidium orchids. However, you can also make your own mixture of bark, moss, perlite, and charcoal.[8]
- You want a potting mix that will retain some moisture but also drains quickly. Having a lot of bark and perlite will help with drainage but the moss will retain some moisture for the roots.
Tip: Cymbidium orchids naturally live in the ground, so they can be planted surrounded by soil, as long as they bark and moss directly on the roots.
-
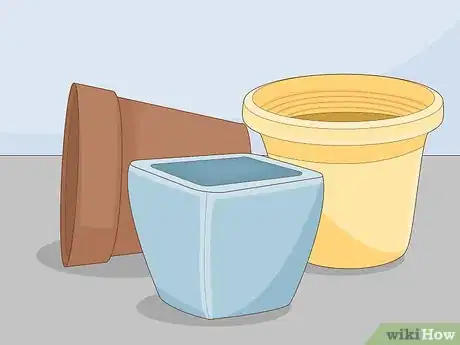
2Get several orchid pots. Orchids do well in terra cotta, ceramic, or plastic pots. There are special pots available at most garden centers that are made specifically for orchids. The key is that they have a large drainage hole or multiple drainage holes that give the roots air circulation.
- Pick a pot for each divided plant that will fit its root system snuggly. Your cymbidium orchids like to be contained, so giving them large pots is not good for them.[9]
-
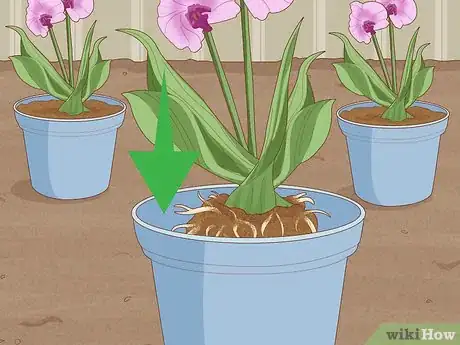
3Place each chunk of orchid in a separate pot. Make sure the bottom of the roots is down at the bottom of the pot. The crown of the plant should be at the top of the pot where it will not be covered in planting material. Place the plant in the pot before any medium to ensure that the roots extend all the way to the bottom of the pot.[10]
- Since cymbidium orchids like to grow in a contained area, put each divided piece in a pot even if you want to put it in the ground. You can then place the pot into the ground.
-
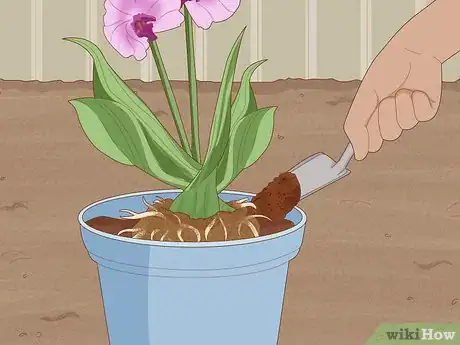
4Fill the pot with planting medium. Grab handfuls of your potting medium and slide them down the sides of the pot to the bottom. Push down the planting medium as you go until it is all around the roots. Once the pot is full, make sure that the plant is firmly held in place.[11]
- You don’t need to compress the planting medium into the pot really solidly. As long at the plant is in the pot firmly, you have compressed it enough.
- Once the pot is full of potting material, give it a soak with water.
-
5Give your newly divided plants attentive care for 4 to 6 weeks. It should take 4 to 6 weeks for the new plant to establish itself, so you should look at it at least weekly during that time. Keep it in a shady spot during that time. Also, make sure that it doesn’t dry out completely by testing the surface for moisture.[12]
- Once the plant it developing new pseudobulbs, you can be pretty sure that it is doing well.
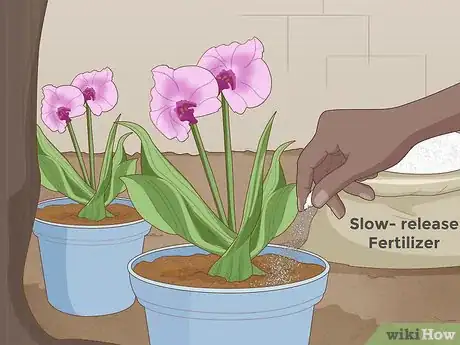
- About a month after dividing, feed your new plants with a slow-release plant fertilizer to help it thrive.
Thing's You'll Need
- Cymbidium Orchid
- A saw or hand spade
- Orchid pots
- Orchid potting medium
References
- ↑ https://www.abc.net.au/gardening/factsheets/dividing-orchids/9431886
- ↑ https://www.rhs.org.uk/advice/profile?pid=389
- ↑ http://www.aos.org/orchids/orchids-a-to-z/letter-c/cymbidium.aspx
- ↑ https://www.rhs.org.uk/advice/profile?pid=389
- ↑ https://youtu.be/CmOVDKjAYHA?t=71
- ↑ https://www.rhs.org.uk/advice/profile?pid=389
- ↑ https://www.abc.net.au/gardening/factsheets/dividing-orchids/9431886
- ↑ https://youtu.be/EhDpOLvw7h8?t=102
- ↑ https://www.abc.net.au/gardening/factsheets/dividing-orchids/9431886


-Step-8.webp)


