This article was co-authored by Lana Starr, AIFD. Lana Starr is a Certified Floral Designer and the Owner of Dream Flowers, a floral design studio based in the San Francisco Bay Area. Dream Flowers specializes in events, weddings, celebrations, and corporate events. Lana has over 14 years of experience in the floral industry and her work has been featured in floral books and magazines such as International Floral Art, Fusion Flowers, Florist Review, and Nacre. Lana is a member of the American Institute of Floral Designers (AIFD) since 2016 and is a California Certified Floral Designer (CCF) since 2012.
There are 10 references cited in this article, which can be found at the bottom of the page.
This article has been viewed 30,308 times.
Flowers add a special touch to any home, but they won’t last long without water and a vessel to hold them. If you don’t have a vase lying around, don’t worry. Flowers look beautiful in a variety of household containers. If you want to get creative, you can even make your own unique display out of common items. Once you find the right container, just trim the flowers and add water for a beautiful arrangement.
Steps
Finding Another Container
-
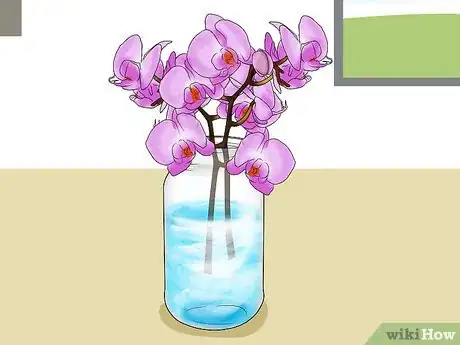
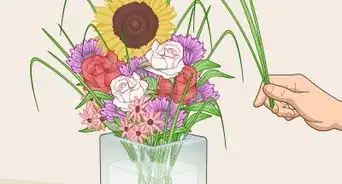
1Stick the flowers in empty glass jars or bottles. Glass jars and bottles look similar to a vase. Cut the flower’s stems to same length as the jar or bottle, so that the petals emerge just over the top of the vessel.[1]
- To give your jar or vase an extra flair, try tying a colorful ribbon or a thick piece of twine around the middle.
EXPERT TIPLana Starr is a Certified Floral Designer and the Owner of Dream Flowers, a floral design studio based in the San Francisco Bay Area. Dream Flowers specializes in events, weddings, celebrations, and corporate events. Lana has over 14 years of experience in the floral industry and her work has been featured in floral books and magazines such as International Floral Art, Fusion Flowers, Florist Review, and Nacre. Lana is a member of the American Institute of Floral Designers (AIFD) since 2016 and is a California Certified Floral Designer (CCF) since 2012.Certified Floral Designer & Owner, Dream Flowers
 Lana Starr, AIFD
Certified Floral Designer & Owner, Dream FlowersExpert Trick: To make a tall hand-tied bouquet, arrange all of the stems so they're vertical and parallel to each other. For a wider bouquet, place all of the stems at an angle to each other and bind them where they all intersect.
-
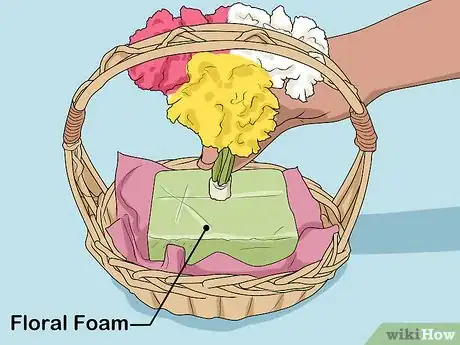
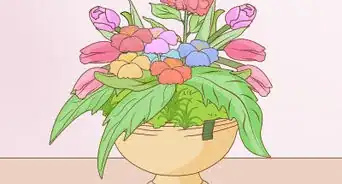
2Arrange flowers in a basket with floral foam. Any basket you have lying around will work. Soak floral foam in water until it sinks. Place the foam along the bottom of the basket. Stick the end of each stem into the foam. The flowers will absorb water from the foam.[2]
- Buy floral foam at flower shops and garden stores.
Advertisement -
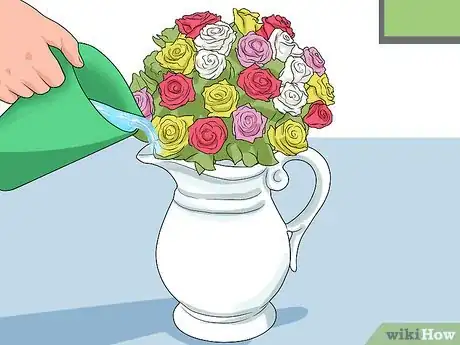
3Fill a pitcher with water for larger bouquets. If you have a big bouquet of flowers, a jar or basket may not be big enough. Instead, a water pitcher makes for a great vase. Watering cans, decanters, and large teapots can also be used in this way.[3]
-
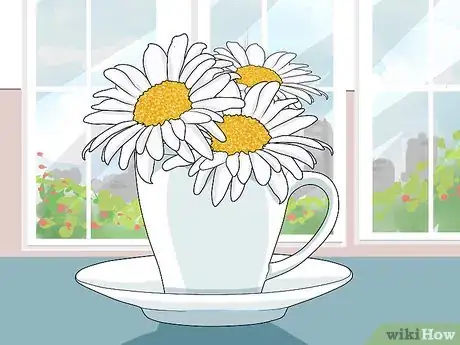
4Place flowers with shorter stems inside of a cup or mug. If the stem of the flower is long, cut it down to about 2–3 inches (5.1–7.6 cm). The petals should rest just against the lip of the cup. Some small vessels you can use include:[4]
- Tea cups
- Coffee mugs
- Drinking glasses
- Wine glasses
- Dessert bowls
Crafting Your Own Display
-
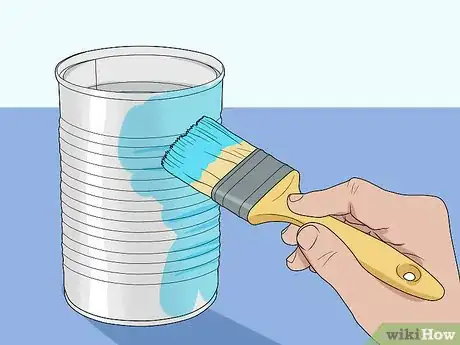
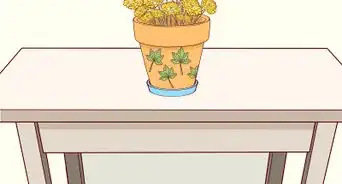
1Paint a tin can in your own unique design. For this project, you will need empty cans, paint brushes, and either acrylic or chalk paint. You can use empty food cans (for smaller flowers), coffee tins, or paint canisters (for larger bouquets).[5]
- To start, clean out the can thoroughly. Remove any labels from the outside. Wash the inside with dish soap and water. Dry it off with a towel.
- Once it is thoroughly dry, paint the outside however you like. You can leave it a solid color, add polka dots, or draw stripes. Let your imagination guide you!
- Dry the cans in a well-ventilated area. It may take 1-2 days for the tins to dry completely.
- Cut the flower stems so that they are the same length as the can. You are now ready to display your flowers!
-
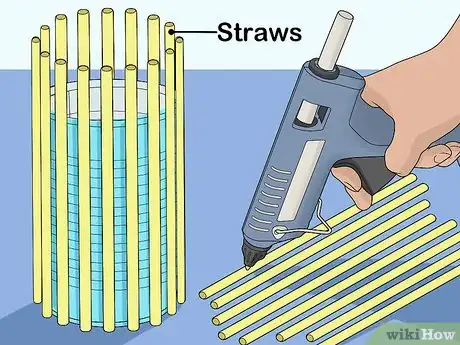
2Make a one-of-a-kind centerpiece with straws or pencils. Gather a jar or empty tin can, hot glue gun, and roughly 40 straws or pencils, depending on the size of the container. Choose straws or pencils with a design that you like. Rainbow colors and polka dots work well for this project.[6]
- Heat up the hot glue gun. Once it is ready, draw a line of glue on 1 side of the pencil or straw. Press the pencil or straw against the vessel vertically. Hold it for a second until the glue cools.
- Glue all of the straws or pencils around the vessel until the vessel is completely covered. Once the glue dries, fill the vessel with water and place your flowers inside.
-
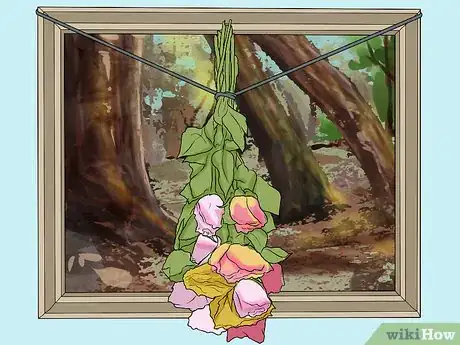
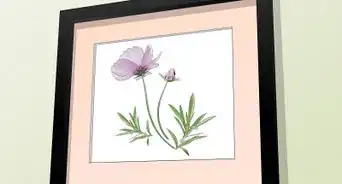
3Hang the flowers upside down. Hanging flowers will preserve them by drying them out. You won’t need to water the flowers or clean a container. Tie ribbon or wire around the stems. Make sure that it is snug. Let the flowers hang from a hook, nail, or picture frame.[7]
- This works best with individual flowers or with small bundles (3-4 stems) of flowers.
- For larger bouquets, put a rubber band around the stem to keep the flowers together before tying a ribbon or wire to hang it.
-
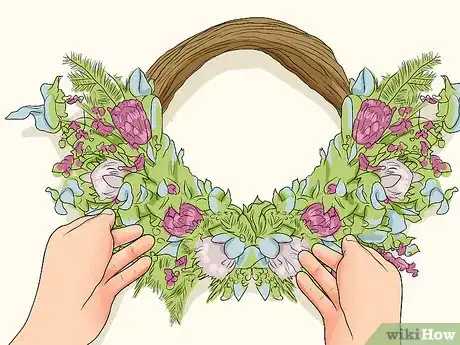
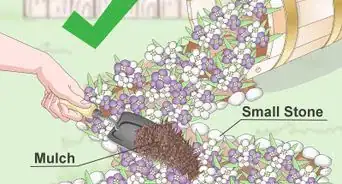
4Weave a wreath with flowers and other plants. If you have an abundance of flowers on hand, a wreath is a great way to use them. Buy either a foam or grapevine wreath at a craft store or flower shop. Use regular flowers or add other plants into the mix, such as ferns or vines.[8]
- Divide and arrange your flowers into 8 separate bundles. Each bundle should be large enough to cover roughly 1/8 of the wreath.
- Take the first bundle and wrap the stems against the wreath with wire. Take the next bundle and place it so that the petals of the second bundle are covering the stems of the first. Once again, tie the stems to the wreath with wire.
- Continue to do this around the wreath. With the last bundle, hide the stems under the petals of the first bundle. Use any remaining flowers to cover up holes in the wreath.
- You do not need to provide water for a wreath. That said, the wreath may not last as long as putting flowers in a container or vessel.
Placing Cut Flowers in a Container
-
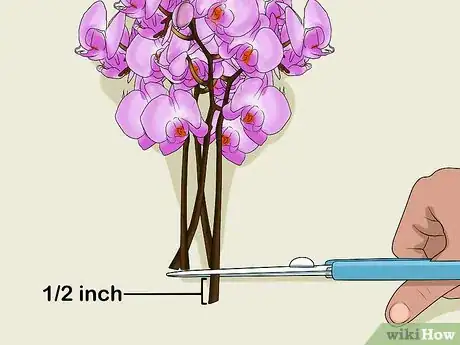
1Cut 1⁄2 inch (1.3 cm) from the stems of the flowers. Cutting off the bottom of the stems will ensure that your flowers last for a long time. To cut the stems, use scissors, shears, or a sharp knife.[9]
- For longer stems, you may need to trim them down so that they fit the container. Aim to make the stems the same length or slightly longer than the length of the container.
-
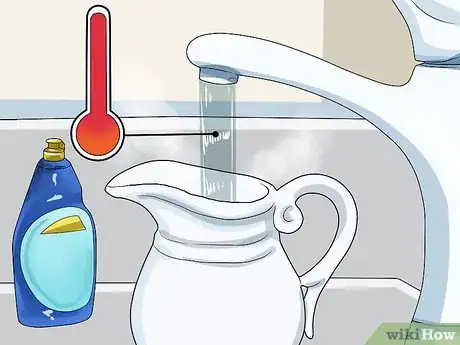
2Clean the vessel thoroughly before using. Any germs or dirt in the vessel can cause your flowers to die early. Use hot water and soap to clean out the container. Rinse it out thoroughly so that no soap remains. Dry it with a towel before using.[10]
-
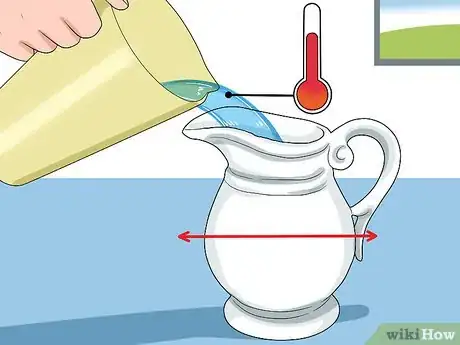
3Fill the container halfway with warm water. The water should be slightly warm to the touch but not hot. Let the water sit for a few minutes before you add the flowers. This will release any bubbles in the water.[11]
-
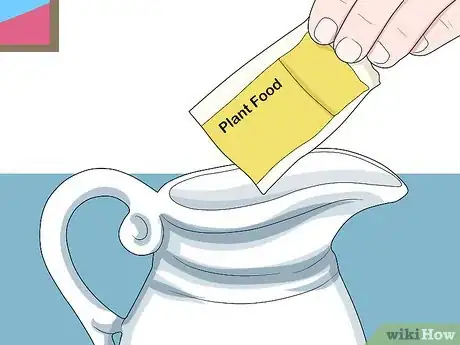
4Add plant food. Plant food usually comes in a little packet with your bouquet. If not, buy it at a flower shop or garden store. Add the food to the water to give your plant the essential nutrients that it needs to live.[12]
- If you can’t find plant food, you can still put your flowers in the vase with the water. Just be aware that they may only last 3-5 days before wilting.
-
5Place the flowers in a cool area. Warmer temperatures can cause the flowers to decay faster. Display the flowers in the coolest part of the room to keep them looking fresh and vibrant for longer.[13]
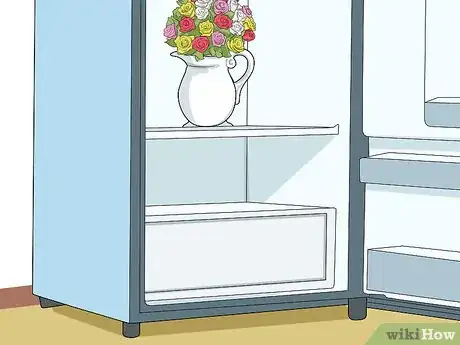
- If you’re going away for a few days, place the flowers in the refrigerator. Just make sure that they are not close to any fruits. The gases that fruits release could cause the flowers to wilt.
Things You’ll Need
Finding Another Container
- Glass jar or bottle
- Basket
- Pitcher
- Cup or mug
Crafting Your Own Display
- Tin can
- Acrylic or chalk paint
- Paint brushes
- Straws or pencils
- Glue gun
- Wire or twine
- Foam or grapevine wreath
Placing Cut Flowers in a Container
- Scissors or shears
- Dish soap
- Plant food
References
- ↑ http://www.countryliving.com/entertaining/g207/floral-displays-0606/
- ↑ https://jonespg.com/17-unique-flower-containers-alternatives-vases/
- ↑ http://www.countryliving.com/entertaining/g207/floral-displays-0606/
- ↑ http://www.cosmopolitan.com/lifestyle/how-to/a29991/flower-hacks-that-will-blow-your-mind/
- ↑ http://www.countryliving.com/entertaining/g207/floral-displays-0606/?slide=32
- ↑ http://www.countryliving.com/entertaining/g207/floral-displays-0606/?slide=40
- ↑ http://www.cosmopolitan.com/lifestyle/how-to/a29991/flower-hacks-that-will-blow-your-mind/
- ↑ https://www.vogue.com/article/how-to-make-a-wreath
- ↑ http://anrcatalog.ucanr.edu/pdf/8113.pdf
- ↑ http://anrcatalog.ucanr.edu/pdf/8113.pdf
- ↑ https://www.washingtonpost.com/news/speaking-of-science/wp/2016/05/03/how-to-keep-fresh-cut-flowers-from-dying-with-science/?utm_term=.9b47fffe4f8f
- ↑ https://www.washingtonpost.com/news/speaking-of-science/wp/2016/05/03/how-to-keep-fresh-cut-flowers-from-dying-with-science/?utm_term=.9b47fffe4f8f
- ↑ https://www.washingtonpost.com/news/speaking-of-science/wp/2016/05/03/how-to-keep-fresh-cut-flowers-from-dying-with-science/?utm_term=.9b47fffe4f8f
