This article was co-authored by Ylva Bosemark. Ylva Bosemark is a high school entrepreneur and the founder of White Dune Studio, a small company that specializes in laser cut jewelry. As a young adult herself, she is passionate about inspiring other young adults to turn their passions into business ventures.
This article has been viewed 74,242 times.
There's nothing like the right piece of jewelry to finish an outfit. Sometimes, however, that right piece can be difficult to find. Solve that problem by designing your own piece of show-stopping jewelry. You can work from scratch, or redo a vintage piece.
Steps
Designing Jewelry at Home
-
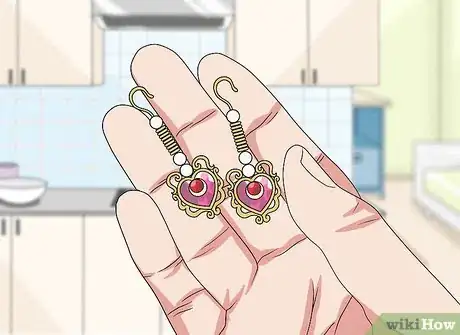
1Browse websites and jewelry stores for inspiration. When it comes to designing jewelry at home, you will need some inspiration before you start drawing. Browse jewelry online or head to your local craft store or craft show to browse the selection. Perhaps a pendant or gemstone will catch your eye. Once you are inspired, it should be easy to begin designing your jewelry.
-
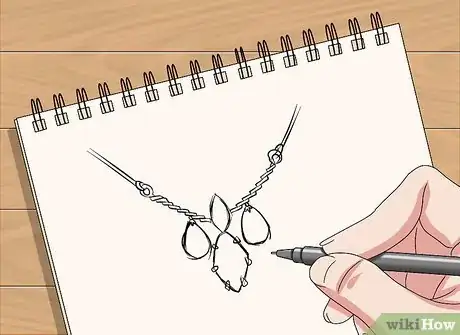
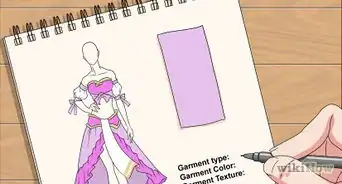
2Begin sketching. If you’re unsure where to start, try sketching basic shapes and then begin embellishing those shapes. If you’re still lost, just try some mindless sketching for five minutes or so. This may produce a design you might not have thought of otherwise.
- In order to start designing jewelry on paper, you will need blank paper and pencils. These can be easily purchased at a craft store near you or even at a local bookstore. Browse the selection of sketchbooks until you find one that sparks your creativity and helps you feel motivated to design.
- As you sketch your piece, label each part of the design with the material you will be using. For example, if you are sketching a red plastic bead, label it on your design. Though it may seem obvious to you now, you may forget what you were sketching later on.
EXPERT TIPYlva Bosemark is a high school entrepreneur and the founder of White Dune Studio, a small company that specializes in laser cut jewelry. As a young adult herself, she is passionate about inspiring other young adults to turn their passions into business ventures.Jewelry Maker & Entrepreneur
 Ylva Bosemark
Jewelry Maker & EntrepreneurTrying to decide whether to sketch by hand or on a computer? Ylva Bosemark, a jewelry designer and entrepreneur, says: "I’m not the best illustrator, but I love drawing it by hand and on paper first. Sometimes when I’m designing on the computer, it becomes too artificial. It’s so easy to draw curved shapes and swirls with a pen, but on the computer it’s more difficult — that constraint shows in the end product and it never looks as great."
Advertisement -
3Consider colors. If you enjoy bright, vibrant colors, you will want to incorporate this into your designs. If you prefer metallic finishes, you can use metallic colors in your designs as well. Designing your own jewelry gives you the freedom to experiment and create whatever you can think of and what you like best!
- Consider contrasting dark and light tones.
- Colors from opposite sides of the color wheel will pop.
- Using 3-5 colors adjacent on the wheel will create a harmony.
- Try matching a color with the two colors beside its opposite on the color wheel.
-
4Think about shapes. As you sketch, think about the shape you would like to create. Perhaps you would like to incorporate rectangles or zig zags into your design. Perhaps you love spheres or circles and enjoy working with rounder shapes. Consider matching the shape of the whole piece and the shape of the beads or ornaments.
- For instance, you could make a round bracelet with round beads. You could also put a heavy, narrow bead hanging straight down from a light chain--this will create a sharp triangular shape ending in a point.
- Consider negative space. Think of hoop earrings: the emptiness of the hoop highlights the wearer's jawline. Think about what your jewelry will frame.
-
5Don't forget wearability. It's easy to get carried away by your design and end up with something too heavy or jagged for comfort.[1] Think about the weight of your jewelry, and consider what it will hang from. For instance, a heavy necklace that drapes around your shoulders will be less painful than heavy earrings suspended from your earlobes.
- Similarly, jagged metal earrings are unlikely to hurt you, as they hang away from your face, but a spiky necklace could end up pricking your skin.
-
6Browse supplies for inspiration. Head to a craft store in your area to gather jewelry supplies, such as beads, chains, clasps, string, etc. You may get ideas from the materials at hand. Having these materials in your possession may also help to inspire you when you are sketching out your ideas.
Creating a Custom Piece with a Jeweler
-
1Sketch out your idea. If you have something in mind, sketch it out on a piece of paper. Don’t be intimidated if you’re not particularly gifted in the art department; simply aim to get a rough draft on paper. If you don’t have any ideas, don’t fret. Jewelers can work with you to develop a custom piece that will be meaningful to you for years to come.
- Save photos of the jewelry that inspires you on your phone or print them out to bring with you. This will give the jeweler an idea of what you are looking for.
-
2Find a jewelry store that will work with you on a custom design. Many jewelry stores offer custom design centers or studios to work with you on designing your perfect piece. You can find custom jewelers near you by conducting an online search with the phrase, “Custom jeweler in Detroit, MI.” Jot down some that look interesting to you on a piece of paper or your device’s notepad. Call or visit the stores to talk about their services.
-
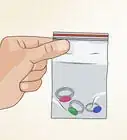
3Bring in any jewelry that you would like to redesign. If you inherited an heirloom gem you would like to redesign or have a loose diamond or gemstone, bring them with you. Keep the precious items carefully tucked away in a small, locked jewelry box to avoid losing them before your appointment. You can work with the jeweler to incorporate these pieces into a brand-new, redesigned piece that will retain its sentimental value.
-
4Approve the model. Most jewelers will provide a wax or 3D-printed model for you to look and test out before the jewelry is created. This is the perfect time for you to provide feedback and let the jeweler know what you like, dislike, and want to change. Don’t be shy, this is a custom piece and you deserve to get exactly what you are envisioning.
Designing Jewelry Online
-
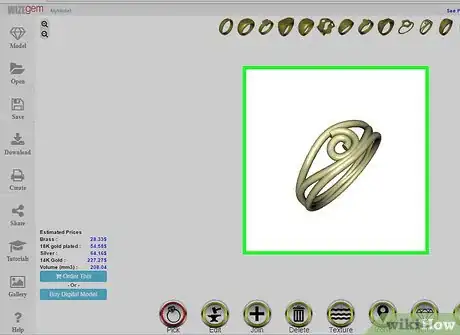
1Visit a jewelry-designing website. There are a number of websites that allow you to design your own jewelry and are accessible for beginners. Jewell, Wize Gem, and other websites will allow you to use their software either for free or for a nominal fee.[2]
-
2Download the software. Once you have decided on the website you will use, download the software or simply access the program on your browser. You may have to go through a sign-up process to be able to use the software. Simply enter information, such as your name and email address, to sign up with the website and create your own account. You should then be able to access the software and start designing!
-
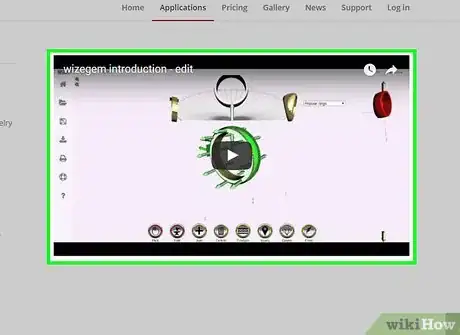
3Watch tutorials or videos demonstrating the software. Most jewelry-designing websites provide tutorials or videos that demonstrate the software for you. Watch a few of these videos to get a good idea of what to expect and how to operate the software. This will help you get the most out of your designing experience.
-
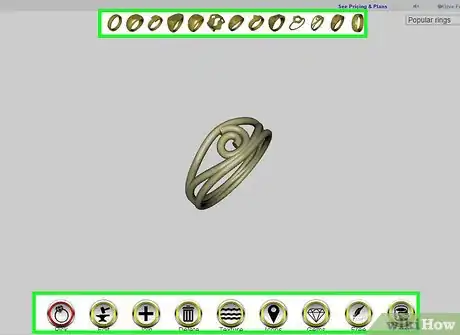
4Use the design tools to begin creating. When you are all set with the software or browser program, begin experimenting to create your own designs. Choose the type of metal, color, and gems you would like to include. There are usually tutorials provided for first-time users.[3]
- Many of the websites that allow you to design from home are created for people who have never used such software before and are designed to be user-friendly.
- There are usually templates provided that you can customize to make the designing process easier for you.
-
5Finalize your design. Once you have added the finishing touches, submit your design. This is usually done through a “Finished” or “Submit” button. The manufacturer then receives the design and begins making it according to your specifications.
-
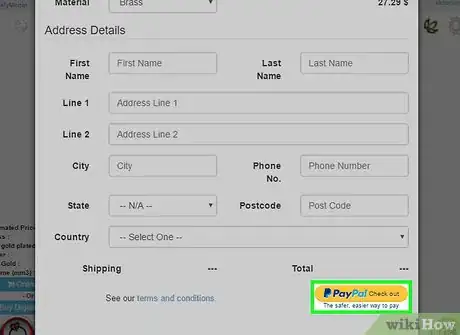
6Purchase your jewelry. Though the designing process may have been free, you will most likely have to pay for the finished piece. The manufacturer may mail or email you an invoice or you will have to pay on their website with a credit card. Once you have paid, you will receive your piece of jewelry in the mail!
Warnings
- Don’t get discouraged if you aren’t able to get your design right the first time. Simply start fresh on a new piece of paper.⧼thumbs_response⧽

