This article was co-authored by Courtney Foster. Courtney Foster is a Licensed Cosmetologist, Certified Hair Loss Practitioner, and Cosmetology Educator based out of New York City. Courtney runs Courtney Foster Beauty, LLC and her work has been featured on The Wendy Williams Show, Good Morning America, The Today Show, The Late Show with David Letterman, and in East/West Magazine. She received her Cosmetology License from the State of New York after training at the Empire Beauty School - Manhattan.
There are 7 references cited in this article, which can be found at the bottom of the page.
This article has been viewed 276,439 times.
Cutting curly hair may seem intimidating, but it doesn’t have to be! Whether you want to give yourself a trim to eliminate split ends or go a bit shorter for a new look, there are a few different ways that you can cut your curls. Most hair experts agree that people with curly hair should not cut their hair while it is wet because cutting curly hair while it is wet may alter the layout of your curls. Instead, many hairstylists advocate dry hair cutting because cutting your hair while it is dry will help you to see how it looks as you cut it rather than waiting until after you have dried your hair.[1] However, there are also some hair experts who think that cutting hair while it is damp provides more control.[2] Here are a few different options that can help you to cut your curly hair. If you’re in need of a touch-up or a new do, read on!
Steps
Cutting Dry Curly Hair
-
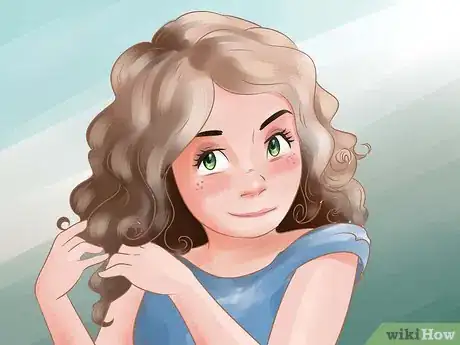
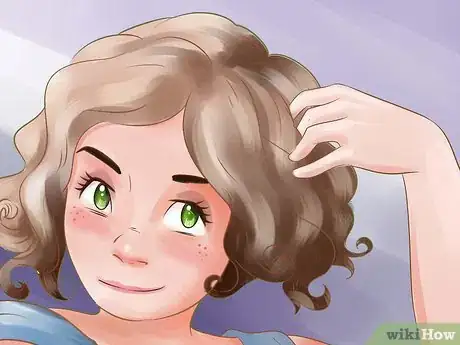
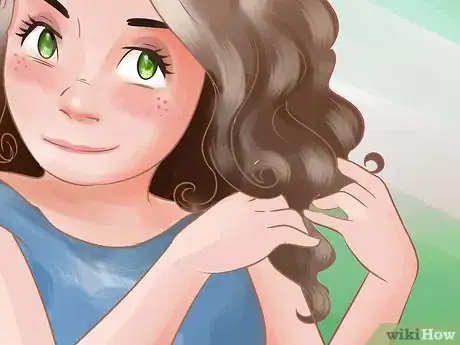
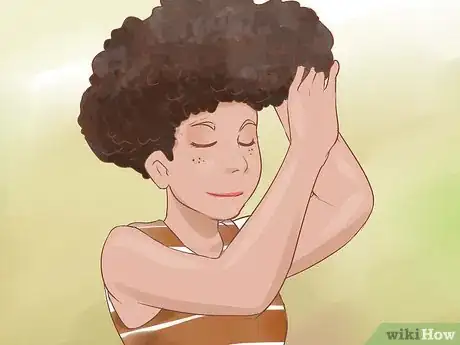
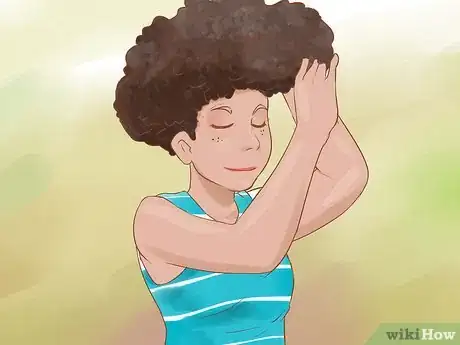
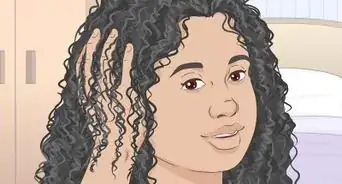
1Style your hair as usual. Before you begin trimming your curls, start with dry hair that is styled how you normally wear it. Make sure that your curls are laid out the way that you like them to be.
-
2Wrap a towel around your neck and shoulders. Secure the towel with a strong hair clip or safety pin. The towel will help prevent hair from getting on your neck and clothing. You may also want to put some newspaper on the floor to catch the hair that you trim off.
- If you have a hairdresser's cape, you can use this in place of a towel.
Advertisement -
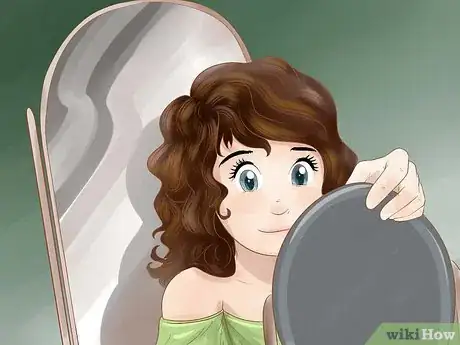
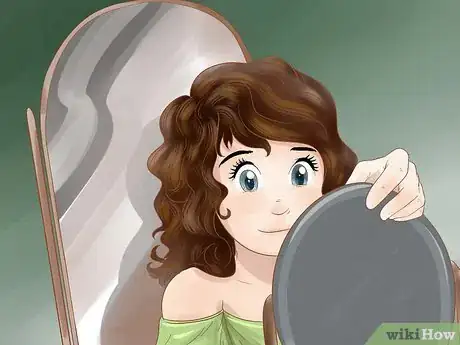
3Arrange your mirrors. Before you begin, make sure that you will be able to see the front and back of your hair by placing one mirror in front of you and another behind you. You can use your bathroom mirror as one of the mirrors for this purpose. The mirrors should be facing each other. Adjust the mirrors until you can see the front and the back of your head in the mirror in front of you. If you have long hair, this step is optional since you should be able to bring each strand forward as you trim your curls.[3]
-
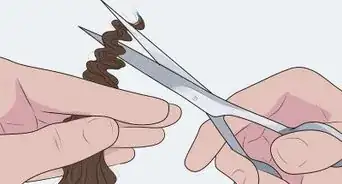
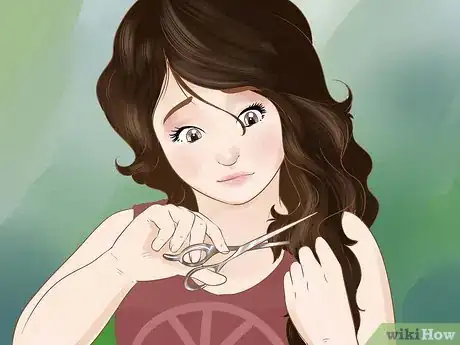
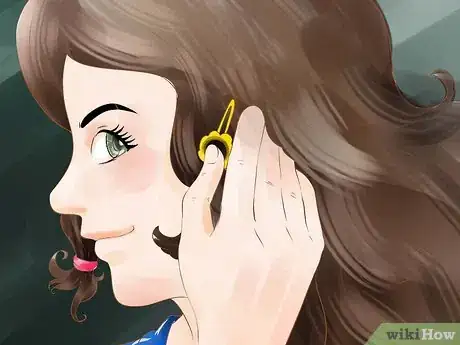
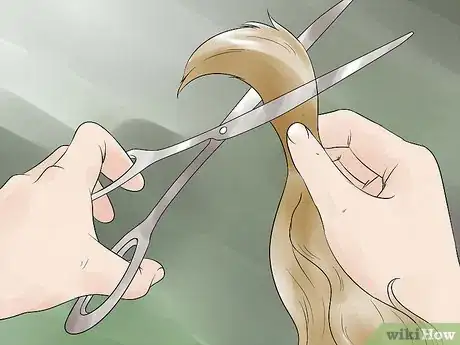
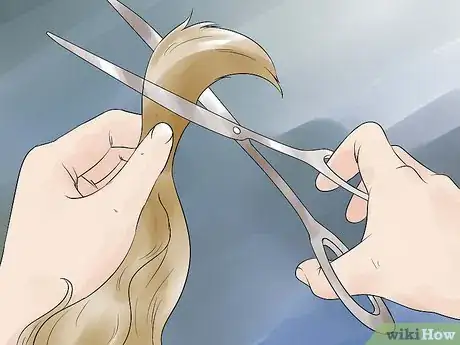
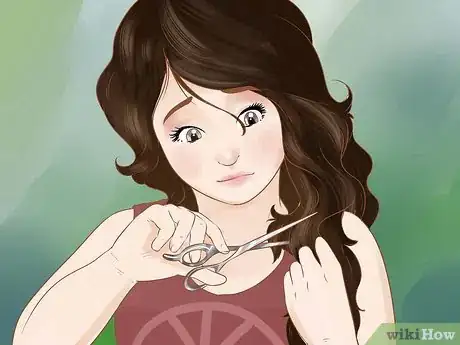
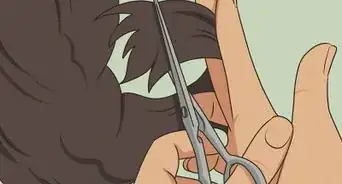
4Trim your curls. Separate your hair into sections to give you the most control over your cut. Then, using a pair of sharp haircutting scissors, trim the ends of each of your curls. Make sure the scissors you use are meant for cutting hair and that they are very sharp.[4] [5] Cut the hair near the ends or in the curve of the curl. Begin by trimming the topmost layers and work your way down through your curls, section by section.
-
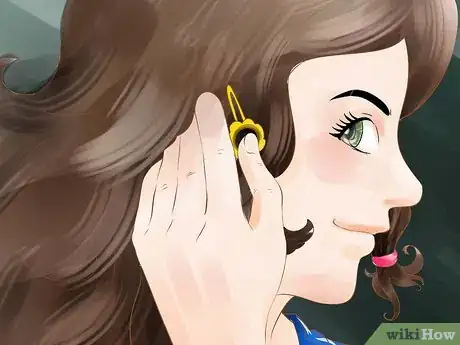
5Separate the trimmed curls from the untrimmed curls. After you finish trimming the ends of one layer, use a hair clip to separate the trimmed hair from the hair that you have not yet cut. Keeping the trimmed hair separate will help prevent you from cutting the same curls twice. [6] Continue trimming the ends of your curls until you have trimmed them all. This may take a while, especially if you have thick hair. Just be patient and don’t rush![7]
-
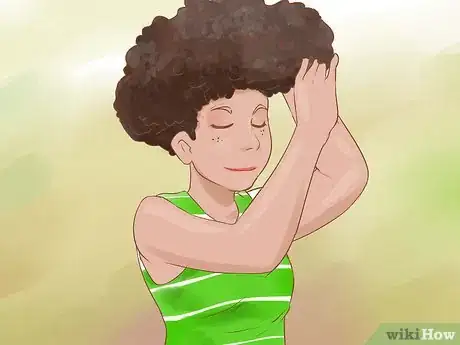
6Shake out your curls. When you are finished, run your fingers through your curls and shake them out.
-
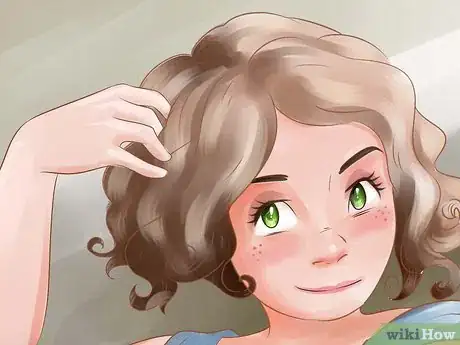
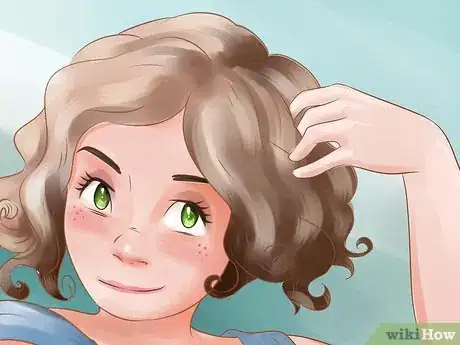
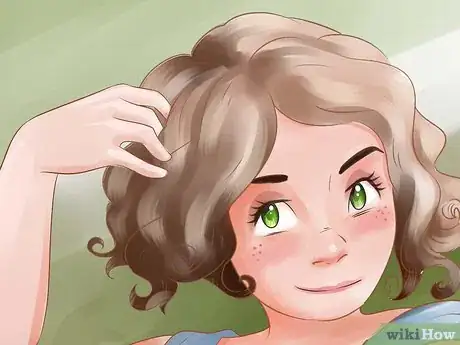
7Inspect your curls. Inspect your hair from all angles and make sure it looks how you want it to look. Use the scissors to touch up any spots that don’t look right. Look for any strands that are drastically longer than others or that are angled differently and trim as needed. [8]
Cutting Braided Curly Hair
-
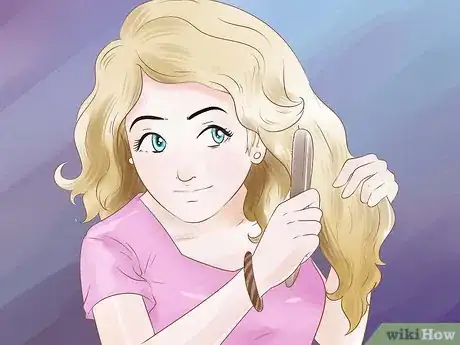
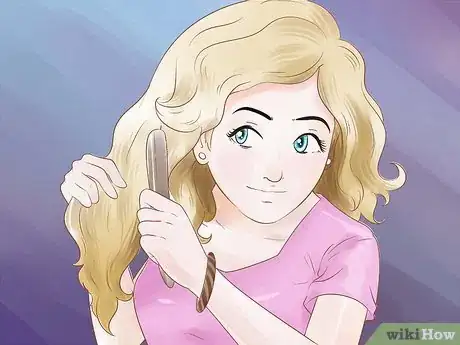
1Detangle your hair. Brush all of your hair until the brush moves through your hair easily, with little or no resistance. Make sure that there are no tangles and that your hair is ready to be braided.
-
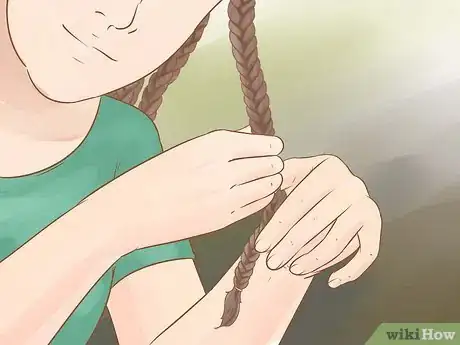
2Separate your hair into 1” sections and braid each section as you go. Use a comb to separate each section from the rest of your hair. After you have separated each section, braid it and secure it with a small elastic hair band. Leave about a 1” tail of unbraided hair at the bottom of the braid. [9]
-
3Braid all of your hair. Continue sectioning and braiding your hair until you have braided all of it. The number of braids you will have when you are done will depend on the thickness of your hair, but you should have several small braids when you are done. [10]
-
4Wrap a towel around your neck and shoulders. Secure the towel with a strong hair clip or safety pin. The towel will help prevent hair from getting on your neck and clothing. You may also want to put some newspaper on the floor to catch the hair that you trim off.
-
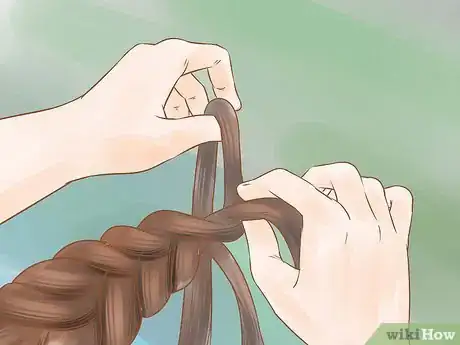
5Trim the end of each braid. Cut the ¼”- ½”section off the bottom of the braid. Make sure the scissors you use are meant for cutting hair and that they are very sharp.[11] [12] Make sure that you cut straight across and not at an angle. [13]
- After you make your first cut, measure the next braid side-by-side with the first. Use the already-cut braids as a guide for the next braid to make sure your hair is as even as possible.
-
6Remove the braids from your hair. Take your hair out of the braids, run your fingers through your hair, and shake out your curls.
-
7Inspect your curls. Inspect your hair from all angles and make sure it looks how you want it to look. Use the scissors to touch up any spots that don’t look right. Look for any strands that are drastically longer than others or that are angled differently and trim as needed. [14]
Cutting Hair in Pigtails
-
1Detangle your hair. Brush all of your hair until the brush moves through your hair easily, with little or no resistance. Make sure that there are no tangles and that your hair is ready to be put into pigtails.[15]
-
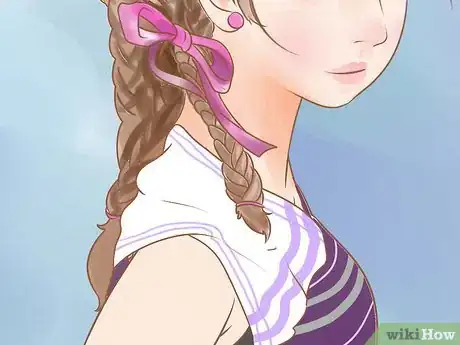
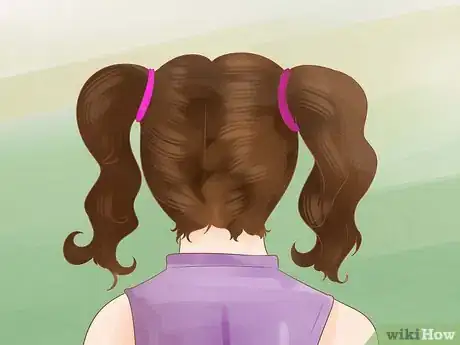
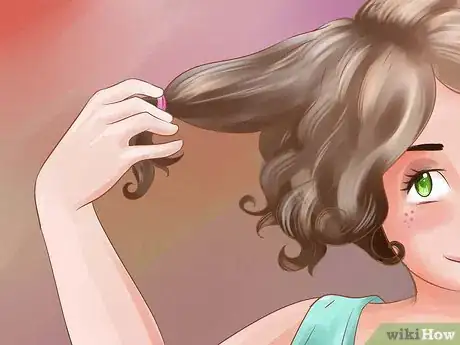
2Put your hair into pigtails. Separate your hair into two low pigtails on the sides of your head. Bring the ends of the pigtails in front of your shoulders so that you can see what you are doing. [16]
-
3Wrap a towel around your neck and shoulders. Secure the towel with a strong hair clip or safety pin. The towel will help prevent hair from getting on your neck and clothing. You may also want to put some newspaper on the floor to catch the hair that you trim off.
-
4Decide how short you want to go. Identify the amount of length that you would like to cut and hold your hair around this section using your middle and index fingers. [17]
-
5Cut your hair. For each pigtail, cut the hair in a straight line just below where you are holding it with your fingers. Make sure the scissors you use are meant for cutting hair and that they are very sharp.[18] [19] You can cut your hair at a slight angle if you’d like a bit of a slant to your cut. Just make sure that you cut the other pigtail at a similar complementary angle.[20]
-
6Remove the elastic hairbands. Take your hair out of the pigtails, run your fingers through your hair, and shake out your curls. [21]
-
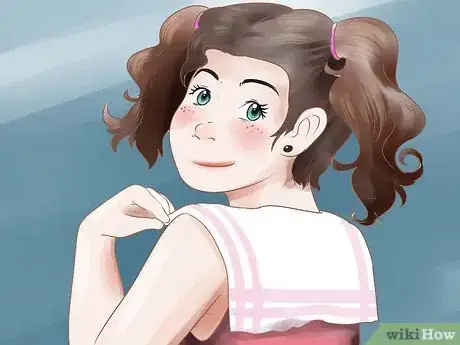
7Inspect your curls. Inspect your hair from all angles and make sure it looks how you want it to look. Use the scissors to touch up any spots that don’t look right. Look for any strands that are drastically longer than others or that are angled differently and trim as needed.[22]
Cutting Damp Curly Hair
-
1Wash and condition your hair. After you have finished washing your hair, dry it with a towel and proceed with your normal styling routine, but do not blow dry your hair. Let your hair air dry for a while until it is just damp.[23]
-
2Wrap a towel around your neck and shoulders. Secure the towel with a strong hair clip or safety pin. The towel will help prevent hair from getting on your neck and clothing. You may also want to put some newspaper on the floor to catch the hair that you trim off.
-
3Arrange your mirrors. Before you begin, make sure that you will be able to see the front and back of your hair by placing one mirror in front of you and another behind you. The mirrors should be facing each other. Adjust the mirrors until you can see the front and the back of your head in the mirror in front of you. If you have long hair, this step is optional since you should be able to bring each strand forward as you trim your curls. [24]
-
4Trim your curls. Using a pair of sharp haircutting scissors, trim the ends of each of your curls. Make sure the scissors you use are meant for cutting hair and that they are very sharp.[25] [26] Cut the hair near the ends or in the curve of the curl. Begin by trimming the topmost layers and work your way down through your curls, layer by layer.
-
5Separate the trimmed curls from the untrimmed curls. After you finish trimming the ends of one layer, use a hair clip to separate the trimmed hair from the hair that you have not yet cut. Keeping the trimmed hair separate will help prevent you from cutting the same curls twice.[27] Continue trimming the ends of your curls until you have trimmed them all. This may take a while, especially if you have thick hair. Just be patient and don’t rush!
-
6Shake out your curls. When you are finished, run your fingers through your curls and shake them out.
-
7Inspect your curls. Inspect your hair from all angles and make sure it looks how you want it to look. Use the scissors to touch up any spots that don’t look right. Look for any strands that are drastically longer than others or that are angled differently and trim as needed. [28]
Expert Q&A
Did you know you can get expert answers for this article?
Unlock expert answers by supporting wikiHow
-
QuestionWhat do you need if you're going to cut your own curly hair in layers?
 Courtney FosterCourtney Foster is a Licensed Cosmetologist, Certified Hair Loss Practitioner, and Cosmetology Educator based out of New York City. Courtney runs Courtney Foster Beauty, LLC and her work has been featured on The Wendy Williams Show, Good Morning America, The Today Show, The Late Show with David Letterman, and in East/West Magazine. She received her Cosmetology License from the State of New York after training at the Empire Beauty School - Manhattan.
Licensed Cosmetologist First, you need to make sure your cutting tools are sharp. If you use dull cutting tools, you'll end up with split ends, which can work their way up your hair and lead to breakages over time. Also, make sure that you monitor the length of each layer as you cut. If you lose track of the length in each layer, you could end up with an asymmetrical haircut.
 -
QuestionCan you cut curly hair while wet?
 Courtney FosterCourtney Foster is a Licensed Cosmetologist, Certified Hair Loss Practitioner, and Cosmetology Educator based out of New York City. Courtney runs Courtney Foster Beauty, LLC and her work has been featured on The Wendy Williams Show, Good Morning America, The Today Show, The Late Show with David Letterman, and in East/West Magazine. She received her Cosmetology License from the State of New York after training at the Empire Beauty School - Manhattan.
Licensed Cosmetologist
-
QuestionHow exactly do you do layers?
 Ashley AdamsAshley Adams is a Licensed Cosmetologist and Hair Stylist in Illinois. She completed her Cosmetology education at John Amico School of Hair Design in 2016.
Professional Hair Stylist
Warnings
- Cutting your own hair can give you good results, but it may not yield perfect results, especially if you want to drastically change your look.If you want to cut your hair much shorter than it is currently or you want a haircut that requires lots of layering, then you may be better off going to a salon.⧼thumbs_response⧽
Things You'll Need
Method 1
- pair of haircutting scissors
- hair clips
- two mirrors
- towel
Method 2
- pair of haircutting scissors
- hair bands
- comb and/or brush
- towel
Method 3
- comb and/or brush
- pair of haircutting scissors
- hair bands
- towel
Method 4
- shampoo and conditioner
- comb and brush
- pair of haircutting scissors
- hair clips
- two mirrors
- towel
References
- ↑ http://www.huffingtonpost.com/2013/12/20/dry-cut-hair_n_4462316.html
- ↑ http://www.naturallycurly.com/curlreading/haircuts/tips-for-trimming-curly-hair/
- ↑ http://adornabelle.com/cut-curly-hair/
- ↑ http://adornabelle.com/cut-curly-hair/
- ↑ http://www.naturallycurly.com/curlreading/wavy-hair-type-2/how-to-trim-your-own-hair/
- ↑ http://www.naturallycurly.com/curlreading/wavy-hair-type-2/how-to-trim-your-own-hair/
- ↑ http://www.naturallycurly.com/curlreading/haircuts/tips-for-trimming-curly-hair/
- ↑ http://www.naturallycurly.com/curlreading/wavy-hair-type-2/how-to-trim-your-own-hair/
- ↑ http://www.naturallycurly.com/curlreading/haircuts/tips-for-trimming-curly-hair/
- ↑ http://www.naturallycurly.com/curlreading/haircuts/tips-for-trimming-curly-hair/
- ↑ http://adornabelle.com/cut-curly-hair/
- ↑ http://www.naturallycurly.com/curlreading/wavy-hair-type-2/how-to-trim-your-own-hair/
- ↑ http://www.naturallycurly.com/curlreading/wavy-hair-type-2/how-to-trim-your-own-hair/
- ↑ http://www.naturallycurly.com/curlreading/wavy-hair-type-2/how-to-trim-your-own-hair/
- ↑ http://andthenwesaved.com/how-to-cut-your-own-hair/
- ↑ http://andthenwesaved.com/how-to-cut-your-own-hair/
- ↑ http://andthenwesaved.com/how-to-cut-your-own-hair/
- ↑ http://adornabelle.com/cut-curly-hair/
- ↑ http://www.naturallycurly.com/curlreading/wavy-hair-type-2/how-to-trim-your-own-hair/
- ↑ http://andthenwesaved.com/how-to-cut-your-own-hair/
- ↑ http://andthenwesaved.com/how-to-cut-your-own-hair/
- ↑ Courtney Foster. Professional Hair Stylist. Expert Interview. 9 December 2019.
- ↑ Courtney Foster. Professional Hair Stylist. Expert Interview. 9 December 2019.
- ↑ http://adornabelle.com/cut-curly-hair/
- ↑ http://adornabelle.com/cut-curly-hair/
- ↑ http://www.naturallycurly.com/curlreading/wavy-hair-type-2/how-to-trim-your-own-hair/
- ↑ http://www.naturallycurly.com/curlreading/wavy-hair-type-2/how-to-trim-your-own-hair/
- ↑ http://www.naturallycurly.com/curlreading/wavy-hair-type-2/how-to-trim-your-own-hair/
- ↑ http://www.refinery29.com/short-haircuts-curly-hair
About This Article
To cut your own curly hair, try cutting it while it’s styled in your usual way. First, wrap a towel around your neck and shoulders to catch the hair. Place a mirror in front of you and another behind you so you can see all of your head. When you’re ready to start, separate your hair into small sections and cut it 1 section at a time, which helps you control the cuts you make. After you’ve trimmed a layer of hair, separate it from the untrimmed layers with a hair clip so you don’t cut it again. Keep trimming your hair like this until you've cut every section , then carefully examine your hair in the mirrors to make sure you haven’t missed any strands. For a more accurate cut, braid your hair first. Next, trim each braid to your desired length. Finish by shaking out your braids so you can inspect your cut. For tips from our Beauty co-author on how to cut damp curly hair, keep reading!






-Step-17.webp)
