This article was co-authored by wikiHow Staff. Our trained team of editors and researchers validate articles for accuracy and comprehensiveness. wikiHow's Content Management Team carefully monitors the work from our editorial staff to ensure that each article is backed by trusted research and meets our high quality standards.
There are 10 references cited in this article, which can be found at the bottom of the page.
This article has been viewed 25,207 times.
Learn more...
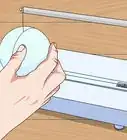
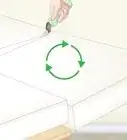
Rubber foam is a strong, spongy material often used in mattresses and other items that need to be durable. Because of its unique consistency, it can be challenging to cut. Always outline planned cuts first, then choose a cutter according to the thickness of the foam. Utility knives are fine for very thin pieces, but switch to serrated knives for most pieces and a bandsaw or fabric cutting saw for the thickest ones. Slice through the foam at a slow and steady rate to ensure you project is a success.
Steps
Stabilizing and Outlining the Foam
-
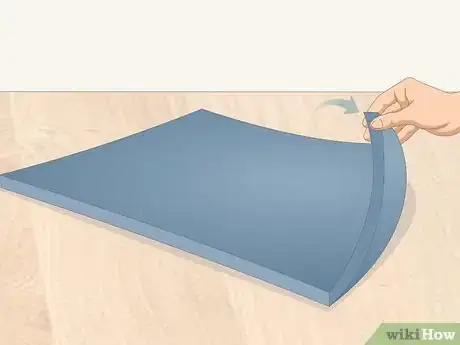
1Set the foam atop a stable and protected surface. Choose a spot that is big enough to support the piece of foam. It’s important to keep the entire piece on a level surface. If part of the foam hangs off, it could stretch out and affect the cut. If you’re working over something you don’t wish to damage, such as a table in your home, cover it first.
- To protect your work surface, slide a piece of scrap plywood underneath the foam. That way, when you cut through the foam, the blade will hit the plywood instead of the underlying surface.
-
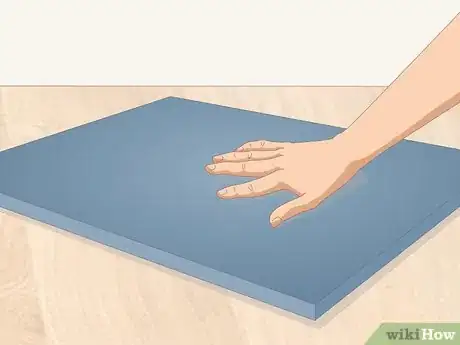
2Press down slightly on the foam to hold it in place. Hold the foam down while you’re drawing and cutting it. If you press down too hard, you could compress it. Compressing it leads to jagged, uneven cuts, so touch it lightly with the tips of your fingers. Keep a firm grip on it to hold it still while you work.
- Pin the foam down to create accurate cutting guidelines, but don’t forget to hold it while you’re cutting it as well.
- If you’re unable to hold onto a big piece of foam, you could try setting up a few bar clamps to pin it to your work surface. However, make sure the clamps don’t press down too hard, or else they will throw off the guidelines and the finished cuts.
Advertisement -
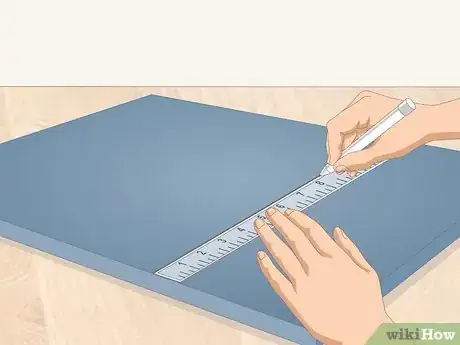
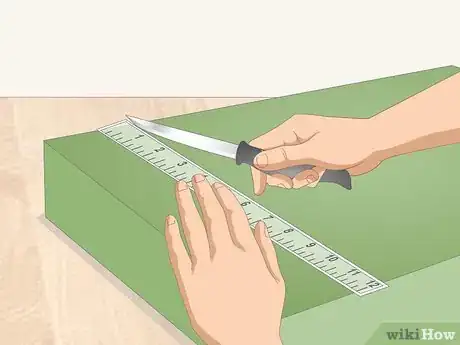
3Sketch guidelines on the foam with a permanent marker. Foam can be tricky to cut because of its mushy consistency. Avoid mistakes by planning out each cut you need to make. Use a ruler as needed to measure and keep the lines straight.[1]
- Always draw guidelines before attempting to cut foam. Make sure you know what you want the finished product to be, since you can’t take back any cuts you make.
Using a Utility Knife on Thin Foam
-
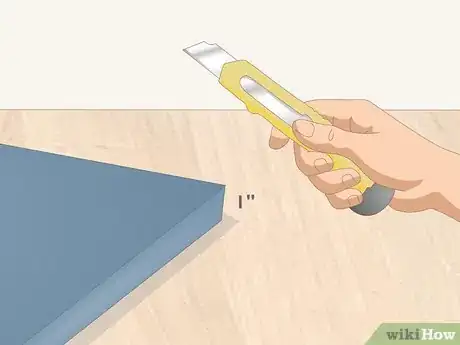
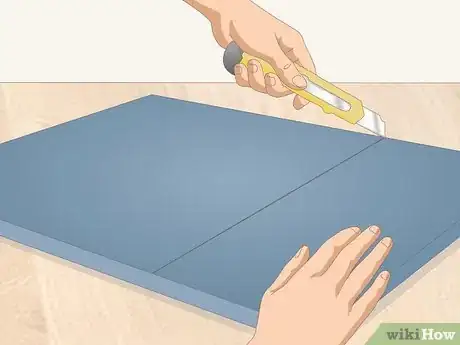
1Select a utility knife to cut foam up to 1 in (2.5 cm) thick. Utility knives work well for foam since they’re relatively inexpensive and easy to use. Take advantage of them for a safe way to cut thinner pieces of foam that don’t really require better tools. Pick the sharpest knife you have available. Duller knives make for a rougher cut, so use a new knife if you have one available.[2]
- If you don’t have a utility knife, get a sharp kitchen knife instead. Try using a thin bread knife, for instance.
- Utility knives are most useful when you’re working with thinner pieces of foam, but their maneuverability also makes them a good choice for cutting curves and shapes.
-
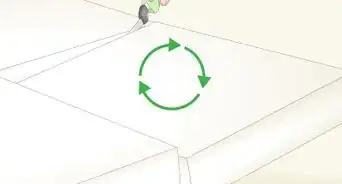
2Hold the blade over the foam and parallel to cutting guidelines. Position the blade above the foam and over the spot you wish to cut. Keep the blade level with the foam. In order to maintain control over the knife while you work, stand behind or beside the foam. Leave enough space for you to pull the knife toward you.[3]
- The best way to slice through the foam is with straight, controlled cuts. Don't use a utility knife to saw at a thin piece of foam, since that could lead to a jagged mess.
-
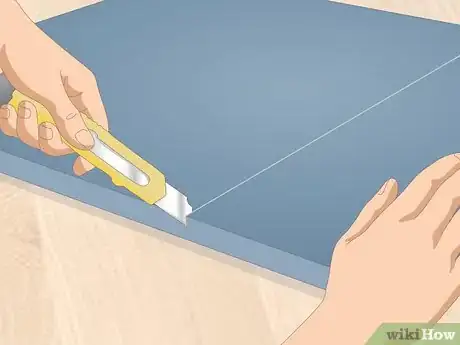
3Cut the foam once with light pressure to score it. Start at the end of the cutting guideline, pressing the knife down with enough force to cut the foam as you pull the blade toward you. The first cut will be 1⁄2 in (1.3 cm) or less. A thin cut is fine. Instead of trying to cut all the way through on the first pass, make a series of slow, light cuts.[4]
- Take your time! Rushing is a surefire way to end up with a rough, messy cut. Cut down the entire guideline before going back to finish the job.
- Remember that you don’t need to cut through the foam right away. The initial incision also doesn’t have to be a single, continuous cut. Stop and adjust your positioning to make it perfect.
-
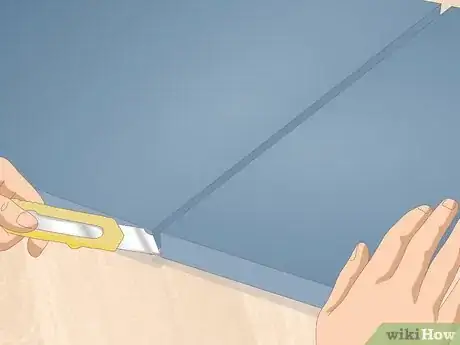
4Slice the foam again until you are able to cut through it. After scoring the entire part you wish to cut, go back to the beginning. Begin cutting it a second time along the initial score you made. It will allow you to cut a little deeper. If the foam is very thin, you may not need to go back over it more than 2 or 3 times.[5]
- For thicker pieces of foam, you definitely will need to go back over the initial cut multiple times. It takes a while and leads to a messy piece of foam, so you’re better off using a larger blade.
Slicing Thicker Foam with a Serrated Blade
-
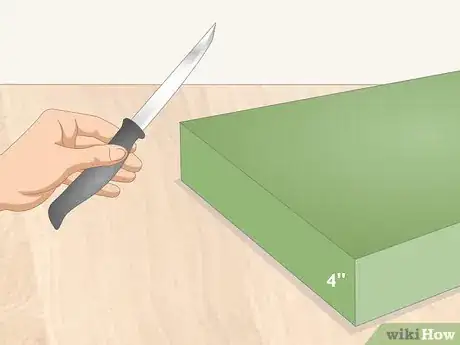
1Select a thin, sharp blade for foam up to 4 in (10 cm) thick. Utility knives don’t work very well for relatively thick pieces of foam. Instead, choose the best kitchen knife you have available. Since cutting foam is a lot like cutting bread, many people go with a nice serrated bread knife. Carving knives also tend to work well.[6]
- Rubber foam has a similar consistency to bread, so your best bet is to pick a serrated blade that is easy to control. It has to be sharp in order to cut smoothly through the foam.
- If you have an electric carving knife, it’s one of the easiest ways to cut foam. Turn it on and let it saw through the foam on its own.
-
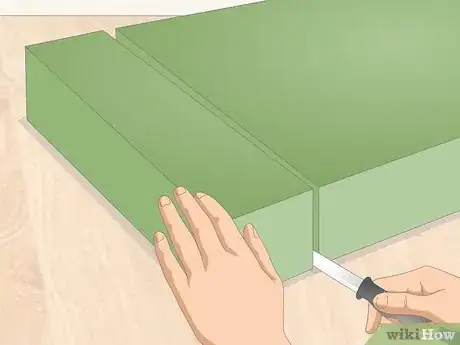
2Hold the knife flat against the top of the foam if you’re cutting through it. There are a couple of ways to cut rubber foam, but the simplest way is to approach it from the top. This strategy is very easy to complete if your knife is long enough to cut through the entire piece of foam in a single stroke. Keep the knife parallel to the foam at the edge of the cutting guideline.[7]
- If you’re working on a very long piece of foam, you may be better off cutting at a perpendicular angle instead. This allows you to saw through the foam at a more gradual but accurate pace.
-
3Slice through the foam to complete the cut. Stand beside the foam so you are able to draw the knife down its entire length. To make the cut, push the knife in as you draw it back toward you. Make sure it goes all the way through the foam. Move slowly, pulling the knife back with light strokes until you’re finished.
- Don’t rush to complete the cut in a single stroke. Draw the knife back, stop to readjust your grip, and then continue. Smoother strokes lead to a smoother finish.
-
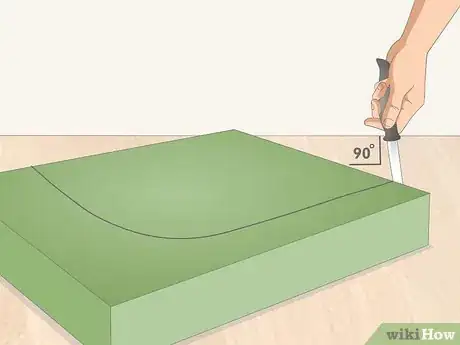
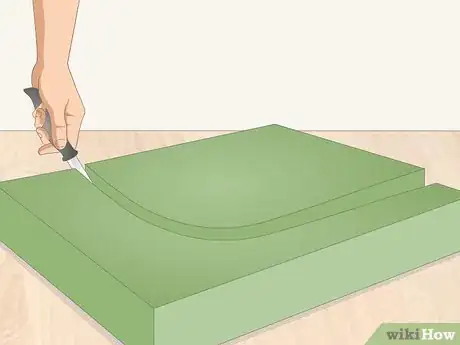
4Align the knife at a 90-degree angle if you’re cutting curves. Hold the blade vertically against the edge of the foam. This strategy lets you saw through the side of the foam instead of slicing it like a loaf of bread. It’s perfect when you need more control over the blade. It’s also useful for thick pieces of foam that can’t easily be cut from top to bottom.[8]
- If you’re using this strategy, position the foam so it overhangs the table. The overhanging portion gives you some room to start the cut, but make sure the foam doesn’t stretch out at all.
-
5Saw through the foam to finish the cut. Starting at the end of the foam, move the blade back and forth. If you’re using an electric carving knife, the blade will move on its own, so all you have to do is pull it along the cutting guideline. Take your time, ensuring the knife stays centered on the line you wish to cut.[9]
- For the best effect, use the middle part of the blade to cut the foam. It is typically sharper and leads to a more even cut.
- Sawing the foam takes a little more patience than cutting straight through it. When done correctly, however, you won’t need to cut more than once.
Cutting Foam with a Bandsaw
-
1Wear safety gear when cutting foam with a saw. Always put on a dust mask and protective glasses when operating a saw. Avoid wearing gloves, long-sleeved clothing, jewelry, or anything else that could get caught under the blade. Also, keep other people away from the area until you’re finished working.[10]
- To reduce the amount of mess left over, consider working outdoors or ventilating your workspace. Ventilate by opening nearby doors and windows as well as making use of a ventilation fan if you have one.
-
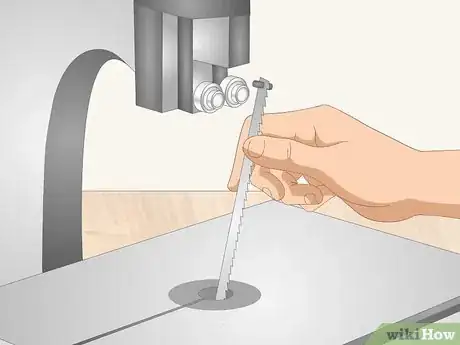
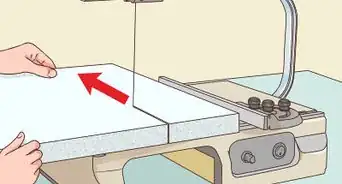
2Set up a bandsaw according to the manufacturer’s recommendations. Put the bandsaw on a stable surface at about waist height. Make sure you have plenty of room for the rubber foam as well. Use the fasteners included with the saw to clamp it to the surface. When you’re ready, plug it in and wait for the blade to begin spinning.[11]
- Bandsaws are designed to cut a wide variety of materials, so they work well for foam. The serrated blades used make small but accurate cuts. You may not get the same result if you try using another type of saw.
- If you have a foam cutting saw available, it is a better option than a bandsaw. However, they cost up to $400 USD, so they aren’t practical unless you cut a lot of foam.
-
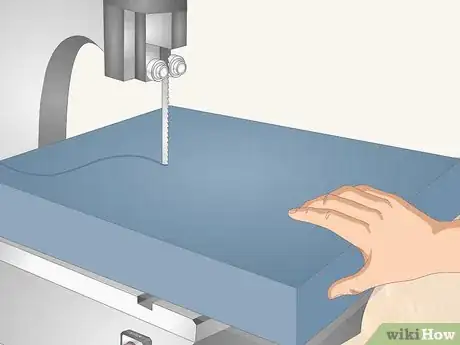
3Push the foam onto the blade to begin cutting it. Hold the foam steady with both of your hands. Move it forward slowly, keeping the blade aligned with any cutting guidelines you drew. Watch where your hands are at as you get closer to the blade.[12]
- You can go as slowly as you want when operating the saw. Just don’t move the foam faster than the blade cuts through it. Maintain a steady pace.
- If you’re using a foam cutting saw, you have to move the saw along the foam instead of the other way around. It’s similar to sawing through it with a knife.
- Saws are the quickest and cleanest way to cut through foam, but be careful to avoid accidents.
-
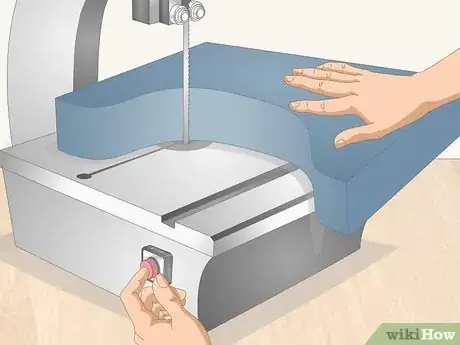
4Turn off the saw once you’re done cutting the foam. Keep pushing the foam toward the saw until you have managed to cut all the way through it. Before shutting down the saw, check it to make sure it looks the way you want. You can cut the piece if you need to remove excess foam. When you’re done, remember to turn off the saw and unplug it to prevent accidents.
- Always shut off the saw when it isn’t in use. This includes unplugging it so it has no way of reactivating when you’re not controlling it.
Warnings
- Cutting foam can lead to injury if you’re not careful. Always work at a slow, gradual pace while keeping your hands away from sharp edges.⧼thumbs_response⧽
- Take precautions against debris from foam cut using a saw blade. Remember to wear a dust mask and safety glasses while also ventilating the area as much as you can.⧼thumbs_response⧽
Things You’ll Need
Using a Utility Knife on Thin Foam
- Marker
- Ruler
- Utility knife
Slicing Thicker Foam with a Serrated Blade
- Marker
- Ruler
- Bread knife or carving knife
Cutting Foam with a Bandsaw
- Marker
- Ruler
- Bandsaw or foam cutting saw
- Dust mask
- Protective glasses
References
- ↑ https://ourpastimes.com/how-4596720-cut-foam-rubber.html
- ↑ https://ourpastimes.com/how-4596720-cut-foam-rubber.html
- ↑ https://www.youtube.com/watch?v=yE_JXfQ-1lc&feature=youtu.be&t=506
- ↑ https://www.youtube.com/watch?v=GxVL8ic5A68&feature=youtu.be&t=118
- ↑ https://ourpastimes.com/how-4596720-cut-foam-rubber.html
- ↑ https://www.youtube.com/watch?v=xne0qjhFVNY&feature=youtu.be&t=37
- ↑ https://www.youtube.com/watch?v=hD027tkshLg&feature=youtu.be&t=51
- ↑ https://www.youtube.com/watch?v=wqodjNexy7w&feature=youtu.be&t=39
- ↑ https://www.youtube.com/watch?v=xAcYkOErOok&feature=youtu.be&t=302
