This article was co-authored by wikiHow Staff. Our trained team of editors and researchers validate articles for accuracy and comprehensiveness. wikiHow's Content Management Team carefully monitors the work from our editorial staff to ensure that each article is backed by trusted research and meets our high quality standards.
This article has been viewed 24,458 times.
Learn more...
Dovetail joints are considered the finest hand-cut joint in woodworking and are used to create both functional and elegant hand-joined pieces such as drawers. Dovetails consist of a tail board, which has bird tail-shaped pieces of wood cut into the end, and a pin board, which has skinny pins cut into the end that fit between the tails on the other board. To cut dovetails, you will need to carefully measure the tails and pins using some carpenter’s tools including a marking gauge, dividers, and square, then cut them out using a dovetail saw and join them together with wood glue.
Steps
Measuring and Marking the Tails
-
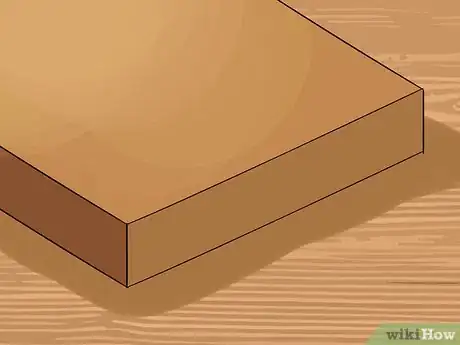
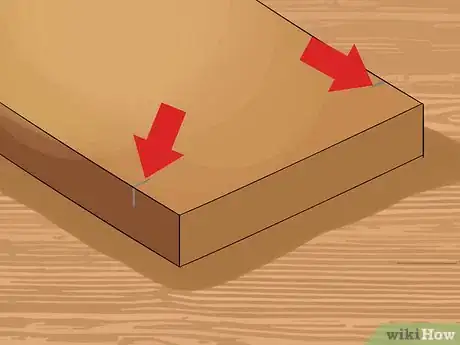
1Select wood that it is flat, equally thick, and has square ends. Hold the wood up to eye-level and look along it to check that it is flat. Use a carpenter’s square to check the each end to make sure they are perfectly squared so they will fit together evenly when you cut the dovetails.[1]
- Start with pieces of wood that are not curved or unevenly cut, so that the dovetails will fit tightly together.
Tip: Use wood of 2 different colors or shades if you want to create a unique contrast between the pins and tails.
-
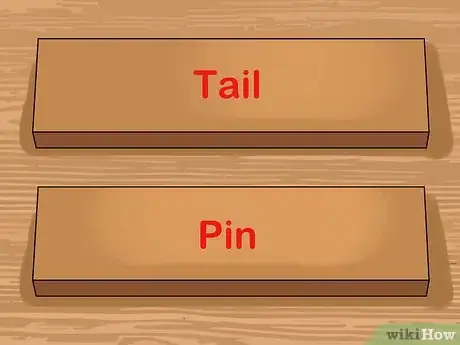
2Choose 2 tail boards and 2 pin boards and mark which sides will face out. Choose 2 tail boards of the same length/width and 2 pin boards of the same length/width. Use a pencil to mark the sides that will face inwards with an “x”.[2]
- Choose the prettiest sides to face outwards.
- The “tails” are the bird tail-shaped pieces of wood that you will cut between to create sockets for the skinnier “pins” to fit in. It’s up to you which boards to use for which, just make sure that each tail board is the same length and each pin board is the same length.
Advertisement -
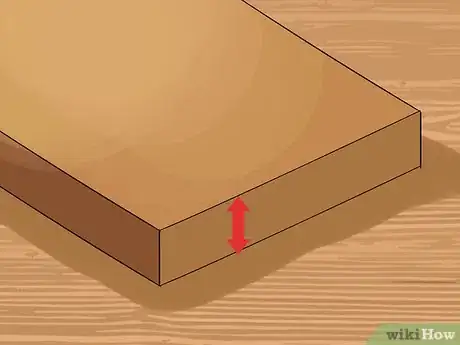
3Set a marking gauge the thickness of your pin and tail boards. Use a ruler to measure how thick the boards are and set a marking gauge to equal it. The thickness of each board will be the same, so you only need to set the gauge once.[3]
- A marking gauge is a tool used in woodworking to mark lines for cutting.
- Do this on the pin boards as well. You will need the same line when you cut out the pins.
-
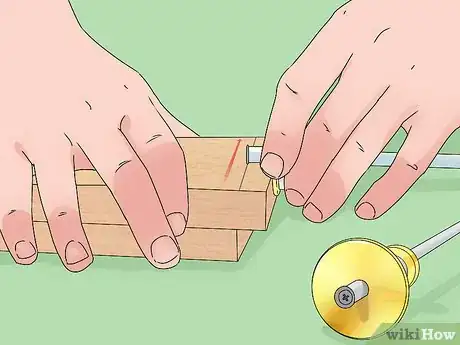
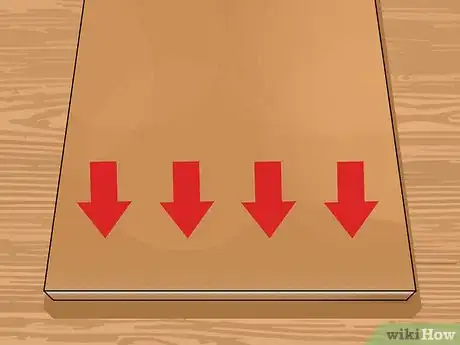
4Scribe a line across the face of the boards with the marking gauge. Slide the gauge along the face and outside edge of each board to create a thin groove line across the whole face of the board widthwise. This line will be the line that you cut towards when you make the tails so they are the correct thickness.[4]
- Marking gauges have a small pin, known as a spur, that will create a light groove in the wood that you use as a guide for cutting.
- The space between this line and the edge of the board is the same as the thickness of the boards (since you set the marking gauge to this thickness).
-
5Measure in 1⁄4 in (0.64 cm) from each end of the tail board and mark it. Use a ruler to measure from each end of the tail board along the line you scribed marking the thickness of the tails. Make a mark with a pencil to show where your first tail cut will go.[5]
- These end pieces will be removed to create space for the top pins.
-
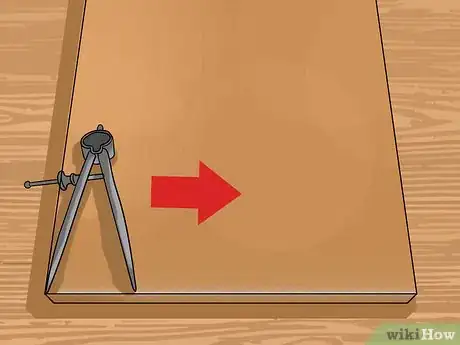
6Set a divider to the appropriate width to create the number of tails you want. Make 4 tails for a typical number, but it’s up to you and the aesthetic you want. Make a larger number of skinnier tails if you want a more intricate look with more pins and tails.[6]
- For example, if you want 4 tails that are each 1⁄2 in (1.3 cm) wide, then set your divider to 1⁄2 in (1.3 cm).
- A divider is a metal instrument with 2 legs connected by a moveable joint at the top. You can shorten or lengthen the space between the legs to use the points to measure different distances.
-
7Mark 4 evenly-spaced points for the tails with the tips of the divider. Walk the divider from the 1⁄4 in (0.64 cm) line across the whole edge of the board to the opposite 1⁄4 in (0.64 cm) line you marked. Push the divider points into the wood to create the marks.[7]
- These marks will show you where to start the cuts for your tails. The divider is set to the width of the tips of the tails.
-
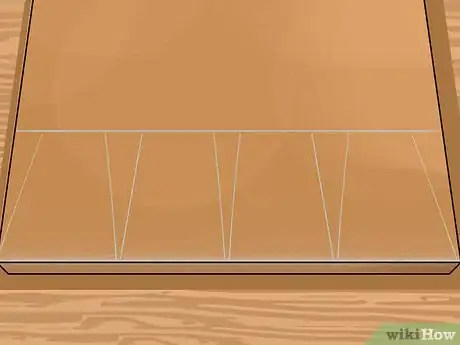
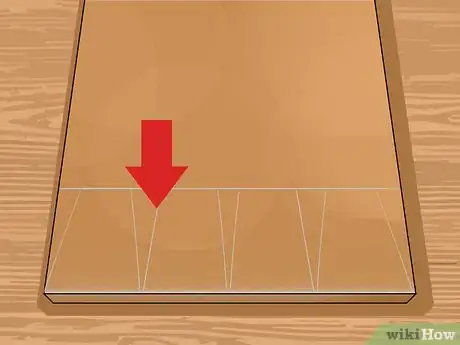
8Draw 35-degree angled lines from the points you marked in to the thickness line. Use a carpenter’s speed square to measure the 35-degree lines and draw them straight along its edge from the points you marked at the edge of the board to the thickness line you scribed. Mark an “x” between the lines to show you which part of the wood to cut out.[8]
- For the tails, the thinner part of the wood is what you are going to cut out. This is the space where the pins will go.
- There will be 8 lines because you are create 4 tails with 2 sides each. Half of the lines will be going in 35 degrees to the right, and the other half 35 degrees to the left.
Cutting the Tails
-
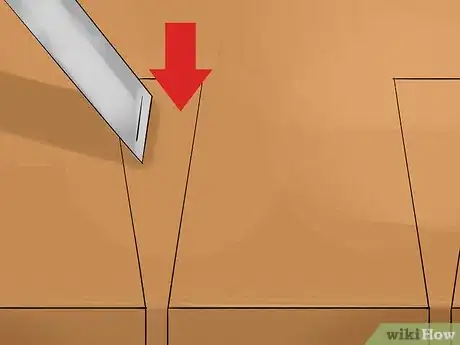
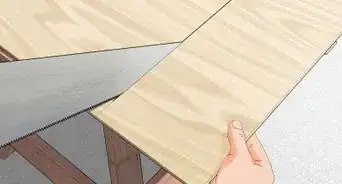
1Cut along each of the 35-degree angle lines. Use a dovetail saw to cut along each line to the thickness line. Don’t go past the thickness line that you scribed across the face of the board.[9]
- A dovetail saw is a tenon saw with a small blade and fine teeth that is used specifically for cutting dovetails and other joints. You can get one at a woodworking supply store or home improvement center.
-
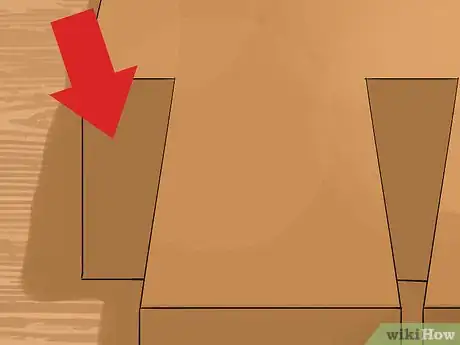
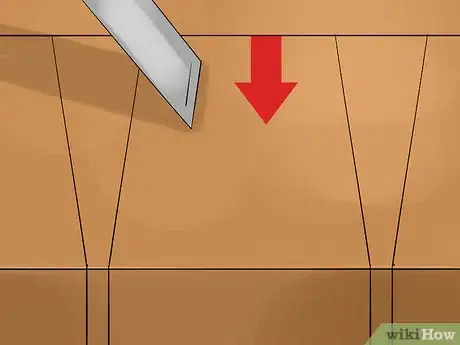
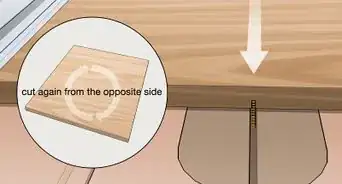
2Chisel out the wood between your cuts. Tap a chisel in with a mallet halfway through the wood on one side. Flip the board over and tap the chisel through all the way through the wood from the other side until the piece of wood comes out.[10]
- A set of chisels of various sizes will come in handy to cut different sizes of dovetails. You can get a set at a carpentry supply store or home hardware center.
-
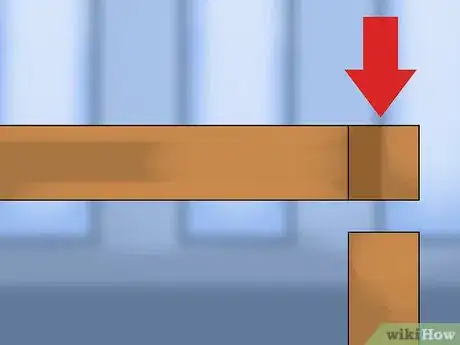
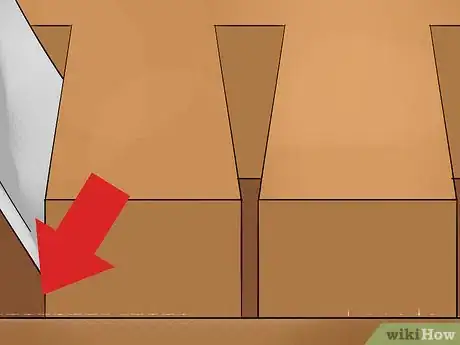
3Saw off the 1⁄4 in (0.64 cm) areas you marked on the ends of the wood. You will have already cut along the 35-degree angled lines. Just cut in along the 1⁄4 in (0.64 cm) 90-degree line you made earlier to create spaces for the pins at each end of the tail board.[11]
- You can sand away any imperfections at these end cuts to ensure a smooth fit later on.
Cutting the Pins and Joining the Boards
-
1Lay your tail board on the end of your pin board. Set the tail board against the end of the pin board at a 90-degree angle so that the tails are on top of the end of the pin board and you can trace the space between them. You will trace the space between the tails you already cut to mark the pins you need to cut.[12]
- Set the pin board in a vice to hold it steady and make it easier to mark the end.
-
2Mark the area you chiseled out between the tails on both sides of the pin board. Hold the tail board steady against the end of the pin board until you have marked all the pins. Use a marking knife to mark the outlines of the pins to cut.[13]
- If you don’t have a marking knife, then just use a utility knife or pocket knife.
-
3Cut along each of the lines and chisel out the waste between the pins. Cut along the lines you marked with a marking knife with your dovetail saw. Use small chisels to carefully chisel out the waste.[14]
- Just think of this step as the exact opposite of what you did for the tails. You will be removing chunks of wood the same size as the tails to create space between each pin.
-
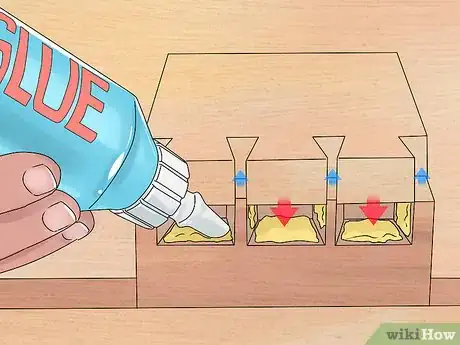
4Apply a small amount of wood glue to the pins and tails. Wipe on some wood glue to each surface that will touch another. Use a rag to wipe on the glue and wipe away any excess or drips.[15]
- Make sure to quickly wipe away any glue that drips onto the surfaces that will be exposed. You can always sand off any mistakes later as well.
-
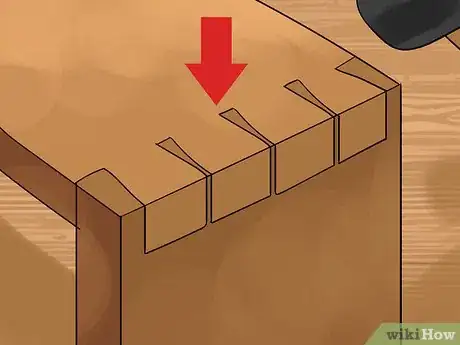
5Tap the tails into the pins with a mallet. Align the tail and pin boards after you have applied the glue. Carefully tap the tails into the pins until the boards are fitting together and all surfaces with glue are touching.[16]
- There may be some glue that comes out of the cracks where the boards touch. Wipe this away and let the boards dry together.
- The glue will take 30 minutes to an hour to dry. The dovetailed pieces will be fully cured and ready to use or install in 24 hours.
Tip: As long as your pins and tails are cut to fit tightly, you won’t need to clamp the pieces together.
Community Q&A
-
QuestionHow to make a dovetail router jig
 Gavin DonnellyCommunity AnswerYou can purchase dovetail router jigs in many different styles to cut different types of dovetails. You can search online to find these jigs, or check out a carpentry supply store.
Things You’ll Need
- Dovetail saw
- Marking gauge
- Dividers
- Chisels
- Ruler
- Pencil
- Marking knife
- Table vice
- Wood glue
- Rag
References
- ↑ https://www.finewoodworking.com/2006/05/23/hand-cut-dovetails-accurate-and-fast
- ↑ https://www.finewoodworking.com/2006/05/23/hand-cut-dovetails-accurate-and-fast
- ↑ https://www.finewoodworking.com/2006/05/23/hand-cut-dovetails-accurate-and-fast
- ↑ https://www.canadianwoodworking.com/tipstechniques/hand-cut-dovetails
- ↑ https://www.canadianwoodworking.com/tipstechniques/hand-cut-dovetails
- ↑ https://www.canadianwoodworking.com/tipstechniques/hand-cut-dovetails
- ↑ https://www.finewoodworking.com/2006/05/23/hand-cut-dovetails-accurate-and-fast
- ↑ https://www.finewoodworking.com/2006/05/23/hand-cut-dovetails-accurate-and-fast
- ↑ https://www.finewoodworking.com/2006/05/23/hand-cut-dovetails-accurate-and-fast
- ↑ https://www.finewoodworking.com/2006/05/23/hand-cut-dovetails-accurate-and-fast
- ↑ https://www.popularmechanics.com/home/how-to-plans/how-to/a19197/how-to-cut-dovetail-joints-woodworking/
- ↑ https://www.core77.com/posts/70642/How-I-Learned-to-Cut-Dovetails-By-Hand
- ↑ https://www.canadianwoodworking.com/tipstechniques/hand-cut-dovetails
- ↑ https://www.core77.com/posts/70642/How-I-Learned-to-Cut-Dovetails-By-Hand
- ↑ https://www.core77.com/posts/70642/How-I-Learned-to-Cut-Dovetails-By-Hand
- ↑ https://www.popularmechanics.com/home/how-to-plans/how-to/a19197/how-to-cut-dovetail-joints-woodworking/
