This article was co-authored by Jeff Huynh. Jeff Huynh is the owner of Moseybolt, a full service solution in home services, renovations, and repair in the Greater Seattle area. He has over five years of handyman experience. He has a BS in Business Administration from the San Francisco State University and his Certificate in Industrial Electronics Technology from North Seattle College.
There are 7 references cited in this article, which can be found at the bottom of the page.
This article has been viewed 42,459 times.
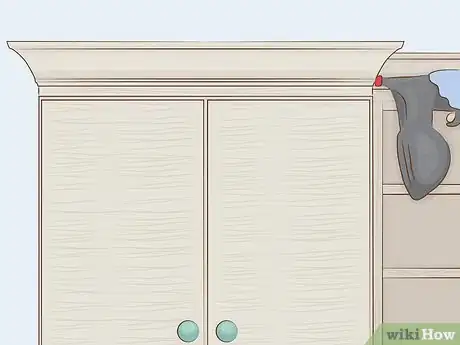
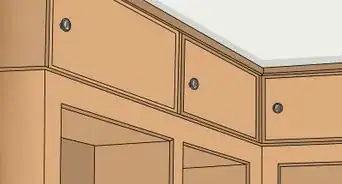
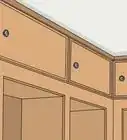
Crown molding is a visual flourish that turns standard cabinets into gorgeous, integrated parts of any room. Though cutting it may seem like a daunting process, knowing how to measure and miter the molding will help everything go smoothly. After this, some simple techniques for creating fine, matching corner pieces will take your crown skills to the next level.
Steps
Measuring Your Cabinet
-
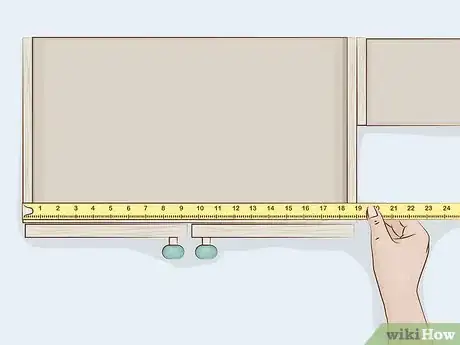
1Use a tape measure to find the length from one cabinet side to the next. Place the tape measure flush against each area you will add crown molding to. Measure as precisely as possible so you don't cut pieces that are too long or short.
-
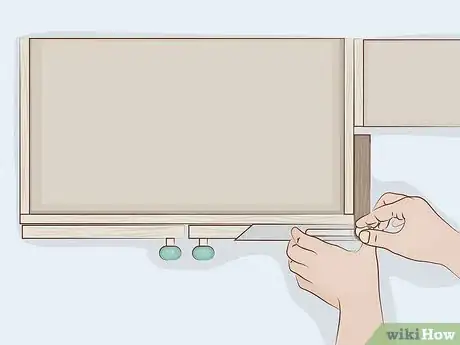
2Use a sliding bevel to find the angle of outside corners. Place the inside edge of your bevel's tightening nut on the corner of your cabinet. Adjust the handle and blade so they are flush against each cabinet side. Tighten the nut on your bevel to hold the measurement in place. You will use a protractor to find the exact degree of this angle.[1]Advertisement
-
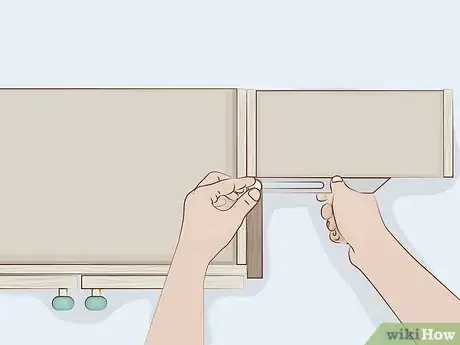
3Measure the angle of inside corners with a sliding bevel. Place the handle of your bevel flush against one of the angle's connecting sides. Adjust the bevel's blade until it is flush with the other side. Make sure the device's tightening nut is nestled in the angle itself, then screw it to secure the measurement. You will use a protractor to convert this angle into a specific degree.[2]
- Though most free-standing cabinets will not have inside corners, this method is useful for wall-mounted and t-shaped cabinets.
-
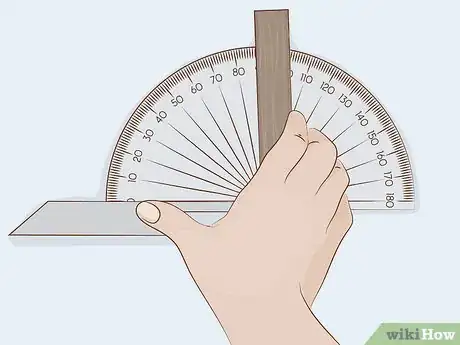
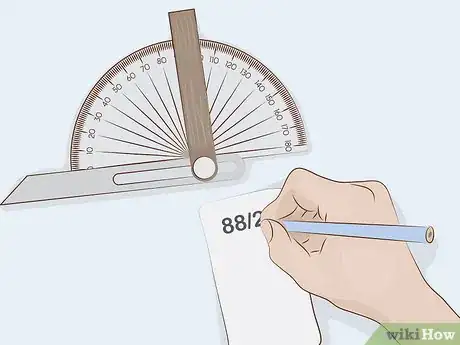
4Use a protractor to find the degree of each angle. After measuring a corner, place the handle of your bevel flush against a piece of paper. Using a pencil, draw a line along the blade of the device. Replace the bevel with your protractor to find the exact angles of your cabinet and any wall-mounted corners.[3]
- Most cabinet angles will be about 90 degrees, but measuring precisely will help you avoid ugly gaps and askew seams.
Cutting Straight Pieces
-
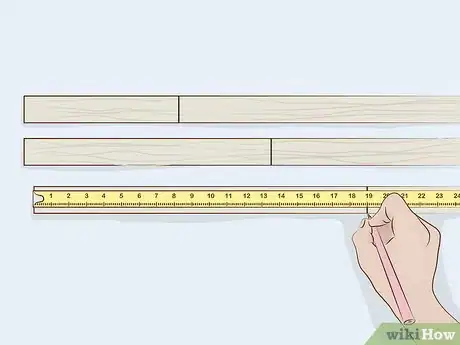
1Measure a piece of crown molding equal to the length of the cabinet. Place your tape measure on the edge of the crown and extend it to the length of one cabinet side. Use a pencil to mark the exact spot that needs to be cut. Repeat for each cabinet side.
- If your crown is too short to cover the length of a side, you can combine two straight pieces together using a thin layer of glue. This is known as a scarf joint.[4]
-
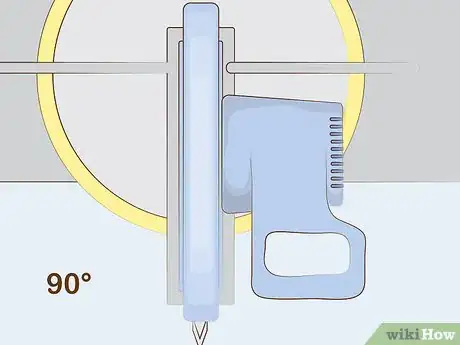
2Set your saw to a desired angle. If the edge of your piece will sit flush against a wall or frame, a straight 90° cut will work fine. If the edge of your piece will be free-standing, choose an angle to maximize visual appeal, such as 45 degrees or 60 degrees.
- When using a saw, make sure it is properly attended at all times. When not actively being used, the machine should be turned off with the blade locked in its safety position.
EXPERT TIPJeff Huynh is the owner of Moseybolt, a full service solution in home services, renovations, and repair in the Greater Seattle area. He has over five years of handyman experience. He has a BS in Business Administration from the San Francisco State University and his Certificate in Industrial Electronics Technology from North Seattle College.Professional Handyman
 Jeff Huynh
Professional HandymanUse the right materials. Jeff Huynh, the general manager of Handyman Rescue Team, says: "Start by using a carpenter square to make sure the cabinet and wall are straight and plum. Calibrate your miter saw to 90 degrees, and cut your molding to size. Then, use a molding adhesive to hold the crown molding in place as you fasten it with 18 gauge finish nails."
-
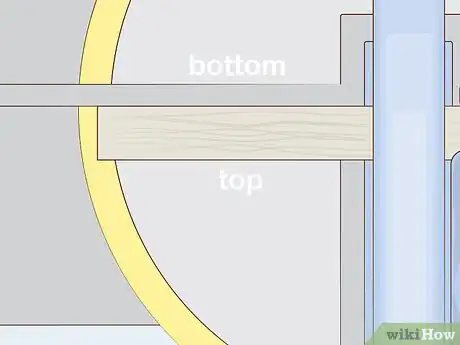
3Hold the bottom of the crown to the saw fence and the top of the crown to the saw bed. Place the bottom of the crown, or the part that will touch the cabinet, to the fence of the miter saw. Place the top of the crown, or the part that will either touch the ceiling or stand freely, to the bed of the saw. Hold these firmly to make sure they don't move.[5]
-
4Make a clean cut through the crown. Slide your molding so the pencil mark is lined up with the saw blade. Pull the blade down and cut completely through the wood. Repeat for each straight piece.
- When making cuts, remember to wear safety goggles and durable working gloves. Keep your hands away from the blade at all times.
Cutting Corners
-
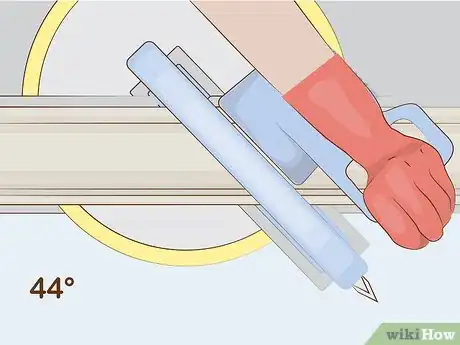
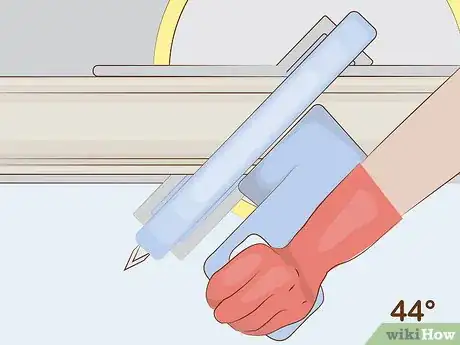
1Divide your angle measurements in half. Because you will be cutting two crown pieces for each corner, your recorded angles will need to be adjusted. Take the angle measurements you found earlier and divide them in half. Use these new numbers to set your miter saw.
-
2Angle your saw to the right to cut right corners. Set your blade to the divided angle measurement of the corner in question. Pull your blade down through the crown molding, making a clean cut. For outside right corners, save the left side of the cut. For inside right corners, save the right side of the cut.[6]
-
3Move the blade to the left to create left corners. Use the divided angle measurement to set your saw to the correct degree. Make a swift cut through the crown molding. For outside left corners, save the right section of molding. For inside left corners, save the left section of molding.[7]
-
4Fix your crowns to the cabinet using glue and finish nails. When all the cuts are complete, connect the molding to your cabinet with 6d finish nails on straight pieces and 4d finish nails on corners. To hold the seams together, apply a small amount of glue to areas where the molding will connect. If all measurements and cuts were completed successfully, everything should fit snuggly.[8]
Warnings
- Practice proper safety etiquette when around the miter saw. Wear goggles and gloves while cutting, and make sure someone is attending the saw at all times. When not in use, the saw should be turned off and locked in its safety position.⧼thumbs_response⧽
Things You'll Need
- Crown molding
- Miter saw
- Tape measure
- Sliding bevel
- Protractor
- Paper and pencil
- Safety goggles
- Heavy working gloves
References
- ↑ http://www.homeadditionplus.com/dev/finish_carpentry/how-to-measure-angles-for-trim/
- ↑ http://www.homeadditionplus.com/dev/finish_carpentry/how-to-measure-angles-for-trim/
- ↑ https://www.brightstorm.com/math/geometry/geometry-building-blocks/using-a-protractor/
- ↑ http://www.popularmechanics.com/home/how-to-plans/how-to/a4832/4335690/
- ↑ https://www.thisoldhouse.com/how-to/how-to-cut-crown-molding
- ↑ http://www.dewalt.com/dewalt-dna/featured-articles/how-to-cut-crown-molding
- ↑ https://www.youtube.com/watch?v=fR0aBqQJC-s&feature=youtu.be&t=51s
- ↑ https://www.thisoldhouse.com/how-to/how-to-install-crown-molding
