This article was co-authored by wikiHow staff writer, Nicole Levine, MFA. Nicole Levine is a Technology Writer and Editor for wikiHow. She has more than 20 years of experience creating technical documentation and leading support teams at major web hosting and software companies. Nicole also holds an MFA in Creative Writing from Portland State University and teaches composition, fiction-writing, and zine-making at various institutions.
This article has been viewed 87,469 times.
Learn more...
Although Gmail's signature editor doesn't let you add actual HTML code, you build a stylish HTML signature in an editor and import it into Gmail. Whether you're an HTML whiz or have no idea where to begin, we have you covered. This wikiHow teaches you how to create an HTML email signature that you can use in Gmail.
Things You Should Know
- If you don’t want to make your HTML signature from scratch, use a signature generator to start with a template.
- Edit the template to design your signature.
- Add the signature to your Gmail in the settings menu of the Gmail website.
Steps
Building a Signature
-
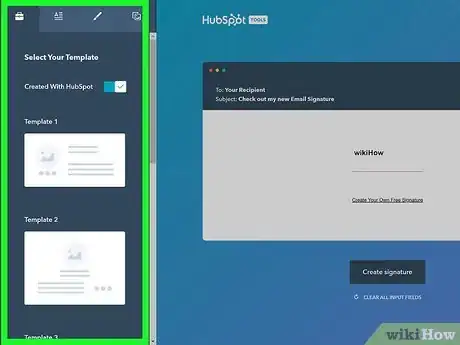
1Decide whether to use a signature generator. If you're not skilled with HTML and/or want to customize a template instead of starting from scratch, an HTML signature generator is best. A generator makes it so you don't have to write the code yourself or scour the web for images and icons.
- Although most HTML signature generators cost money, HubSpot's signature generator is free. You can start with one of 6 templates and add your own info and images.
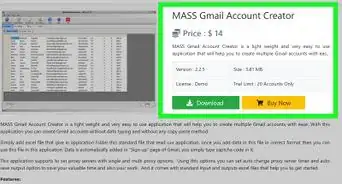
- For professional templates and more advanced features, try a paid signature generator like MySignature,or Newoldstamp, or Si.gnatu.re.
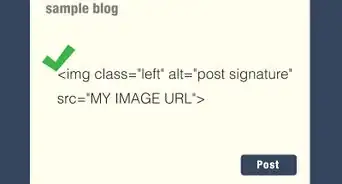
- If you do know HTML, compose your signature in a WYSIWYG editor like this online editor. You won't be able to just copy the raw HTML code and paste it into Gmail—you'll actually have to copy and paste the signature itself, which will automatically embed any images you added in the editor.
-
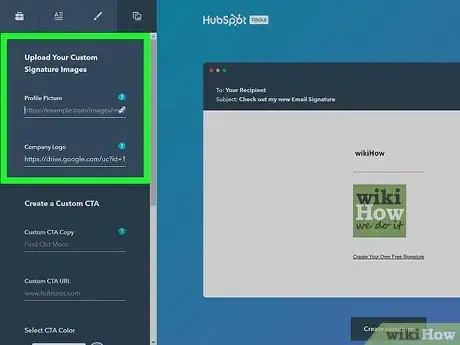
2Download icons or images for your signature. If you aren't using a signature generator's built-in icons, you'll want to find royalty-free icons to use. For example, if you want to include social media links in your signature, you'll want to use icons instead of long ugly links.Advertisement
-
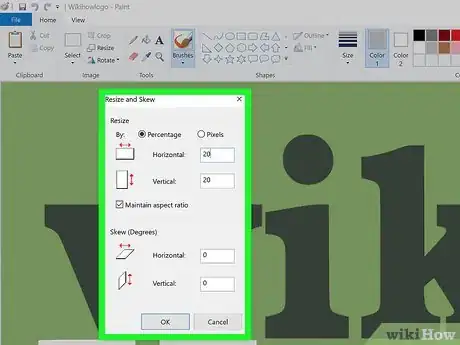
3Reduce the size of your icons and other images. You can skip this if you're not adding your own icons. The standard email signature width is 650 pixels, but you can make it even thinner than that to ensure it will look right in all email clients.[1] This means you'll want your images to be much smaller than that—a 500 px icon will take up the majority of your signature! Reduce the sizes of your images their sizes in an image editor before adding them to your signature.
- You may have to play around with the sizing a bit until you find one that works with your design, but start with 50 to 100 pixels per icon.
- Some popular online image resizers are OnlinePNG Tools and Adobe's free resizer.
-
4Design your signature. If you're using a signature builder, edit the template as described by the editor. If you're using an HTML editor, just write the HTML by hand, or use the style tools built into the WYSIWYG portion of the editor to lay out your signature. Some important things to keep in mind if you're using an HTML editor:
- Stick to 650 px width or less.
- Avoid using bullet points, as they may render strangely on different email clients.
- Using too many (or too large) images can obscure the text.
-
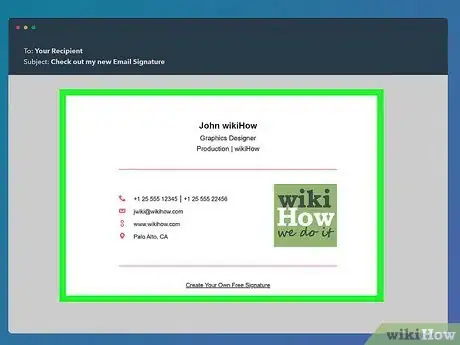
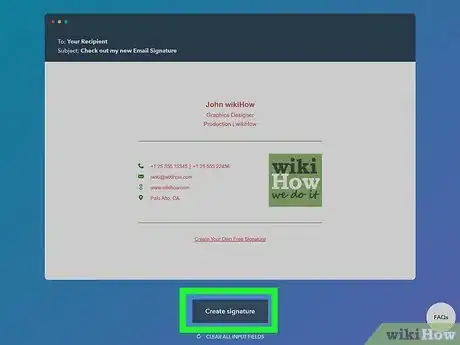
5Generate your signature. If you're using HubSpot's signature generator, click Create signature. If you're coding in HTML by hand, switch to the WYSIWYG version of your editor to view the signature, or open it in a web browser.
-
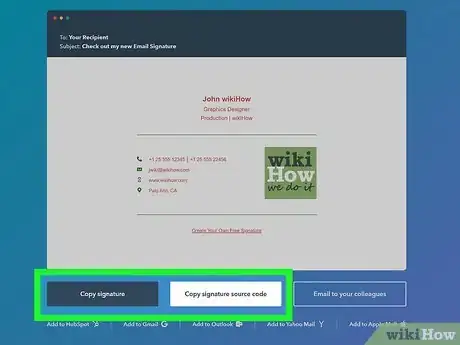
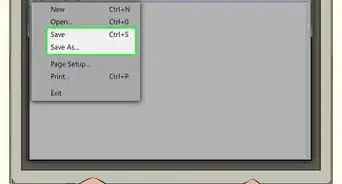
6Copy the signature. Be sure not to copy the HTML—you need to copy the signature visually. Click the Copy signature button in most signature builders, or use the mouse to highlight the signature and press Control + C (PC) or Command + C (Mac) to copy it. Once it's copied, you can paste it into your Gmail signature.
Adding the Signature
-
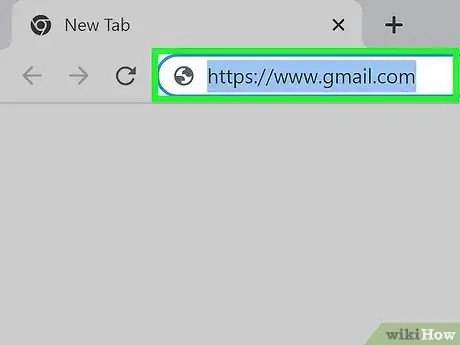
1Go to https://www.gmail.com in a new browser tab. If you're not already signed in, sign in now.
-
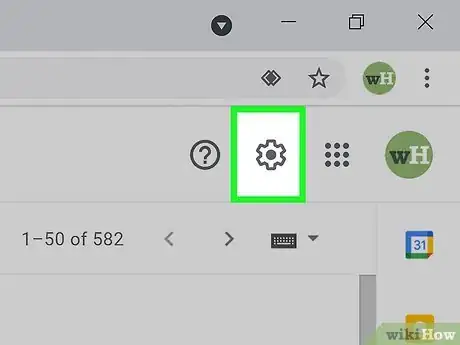
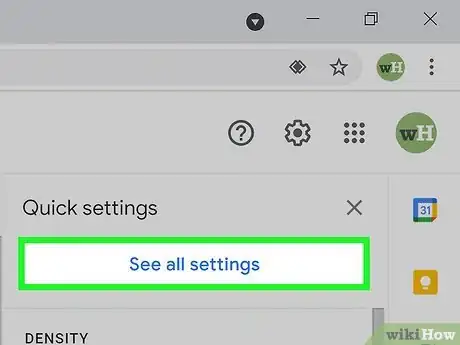
2Click the gear icon. It's near the top-right corner of the page. A menu will expand.
-
3Click See all settings. It's near the top of the menu. This takes you to the General tab of your settings.
-
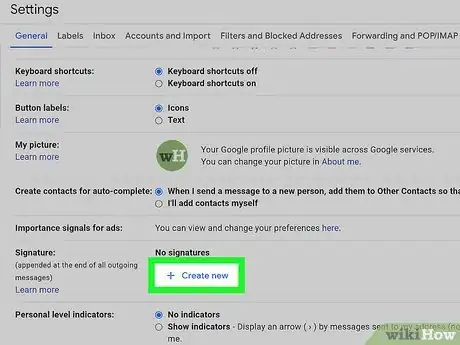
4Create a new signature. If you already have a signature you want to edit, just select that. If not, click click + Create new to create one now. Give it any name you'd like.
-
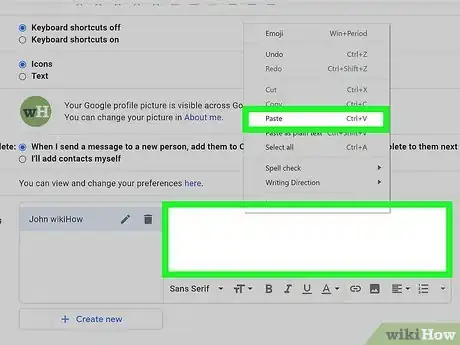
5Paste the copied signature into the "Signature" box. An easy way to do this is to right-click the large typing area and select Paste. This shows you exactly how the signature will appear in your emails.
-
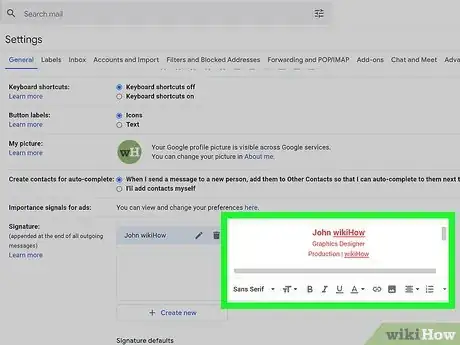
6Edit the signature. Now that you've designed the HTML version of the signature, you can do edits in Gmail's regular signature editor. Double-check all of the information for typos so it doesn't look unprofessional.
-
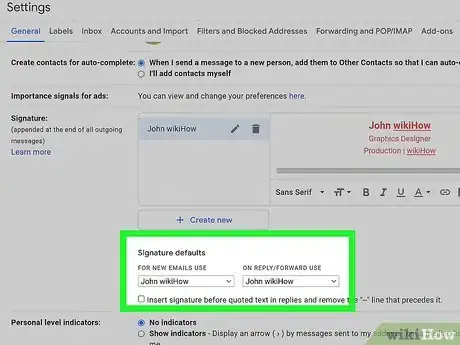
7Set your signature. Now that you've added your signature, you'll want to choose when it should be appended to your emails. To append it to all emails, select the name of the signature from the "FOR NEW EMAILS USE" menu. If you want it to also appear on messages you reply to or forward, select it from the "ON REPLY/FORWARD USE" menu as well.
About This Article
1. Choose an HTML signature generator or design a signature in a WYSIWYG editor.
2. Download icons for your signature.
3. Copy the finished signature (not the code, but the actual signature).
4. Paste the copied signature into your Gmail signature field.
5. Make final edits in Gmail.
