wikiHow is a “wiki,” similar to Wikipedia, which means that many of our articles are co-written by multiple authors. To create this article, volunteer authors worked to edit and improve it over time.
This article has been viewed 160,202 times.
Learn more...
If you work with digital photos or images, you've probably noticed that if you resize them to be larger, they lose resolution and either become pixelated or blurry. This degradation affects raster images, a category of image files such as JPEG, BMP, GIF, or PNG, all of which are based on pixels. If you convert that image into a vector image, however, it can be enlarged to a billboard and will still look as sharp as the original. This tutorial shows you how to use Inkscape to create a vector outline from any digital image.
Steps
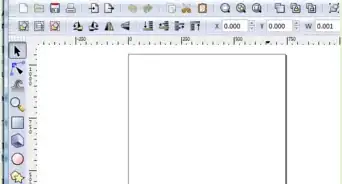
Open Inkscape.
-
You'll find it in your app list if you've already installed it. If not, you can download it for free from https://www.inkscape.org.
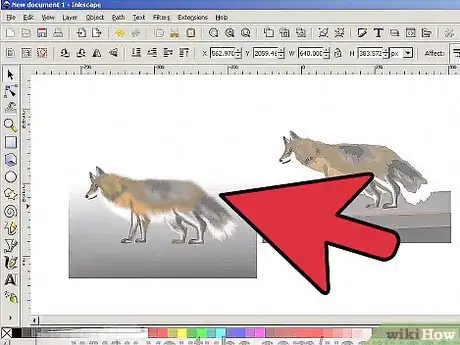
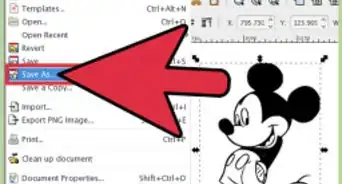
Open a photo or raster image.
Select a size for the vector image.
-
This is the blank image that opened when you launched Inkscape. You can make your vector any size. Here's how:
- Click on File > Document Properties. Alternatively, press CTRL + SHIFT + D.
- Select from a list of standard page sizes or type in a custom width and height. This article will use 300x300. You do not have to hit Enter; just close the dialog box.
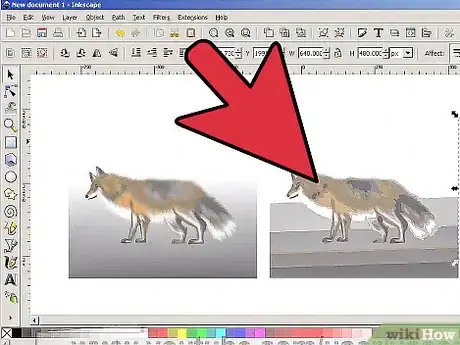
Resize your photo or raster image.
-
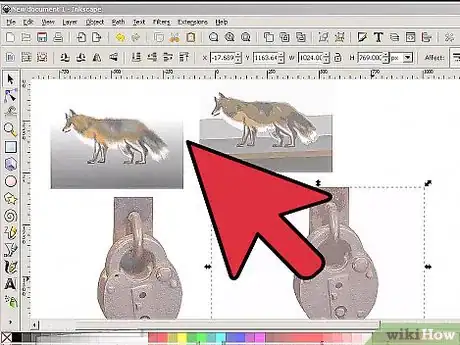
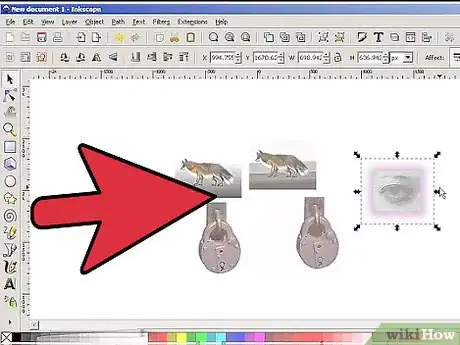
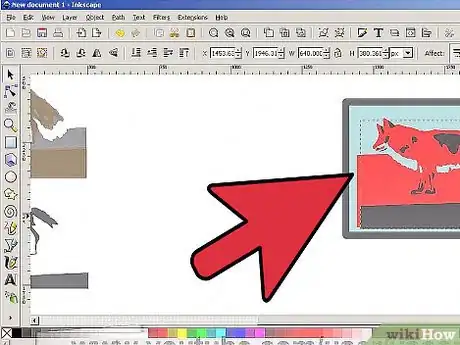
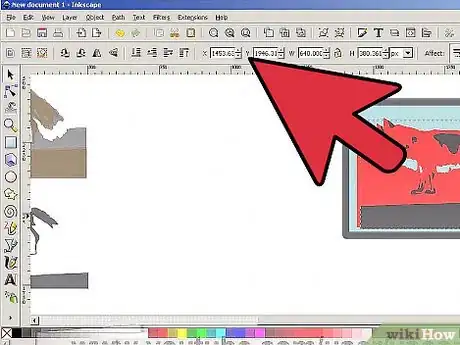
Resize the image so you can easily trace it. Here's how:
- Click the Select and transform tool in the column of tool icons on the left side of the workspace, or press F1.
- Click on your raster image until outward-pointing arrows appear at its corners.
- If you see rotational arrows, click in the middle of your raster image again.
- Click on one of the outward-pointing corner arrows and hold CTRL while moving the mouse diagonally to resize your raster image to the size of the vector image.
- Holding CTRL maintains the aspect ratio of the selected object.
Click the pencil tool.
Zoom in on the raster image.
Trace with the pencil tool.
Edit the paths by nodes.
-
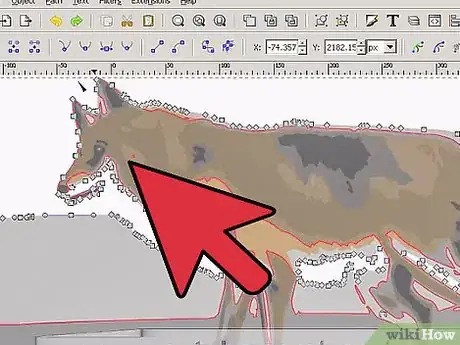
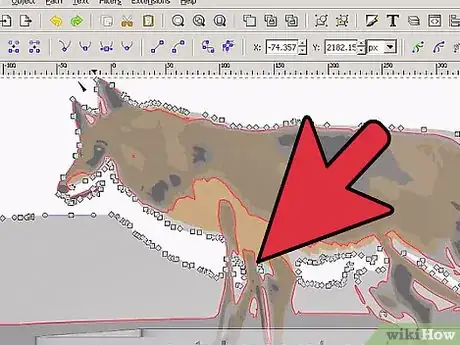
Click the Edit paths by nodes tool icon or press F2. Now you can zoom in on the path you drew and start editing. You will see many squares. Those are nodes that define the path. You won't need nearly as many as are there, so it's helpful to eliminate some of them. There are two ways to do this:
- Select a section to edit and hit CTRL L to Simplify the path. This is an easy way to eliminate excess nodes. Unless you are doing some really fine work, this method should be sufficient enough for you. You can use the Simplify command multiple times on the same selected nodes.
- Select a section to edit. Click on nodes (squares), and delete them by hitting the Delete key after each selection.
Find out where paths need adjustment.
Make adjustments where necessary.
-
Start adjusting. In this intentionally messed up image, the node is clearly visible. Moving the square will move its location, and moving the two circular extensions off of it will adjust its Bezier curve segments. You will have to experiment and read the Inkscape manual to get the hang of it.
- To get the basic shape of your image, move the nodes (squares) to the correct places before doing further adjustments. You will find yourself adjusting the curves, but moving the nodes first makes it easier.
- You can click on a segment connecting two nodes and adjust the line.
Periodically zoom out to check your progress.
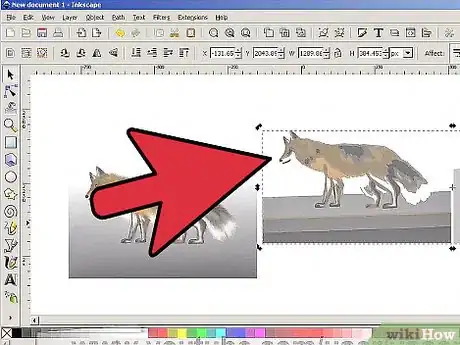
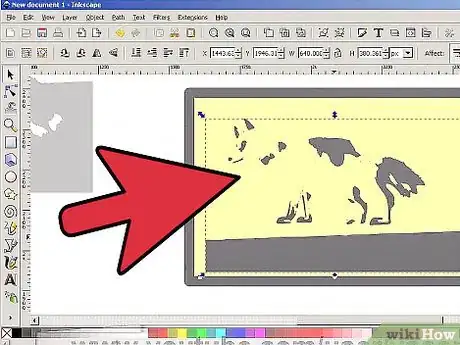
Remove your raster image so you can check for gaps.
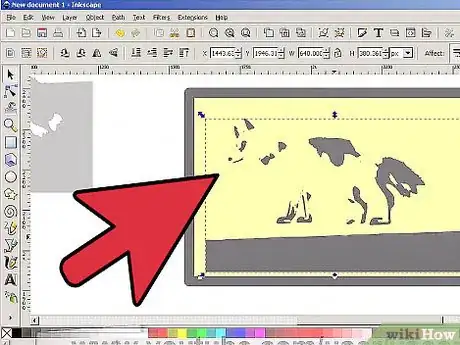
Assemble all the various parts of the image.
Select a color for the image.
Fill the image with the paint bucket tool.
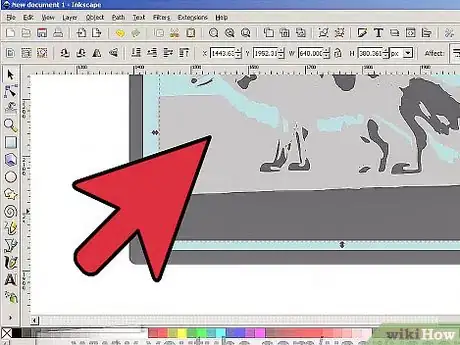
Continue until you have your basic outline.
Resize the image.
See how vectors work.
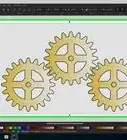
You Might Also Like
 How To Draw a Gear in Inkscape
