This article was co-authored by wikiHow Staff. Our trained team of editors and researchers validate articles for accuracy and comprehensiveness. wikiHow's Content Management Team carefully monitors the work from our editorial staff to ensure that each article is backed by trusted research and meets our high quality standards.
This article has been viewed 129,395 times.
Learn more...
The earliest mathematicians did not have the benefit of plastic protractors to measure and copy angles. In true geometry constructions, you are allowed only a straight edge and a compass. Using these tools, you need to mark various length and arcs, and you can transfer an exactly congruent replica of any angle.
Steps
Preparing Your Materials
-
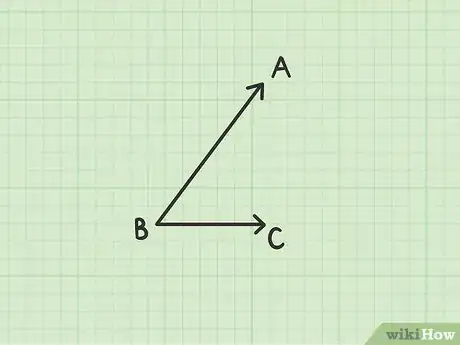
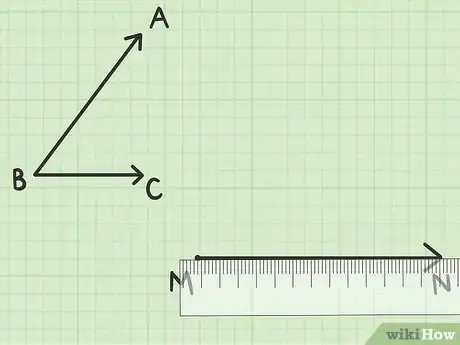
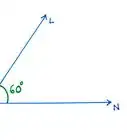
1Review your original angle. The task for this construction is to copy, or transfer, some given angle, using the rules of mathematical construction. Begin with your sample angle on a sheet of paper. You also need to have a blank space to draw the congruent angle.
- For ease of reference, refer to the original angle as Angle ABC. Point B is the vertex of the angle.
- An angle is made up of two rays that join at the vertex. This angle is comprised of Ray BA and Ray BC.
-
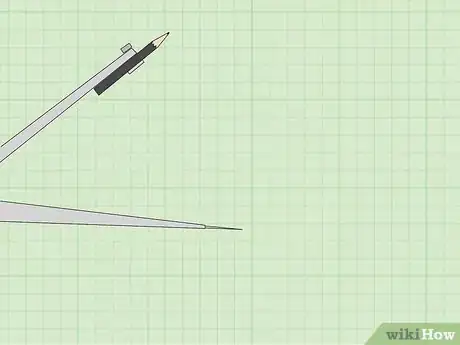
2Get a compass. The first tool that you need for constructing a congruent angle is a compass. Compasses come in a variety of styles. Some very inexpensive ones have a simple slot for you to insert a pencil. Some more expensive and accurate compasses have a variety of lead or ink inserts that may be interchangeable. For a simple task like copying an angle, you can use just about any compass that you have available.[1]Advertisement
-
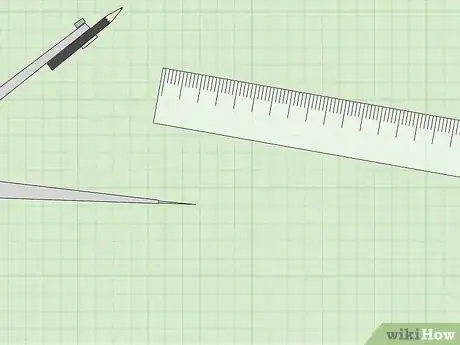
3Find any straightedge. The second tool you need is a straight edge. In fact, for the most genuine constructions, you should avoid using a ruler. According to the true sense of geometric construction, you should not rely on measurements. Therefore, you can use anything with a rigid straight edge.[2]
-
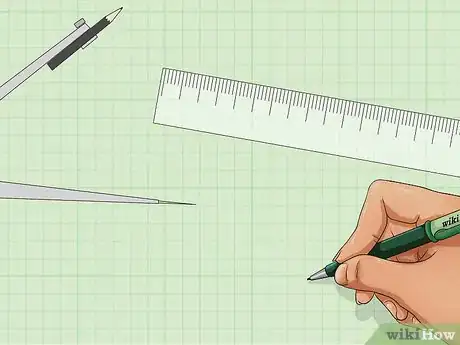
4Use a pencil, pen or other marking tool. The pencil in your compass will be used to mark certain lengths, but you will also need a pencil, pen or marker for drawing straight lines.[3]
Transferring a Congruent Angle
-
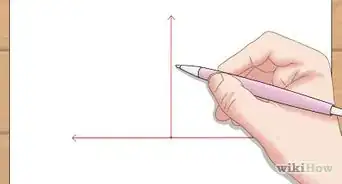
1Use the straight edge to draw a ray. Begin by marking a point where you want to place your new angle. Label the point M. Align your straight edge with that point and draw a straight line that begins at M and extends as long as you want it to be.[4]
- Place an arrow point at the end of the line you drew and label it N. You have just drawn Ray MN. This will be the base of the angle you construct.
-
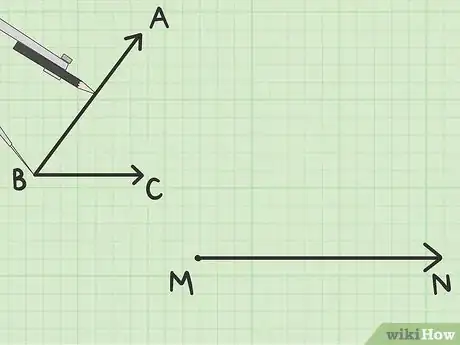
2Set the compass to any comfortable length. You will need to mark an arc on the original angle. The size of the arc does not matter. Choose a setting that is comfortable for you to work with.[5]
-
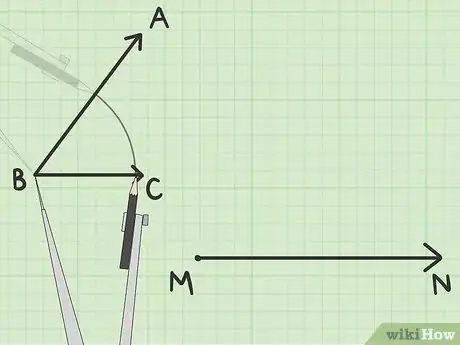
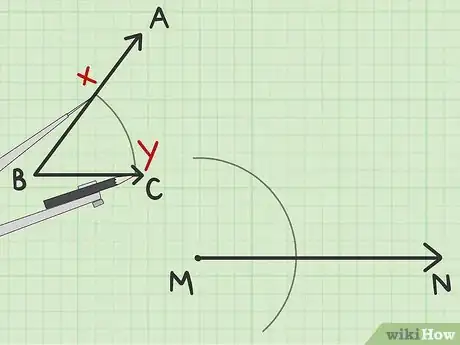
3Draw an arc that crosses both rays of the original angle. When you use the compass, you need to be careful that the arc length you set does not slip. With some advanced compasses, you can use a screw setting to lock in the size. With cheaper compasses, you just need to be careful not to apply too much pressure, or the compass might slip.[6]
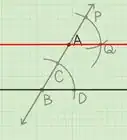
- Set the point of the compass at point B, the vertex of the original angle, and draw an arc that crosses both Ray BA and Ray BC. You do not need to draw an entire circle.
- For reference, mark the points where the arc crosses the rays as points X and Y.
-
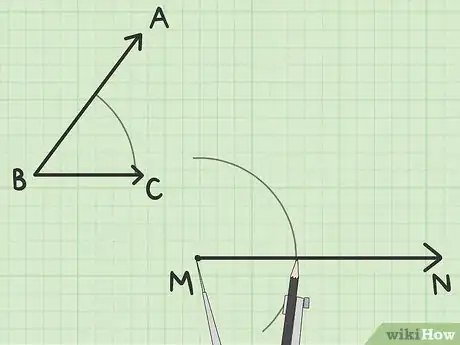
4Draw the same arc on your transfer angle. Being careful not to let the compass setting slip, move the compass and set the point on point M. Draw an arc that crosses Ray MN and extends about as long as the one you drew over Angle ABC.[7]
- For reference, label Point F where the arc crosses Ray MN.
-
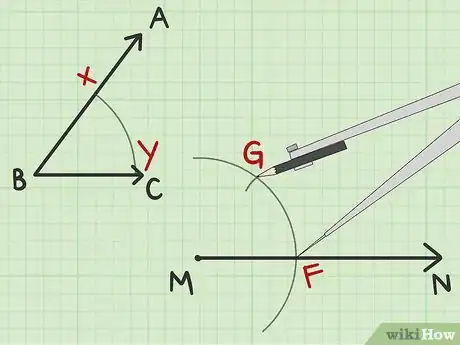
5Use your compass to measure the XY distance. Pick up the compass and set the point down on Point X. Adjust the width of the compass so the pencil point is on Point Y. Draw a small arc that passes through Y.[8]
-
6Copy the XY distance to your transfer angle. Without adjusting the size of the compass width, place the tip of the compass on Point F. Draw a new arc, with Point F as the center. This arc should cross the one that you previously drew. Label the point where the two arcs intersect Point G.[9]
-
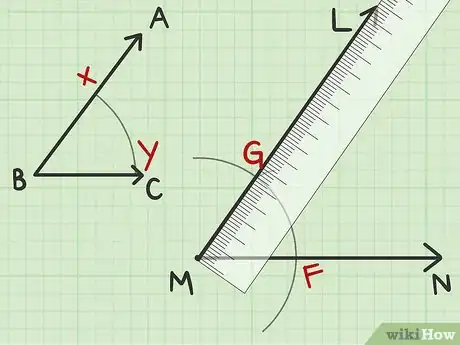
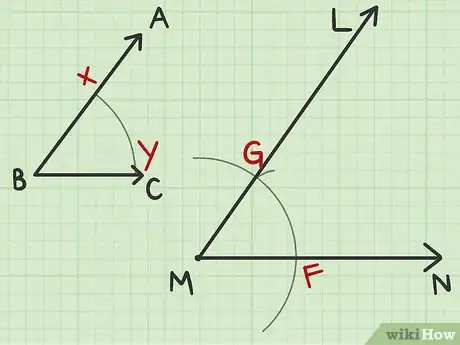
7Use your straight edge to complete the angle. Set your straight edge to align with Points M and G. Use a pencil or marker to draw a ray that begins at M and passes through G. Place an arrow point on the end of this ray, and label it Ray ML.
-
8Review your completed angle. You should have an exact copy of the original Angle ABC. Your new angle is Angle LMN.[10]
- If the copied angle does not appear to be exactly congruent to the original, you should check that your compass remained stable each time that you lifted it off the paper.
Community Q&A
-
QuestionWhat does congruent mean?
 OrangejewsCommunity AnswerFor angles, it means they have the same angular measure. A 20° angle is congruent to any other 20° angle, but not to a 21° angle.
 -
QuestionCan you justify why this construction works?
 DonaganTop AnswererSee the answer (below) to the question that begins "N the construction..."
 -
QuestionN the construction of copying an angle, how does step 5 ensure that the new angle will be congruent to the original angle?
 Community AnswerWhen you make the first arc, at points x and y in this article, you are actually marking the lengths of two sides of a triangle. When you draw the same arc on your new angle, you are transferring the same lengths. Then, the third side of this triangle is the line segment from x to y (for this construction, we never really draw that line segment XY). When you set your compass to the XY distance and then draw that arc on the new diagram, you are marking the third side of that virtual triangle. When two triangles have all three sides the same lengths, then all parts of that triangle are congruent as well. (This is a proof that you can work out for yourself.) Therefore, this construction focuses only on a single congruent angle, but in fact you will create a congruent triangle (if you connect points XY and points FG).
References
- ↑ Construct an Angle Congruent to a Given Angle
- ↑ http://www.mathsisfun.com/geometry/constructions.html
- ↑ http://www.mathsisfun.com/geometry/constructions.html
- ↑ https://www.mathopenref.com/constcopyangle.html
- ↑ https://www.mathopenref.com/constcopyangle.html
- ↑ https://www.mathopenref.com/constcopyangle.html
- ↑ https://www.mathopenref.com/constcopyangle.html
- ↑ https://www.mathopenref.com/constcopyangle.html
- ↑ https://www.mathopenref.com/constcopyangle.html
About This Article
If two angles are congruent, it means their angles are equal to one another, so drawing a congruent angle involves replicating a given angle. First, mark a point that represents the new angle’s vertex and draw a line that extends outwards from this point. Place the compass at the original angle’s vertex and draw an arc that crosses through the two lines of this angle, then repeat this step to create an arc for the congruent angle. Use your compass to measure the distance of the arc between the lines on the original angle so you can recreate the lines on the congruent angle. To learn more, including how to check the new angle for accuracy, read on!
