4 easy-to-follow methods to connect a DVR to your TV
X
wikiHow is a “wiki,” similar to Wikipedia, which means that many of our articles are co-written by multiple authors. To create this article, volunteer authors worked to edit and improve it over time.
This article has been viewed 170,524 times.
Learn more...
You can connect your DVR box to your television using several different methods. An HDMI cable is the simplest option, but you can also use an HDMI-to-DVI cable, component cable, or S-video cable depending on which ports your TV and DVR have.
Steps
Method 1
Method 1 of 4:
Method One: HDMI Cable
-
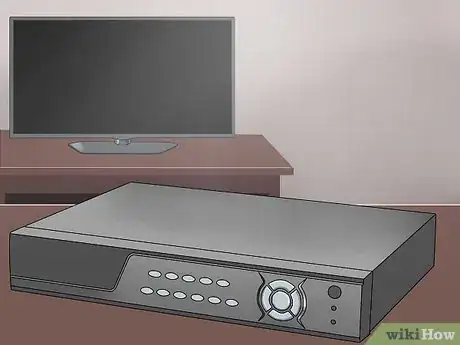
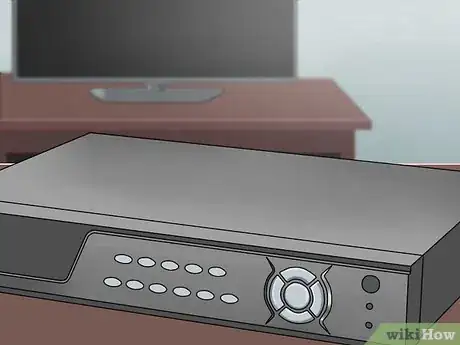
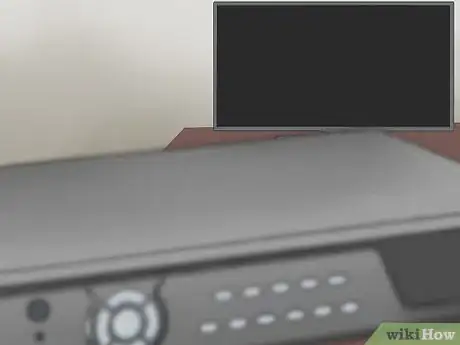
1Turn off the equipment. Before making any connections, make sure that the TV and DVR are both off.
- Note that both devices can be plugged into a wall outlet or other power sources, however, as long as you keep them powered down during the connection process.
-
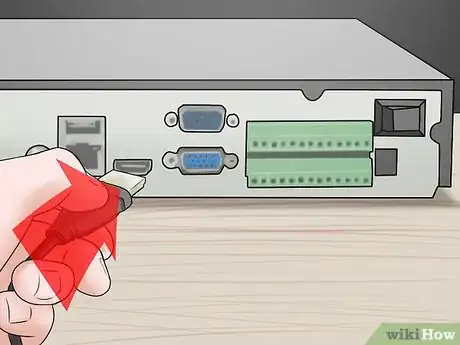
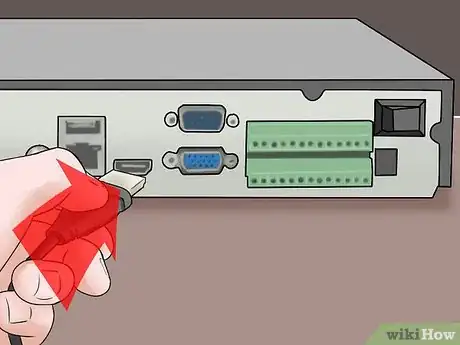
2Connect one end of the cord to the DVR. Connect one end of a full-size HDMI cable to the HDMI 1 Out port on the back of the DVR box.Advertisement
-
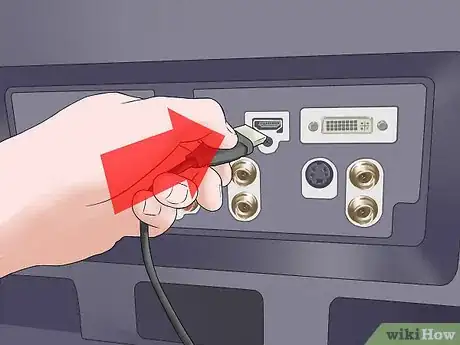
3Connect the other end of the cord to the TV. Plug the other end of the same HDMI cable into the HDMI 1 In port on the back or side of your television.
-
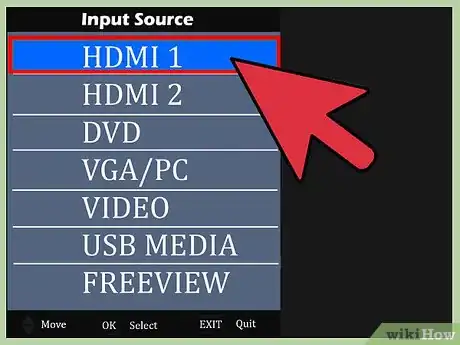
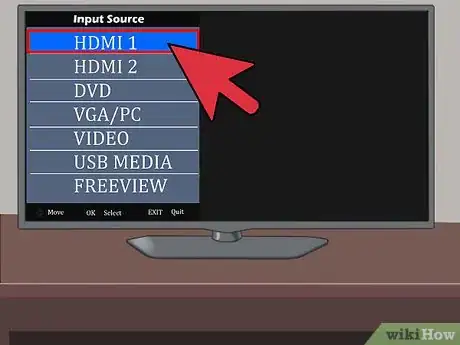
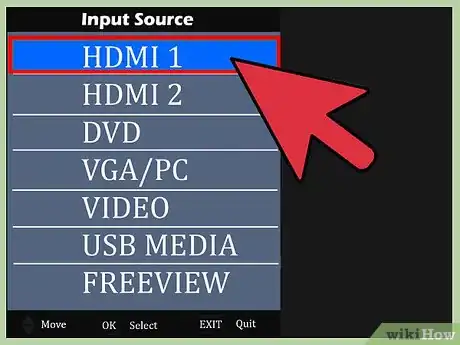
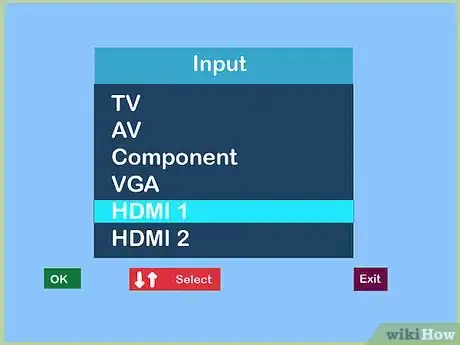
4Turn on the equipment. Turn on both the DVR and the TV. The two devices are now connected. To use the DVR, simply switch your TV to the correct HDMI input source.
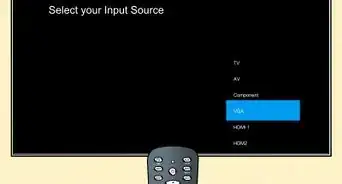
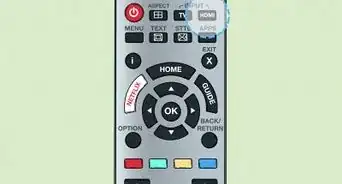
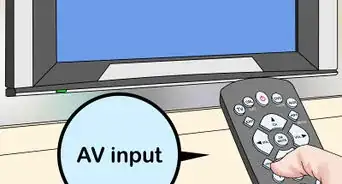
- Press the “Source” or “Input” button on your TV or remote control to change the input setting. Scroll through the options until you reach “HDMI.”
Advertisement
Method 2
Method 2 of 4:
Method Two: DVI Cable
-
1Turn everything off. Make sure that both the TV and DVR are off before connecting them.
- You can keep both devices plugged into a power source as long as they remain off while you connect them.
-
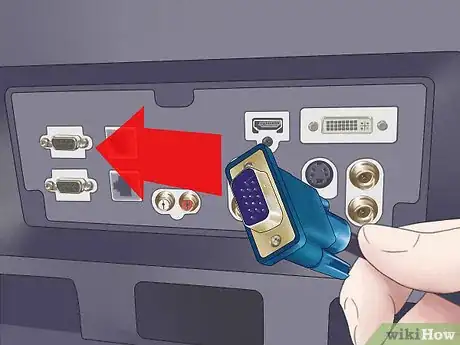
2Connect the DVI end of the cable to the TV. Plug the DVI end of a standard HDMI-to-DVI cable into the DVI In port on the back or side of your TV.[1]
- If you cannot find an HDMI-to-DVI cable, you can use a standard HDMI cable and an HDMI-to-DVI adapter. Simply plug one side of the HDMI cable into the HDMI port on the adapter and plug the DVI connector on the adapter into the DVI In port on your TV.
-
3Connect the HDMI end of the cable to the DVR. Plug the HDMI end of the same HDMI-to-DVI cable into the HDMI Out port on the back of your DVR box.
- If using an HDMI cable with an adapter, simply plug the free end of the cable into the HDMI Out port on the DVR.
-
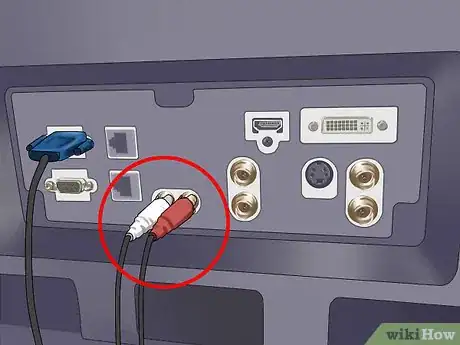
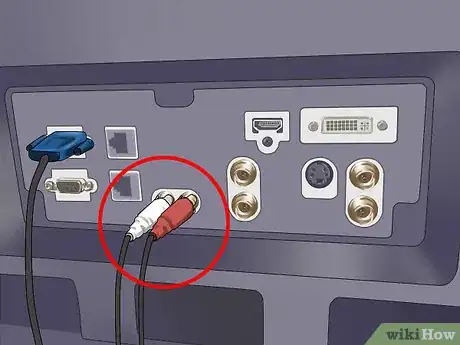
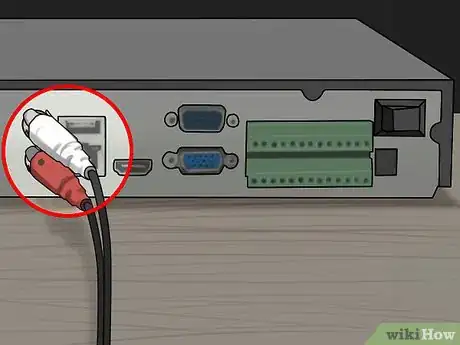
4Hook up the audio wires to the TV. Connect the plugs at one end of an L/R audio cable into the matching Audio In ports on the back of your TV.
- The red plug should be plugged into the red Audio In Right port and the white plug should be connected to the white Audio In Left port.
-
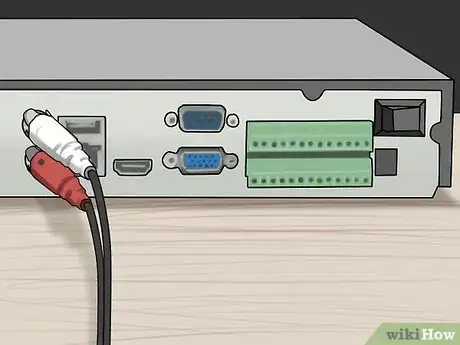
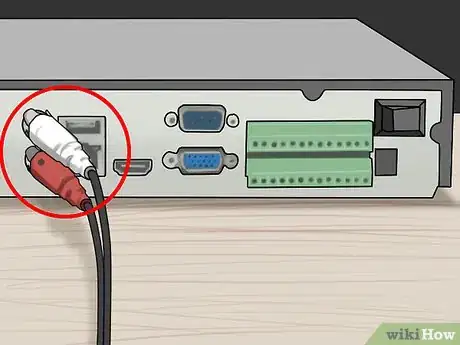
5Hook up the same audio wires to the DVR. Connect the plugs at the other end of the same L/R audio cable to the matching Audio Out ports on the back of your DVR.
- Connect the red plug to the Audio Out Right port and the white plug to the Audio Out Left port.
-
6Turn everything back on. Now that everything is connected, turn the TV and DVR on. Switch the TV to the appropriate input source to watch content from your DVR.
- You'll need to press the “Source” or “Input” button on your TV or remote control to change the source. The cable is connected to the DVI port on your TV, so you need to scroll through the options until you reach “DVI.”
Advertisement
Method 3
Method 3 of 4:
Method Three: Component Cables
-
1Keep everything off. If you haven't done so already, turn off both the TV and DVR before connecting them.
- Both devices can be plugged into a power source during the process. Just make sure that the devices are powered down while you connect them.
-
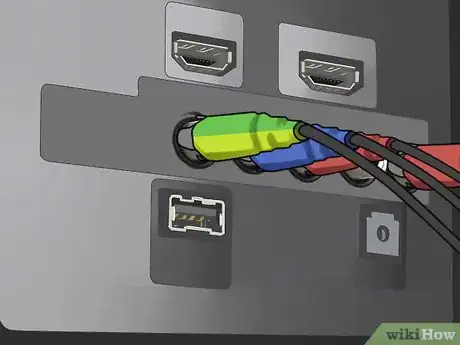
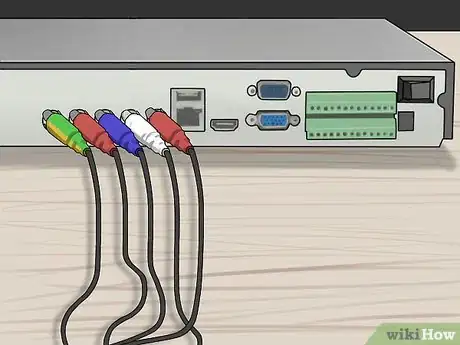
2Connect one side of the component cable to the TV. Plug the green, blue, and red connectors of the component cable into their matching Component In ports on the back or side of the TV.[2]
- Plug the green connector to the green Y port, the blue connector to the blue Pb port, and the red connector to the red Pr port.
-
3Connect the other end of the cable to the DVR. The other end of the component cable should also have green, blue, and red connectors. Plug each of these into their matching Component Out ports on the back of the DVR.
- As before, the green connector plugs into the green Y port, the blue connector plugs into the blue Pb port, and the red connector plugs into the red Pr port.
-
4Plug one end of the audio cable into the TV. You'll need to use a separate L/R audio cable for the audio. Connect the plugs on one end of this cable into their matching Audio In ports on the back of the TV.
- Plug the red connector into the red Audio In Right port and the white connector into the white Audio In Left connector.
-
5Plug the other end of the audio cable into the DVR. The connectors at the other end of the same L/R audio cable should be plugged into the matching Audio Out ports on the back of the DVR.
- You'll need to insert the red plug into the red Audio Out Right port and the white plug into the white Audio Out Left port.
-
6Turn the equipment back on. The DVR and TV should now be connected. Turn both pieces of equipment back on and switch the TV to the necessary input source to watch content from the DVR.
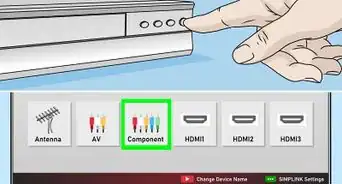
- Scroll through the input options by pressing the "Source" or "Input" button on your TV or remote control. Stop once a picture appears on the TV screen. Usually, this will be the "Video" option.
Advertisement
Method 4
Method 4 of 4:
Method Four: S-Video Cable
-
1Turn off the equipment. If the TV and DVR are currently on, turn them both off before making any connections.
- You can keep both devices plugged into the wall outlet or power strip while connecting them, but the devices must remain off until the end of the process.
-
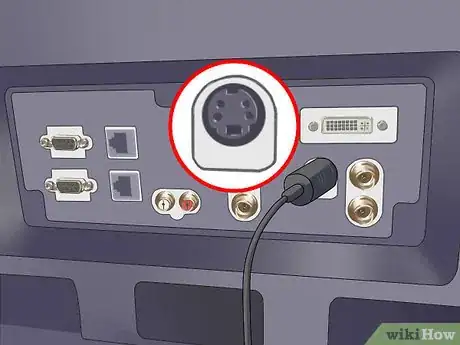
2Connect the S-video cable to the TV. You'll need to use a standard S-video cable for the video. Plug one end of the cable into the S-video In port on the back of the TV.[3]
-
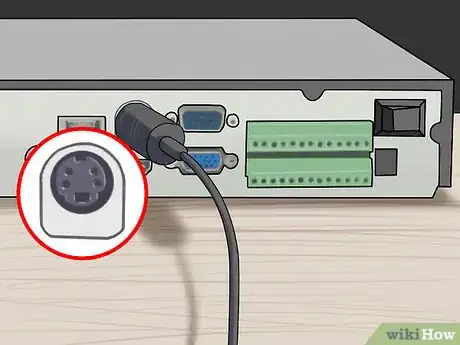
3Connect the other end of the S-video cable to the DVR. Plug the other end of the same S-video cable into the S-video Out port on the back of your DVR.
-
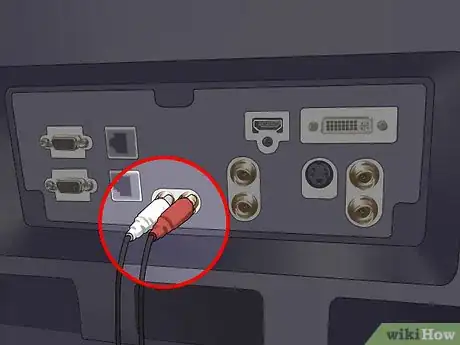
4Attach the audio cable to the TV. You'll need to use a separate L/R stereo cable for the audio. Connect the plugs at one end of this cable into the matching Audio In ports on the back of the TV.
- The red plug connects to the red Audio In Right port and the white plug connects to the white Audio In Left port.
-
5Attach the other end of the audio cable to the DVR. Plug the connectors at the other end of the same audio cable into the corresponding Audio Out ports on the back of the DVR.
- Make sure that the red connector plugs into the red Audio Out Right port and the white connector plugs into the white Audio Out Left port.
-
6Turn everything back on. The DVR and TV are now connected. To use the DVR, turn on both pieces of equipment and switch the TV to the appropriate source input.
- Press the "Source" or "Input" button on your TV or remote control to scroll through the options. Stop once you reach "S-Video."
Advertisement
Community Q&A
-
QuestionDoes the antenna go to the TV or DVR?
 Community AnswerIt will typically go to the DVR first and then out to your TV.
 -
QuestionI connected my DVR and TV using a component cable as shown in Method 3, and there's picture but no sound. How do I fix this?
 Community AnswerThe component cable only transmits images and replaces to single (yellow) composite video. You still need the red and white audio cables (or digital (orange) RCA cable) or fiber optic cable.
 -
QuestionWhat does an HDMI cable look like?
 Community AnswerA written description won't be nearly as useful as a quick Google search. One tip, though, is that many HDMI cables actually have the words "HDMI" imprinted on them.
Advertisement
Things You'll Need
HDMI Cable
- HDMI cable
DVI Cable
- HDMI-to-DVI cable OR HDMI cable and HDMI-to-DVI adapter
Component Cables
- Component cable
- L/R audio cable
S-Video Cable
- S-video cable
- L/R audio cable
References
About This Article
Advertisement
