This article was co-authored by wikiHow staff writer, Nicole Levine, MFA. Nicole Levine is a Technology Writer and Editor for wikiHow. She has more than 20 years of experience creating technical documentation and leading support teams at major web hosting and software companies. Nicole also holds an MFA in Creative Writing from Portland State University and teaches composition, fiction-writing, and zine-making at various institutions.
This article has been viewed 668,501 times.
Learn more...
Although it was once common to make changes to your X11 configuration, Xorg now automatically configures all hardware and settings. Auto-configuration works so well that you usually won't even find the xorg.conf file on your Linux system! However, if you need to make advanced configuration changes for certain hardware or change a path, you can still do so. This wikiHow teaches you how to create and edit xorg.conf, the X11 configuration file, for most Linux distributions.
Steps
-
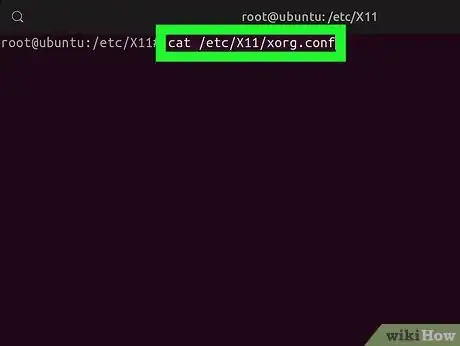
1Check for an existing configuration file. To see if you already have the Xorg.conf file, run cat /etc/X11/xorg.conf. If the file exists, skip to Step 8. If there is no such file, you can create it from the console by continuing with this method.
- Most people will never need to edit xorg.conf. You'll only need to create or edit this file if you have a specific reason, such as an advanced configuration or a need to add specific text required to make certain hardware work.
-
2Press Ctrl+Alt+F1 to switch to a console. This will bring up a new login prompt.[1]Advertisement
-
3Log in as the root user. If you're hesitant to log in as root, even from the console, you can log in as a regular user and preface the remaining commands in this method with sudo.
-
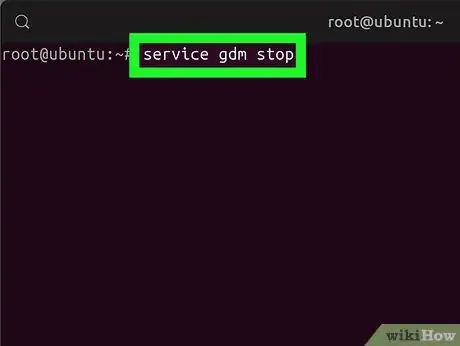
4Run the stop command for your window manager. Some examples:
- If you're using LightDM, you'll run service lightdm stop.
- If you're using Gnome, you'll run service gdm stop.
-
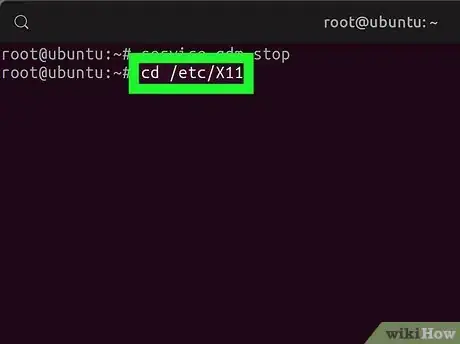
5Run cd /etc/X11 to enter the correct directory. This is where you'll be creating the configuration file.
-
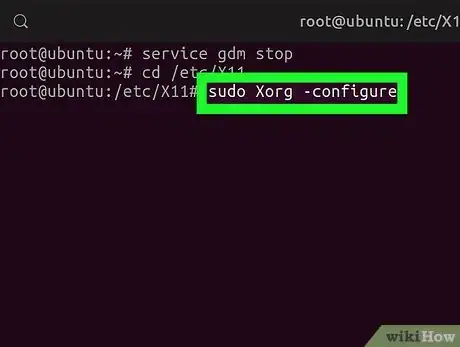
6Run sudo Xorg -configure. This creates a skeleton file called xorg.conf in /etc/X11. Information from your hardware, such as your video card and mouse, will automatically be added to the file.
-
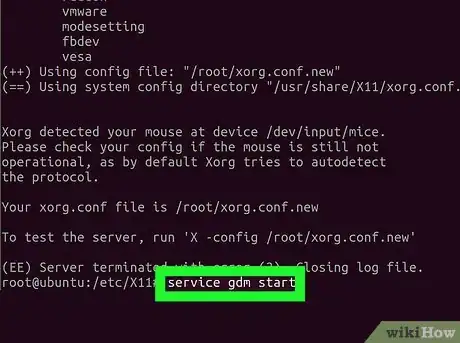
7Restart X using the start command for your window manager. For example, to restart LightDM, you'll run service lightdm start.
-
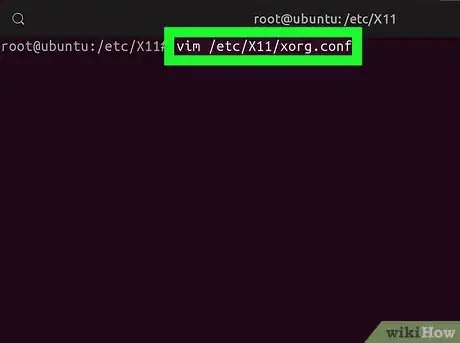
8Open the configuration file for editing. For example, if you're using vim to edit, type vim /etc/X11/xorg.conf.
- Preface the command with sudo if you don't have permission to edit the file.
-
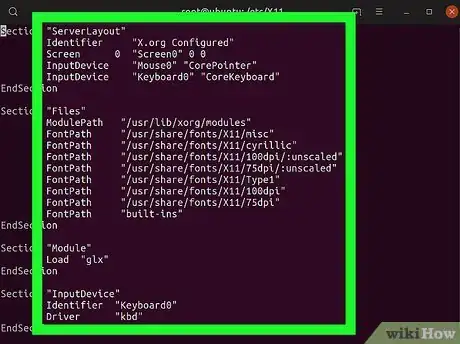
9Edit the necessary section. Auto-configuration has already populated this file with necessary information about your hardware. If you need to make changes, you'll need to do to so in the correct section:[2]
- Files: File path names, including font paths. Fonts should've been auto-detected by Xorg -configure, but if you need to add more, you can add a new entry such as fontpath (location).
- Device: Video adapter and driver info.
- Monitor: This is where you can edit monitor specifics, such as the refresh rate, DPI, and gamma. Only adjust these values if you know they should be adjusted, as incorrect values can break things.
- Server Flags: General server flags, including how the server should react to signals.
- Vendor: Vendor-specific info.
- Module: Modules can be loaded into the XServer at startup to facilitate things like fonts and 3D graphics.
- Extensions: Extension enabling.
- Input Class: Input devices, such as mice, touchpads, and keyboards. Option XkbLayout controls the layout of your keyboard.
- Server Layout: Controls things such as multiple desktops.
-
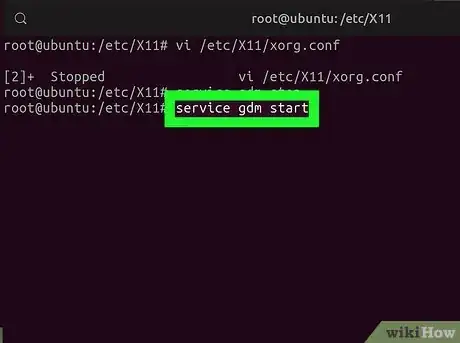
10Save your changes and restart Xorg. After saving the file, use your window manager's stop and start commands to restart Xorg. Some examples:
- If you're using LightDM, you'll run service lightdm stop to stop, and then service lightdm start to restart.
- If you're using Gnome, you'll run service gdm stop to stop the server, and then service gdm start to restart.
Community Q&A
-
QuestionHow do I configure X11 in Linux if I get a message that says "X Server for X64 has stopped working" and the process can't continue?
 Community AnswerThen X11 is still there, which means that you can use it. X64 is more than X11, so it will work without X64.
References
About This Article
1. Check for xorg.conf in /etc/x11.
2. If it's not there, use Xorg –configure to create it.
3. Open /etc/x11/xorg.conf in a text editor.
4. Make your changes.
5. Save the file and restart the X server.
