This article was co-authored by Tanglewood Sue. Tanglewood Sue is a DIY and Upcycling Specialist and the Owner of Tanglewood Works out of Hyattsville, Maryland. With over nine years of experience, Sue specializes in upcycled painted furniture and other handmade, personalized, and sustainable goods. With her passion for art and reinvention, marketing experience, and Bachelor’s Degree in Broadcast Media, Sue has been able to create a business that not only provides quality pieces but empowers customers to create their works through her library of DIY tutorials and live demos as well as DIY supplies.
There are 14 references cited in this article, which can be found at the bottom of the page.
This article has been viewed 29,926 times.
Should you find yourself with a need to restore an old, lifeless piece of furniture but are bored with ordinary paints and stains, you’ll be happy to discover that there’s another option: a color wash. Color washing involves diluting a solid matte paint in water and brushing it onto an absorbent surface—the end result is a soft, muted finish that’s perfect for adding rustic elegance to plain decor. Best of all, color washes are easy to apply and don’t require any extra materials or sophisticated techniques. Simply mix your desired shade of paint with water and layer it on a little at a time. When it dries, your furniture will be transformed with subtle vintage beauty.
Steps
Mixing the Color Wash
-
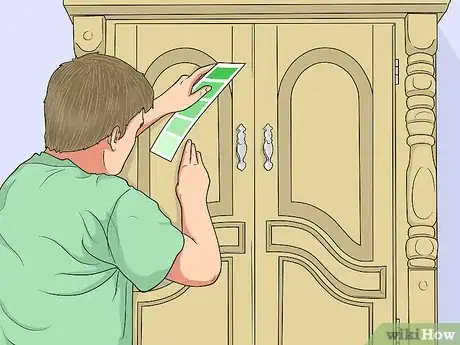
1Choose a paint in the desired color. Head down to your local home improvement store and browse their selection of paints to find one that’s the perfect match for the item you’re customizing. Color washes turn out best with matte or chalk paints, so stay away from gloss and semi-gloss for this project.[1] One quart of paint should be more than enough to mix up a large batch of color wash.[2]
- Any shade of paint can be used to mix a color wash, but pastels and subdued colors will work especially well for projects that are designed to make furniture look vintage or tastefully understated.
- Save unused paints and keep them on hand for future projects.
-
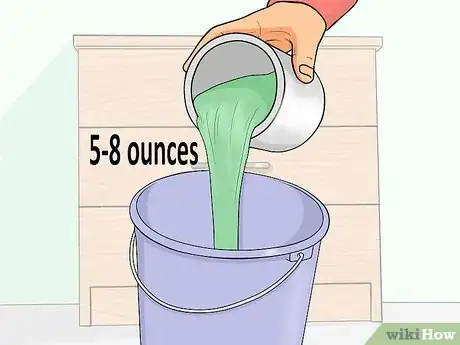
2Pour one part paint into a large container. Find a disposable receptacle that will hold about half a gallon of liquid. A plastic bucket or extra large storage container will work well for this purpose. Use roughly 5-8 ounces of paint to provide the base for the color wash.[3]
- Use slightly more paint for a bolder, opaque finish.
- You’ll dispose of the excess wash once your project is complete, so don’t use any more paint than is necessary.
Advertisement -
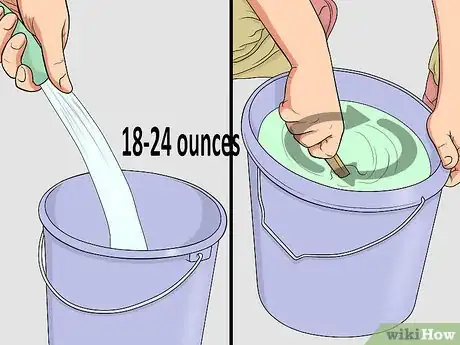
3Add nine parts water and stir well. In order for the wash to go on properly, there should be a much higher ratio of water to paint making it up. The wash needs to be quite thin, as you’ll be applying it in multiple coats to achieve the right depth of color. Stir the wash together by hand until it forms an even, milky mixture.[4]
- If you used 5 ounces of paint, for instance, you’ll want to add somewhere between 18 and 24 ounces of water.
- Test the wash using scrap wood sticks before you begin painting. Adjust the amounts of paint and water until you find a proportion you think will work well for a particular piece of furniture.[5]
-
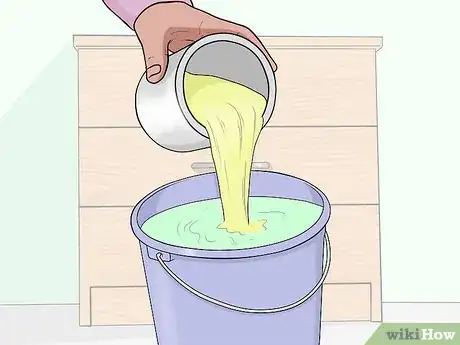
4Combine the wash with other paints to incorporate different shades. At this point, you can add a few ounces of another color of paint to change the hue of the wash as you see fit. For example, a splash of mint green can turn a basic sky blue wash to a more retro-looking seafoam. Similarly, hints or orange and opal will upgrade an ordinary red to sun-baked brick. Mixing your paints allows for a much greater degree of customization and control over the finished piece.[6]
- Neutral colors like dark gray and white can be used to darken or lighten the overall shade of a wash, respectively.
- Blending different colored paints can result in one-of-a-kind finishes that will make your furniture even more distinguished.
Applying the Color Wash to Furniture
-
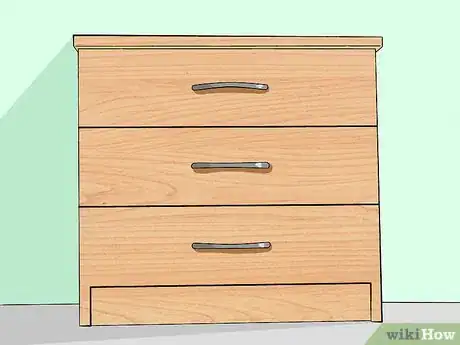
1Start with a plain, unsealed surface. Washes are designed to set into the actual material of a painted piece. For this reason, the furniture you paint should either be unfinished or have been stripped beforehand. Natural materials like wood, wicker, bamboo and terracotta are porous and will provide the most welcoming surfaces for the liquid wash.[7]
- Washes are intended to soak into a painted piece rather than resting on the surface. This makes the tones of the pigment look more ingrained.
- Treat previously-painted furniture with a chemical paint stripper and sand it thoroughly to remove all traces of the original color if you plan on finishing it in a different hue.[8]
-
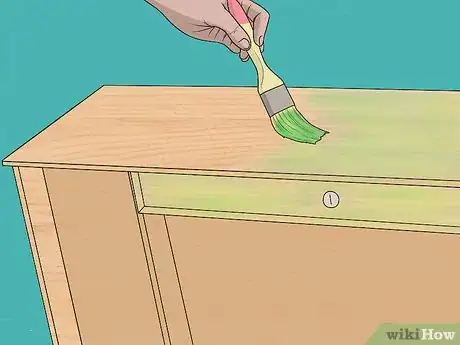
2Brush on the first coat of wash. Dip a soft-bristled paintbrush into the wash you mixed up, then glide it over the surface of the piece you’re painting. Use long, smooth strokes and cover as much area as you can. The point here is to lay down a subtle base that you can then add to until the piece has just the right balance of color and natural grain.[9]
- You may barely notice a difference after applying the first coat. This is normal. It will take a few layers for the wash to stand out.
- Dip small or removable items like shelves, drawer faces and table legs in the wash to save time and create a more even finish.[10]
-
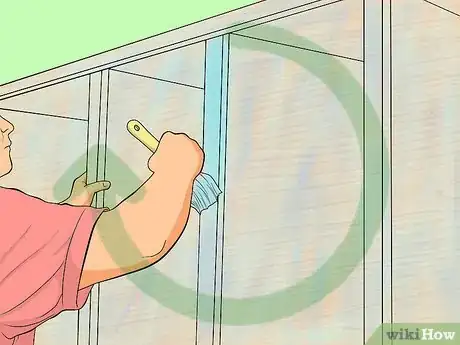
3Repeat with additional coats. Once the initial coat has been brushed on, go back over the piece as many times as you like, layering on the color a little at a time. With each coat, the color will become bolder and more pronounced. Let each coat dry to the touch before adding subsequent layers.[11]
- Washes act similarly to stains, soaking into unfinished surfaces to give it a tinge of color and provide a foundation for other colors and coats.
- If the color isn’t as intense as you’d like, increase the concentration of paint in the wash mixture by a few ounces, then stir and try again.[12]
-
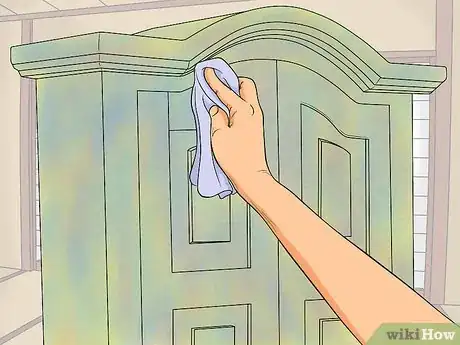
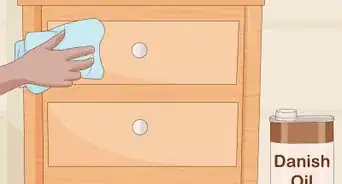
4Wipe down the wet wash for a distressed effect. Before the color wash has had a chance to dry completely, run a damp washcloth or folded piece of cheesecloth along the surface of the pieces in light swipes. This will remove a little bit of paint with each pass, revealing the natural grain of the material beneath and leaving the piece looking more time-worn.[13] Distress as much or as little as you like before the wash dries to give the piece some added aesthetic character.[14]
- You can also use a rag soaked in water, paint thinner or mineral spirits to strategically thin dried wash, creating a unique texture in the finish.[15]
- Try distressing furniture around the edges and corners for a more natural aged appearance.
Finishing Color Washed Pieces
-
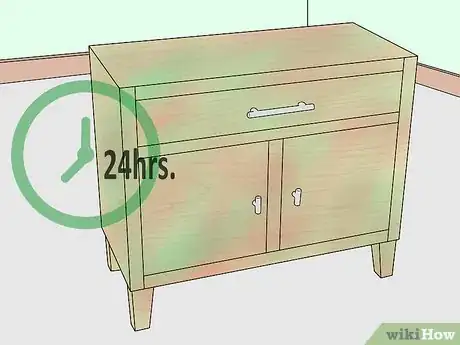
1Allow the piece to dry overnight. Once you’re satisfied with the look of the piece, set it aside somewhere out of the way to let the wash set up. Within 24 hours, the piece should be dry enough not to smudge or transfer color to other items it touches. At this point, you can add other unique accents or apply the finishing touches to seal the wash.
- Put down a dropcloth or plastic tarp to dry large or oddly-shaped furniture on.
- Minimize contact between the color washed item and the surface it’s resting on to keep the outer coat intact.
-
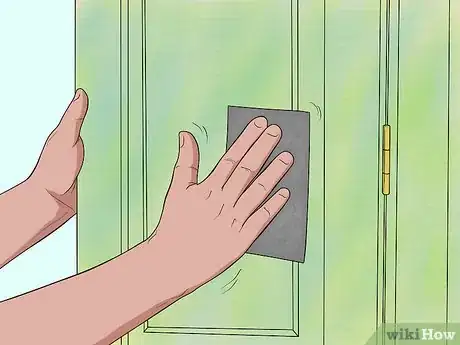
2Sand the washed piece lightly. For a more even finish, go over areas where the wash has collected or set up thickly with a sheet of high-grit sandpaper. Focus on spots where the paint has dried in streaks or droplets.[16] Your aim should be to make the overall tone of the piece as blended and uniform as possible.
- Color washes have a tendency to show up darkest in joints, contours and crevices, which can look jarring if the rest of the piece is still light on color.
-
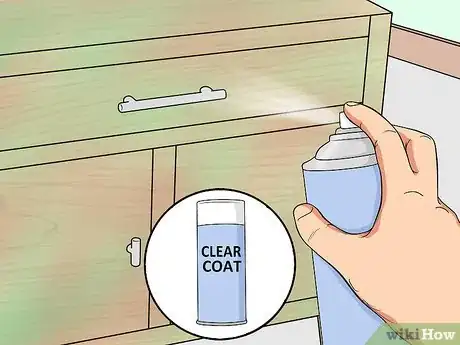
3Apply a final clear coat. When you’ve got the piece looking the way you want it, use a thin coat of varnish or polyurethane finish to preserve the color and visual texture for good. You’ll be able to put your furniture to daily use without having to worry about the color fading or rubbing off. Use color washes to lend interest and enchantment to other pieces around your home![17]
- Clear coats protect against scratches, humidity and natural deterioration and can be reapplied as they wear out over time.
- To clean color washed furniture, simply run a damp washcloth over the outer surface. The smooth clear coat will act to repel dust, dirt and stains and is easy to touch up with a simple wipe-down.
Warnings
- Do not attempt to color wash hard, flat or synthetic surfaces like metal or plastic. These materials are specifically engineered not to absorb moisture, so you’ll be wasting your time trying to get color to set in.⧼thumbs_response⧽
- Avoid handling furniture before the wash is dry. Since the wash layers are so delicate, it won’t take much contact to potentially ruin the finish.⧼thumbs_response⧽
Things You'll Need
- Matte or chalk paint
- Water
- Large disposable container (bucket, empty paint can, washtub, etc.)
- Wooden sticks for stirring and testing color
- Soft-bristled paintbrush
- Dropcloth or plastic tarp
- Clear coat finish
References
- ↑ Tanglewood Sue. DIY & Upcycling Specialist. Expert Interview. 24 March 2021
- ↑ http://www.craftionary.net/what-color-to-paint-furniture/
- ↑ http://www.allthingsthrifty.com/2011/05/tutorial-white-washing-but-with-color.html
- ↑ http://www.bhg.com/decorating/makeovers/furniture/how-to--color-wash-furniture/#page=2
- ↑ http://www.bhg.com/decorating/makeovers/furniture/how-to--color-wash-furniture/#page=3
- ↑ https://www.youtube.com/watch?v=7kZ4sOUsPTw
- ↑ http://www.bhg.com/decorating/makeovers/furniture/how-to--color-wash-furniture/
- ↑ https://www.thisoldhouse.com/how-to/stripping-painted-furniture
- ↑ https://www.youtube.com/watch?v=vgB5wkzbk6g
- ↑ http://www.bhg.com/decorating/makeovers/furniture/how-to--color-wash-furniture/#page=4
- ↑ http://www.allthingsthrifty.com/2011/05/tutorial-white-washing-but-with-color.html
- ↑ http://www.bhg.com/decorating/makeovers/furniture/how-to--color-wash-furniture/#page=6
- ↑ Tanglewood Sue. DIY & Upcycling Specialist. Expert Interview. 24 March 2021
- ↑ http://www.stonegableblog.com/creating-color-wash-effect/
- ↑ http://www.remodelaholic.com/color-washing-paint-technique/
- ↑ Tanglewood Sue. DIY & Upcycling Specialist. Expert Interview. 24 March 2021
- ↑ http://www.minwax.com/how-to-finish-wood/guide-to-clear-finishes/
