This article was co-authored by wikiHow Staff. Our trained team of editors and researchers validate articles for accuracy and comprehensiveness. wikiHow's Content Management Team carefully monitors the work from our editorial staff to ensure that each article is backed by trusted research and meets our high quality standards.
This article has been viewed 41,414 times.
Learn more...
Pumpkins can be used in a variety of recipes. If you're cooking with pumpkin, you will need to clean your pumpkin first. You also may want to clean out the inside of a pumpkin for carving. Cleaning a pumpkin is fairly easy with a little patience and the right tools. Make sure to be safe. You do not want to end up getting injured while carving a pumpkin.
Steps
Cleaning Out a Pumpkin to Cook
-
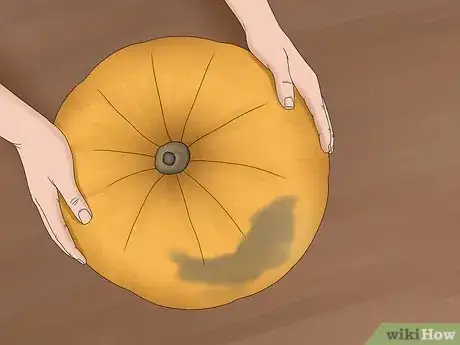
1Inspect the pumpkin for any rotten parts. You should do this before purchasing a pumpkin in the store, and again when you get home. You want to buy a pumpkin that is the same color and texture throughout. Darker, mushier portions of the pumpkin indicate rotting.[1]
- If you notice some parts of the pumpkin have rotted after bringing it home, cut these parts off with a knife before cooking the pumpkin.
-
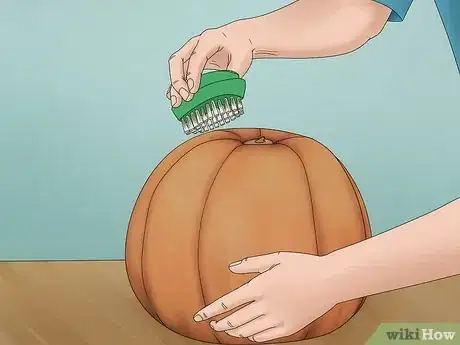
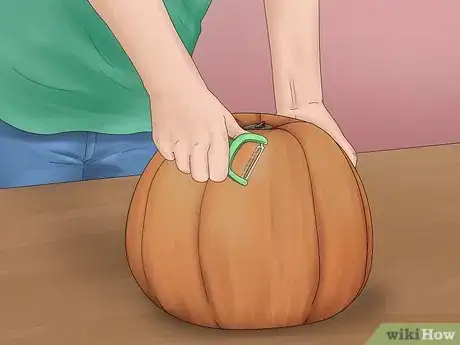
2Scrub the outside of the pumpkin with a vegetable brush. If you don't have a vegetable brush, a rough, clean cloth should work. This will help loosen up any dirt and debris, allowing you to easily rinse off any contaminants. You do not need to use water here. You will rinse the pumpkin off later.[2]
- Pumpkins can be very big, so this takes some patience. Make sure to scrub down the entire surface of the pumpkin.
- Make sure not to scrub too hard. You don't want to end up scraping off the skin of the pumpkin.
Advertisement -
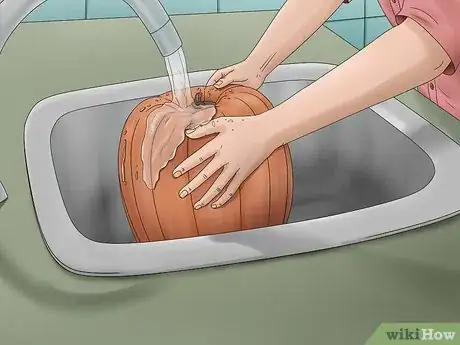
3Rinse the pumpkin under water to remove any dirt. You can just use tap water here. Simply run the pumpkin under the faucet in your sink. Make sure to turn the pumpkin as needed to rinse off all sides.[3]
- If you see any dirt or debris sticking onto the pumpkin, gently rub it off using your fingers or a clean cloth.
-
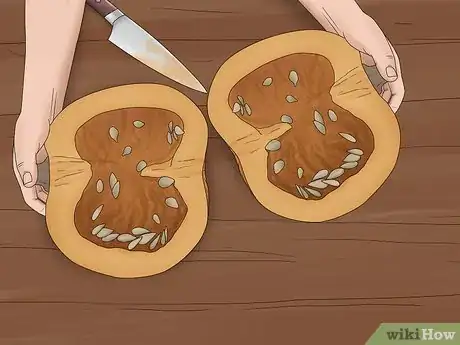
4Cut the pumpkin in half. Once you've cleaned the surface of the pumpkin, you slice the pumpkin in half. Slice the pumpkin down the middle using a sharp knife that slices evenly. Be sure to go slow and keep your fingers away from the blade to avoid accidentally harming yourself.[4]
-
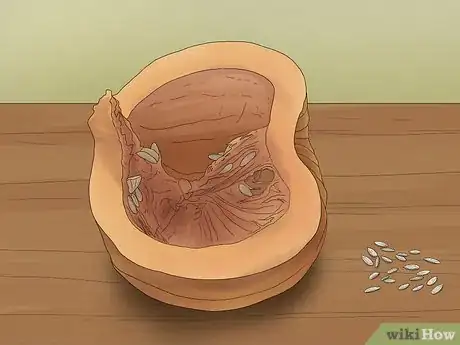
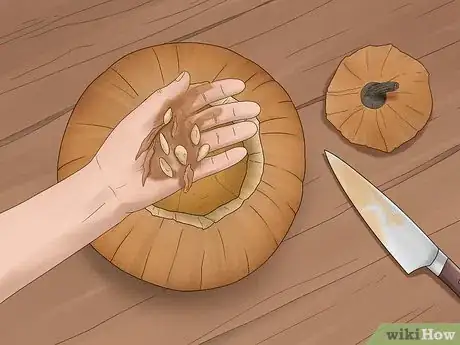
5Remove the seeds. A serrated spoon, such as a grapefruit spoon, works great to remove pumpkin seeds. You can also use an ice cream scoop. Scrape the spoon along the inside of each half of the pumpkin. Remove all the seeds from inside.[5]
- Once you have removed the seeds, your pumpkin is ready to cook.
- When carving a pumpkin, you need to make sure the inside walls are very smooth. This is not necessary when cleaning out a pumpkin to cook. Do not worry too much if the sides are uneven or a little mushy. Just make sure to get out all the seeds.
Removing the Seeds Inside a Pumpkin for Carving
-
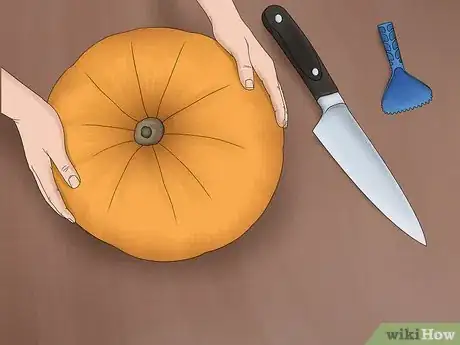
1Inspect and rinse your pumpkin. Even if you're not eating a pumpkin, you should inspect and clean it before carving. You want your pumpkin to be clean before you handle it for carving.[6]
- Remove any mushy or moldy spots on the pumpkin with a knife.
- Rub the pumpkin down with a vegetable brush or a clean, rough cloth. Then, run the pumpkin under water to remove any dirt.
-
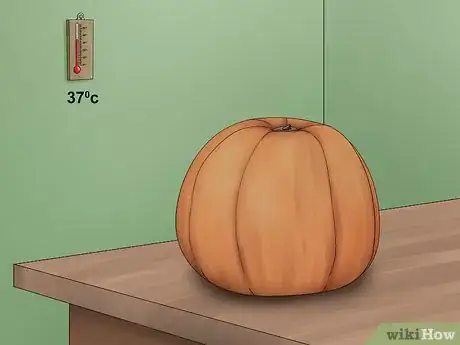
2Let your pumpkin reach room temperature. If you brought your pumpkin from outside, it may be a little cold. Let the pumpkin sit until it's around room temperature. You can use your hand to gauge whether the temperature of the pumpkin matches the temperature of the room. Pumpkins are easiest to carve at room temperature.
-
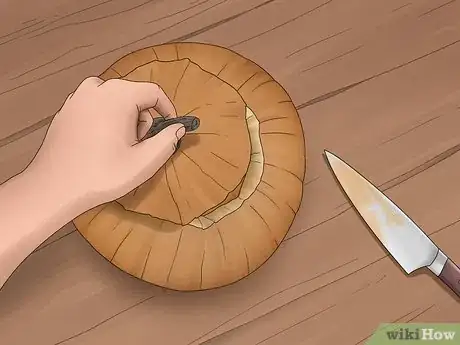
3Carve a hole out of the pumpkin. It's actually easier, and safer, to carve a hole at the bottom of the pumpkin to start, but carving the top is the traditional method. Using the bottom way, you can smooth out the bottom of the pumpkin's inside where you will later set down your candle. This reduces the risk of the candle toppling over, which could cause a fire.
- Turn the pumpkin sideways and use a knife to trace a large hole at the bottom of the pumpkin. Your opening should be big enough that you can easily reach inside the pumpkin. Take a small knife and gently cut around the hole, and then use your knife to pry out the bottom.
- Take your knife and use it to level out the bottom of the pumpkin. Cut off the excess seeds and strings from the bottom of the pumpkin, striving to cut a neat line. You're trying to create a level surface on which you will place a candle.
-
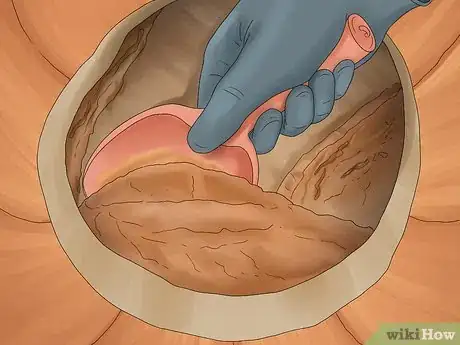
4Dig the seeds out with a spoon or your hands. You can now reach into the pumpkin and dig out the seeds. A spoon, particularly a serrated spoon, works best here. If you're using a pumpkin carving kit, you may have received a serrated spoon with the kit. You can also use an ice cream scoop. Some people prefer to use their fingers to dig out the seeds.
- Dig out all the seeds using your hands or a spoon. Make sure there are no seeds left in the pumpkin when you're done.
- If you're saving the seeds to roast later, make sure to set them in a safe place.
-
5Smooth the inside wall. Use a clay modeling tool, which typically comes with a pumpkin carving kit, to smooth out the inner walls. You can also buy a clay modeling tool at a craft store if you don't have one. Run the tool along the walls of the pumpkin, removing strings and making the walls smoother overall.
- After the walls are smoothed out, there will be a lot of strings and goo stuck on the side of the pumpkin. Remove these with a spoon.
-
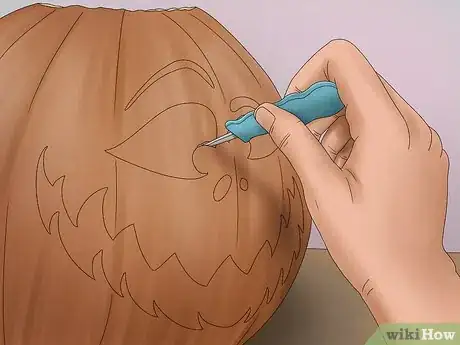
6Put the bottom back in place and cut out a hole in the top. Once you've cleaned out the pumpkin, place the bottom back in place. You should be able to simply press it back into place using your hands. You can then cut another, similar sized hole on the top, near the stem. Your pumpkin is now ready to carve for Halloween.
Taking Safety Precautions
-
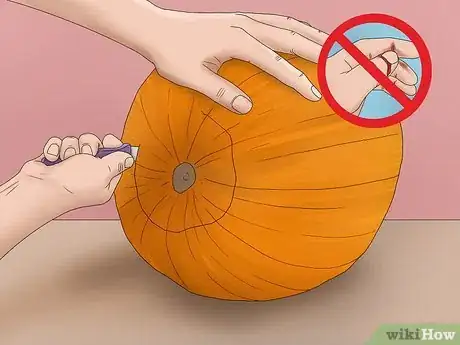
1Make sure your work area is safe. When you're working with knives, take care. Make sure your work environment is safe so you avoid injury.
- Work in a well lit area. You need good lighting to see what you're doing and avoid accidentally cutting yourself.
- The surface you're working on should be dry. You should also make sure all your carving tools are dry.
-
2Cut into the pumpkin slowly. There is no rush to prepare a pumpkin to cook or carve. Cutting too quickly can easily lead to slip ups and injuries. Have patience when carving a pumpkin and always opt to go slowly. You do not want to get injured while rushing through the carving process.
-
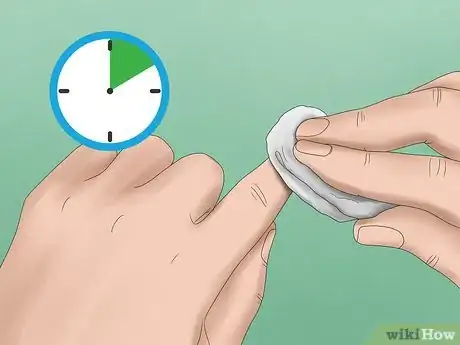
3Address injuries quickly. Even when taking proper precautions, injuries do occur. If you are injured while cutting a pumpkin, act fast to prevent complications.
- Use a clean cloth or rag to apply pressure to the injured area. Usually, a cut will stop bleeding in 5 to 10 minutes.
- If your cut does not stop bleeding, or if you notice signs like numbness, see a doctor right away. You may need stitches or other medical treatments.
References
- ↑ http://www.thedailymeal.com/how-clean-pumpkin
- ↑ http://www.almanac.com/content/how-clean-and-cook-pumpkin
- ↑ http://www.thedailymeal.com/how-clean-pumpkin
- ↑ http://www.almanac.com/content/how-clean-and-cook-pumpkin
- ↑ http://www.almanac.com/content/how-clean-and-cook-pumpkin
- ↑ http://www.thedailymeal.com/how-clean-pumpkin
- Videos provided by OutdoorsCA
