This article was co-authored by Lancy Woo. Lancy Woo is a Certified Pet Groomer and the Owner of VIP Grooming, a pet grooming salon based in San Francisco, California. VIP Grooming has served San Francisco for over 35 years. Lancy received her pet grooming certification from the WWPSA (Western Word Pet Supply Association). VIP Grooming has been voted "Best in the Bay" in 2007, 2010, 2011, 2014, 2017, 2018, and 2019 and won Bay Woof’s "Beast of Bay" in 2014. In 2018, Lancy's work contributed to VIP Grooming's acceptance onto San Francisco's Office of Economic and Workforce Development's Legacy Business Registry.
There are 8 references cited in this article, which can be found at the bottom of the page.
This article has been viewed 63,318 times.
Brushing your pet’s coat regularly is important for both you and your pet. It distributes natural oils throughout the coat, removes dander, dead skin, and other common allergens, and allows you to inspect your pet's skin for irritation or new growths.[1] In order to avoid redistributing the same dander, dirt, and hair, though, you need clean your brushes, combs, and other cleaning implements regularly. To do so, you can use a variety of household products to create a cleaning solution and take some basic hygienic measures to maintain the quality of your instruments.
Steps
Soaking Your Instruments
-
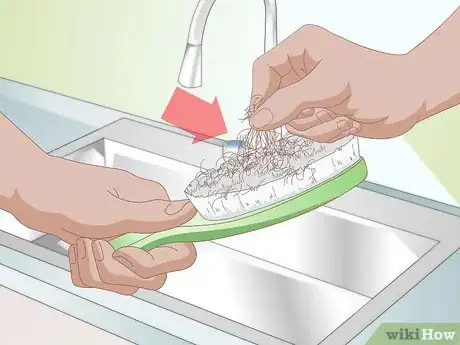
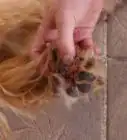
1Remove all fur from the brush or comb. Before preparing your cleaning solution, pick out visible hairs and dirt from the brush’s pad and bristles. You can do this with your thumb and forefinger, or with an old toothbrush or comb.
- Don’t worry if you can’t dig out every last speck of visible dirt or dander. The soak will loosen up and extract most things, so just aim to remove the most glaring clumps of hair and buildup.
-
2Prepare a solution of water and vinegar or shampoo. Depending on your preference, you can add vinegar or pet shampoo to a large mixing bowl of warm water. A vinegar-based solution should contain equal parts vinegar—either white or apple cider varieties will do—and water. If you're using shampoo, you only need to add two or three generous squirts to a bowl full of water.
- When choosing a pet shampoo, check the label in order to avoid harmful ingredients such as carcinogens, tar, propylene glycol, or perfumes. If possible, opt for an organic shampoo with few ingredients.[2]
Advertisement -
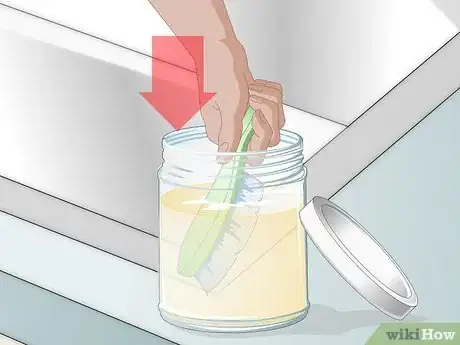
3Dip the brush bristles or comb teeth into the solution. Once you’ve removed excess hair and dirt, you should submerge your grooming instruments in the cleaning solution for between five and thirty minutes.[3] This step is important even if you’re planning to disinfect with bleach or an antibacterial spray. After all, most disinfectants—including bleach—don’t remove dirt or grime, so you can’t just substitute one for the other.[4]
- Pet brushes and combs are generally made of plastic, but if you own one with a fabric pad, don’t soak the entire head of the brush. If you do, moisture can accumulate in the fabric and eventually cause mold.[5]
-
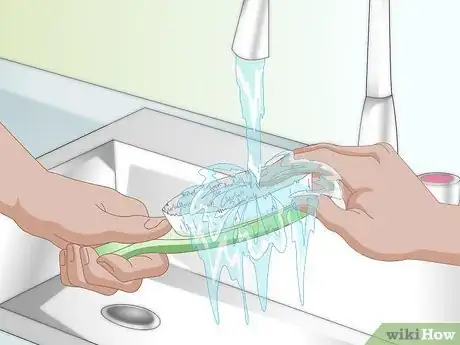
4Rinse with clean water. After soaking, your brush or comb will still have some residual dirt or hairs clinging to the bristles or pad. You can remove this remaining buildup by rinsing it in clean water and then lightly shaking it to whisk off any excess moisture.
- You can also dip your brushes in another bowl of clean, pure water if you don’t want to rinse them in the sink.[6]
-
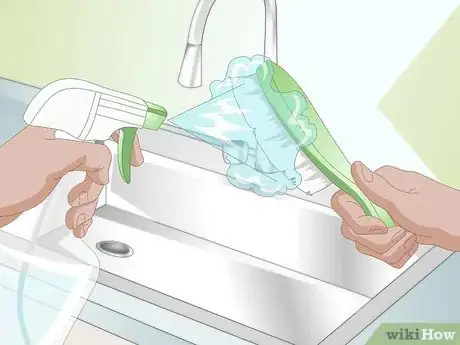
5Spray a disinfectant onto the clean brush.[7] While vinegar and shampoos have some antibacterial properties, you should apply a separate, stronger disinfectant if you’re worried about germs, viruses, or other bacteria. You can buy aerosol, enzymatic, or essential oil disinfecting sprays from the store, or you can make your own solution with water and 10% bleach.[8]
- If you have a lot of tools to clean, you might want to consider purchasing an ultraviolet light. Since UV light kills bacteria, you can lay all of your implements under the light to dry rather spraying each one individually.
-
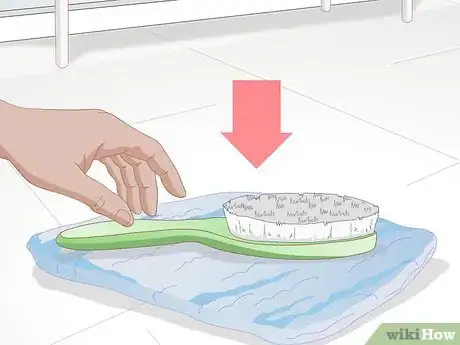
6Place the brush on a towel to dry. Rather than using your newly cleaned and disinfected brushes immediately, set them out to dry thoroughly before subsequent use.[9] Place them with the bristle side facing downward so that water doesn’t drain into the handle or brush head.
- You can also use an old dish rack if you don’t have the counter- or floor-space for laying out your grooming tools. Just be sure to arrange them in such a way that the moisture drains out of the brush and not into the handle or head.
Storing and Maintaining Your Tools
-
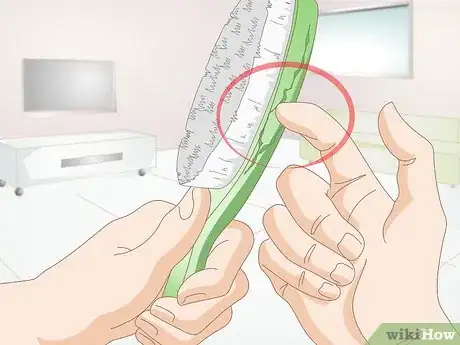
1Inspect brushes and combs for signs of wear. Even the most diligently cleaned brush or comb will eventually show signs of wear and tear. Visible signs of deterioration mean that you should replace the brush or comb, so check your tools frequently to make sure they’re holding up well. Cracks, broken bristles, or extracted teeth are all indicators that your brush or comb has reached the end of the road.[10]
-
2Store tools in a dry, warm space. You probably know that you should keep brushes and combs away from chewing, playing animals, but keeping them out of reach from your pets isn’t the only criterion for safe storage. Your grooming tools also need a warm, dry area to reside in between use, as cold temperatures keep germs alive longer, and moist conditions promote the growth of mold.[11]
- If you live in a particularly humid climate, you might want to purchase a dehumidifier to keep your brushes dry. Just be aware that dehumidifiers can corrode a rubber pad, so opt for hard plastic brushes if you’re going to use one.
-
3Repeat brush cleanings weekly. Since your brush gathers new dirt, hair, and germs every time you brush your pet, you should wash your brushes frequently. Some owners prefer to do so after every use, while others prefer a weekly or even biweekly schedule.
- Whatever schedule you decide on, be aware that you’ll need to clean your brushes more frequently any time your pet is experiencing a skin irritation, pest problem, or other virus.
Community Q&A
-
QuestionHow do I remove the fur from a Top Paw boar-blend pin brush?
 Community AnswerA wood skewer works well, or a toothpick if the bristles are packed tight. Maybe look at the Arm & Hammer website. I know it can be used for soaking hairbrushes, just make sure it's safe for boar blends.
Things You'll Need
- Apple cider vinegar, white vinegar, or pet shampoo
- Large mixing bowl or bucket
- Clean toothbrush
- Dry, clean towel
- Spray disinfectant or bleach
References
- ↑ https://www.animalhumanesociety.org/training/grooming-tips-dogs
- ↑ http://animalwellnessmagazine.com/natural-shampoos-for-your-dog/
- ↑ Lancy Woo. Certified Pet Groomer. Expert Interview. 3 March 2020.
- ↑ http://groomwise.typepad.com/grooming_smarter/2014/05/clean-disinfect-and-sterilize-1.html
- ↑ http://www.huffingtonpost.com/2012/03/22/spring-cleaning-clean-hairbrush_n_1371208.html
- ↑ http://www.huffingtonpost.com/2012/03/22/spring-cleaning-clean-hairbrush_n_1371208.html
- ↑ Lancy Woo. Certified Pet Groomer. Expert Interview. 3 March 2020.
- ↑ http://petgroomermagazine.com/articles/safety/sanitation-for-grooming-operations/
- ↑ Lancy Woo. Certified Pet Groomer. Expert Interview. 3 March 2020.
About This Article
To clean your pet’s brush or comb, start by pulling out any visible clumps of hair or dirt. Then, mix white vinegar or apple cider vinegar with water in equal parts to make a cleaning solution. Next, soak your pet’s brush or comb in the solution for 5 to 30 minutes to remove dirt and grime. After that, rinse it with clean water, then spray it with a disinfecting solution of water and 10% bleach. Finally, set your brush or comb bristle-side down on a towel, and let it dry completely. For more tips from our Veterinary co-author, like how to store your brush or comb so it lasts longer, keep reading!
