This article was co-authored by wikiHow Staff. Our trained team of editors and researchers validate articles for accuracy and comprehensiveness. wikiHow's Content Management Team carefully monitors the work from our editorial staff to ensure that each article is backed by trusted research and meets our high quality standards.
This article has been viewed 24,881 times.
Learn more...
When you smoke with water pipes, resin will build up inside over time, which will then constrict airflow. It’s pretty hard to gain access to scrub this away, but thankfully you don’t need to. What you need to do first is take your pipe apart into its individual pieces. Then you bag these individually in separate plastic bags filled with a cleaning solution. To clean, all you need to do is shake these bags up and then rinse off all your pieces before putting them back together.
Steps
Breaking Your Pipe Down
-
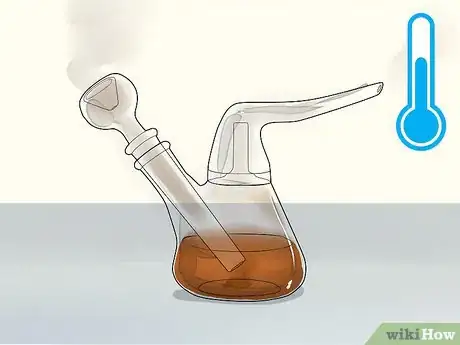
1Let your pipe cool down. If you intend to clean it right after smoking, give it a chance to cool off. Wait for all parts to be safe enough to touch. Avoid burning yourself and/or dropping and breaking your pipe.
-
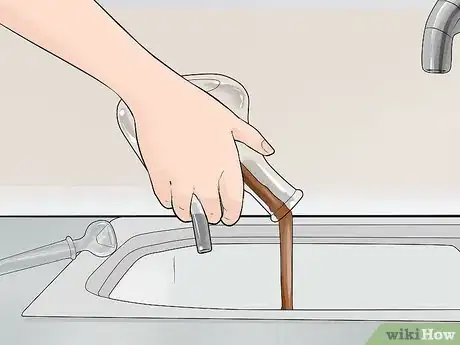
2Empty its contents. If cleaning right after use, make sure all flames have died out before proceeding. Then dump any ash or other contents in the pipe’s bowl into the trash. Next, empty the spent water from the base into the sink or toilet.Advertisement
-
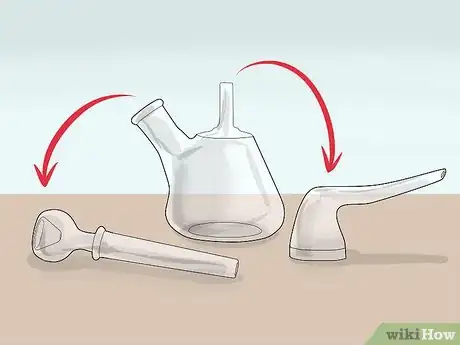
3Take the pipe apart. Take the bowl out of the base. If the pipe has a washer, remove that, too. Also detach any other additional parts that it may have. These could include:
- Additional parts that may be removable may include percolators, ice catchers, and coils.
-
4Inspect pieces for damage. As you disassemble your pipe, check for flaws, like chipped or cracked glass and rubber. Replace damaged pieces rather than just clean them to keep your pipe safe and effective.
Bagging Each Part
-
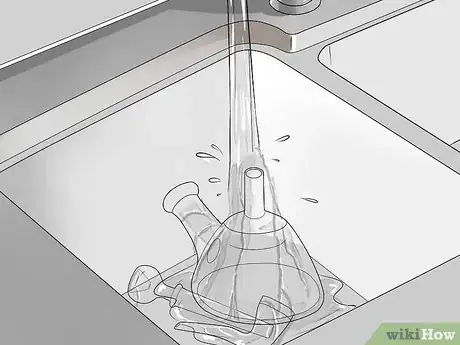
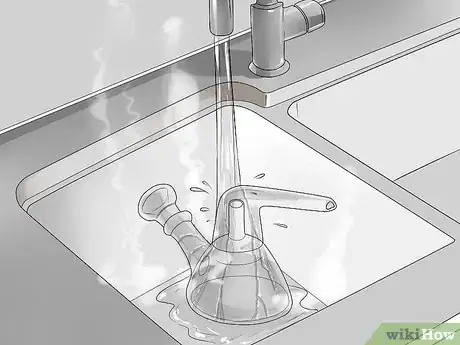
1Rinse the pieces in the sink. Give each one a few passes under running water. Wash away any loose ash, resin, or other materials. Make the cleaning solution that you’ll be using momentarily that much more effective by giving it less stuff to get rid of.
-
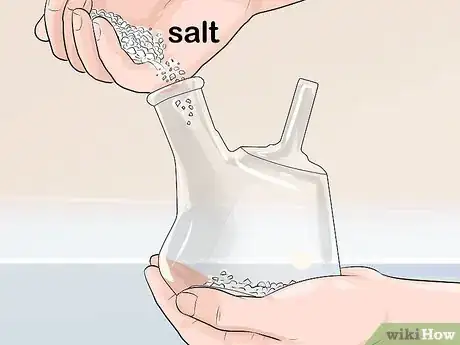
2Add salt to the base. You'll be bagging each individual piece in a moment, and then adding salt to each bag. However, keep in mind that the base is much bigger than rest, and simply adding salt after you bag won't ensure that any reaches the base's interior. So pour some into the base now before you bag it.
-
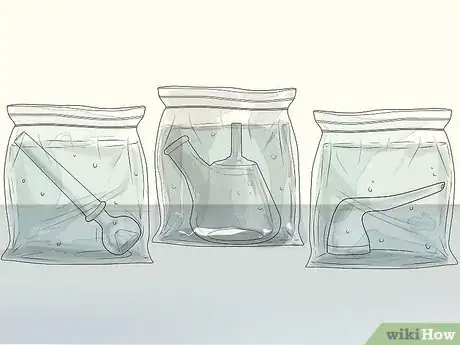
3Bag each piece individually. Place each one in its own sealable, watertight plastic bag. Do not combine multiple pieces in one bag. You’ll be shaking these up soon, so don’t risk banging glass pieces together, since this will damage them. However:
-
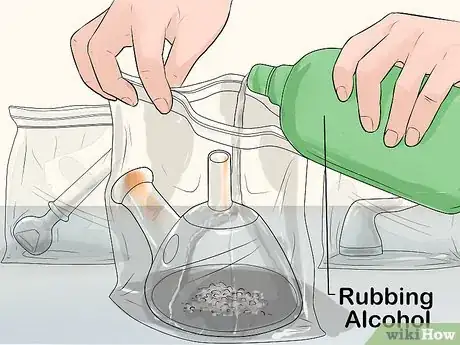
4Add rubbing alcohol and salt to each bag. Fill the bag with enough rubbing alcohol to completely immerse the piece inside. Then add enough salt to cloud the liquid slightly. Err on the side of too little salt, rather than too much, since too much will result in clumps that may cause blockage in various pieces.
- 70 to 91% isopropyl alcohol is usually sufficient. However, extremely dirty pipes might require 100% acetone or nail polish remover.
- As an alternative, you can also try mouthwash, since its aftertaste is far more pleasant than any that might linger from rubbing alcohol or nail polish remover.
Shaking Your Parts Clean
-
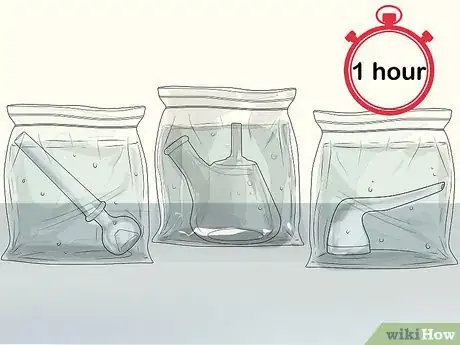
1Soak very soiled pieces. If tons of resin have built up over time, give each affected piece time to absorb the cleaning solution. Let them soak in the alcohol for up to an hour, or even longer if necessary, before proceeding. Give the resin’s bond a chance to break apart and weaken.
-
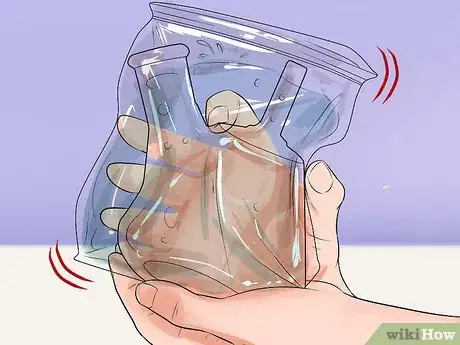
2Shake each bag vigorously. First, double-check the bag’s seal to avoid spills. Then shake each bag hard for 30 to 40 seconds, or even longer if needed. This will shake the loosened resin free, and also cause the abrasive salt to scratch away at the more stubborn bits.[1]
-
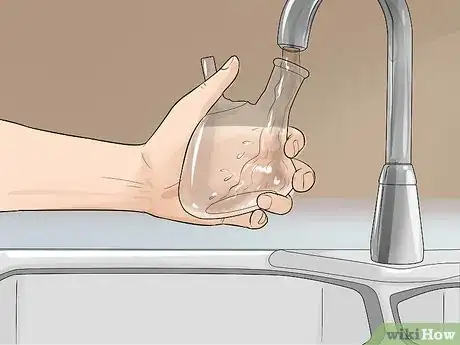
3Empty and rinse lightly soiled pipes. If desired, pour the solution from each bag into a sealable container for reuse in the future. Then, as long as your pipe wasn't too dirty to begin with, take each piece and rinse it under hot running water if your pipe was only slightly dirty at the start. With the base, pour water in through the mouthpiece so it drains out of the hole(s) at its bottom to avoid unpleasant aftertastes where youre lips will touch it.
-
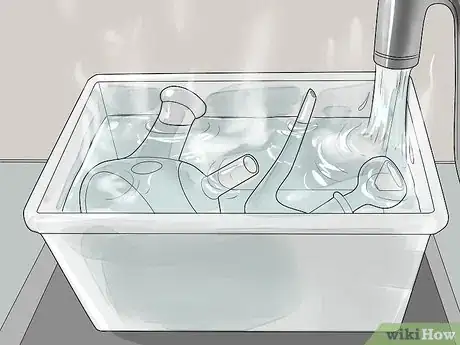
4Soak very dirty pipes in a container. If your pipe was very soiled at the start, don't rinse it off in the sink. Instead, fill a container with hot water and submerge each piece to rinse them off. Then empty the dirty water into the toilet and flush. Avoid using the sink’s drain, since resin is more likely to stick to these pipes and cause future clogs.
-
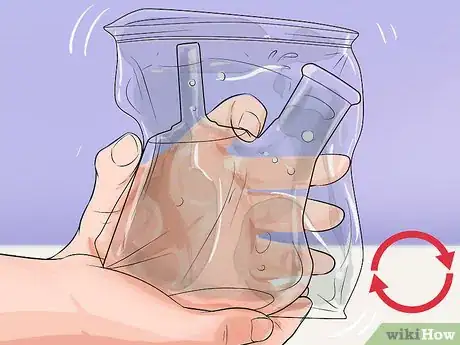
5Repeat if needed. Once you’ve rinsed off each piece, give it a look over. Expect it to possibly need more than one bag-and-shake if it had a lot of resin to start. If the inside of the base and its tube appear particularly dirty, try:
- Plugging its holes with cotton balls or similar materials, adding salt and rubbing alcohol to it directly, and shaking it vigorously with your hands covering all openings.
-
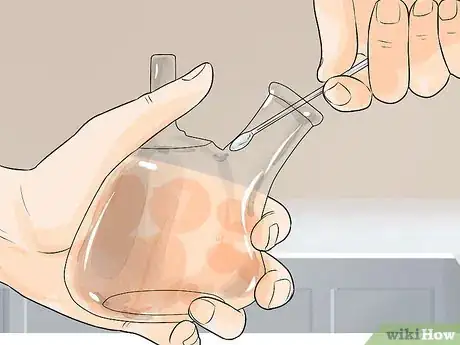
6Wipe away residue. Inspect each piece for any crud that may have clung on during rinses. Soak q-tips in rubbing alcohol and use these to remove them. If these are too short to reach inside any piece, improvise by attaching cotton swabs or balls to a chopstick or something similar.
-
7Put your pipe back together and rinse. Once everything is cleaned to your satisfaction, put all your parts back into place. Give it a final rinse under hot running water. It may seem like overkill, but this will reduce the chance of any unpleasant aftertaste.
Things You’ll Need
- Sealable plastic bags
- Rubbing alcohol
- Salt
- Water
- Sink
- Toilet (optional)
- Container (optional)
- Q-tips
- Chopsticks and cotton swabs (optional)
