This article was co-authored by Michelle Driscoll, MPH. Michelle Driscoll is the Owner of Mulberry Maids, which is based in Fort Collins, Colorado. With five years of experience, her business specializes in cleaning homes and small offices. She holds a Masters in Public Health from the Colorado School of Public Health. Additionally, Mulberry Maids has an A+ rating from the Better Business Bureau.
This article has been viewed 38,258 times.
Cleaning underneath the kitchen stove is one chore that probably doesn't even make the spring cleaning list. Be prepared to go through quite a few steps to get the area squeaky clean. If your bottom drawer detaches from the oven, it will make cleaning a little easier. If you aren't able to remove the bottom drawer, you will have to pull the appliance away from the wall in order to clean underneath it. Once you get everything all cleaned up the first time, plan to clean under your stove at least once or twice a year.
Steps
Cleaning Under the Bottom Drawer
-
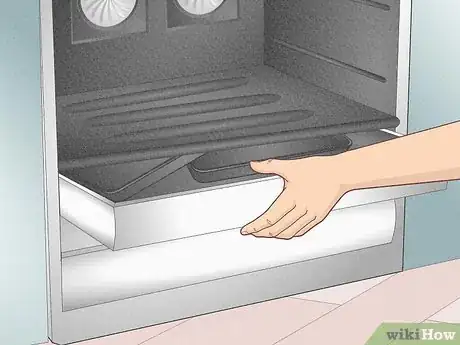
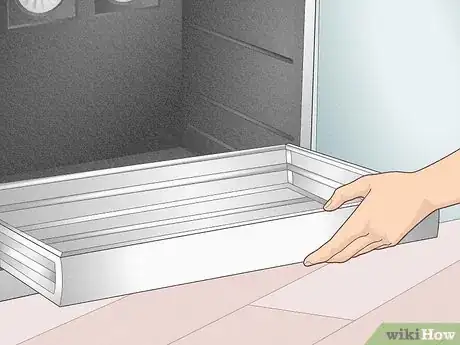
1Empty stored items and remove the bottom utility drawer if you have one. Pull the drawer open as far as it will go and take out all of the pots and pans, cookie sheets, and anything else that you have stored in there and set them aside.
- To remove the utility drawer, lift the front of the drawer upwards to release it from the track. As you lift the drawer upwards, continue to pull the drawer towards you.[1] You should feel the drawer easily release from the roller track so you can completely remove it from the stove.
- If the drawer doesn't come out easily, check to make sure that it is properly aligned. The drawer should be straight as you pull it out from the cavity, not at an angle. If it is angled, push the drawer back in and try again.
- Set the utility drawer aside once you have it removed.
-
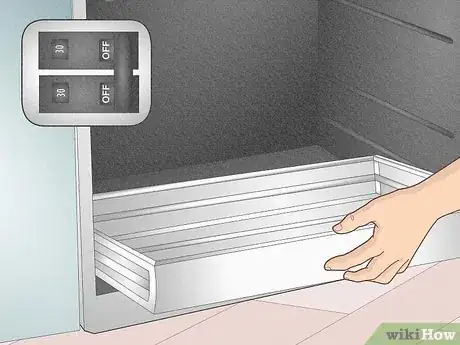
2Turn off the power and remove the warming drawer if you have one. If your bottom drawer is used for warming food, you will need to make sure you turn the power off before you get started. Once the power is off, pull the drawer open as far as it will go.
- Locate the locking levers on each side of the glide rails. Use your left hand to push down on the left lever, and use your right hand to lift up on the right lever simultaneously.[2] Once you feel the warming drawer release, completely remove the drawer from the stove.
- This locking mechanism is common on many brands and models of stoves. If your stove does not have these levers, check your owner's manual for specific instructions.
- Set the warming drawer aside.
Advertisement -
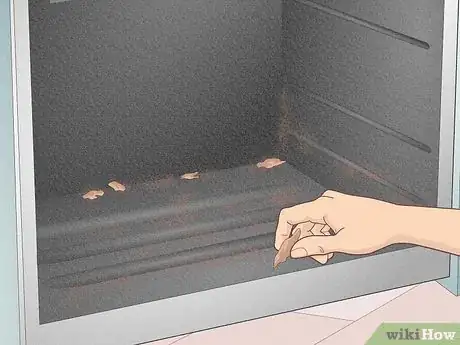
3Remove large pieces of food or debris from underneath the stove. You can pick up large items with your hands, and use a hand broom or counter duster to sweep the remaining items. Run the broom along the edges of the inside walls of the stove to make sure everything is removed.
- If you don't have a hand broom or counter duster, just remove large pieces of debris the best you can.
-
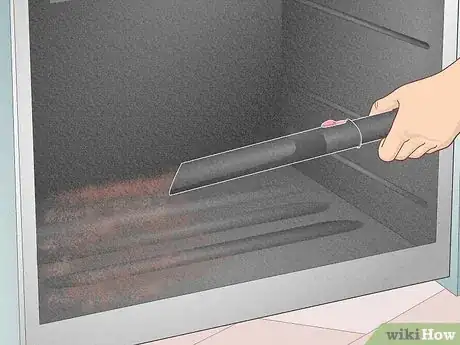
4Vacuum underneath the stove to remove fine dirt and dust. You can use the long nozzle on a standard vacuum or use a handheld vacuum if you have one. You may need to get down on your hands and knees to better angle the hose and reach the back of the space near the wall.
- Use the brush attachment to clear the entire area. Pay special attention to the inside walls of the stove and along the glide rails.
-
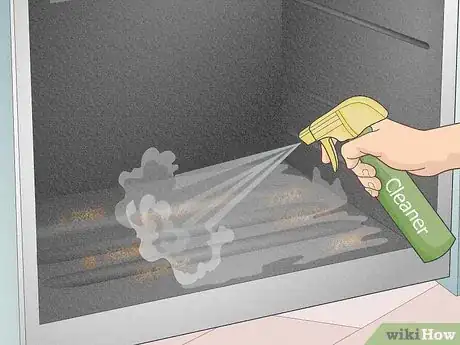
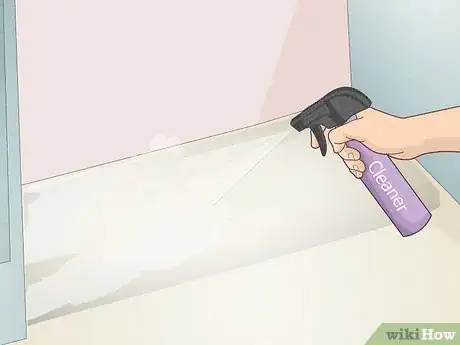
5Spray cleaning solution underneath the stove for a quick clean. Squirt the floor liberally with cleaning spray. Allow the spray to sit for a few minutes before wiping it off with paper towels or a damp cloth.
- The type of spray you use may vary depending on the type of flooring you have. Don't use ammonia-based sprays on natural stone tiles or hardwood flooring because it can discolor or damage the material.[3]
-
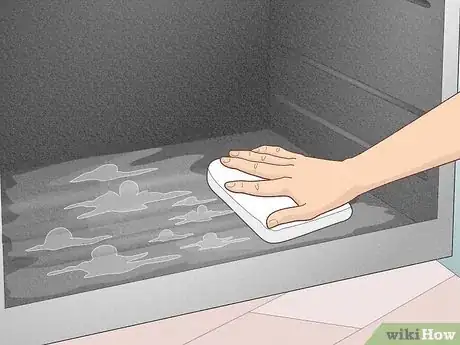
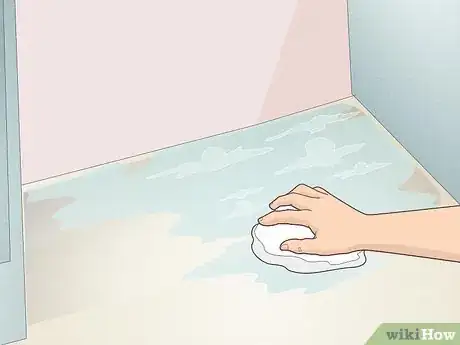
6Hand-wash underneath the stove for a thorough cleaning. Fill a small bucket with warm water and a cleaning solution of your choice. You can use your favorite all-purpose cleaner or dish soap, bleach, or ammonia. Make a natural solution by mixing 1⁄2 cup (120 mL) of distilled white vinegar with 1⁄2 gallon (1.9 L) of warm water.[4]
- To be safe, use the same cleaner that you normally use to wash your floors. For example, you won't want to use ammonia on hardwood flooring or natural stone tiles.[5]
- Dip a clean cloth into the bucket, squeeze out the excess water from the cloth, and thoroughly wash the area underneath the stove.
- Allow the area to dry completely.
- Make sure you never mix vinegar or ammonia with bleach, as they will produce toxic fumes. Always keep these cleaning products separate.
-
7Reinstall your bottom drawer. Insert the back end of a utility drawer into the cavity. Align the rollers on the track and gently slide the drawer back in. If you have a warming drawer, you should hear a clicking sound when the levers lock into place.[6]
Moving the Stove for Cleaning
-
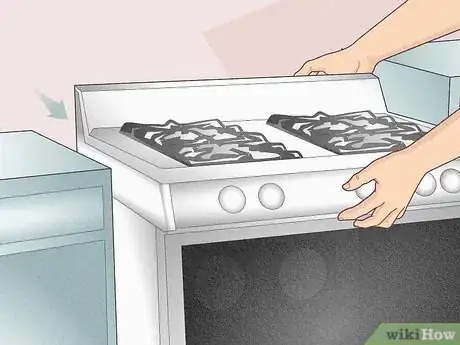
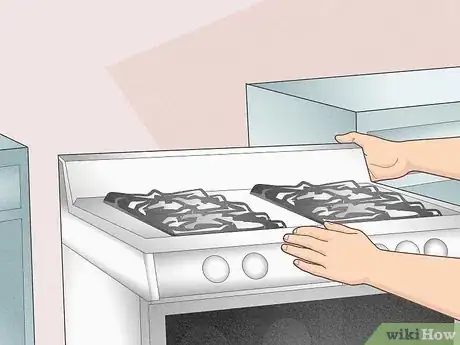
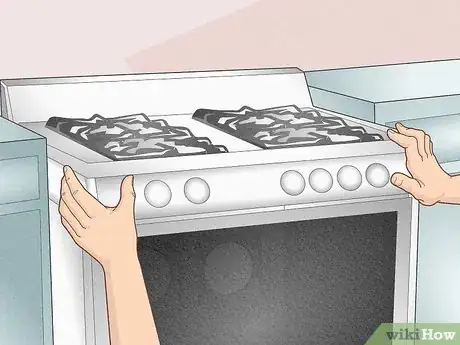
1Pull the stove away from the wall just enough to unplug the supply lines. Grasping the front of the stove with both hands, gently wiggle the stove from side to side until it slides out enough for you to reach behind it. Do not rock or tip the stove. It should remain level while you are sliding it.
- Unplug the power cord.
-
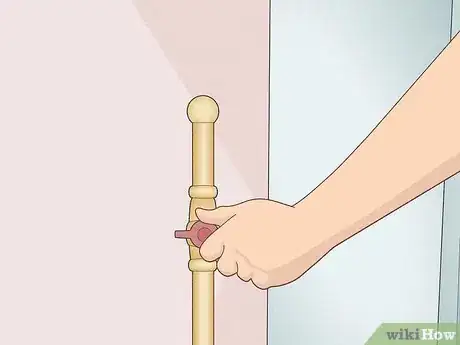
2Turn off the gas and unscrew the gas line if you have a gas stove. There may be an appliance shut-off valve connected to your stove. If there is, turn the valve to the “off” position.[7]
- If there is no valve to shut off the gas, you will need to shut the gas off at your meter outside before you can unscrew the gas line.[8]
-
3Slide the stove all the way out of its nook. If the stove doesn't slide forward easily, gently wiggle the stove from side to side until you get it cleared from the area. You only need to pull it away from the wall enough so that you can fit behind it.
- Ask a partner to help you move the stove. Each take one side of the stove. Use one hand to grip the back of the stove, and use your other hand to grip the front of the stove. Slide the stove forward.
- If you don't have a partner to help, place your hands on both sides of the back of the stove or near the front of the stove—whichever is more comfortable and gives you a better grip. Slide the left side forward, then slide the right side forward. Repeat this movement until the stove is cleared away from the area.
- The stove should remain level on the floor while you are sliding it—do not rock or tip the stove.
-
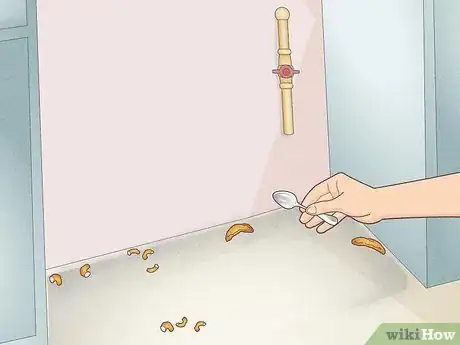
4Remove large pieces of debris from the stove area. Don't be surprised to find food like cereal, grapes, and other foods that tend to roll. You may also find utensils and even small children's toys.
- Pick up large items like utensils and toys with your hands. Use a broom to sweep the remaining large pieces of food and debris.
-
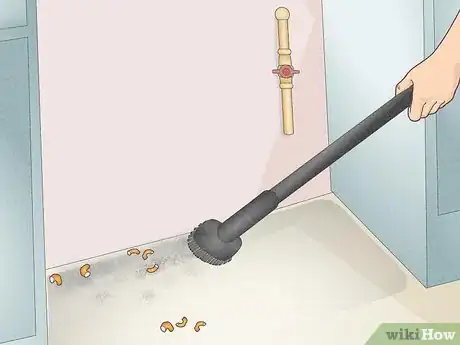
5Vacuum the area to remove fine dirt and dust. Use a handheld vacuum or a long nozzle on a standard vacuum to clear the entire area. Use the brush attachment to clean the corners and along the sides of the wall and cabinets.
-
6Use a cleaning spray on the stove area for a quick clean. Squirt the floor liberally with the cleaning spray. Allow the cleaner to sit for a few minutes before wiping it off with paper towels or a damp cloth.
- Use the same spray that you would normally use on your floors to avoid damaging them. For instance, don't use ammonia-based sprays on natural stone tiles or hardwood flooring because it can discolor or damage the material.[9]
-
7Hand-wash the stove area for a deep cleaning. Fill a small bucket with warm water and your choice of cleaning solution. You can use dish soap, bleach, ammonia, or your favorite all-purpose cleaner. For a natural solution, mix 1⁄2 cup (120 mL) of distilled white vinegar with 1⁄2 gallon (1.9 L) of warm water.[10]
- Make sure you also clean the walls that surround your stove while it's in place. They can collect cooking debris, like oil, sauces, and crumbs.
- For safe cleaning, use the same cleaner that you typically use to wash your floors. For instance, you won't want to use ammonia on natural stone tiles or hardwood flooring.[11]
- Dip a clean cloth into the cleaning solution, squeeze out the excess water from the cloth, and thoroughly wash the area.
- Allow the area to dry completely.
-
8Move the stove back into place. With a partner, or using the same back-and-forth method you used to pull the stove out, slide the stove back towards the wall. Plug the power cord back into the wall.
- If you have a gas stove, reconnect the gas line and turn the valve to the “on” position. If the valve was located outside near your gas meter, be sure to turn it back on.[12]
References
- ↑ https://homesteady.com/how-7510780-install-kenmore-oven-drawer.html
- ↑ https://homesteady.com/how-7510780-install-kenmore-oven-drawer.html
- ↑ https://www.professorshouse.com/washing-hardwood-floors/
- ↑ https://www.today.com/home/28-ways-use-vinegar-around-your-house-t72276
- ↑ https://www.professorshouse.com/washing-hardwood-floors/
- ↑ https://homesteady.com/how-7510780-install-kenmore-oven-drawer.html
- ↑ https://www.hunker.com/13408319/how-to-move-a-stove
- ↑ https://www.hunker.com/13408319/how-to-move-a-stove
- ↑ https://www.professorshouse.com/washing-hardwood-floors/
