This article was co-authored by Amy Guerrero. Amy Guerrero is an Arts and Crafts Specialist and the Owner of Sunshine Craft Co., a crafting studio based in Phoenix, Arizona. Amy specializes in macrame, DIY crafting, and teaching fiber arts. She offers monthly in-person and online workshops along with having developed a range of DIY craft kits for at-home projects. Amy holds a BS in Industrial Design from Philadelphia University. She worked as a graphic designer before starting her own business. Sunshine Craft Co. is a creative hub that offers a wide range of workshops, tools, and resources for any craft project to inspire creativity and community engagement.
wikiHow marks an article as reader-approved once it receives enough positive feedback. In this case, 96% of readers who voted found the article helpful, earning it our reader-approved status.
This article has been viewed 62,908 times.
To thoroughly clean your pine cones, you will need to first soak them in a water-vinegar solution. The solution will help kill bugs, as well as loosen and remove any dirt and debris. Once they are finished soaking, they will be ready to bake. Bake your pine cones for an hour to an hour and a half, or until they have re-opened. Then let your pine cones air dry for two to three days.
Steps
Preparing to Clean the Pine Cones
-
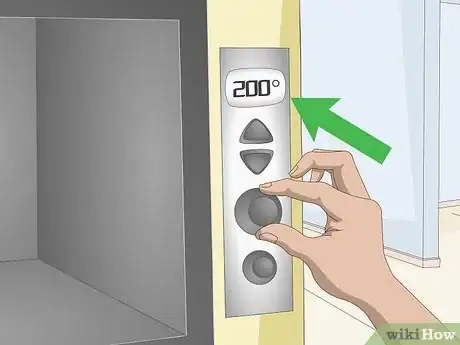
1Pre-heat your oven to 200 degrees Fahrenheit (93 degrees Celsius). This way, your oven will be heated when you are ready to bake the pine cones.[1]
-
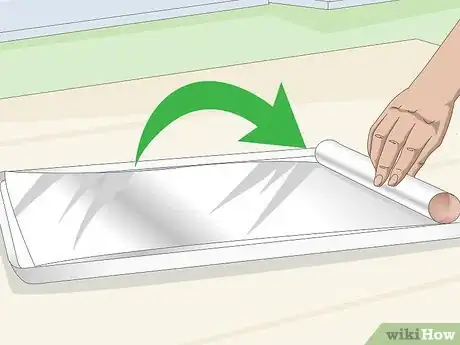
2Line a baking sheet with foil. Make sure the bottom and sides of the baking sheet are covered in foil. Depending on how many pine cones you have, you may need to line two or more baking sheets with foil.[2]
- Alternatively, you can use parchment paper to line the baking sheet.
Advertisement -
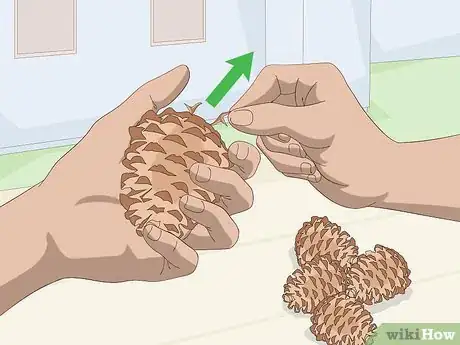
3Remove debris from the pine cones. Remove pine needles, clumps of dirt, leaves, twigs, and other debris that may be stuck on or in the pine cones.[3]
Giving the Pine Cones a Bath
-
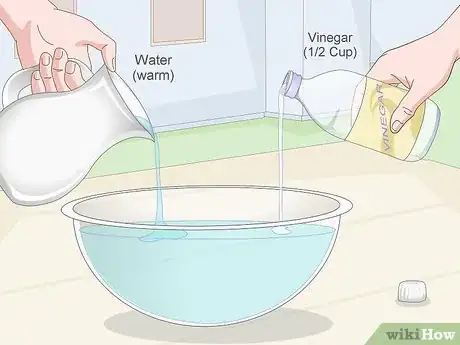
1Fill a large mixing bowl with warm water and ½ cup (120 ml) of vinegar. Use distilled white vinegar. Mix the ingredients together until they are well-combined.[4]
- Alternatively, you can plug up your sink and fill it with the water-vinegar solution.
- Depending on how much water you use, you may need to use more vinegar like 1 cup (240 ml).
-
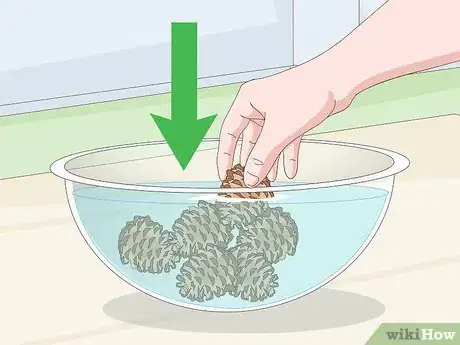
2Place them in the bowl. Make sure the pine cones are totally submerged. If they are not, then fill your bowl with more water until they are.[5]
-
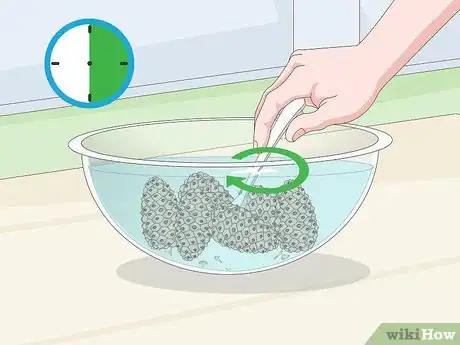
3Soak them for 30 minutes. At the halfway mark (15 minutes), use a spoon to stir the pine cones. This will help loosen and remove debris and bugs.[6]
- It is normal for the pine cones to close up while they are soaking.
-
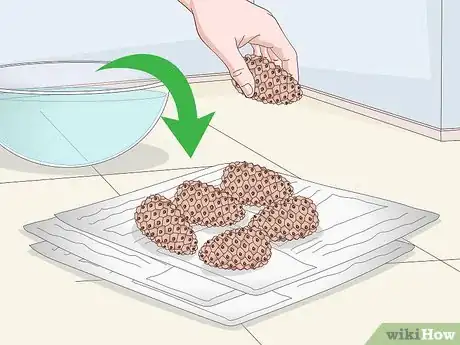
4Remove and place them on a sheet of newspaper. As you are placing the pine cones on the newspaper, shake them to remove any excess water.[7]
- Alternatively, you can place them in a strainer to remove excess water before placing them on the newspaper.
Baking the Pine Cones
-
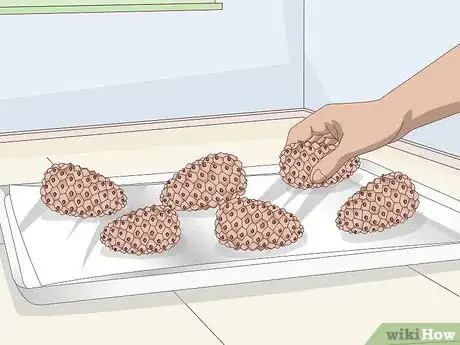
1Place the pine cones on the baking sheet. Arrange them on the baking sheet in a single layer. Make sure the edges of the pine cones are not hanging over the edges of the baking sheet.[8]
-
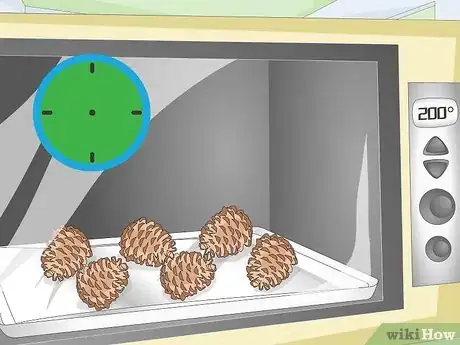
2Bake them for 1 to 1.5 hours.[9] As they are baking, the pine cones will re-open. At the one-hour mark, check to see if they have re-opened. If they have re-opened, then take them out. If not, then leave them in the oven for another 30 minutes.[10]
- Baking the pine cones will finish killing any bugs that survived the water bath.
- Baking the pine cones will also melt away any sap that is stuck on them.
-
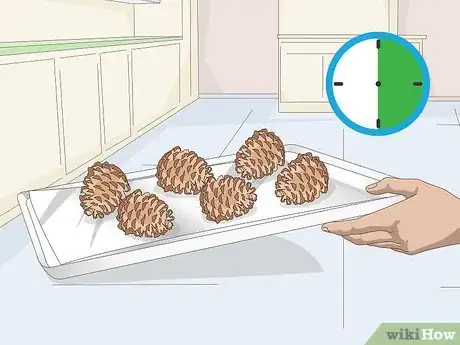
3Let them cool. Do this once you have finished baking them. Set them outside to cool or just let them cool in your kitchen. This may take 20 to 30 minutes.
-
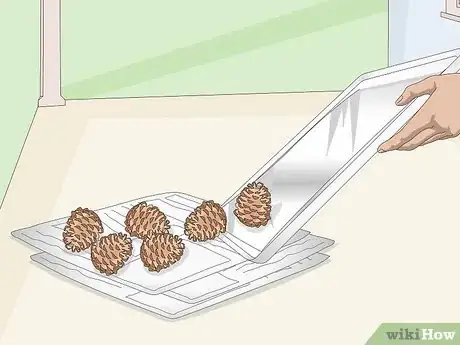
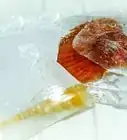
4Place them on newspapers to air dry once they are finished cooling. Let them air dry in a well-ventilated room, or place them outside. It is recommended that you let them air dry for two to three days.[11]
-
5
Expert Q&A
Did you know you can get expert answers for this article?
Unlock expert answers by supporting wikiHow
-
QuestionHow do I keep my pinecones preserved?
 Amy GuerreroAmy Guerrero is an Arts and Crafts Specialist and the Owner of Sunshine Craft Co., a crafting studio based in Phoenix, Arizona. Amy specializes in macrame, DIY crafting, and teaching fiber arts. She offers monthly in-person and online workshops along with having developed a range of DIY craft kits for at-home projects. Amy holds a BS in Industrial Design from Philadelphia University. She worked as a graphic designer before starting her own business. Sunshine Craft Co. is a creative hub that offers a wide range of workshops, tools, and resources for any craft project to inspire creativity and community engagement.
Arts & Crafts Specialist
-
QuestionHow do I scent pine cones
 Michila LalamaCommunity AnswerIf you want to scent them, try using essential oil of pine. Put a few drops on and let it dry.
 -
QuestionWhat should I do if I want to scent them?
 Community AnswerTo scent pine cones, you can put a few drops of essential oil on them. Alternatively, you can also prepare a soak for the pine cone by adding 5-7 drops of essential oil into a bowl of warm water and submerging the pine cone in it for 10 minutes, then leaving it to air-dry on a paper towel.
References
- ↑ http://www.allfreecrafts.com/pinecones/prepare-for-crafts/
- ↑ http://www.allfreecrafts.com/pinecones/prepare-for-crafts/
- ↑ https://brendid.com/how-to-prepare-pine-cones-for-crafts/
- ↑ http://makeanddocrew.com/how-to-clean-pine-cones-for-crafts-see-ya-bugs/
- ↑ http://makeanddocrew.com/how-to-clean-pine-cones-for-crafts-see-ya-bugs/
- ↑ http://www.allfreecrafts.com/pinecones/prepare-for-crafts/
- ↑ http://www.urbanejane.com/2013/11/the-easiest-way-to-clean-pine-cones-for.html
- ↑ https://brendid.com/how-to-prepare-pine-cones-for-crafts/
- ↑ Amy Guerrero. Arts & Crafts Specialist. Expert Interview. 9 October 2020.
- ↑ http://makeanddocrew.com/how-to-clean-pine-cones-for-crafts-see-ya-bugs/
- ↑ http://www.urbanejane.com/2013/11/the-easiest-way-to-clean-pine-cones-for.html
- ↑ Amy Guerrero. Arts & Crafts Specialist. Expert Interview. 9 October 2020.
- ↑ http://www.fleamarketgardening.org/2013/12/01/collecting-pine-cones-for-projects-bake-em-first/

-Step-11.webp)




-Step-11.webp)
