This article was co-authored by Melissa Nelson, DVM, PhD. Dr. Nelson is a Veterinarian who specializes in Companion and Large Animal Medicine in Minnesota, where she has over 18 years of experience as a veterinarian in a rural clinic. She received her Doctor of Veterinary Medicine from the University of Minnesota in 1998.
There are 9 references cited in this article, which can be found at the bottom of the page.
This article has been viewed 101,256 times.
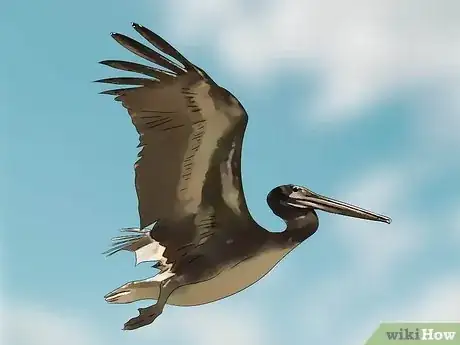
Bird populations are especially vulnerable to oil spills because their plumage soaks up the oil. This reduces their feathers’ ability to keep them afloat, flying, and warm. In addition, as the birds preen themselves to get rid of the oil they ingest it, which can be toxic.[1] Without human intervention, most oil-contaminated birds die. If you live in the vicinity of an oil spill, get involved in professionally run rescue operations targeted at cleaning oil-coated birds. Doing so is the only safe and legal way to help these animals, cleaning oil off birds is a dangerous task that requires professional veterinary supervision.
Steps
Performing Pre-Wash Checks
-
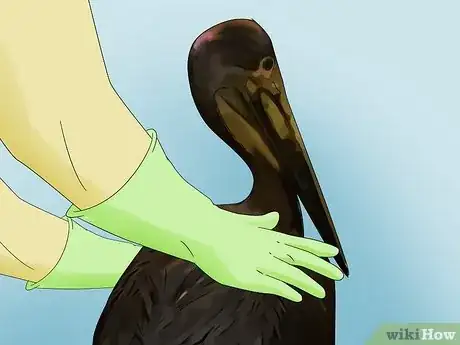
1Keep the bird calm prior to washing. Even after a bird is stabilized, it needs to be kept as calm as possible. Since wild birds do not like physical contact with humans, they will experience some stress no matter what. You can help them not panic more, though, by being gentle and deliberate in your actions.[2]
- Distressed birds require calming before washing. They may go up to 5 days prior to a bath if it helps them rest and get to a point where they are more likely to survive the stressful washing process.
- Do not expect to wash any birds at night. After-dark washing adds markedly to their stress, as it disrupts their circadian rhythm.
- A vet or trained professional needs to check to see if the bird is progressing properly by looking for signs including stabilization, responsiveness to medical treatments, proper weight gain, and normal behavior. This is part of the reason you should not wash a bird on your own.[3]
-
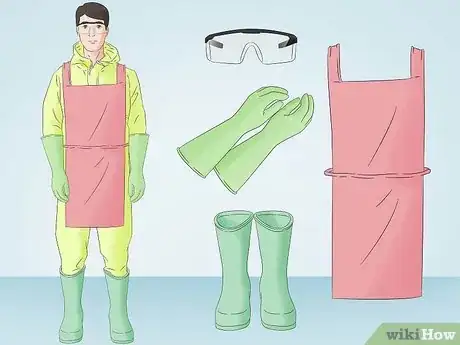
2Get your space ready to wash birds. Once the veterinary team has determined that the bird is capable of withstanding the washing process, you can get yourself ready to wash. Come dressed in waterproof clothes including long rubber or latex gloves, chemical resistant eye shields, a plastic apron, and waterproof boots.
- Come prepared to get wet. You may be inadvertently injured by a panicking bird, and you need to avoid contaminating the bird or yourself. This is why it is crucial to come in proper protective gear. The rescue organization will likely provide you with some gear.
- Expect to work as part of a team. Expect to work with at least one other person, if not more. At least one of you will be tasked with keeping the bird in place and as calm as possible while the other scrubs. The bigger the bird, the more hands you’ll need.[4]
Advertisement -
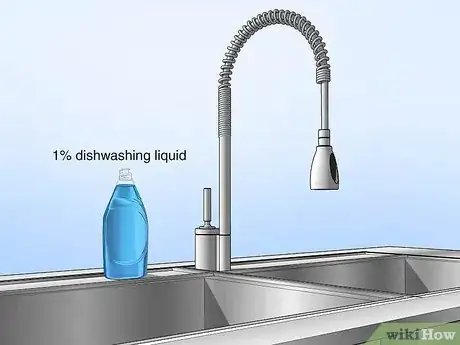
3Prepare your workspace with tubs and soap. You will be moving the bird through several tubs of warm water during the washing process. Set these out and fill them before you bring out the bird. They should be filled with a solution of 1% dishwashing liquid in water to create a gentle washing solution.[5]
- Remember that the tubs need to be large enough for the bird to fit in with a little extra room to get hands in there, too.
- The warmth of the water should be comparable to the bird's internal body temperature. In birds, body temperature will range from about 103ºF/39.5ºC to 105ºF/40.5ºC.
Washing the Bird
-
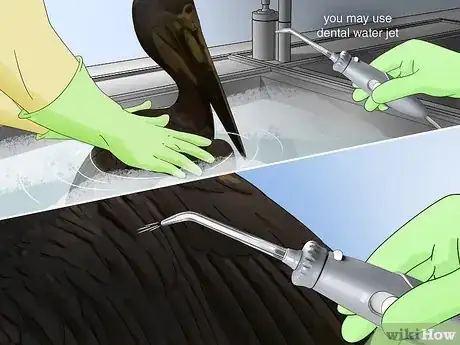
1Immerse the first tub. One person will be responsible for submerging the bird in the tub and for keeping it stable. The other person will agitate the water into the bird’s feathers. To do that, you may use a dental water jet like a Waterpik® to get oil off the body, as well as soft-bristled toothbrushes and cotton swabs to work around more delicate areas like the face.[6]
-
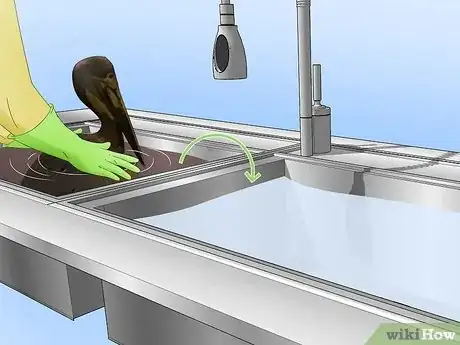
2Move to the next clean tub once the first is dirty. Once the first tub is brownish-black and full of oil, quickly and carefully shift the bird to the next tub of clean washing solution. Once the bird is in the next tub, continue the washing process as before. Keep repeating this process until you the water in a tub stays clear. [7]
- The washing process needs to be completed in one go to minimize the stress to the bird.
- Depending on the size of the bird and the amount of oil, you may need to move a bird through as many as 10-15 tubs. You may want a third person with you to scrub and refill tubs.[8]
-
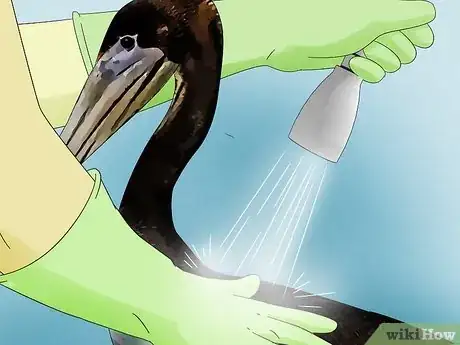
3Rinse the bird. After the oil is fully removed, the detergent needs to be rinsed away, too. Most rescue organizations will have spa nozzles set to specific pressures to remove all traces of detergent. This part is usually left to trained rinsers, so if you wish to do this, you will need additional training with highly trained specialists.[9]
- Rinsing is generally considered finished when all the suds are gone from the water coming off of the bird.
-
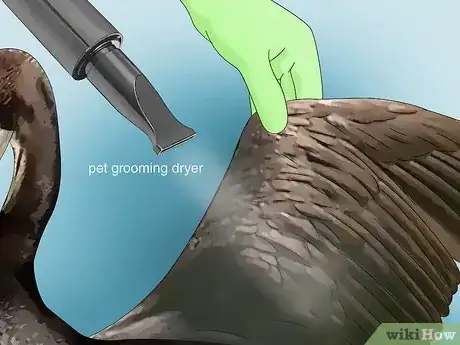
4Dry the washed bird. The bird will typically be placed in a net-bottom pen with a pet drier and left to dry for a while. At this point, they should start spreading oils from their glands to waterproof their feathers, also known as preening. This will let them realign their feathers, which provide them with natural waterproofing and temperature control.[10]
- Only use a pet grooming dryer. Personal hair dryers are too hot for aquatic birds and can burn their skin.
Providing Proper Aftercare
-
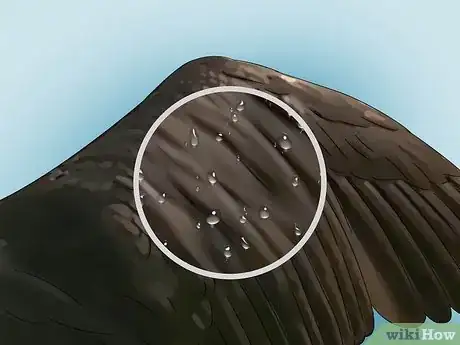
1Check the waterproofing. After a bird is fully dry and has had time to preen some, someone will place it in a warm therapy pool. Here, it will be allowed to continue preening and bathing itself. It will then be re-dried and returned to the warm pool. This will keep going until waterproofing improves and the bird can be moved to colder pools.[11]
- As the bird goes through waterproofing, you will need to watch for signs of preening, of its ability to swim and float, and of its alertness and dexterity.
- Check for wet spots under the feathers over the next few days, as these indicate the need for further cleaning and drying.
-
2Keep giving the bird nutritious food and fluids. The vet/medical team or a qualified volunteer will often tube feed the bird after a wash. Depending on the rescue’s needs, you may be able to help in some prep for this process. As the bird is fed, a trained specialist will keep monitoring the bird's recovery process.[12]
- A bird may stay at a rescue center for up to 10 days gaining weight and returning to normal behavioral patterns after an oil spill.
-
3Release the bird. Once the bird has completed waterproofing, has gained enough weight, and is behaving normally, they are ready to be released. Generally, a vet or trained specialist will monitor those signs and determine the right time for release. Once a bird has been approved for release, it is set free in a clean, appropriate habitat.
Rescuing Birds from Oil Spill Sites
-
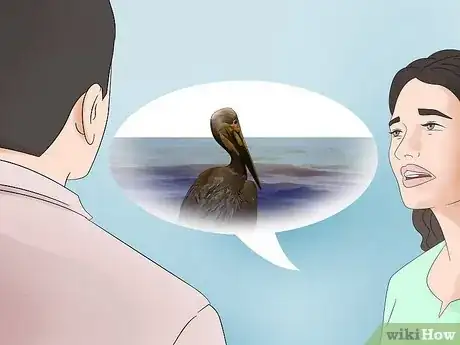
1Call animal services for small spills. If your personal boat had a motor oil leak or you notice another small spill impacting birds in a confined area, call your local animal services office. Rescuing and washing birds is a dangerous operation even under the best of circumstances. Calling animal control gives the birds the best chance of being properly cleaned and released. [13]
- An unsupervised person with no training could actually increase the bird's risk of dying through stressful and improper washing. That's why it's best to call a professional and wait nearby until they come.
-
2Join a professional rescue operation. When you clean oil-contaminated birds, you are working directly with animals that are confused, afraid, and not used to being handled. Working or volunteering with a professional animal rescue company means you will be trained and certified on how to properly approach, handle, and clean the birds in ways that won’t hurt or frighten them.[14]
- In many cases, a rescue organization will require you to get certified in avian rescue before they let you wash the birds. Improperly washing and cleaning birds can kill them, so you must know how to wash them in a way that minimizes any stress.
- When you join a rescue organization, they will provide you with their requisite training and certification. You do not need to seek this separately.
- Rescue organizations also have certain coverages and privileges that you wouldn’t as an individual. They may, for example, be allowed on an otherwise restricted beach after an oil spill. Working with them ensures that you’re in full compliance of the law.
-
3Point out oil-contaminated birds to a specialist. Oil contaminated birds will appear blackened, slick, and sticky. They may be trying to remove the oil by preening. If they are experiencing exhaustion, they may be on the ground showing little to no movement. Because of this, contaminated birds should only be picked up by someone who has training in handling both wildlife and hazardous materials[15]
- Your volunteer organization should have designated people you can tell if you see an oil-covered bird. They will ensure that the bird is recovered as safely as possible.
- Oil contaminated birds will preen constantly to the point of forgetting to drink and eat. As a result, oil-affected birds will appear dehydrated and emaciated.[16]
-
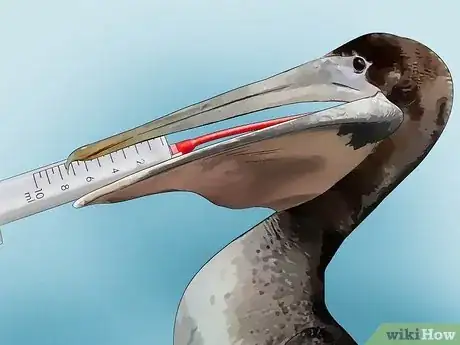
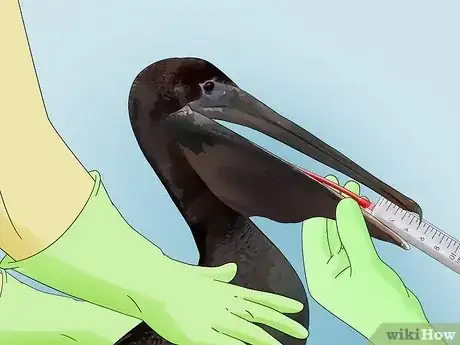
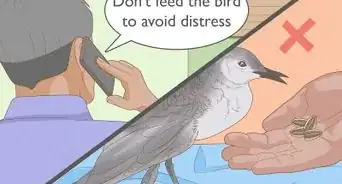
4Stabilize the bird. Oil-contaminated birds are generally dehydrated, exhausted, scared, and nearing hypothermia by the time they get to a rescue facility. Before they can be washed, the rescue group’s first focus will be ensuring the bird is warm, fed, and hydrated enough for further treatment. As a volunteer, you may be asked to help prepare and administer a rehydrating solution to stabilize the birds.[17]
- Medical treatments and tests will be performed by a vet or an experienced professional. As a volunteer, you will typically help prepare solutions before they are administered.
- This solution is often made from a mix of Pedialyte and a medication like ToxiBan that helps the bird excrete any oil it may have ingested.
- You may also be asked to assist in the process of testing blood and feather samples to gauge the levels of contamination.
Warnings
- This is hard, grueling, and often heartbreaking volunteer work. Birds that are not considered adequately healthy to undergo the washing process will be euthanized. Make sure that you're emotionally and physically up to the volunteering challenges involved.⧼thumbs_response⧽
- Remember, if you are cleaning birds that have been contaminated with oil, inhaling the oil on or near the birds is dangerous to your health. If you are cleaning birds near an area where dispersants have been used, be extremely cautious of what you touch and inhale.⧼thumbs_response⧽
References
- ↑ http://myfwc.com/oilspill/OilSpill_FAQs.htm#help
- ↑ http://www.audubon.org/news/faq-how-oil-covered-birds-are-cleaned
- ↑ https://www.ceoe.udel.edu/oilspill/savingoiledbird.html
- ↑ http://care.raptor.id.au/rehab/oil.html
- ↑ http://www.slate.com/articles/news_and_politics/explainer/2007/11/how_do_you_clean_an_oiled_bird.html
- ↑ http://www.slate.com/articles/news_and_politics/explainer/2007/11/how_do_you_clean_an_oiled_bird.html
- ↑ http://care.raptor.id.au/rehab/oil.html
- ↑ https://www.popularmechanics.com/science/environment/a5770/how-to-clean-oil-birds/
- ↑ https://www.popularmechanics.com/science/environment/a5770/how-to-clean-oil-birds/
- ↑ https://www.bird-rescue.org/our-work/aquatic-bird-rehabilitation/our-process-for-helping-oiled-birds.aspx
- ↑ http://www.bbc.com/news/magazine-15272040
- ↑ https://www.bird-rescue.org/our-work/aquatic-bird-rehabilitation/our-process-for-helping-oiled-birds.aspx
- ↑ https://spcatampabay.org/wildlife-rescue-rehabilitation/
- ↑ https://www.popularmechanics.com/science/environment/a5770/how-to-clean-oil-birds/
- ↑ http://www.slate.com/articles/news_and_politics/explainer/2007/11/how_do_you_clean_an_oiled_bird.html
- ↑ http://myfwc.com/oilspill/OilSpill_FAQs.htm#help
- ↑ http://www.slate.com/articles/news_and_politics/explainer/2007/11/how_do_you_clean_an_oiled_bird.html
