This article was co-authored by wikiHow Staff. Our trained team of editors and researchers validate articles for accuracy and comprehensiveness. wikiHow's Content Management Team carefully monitors the work from our editorial staff to ensure that each article is backed by trusted research and meets our high quality standards.
There are 9 references cited in this article, which can be found at the bottom of the page.
The wikiHow Video Team also followed the article's instructions and verified that they work.
This article has been viewed 17,459 times.
Learn more...
If you cut your own hair or work in a barber shop, then you probably know all about using a clipper guard to make sure you don’t accidentally cut too much. Cleaning the guard along with your clippers is important to avoid infections and razor burn. However, it’s totally normal if you’re a little unsure about the best way to clean the guard. Luckily, it’s easy! With the right steps, you’ll be able to quickly remove any hair and bacteria stuck on the guard and keep it in tip-top shape.
Steps
General Cleaning and Hair Removal
-
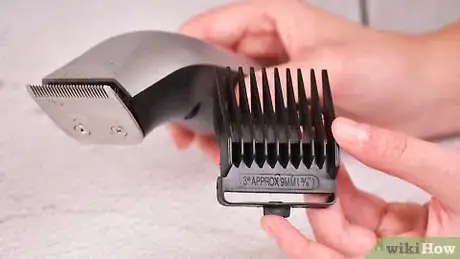
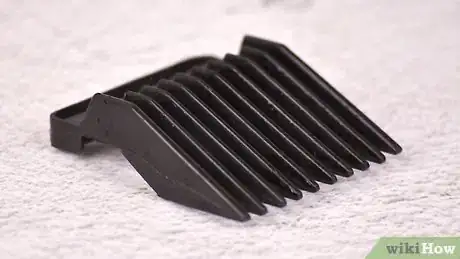
1Take the guard off the clipper. Most clipper guards come off pretty easily. Press down on the tab and pull the guard to get it off. This makes cleaning it much easier.[1]
- Make sure the clipper is off and unplugged before removing the guard so you don’t accidentally start it.
- If the guard isn’t removable, you can still wash it. Just don’t get any of the electronic parts on the clipper wet.
-
2Brush any loose hair hair off of the guard. Use either the brush that came with your clippers or a barber brush. This should get rid of any loose hair. Make sure you get in between the teeth to remove any hairs that are hiding.[2]
- Pros recommend brushing the clipper and the guard before and after every use.
Advertisement -
3Rinse the guard with warm running water and soap. Turn your sink to warm or hot water and use high pressure. Rinse the guard underneath the water to dislodge any loose hair and dirt. Then add some hand or dish soap and rub the clipper between your hands to make it sudsy.[3]
- Don’t make the water too hot or you could burn yourself.
- Hand-washing the guard like this is fine for general cleaning, but not for disinfection. That takes special chemicals.
-
4Scrub between all the guard teeth with a brush. The water pressure and rubbing might not be enough to get rid of all the trapped hair and dirt. Use the cleaning brush that came with your clipper and rub it between each tooth on the guard to dislodge any debris.[4]
- If you don’t have the brush that came with your clipper, you could also use a toothbrush, pipe cleaner, or similar tool.
- If any gunk isn’t coming off, use some more soap and scrub the spot with the brush.
-
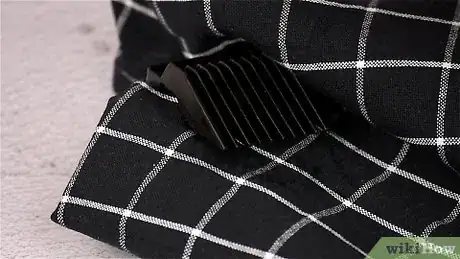
5Let the guard air-dry completely and store it until you need it again. Shake the guard off a bit and wipe it with a clean towel. Then leave it in a clean spot to air-dry and store it normally when it's all dry.[5]
- If you have a lot of clipper guards, there are open storage that you can use to store and air-dry them at the same time. This is useful if you have a salon or barber shop.
Disinfection Techniques
-
1Clean and disinfect your clippers and the guards every 3-4 uses. This is the recommended schedule to keep your clippers and clipper guards clean. After every 3-4 uses, clean the guard to remove any trapped hair and disinfect it to kill any germs.[6]
- Always clean the guard before disinfecting it. Disinfection only kills germs, it doesn’t get rid of hair, dirt, or debris.[7]
- If you run a barber shop or use your clippers on other people, then national standards call for disinfection after every use.
-
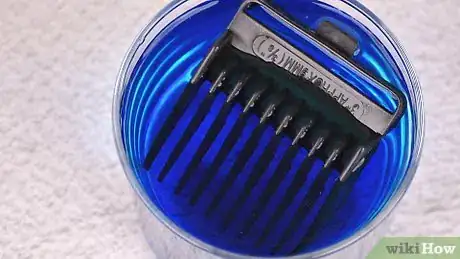
2Soak the guard in Barbicide for 10 minutes to kill germs. According to the official Barbicide instructions, mix 1/4 cup (59 ml) of the chemical with 4 cups (947 ml) of cold water. Then let the guard soak for 10 minutes to kill all the germs.[8]
- Don’t use hot or warm water. This will make the disinfectant less effective.
- Barbicide is the standard disinfectant that barbers use to clean their tools.[9] You can order Barbicide online or buy it from a pharmacy.
-
3Submerge the guard in alcohol for a minute if you don’t have barbicide. 70% rubbing alcohol makes a great substitute for barbicide. Put the guard in a cup or bowl and pour in enough alcohol to cover it.[10] Then let it soak for a 1 minute to kill all the bacteria.
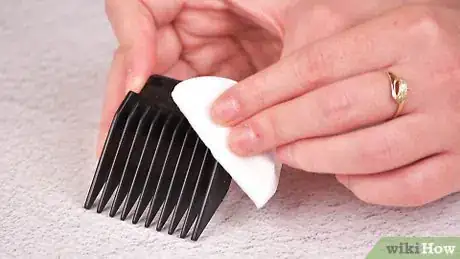
- You could also use alcohol wipes, as long as you make sure you wipe every part of the guard. Pay particular attention to the spaces between the teeth.
-
4Spray with disinfectant and let the guard sit for a minute. A quick spray can also work well if you’re looking for a faster way to disinfect your guard. Lay the guard on a flat surface and spray it all over with disinfectant. Then let the disinfectant sit for about 60 seconds to kill all the germs.[11]
- Disinfectant sprays include Lysol, Barbicide in spray form, and Cool Care.
- Different disinfectant brands might have different instructions, so always follow the directions for the product you use.
-
5Let the guard air-dry before storing it. Whichever disinfection method you use, leave the guard to air-dry when you’re done. This lets the disinfectant work for as long as possible and kill any leftover germs.[12]
- If the guard is dripping, you could wipe it with a towel as long as the towel is fresh and clean.
Warnings
- White vinegar has some antibacterial qualities, but it’s not an approved disinfectant.[14] Don’t use it to clean hair clippers or they won’t be totally disinfected.⧼thumbs_response⧽
References
- ↑ https://wahlusa.com/amfile/file/download/file/339/product/426/
- ↑ https://www.hairclippersclub.com/how-to-clean-hair-clippers-ultimate-guide/
- ↑ https://youtu.be/Vn-I7wsOwGg?t=148
- ↑ https://youtu.be/Vn-I7wsOwGg?t=167
- ↑ https://getarazor.com/how-to-clean-hair-clippers/
- ↑ https://www.hairclippersclub.com/how-to-clean-hair-clippers-ultimate-guide/
- ↑ https://nationalbarbers.org/barber-tool-sanitation/
- ↑ https://barbicide.com/faq/
- ↑ https://nationalbarbers.org/barber-tool-sanitation/
