This article was co-authored by Craig Morton and by wikiHow staff writer, Dan Hickey. Craig Morton is the CEO of Aquarium Doctor Inc. based in Huntington Beach California and servicing Orange County, Los Angeles County, and the Inland Empire. With over 30 years of aquarium experience, Craig specializes in creating custom aquarium designs along with aquarium installation, service, and maintenance.
There are 9 references cited in this article, which can be found at the bottom of the page.
This article has been viewed 5,513 times.
Beneficial bacteria are vital to the health of your aquatic pets, but how can you clean the slimy filters without killing them off? Preserving tank bacteria when you clean or replace filters is an important but easy task—all you really need is tank water and a bucket! That’s why we’ve put together a step-by-step guide to desludging your filters and maintaining healthy bacteria levels. If you’re ready to get cleaning, keep scrolling!
Things You Should Know
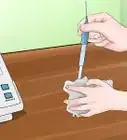
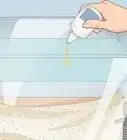
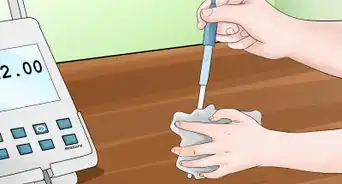
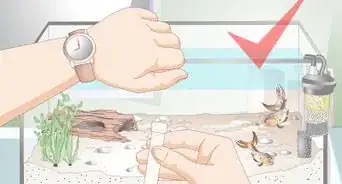
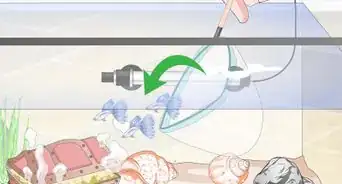
- Siphon tank water into a clean bucket and use it to gently rinse solid debris off of filter pads, sponges, or bio-media.
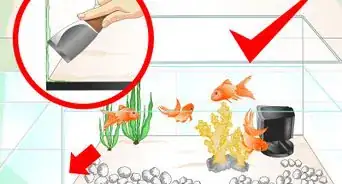
- If you have a multi-sponge filter or more than one filter system, only rinse one sponge or one filter per cleaning to preserve bacteria levels.
- If you’re replacing the entire filter, reuse an old filter media or keep the old filter in the tank for 4-6 weeks to supply the new one with bacteria.
Steps


Warnings
- To keep bacteria levels up, don’t do any other major cleaning or maintenance, like replacing all of the tank water or cleaning the decorations, at the same time you clean the filter.⧼thumbs_response⧽
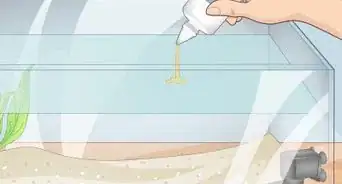
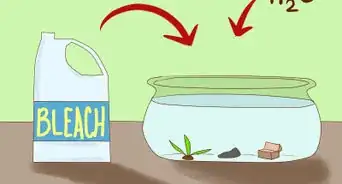
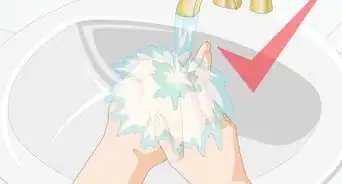
- Never use tap water (which is typically slightly chlorinated) or soap to clean your filter or filter media. Both substances will kill most or all of the bacteria present.[21]⧼thumbs_response⧽
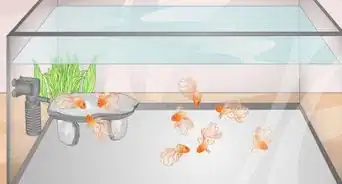
- Do not let your fish go for longer than 8-12 hours without a running filter.[22]⧼thumbs_response⧽


References
- ↑ https://www.shrimpscience.com/articles/how-to-clean-sponge-filter/
- ↑ https://injaf.org/articles-guides/beginners-guides/beginners-guide-to-filter-maintenance/
- ↑ https://www.pbspettravel.co.uk/blog/5-golden-rules-for-cleaning-your-fish-tank/
- ↑ https://aquariumbreeder.com/how-to-clean-an-aquarium-filter/
- ↑ https://www.interviewarea.com/faq/how-long-can-filter-media-without-killing-bacteria
- ↑ https://www.shrimpscience.com/articles/how-to-clean-sponge-filter/
- ↑ https://aquariumbreeder.com/how-to-clean-an-aquarium-filter/
- ↑ https://injaf.org/articles-guides/beginners-guides/beginners-guide-to-filter-maintenance/
- ↑ https://www.shrimpscience.com/articles/how-to-clean-sponge-filter/
- ↑ https://aquariumbreeder.com/how-to-clean-an-aquarium-filter/
- ↑ https://www.shrimpscience.com/articles/how-to-clean-sponge-filter/
- ↑ https://www.pbspettravel.co.uk/blog/5-golden-rules-for-cleaning-your-fish-tank/
- ↑ https://www.shrimpscience.com/articles/how-to-clean-sponge-filter/
- ↑ https://www.aquariadise.com/how-to-lower-ammonia-in-fish-tank/
- ↑ https://aquariawise.com/how-often-should-you-clean-aquarium-filter-media/
- ↑ https://www.aquariumfocus.com/how-to-change-aquarium-filter-without-losing-bacteria/
- ↑ https://whypetfish.com/how-to-change-aquarium-filter-media-without-losing-bacteria/
- ↑ https://www.aquariumfocus.com/how-to-change-aquarium-filter-without-losing-bacteria/
- ↑ https://whypetfish.com/how-to-change-aquarium-filter-media-without-losing-bacteria/
- ↑ https://www.shrimpscience.com/articles/how-to-clean-sponge-filter/
- ↑ https://www.shrimpscience.com/articles/how-to-clean-sponge-filter/
- ↑ https://www.aquariumfocus.com/how-to-change-aquarium-filter-without-losing-bacteria/
About This Article