X
wikiHow is a “wiki,” similar to Wikipedia, which means that many of our articles are co-written by multiple authors. To create this article, volunteer authors worked to edit and improve it over time.
This article has been viewed 48,719 times.
Learn more...
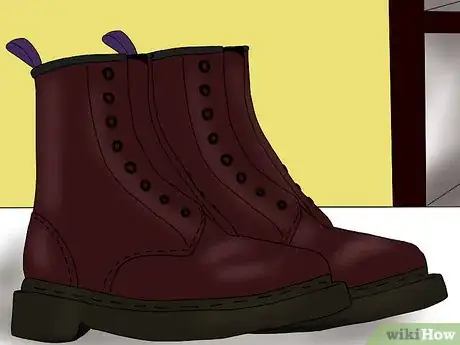
This article takes you through a step-by-step guide on how to clean, polish and lace your Dr. Marten's boots, whether they're black or cherry red. If you're after the "punk" or "battered" look with your boots this article is not for you; this is for the people who want nice and shiny boots. Everyone laces their boots differently. The way included in this article is one of the easiest for getting your boots on and off; it's also very aesthetically pleasing.
Steps
Part 1
Part 1 of 2:
Cleaning and Polishing Your Boots
-
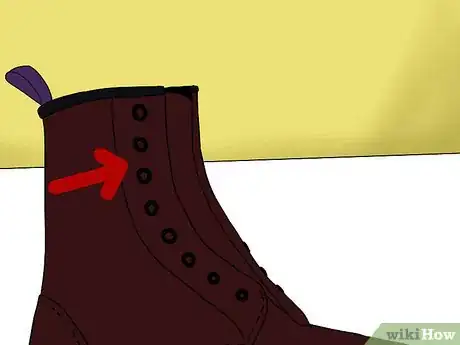
1Take your laces out. You don't want polish on them. If they're mucky then clean with washing up liquid and warm water. Then leave to dry. The white laces might need bleaching occasionally to keep them white, but they don't need cleaning every time.[1]
-
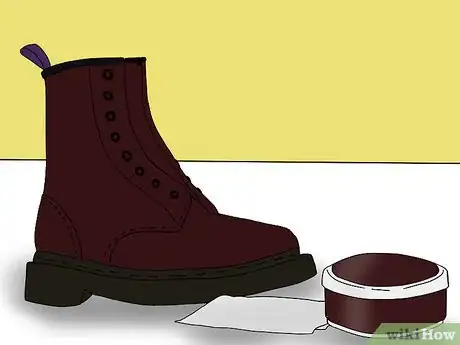
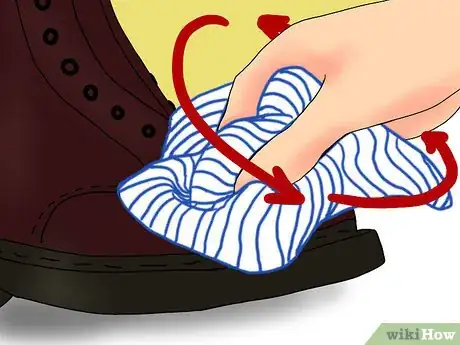
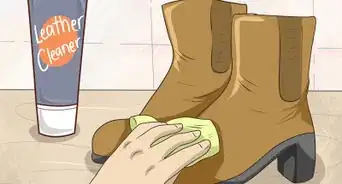
2Get all of that dirt and dried cider/ale off your boots. You need a cold wet cloth and a bit of elbow grease for this. Try and avoid using soaps or hot water, these are no good for your leather. Just wipe the whole boot until it's clean; make sure you go inside where the tongue of the boot is. Dry with the dry side of the cloth.[2]Advertisement
-
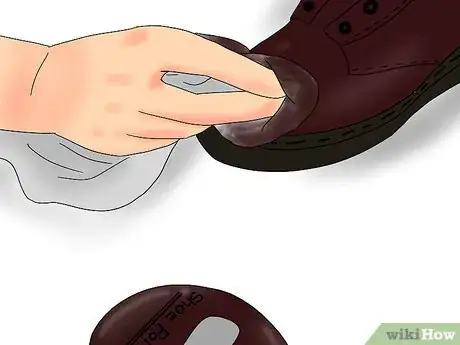
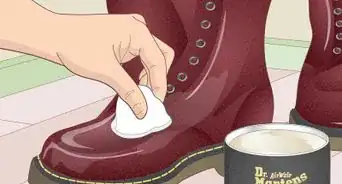
3Start to put the polish on. This step is the same for both red and black boots. Take your "wipe on" jay cloth, wrap it around your index finger on your strongest hand. Dab it inside of your tin of polish and start at the front (toe end) of your boot. Make little circles with your finger while applying a small amount of pressure.
-
4Keep re-applying the polish to the cloth and keep polishing until your whole boot is done. You can tell when it is all done because it goes "matte" and loses its shine. You will be able to tell if you missed a spot. Again, make sure you go in where the tongue is.
-
5Leave the boots for around 20 minutes for the leather to absorb the polish. Now's a good time to get started on a second or third pair to pass the time. Try and polish more than one pair at a time if you have them or have friends with a pair; it becomes a little system of polishing one while the others dry and your never having to wait.
-
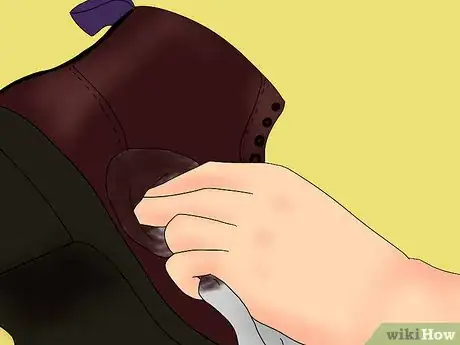
6Take the polish off and shine them. Take your "wipe off" jay cloth and do exactly the same thing as when putting the polish on, little circles starting from the toe. you should immediately see the shine coming through as you go. keep at it until the whole boot gleams.[3]
Advertisement
Part 2
Part 2 of 2:
Lacing Your Boots
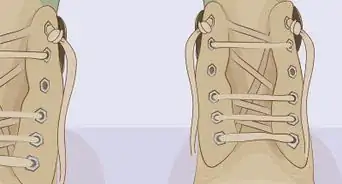
- This is a "ska/rudeboy/scooterist" way of lacing.
-
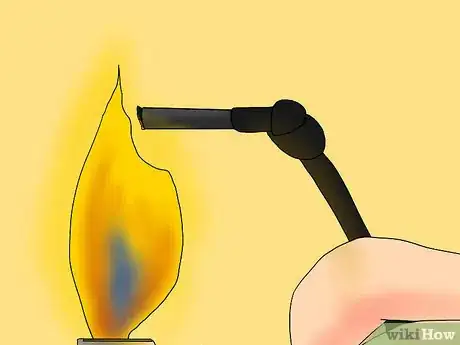
1Tie a knot in one end of the lace and cut the plastic bit off. You could use a lighter to melt the frayed end into the knot to keep it permanent, but this is not necessary. If you do decide to do it please be careful, molten plastic is not something you want on your skin. light for a second and squish it down with something (not your finger). You should now have a lace with a knot on one end and the normal plastic bit on the other end.[4]
-
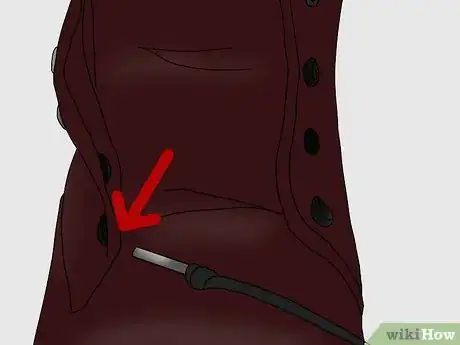
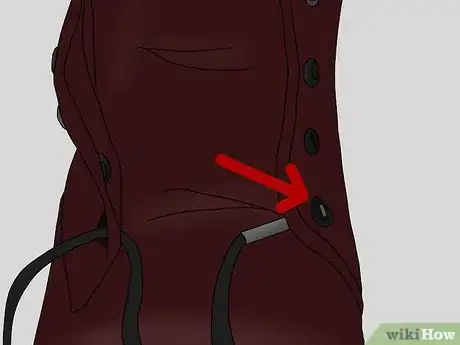
2Put the plastic end of the lace up through the inside of your bottom eyelet. You should start with the opposite eyelet when you lace the other boot to make it symmetrical. Pull through until the knot is against the inside of your bottom eyelet.[5]
-
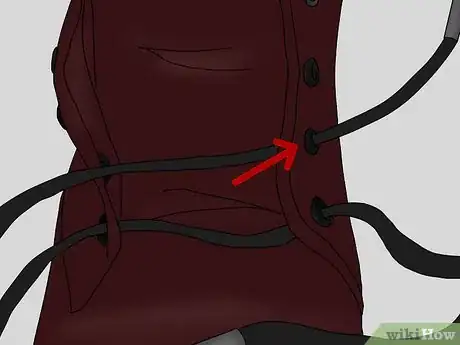
3Put the lace through the other bottom eyelet going from the outside, in.
-
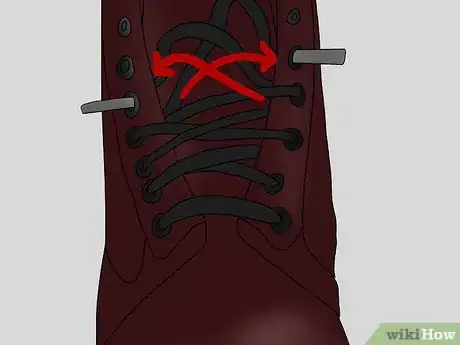
4Pull the lace diagonally to the next eyelet up on the opposite side of the boot. It needs to go from the inside, out.
-
5Keep repeating until your boots are laced to the top but with one of the top eyelets spare.
-
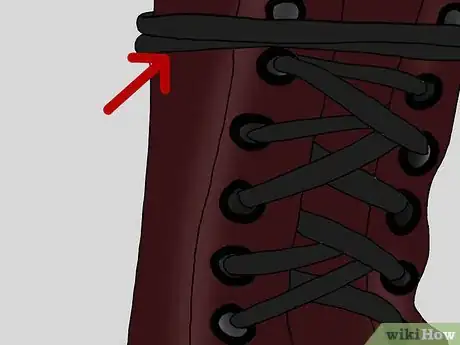
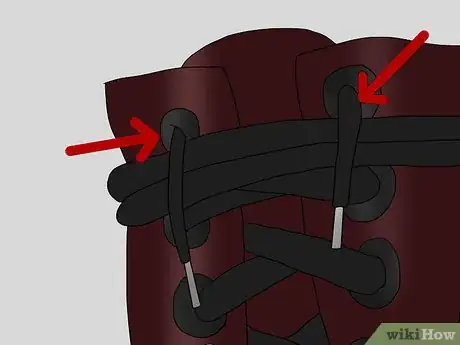
6Wrap the lace around the top of the boot twice, going through the tag/loop at the back.
-
7Tuck the lace in through the remaining eyelet, from the outside, in. You can tie a slip knot to stop it loosening or just tuck the end in.[6]
-
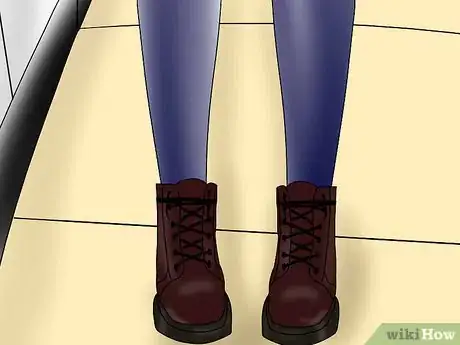
8Wear the boots! They are clean, shiny, laced up and ready to go and dance to some ska. Keep it rude.
Advertisement
Warnings
- Lighters are dangerous. Do not use if you are under the legal age. Get an adult to help.⧼thumbs_response⧽
Advertisement
Things You'll Need
- 2 yellow cotton jay cloths (one for polish on, one for polish off, think karate kid)
- A wet dish cloth/wash cloth (this is the pink thing pictured, you could use almost anything for this, keep half dry for drying them)
- Polish (for cherry reds, use burgundy kiwi and for black use, normal black kiwi)
- At least 1 pair of Dr Martens
- ↑ https://help.drmartens.com.au/hc/en-us/articles/360009258813-How-do-I-look-after-my-Docs-
- ↑ https://www.drmartens.com/us/en/how-to-clean-docs-balsam-wax
- ↑ https://www.drmartens.com.au/how-to-clean-patent-leather-docs
- ↑ https://footweargeeky.com/how-to-lace-doc-martens-easily-in-various-ways/
- ↑ https://footweargeeky.com/how-to-lace-doc-martens-easily-in-various-ways/
- ↑ https://scooterlay.com/how-to-lace-skate-shoes/
- ↑ https://askinglot.com/how-do-you-clean-cherry-red-dr-martens
About This Article
Advertisement
