This article was co-authored by Duston Maynes. Duston Maynes is an Automotive Repair Specialist at RepairSmith. Duston specializes in leading a team that handles a variety of automotive repairs including replacing spark plugs, front and rear brake pads, fuel pumps, car batteries, alternators, timing belts, and starter motors. Duston holds an Associate’s degree in Automotive/Diesel Technology from The Universal Technical Institute of Arizona and is a Certified Diagnostic Technician and Automobile Mechanics Technician through BMW STEP. RepairSmith received The 2020 Big Innovation Award by Business Intelligence Group and The Startup of the Year by the American Business Awards. RepairSmith was also included in Built in LA’s 50 Startups to Watch and The Business Intelligence Group’s 52 Names Leading the Way in Customer Service. RepairSmith offers in-home services to provide car owners convenient and complete auto repair everywhere.
This article has been viewed 170,046 times.
Are you hearing a squealing under your hood? If so the culprit is likely to be your automotive accessory belt, usually referred to as a serpentine belt. Though these belts last much longer than their predecessor, the V-belt, they do sometimes need replaced.
Steps
Finding and Evaluating Your Belt
-
1Park your car in a well lit place. This will make it easier to work under the hood. You can also use a drop light or other supplemental lighting if you deem it necessary.
-
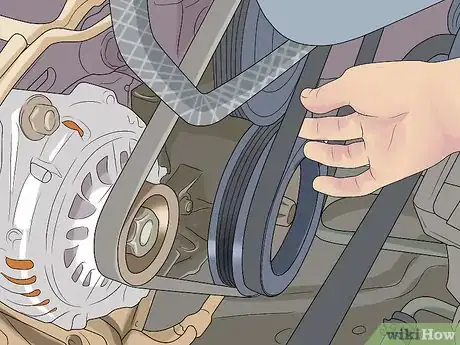
2Locate the belt in question. Most belts will be found on the side of the engine block. Serpentine belts are easily identified because they weave through several pulleys.[1] V-belts are looped around two pulleys and there are two or more belts overlapping at a point, forming a V-shape. You should replace the belt:
- if it is frayed or tearing.
- if it has cracks or missing chunks.
- if the belt has coolant or oil on it.
- These conditions make the belt incapable of properly running its components, which can lead to major problems for your engine. If for any reason you cannot locate an accessory belt or gain easy access to it then you should take your vehicle to professional.[2]
Removing the Old Belt
-
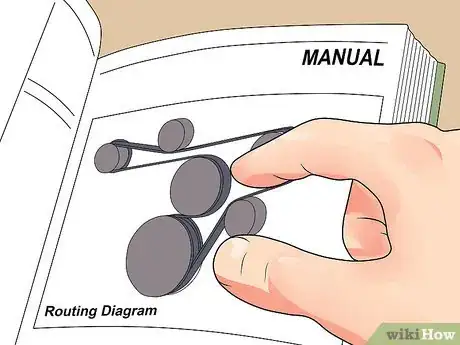
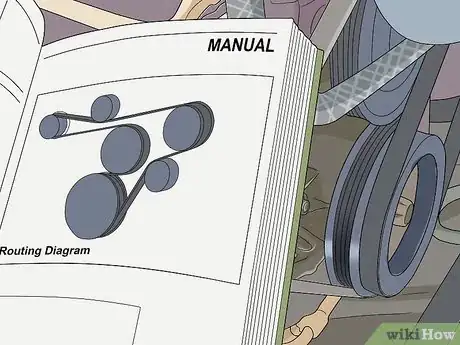
1Locate a routing diagram. This can usually be found posted underneath the hood of your car or in your service manual for serpentine belts (S-belts).[3] If you drive a much older car, you may have a multi-belt design (V-belt). Either way, if you cannot find a routing diagram you should take a picture or draw one before removing the belt(s).
- Be sure to make note of whether the grooved side or flat side of the belt makes contact with each pulley. It is important not to put the new belt on backwards.
-
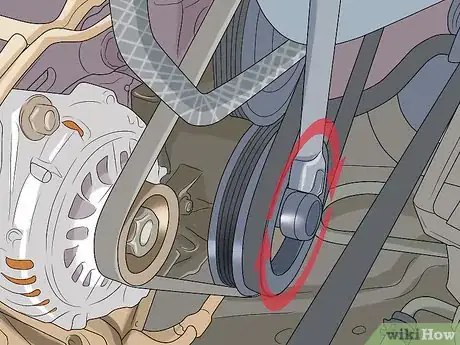
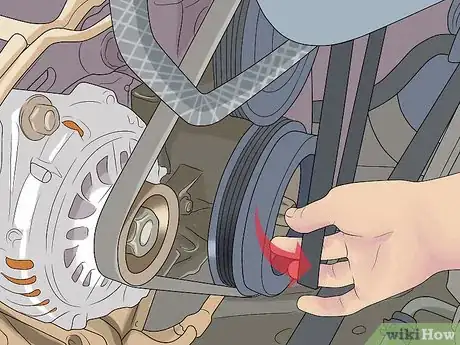
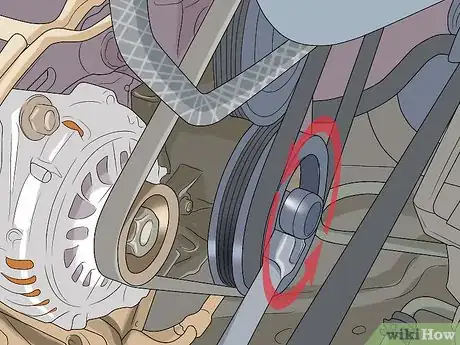
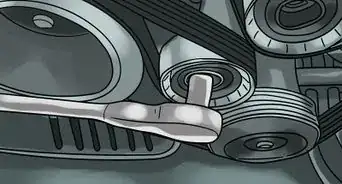
2Release the tension on the belt. There are a few things to remember when releasing tension on a belt.
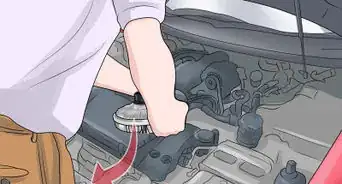
- For serpentine belts this is done by compressing the spring loaded tensioner.
- The tensioner is just another pulley that the belt runs over, but only serves to keep tension on the belt and does not power any accessories.
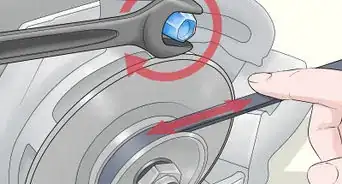
- Some tensioners can be compressed by turning them with simple hand tools such as a wrench, and others may require a special tool. Usually twisting the pulley clockwise will compress the spring.
- V-belts do not have an automatic tensioner. They can be removed by adjusting the position of one of their pulleys to release tension.
- To loosen a pulley, turn it with a wrench or specialized tool. By convention, counter-clockwise will loosen the pulley.
-
3Remove the belt. Once tension is released, the belt should slide off of the other pulleys easily.[4]
-
4
Running the New Belt
-
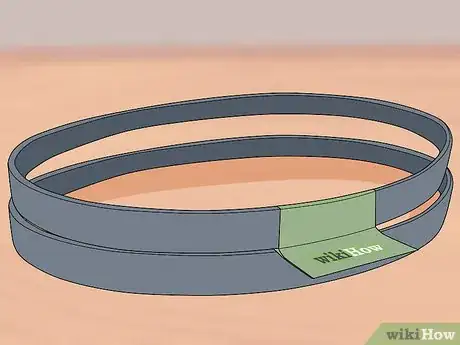
1Compare the new belt to the original. Since these belts need to fit exactly right, the new belt should be the same length and width as the original.[7] The only difference should be general wear on the old belt. The best way to insure a perfect match is to compare part numbers.
-
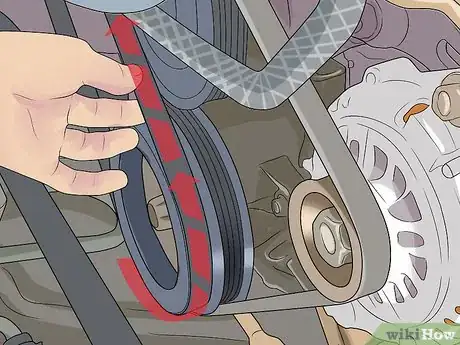
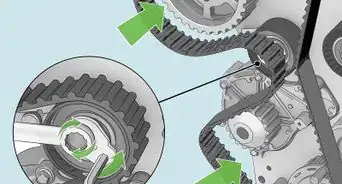
2Run the new belt. You should use your routing diagram from above to make sure that the belt is run properly. Pulleys with grooves are intended to meet the grooved side of the belt, but some flat pulleys are meant to be driven by the flat backside of the belt.[8] When you are done, the belt should weave through the pulleys contacting each pulley only once.
-
3Tighten the belt. You want to make sure that your belt has the proper amount of tension on it.
- Older tensioners might cause a slip in the belt.[9]
- For serpentine belts use the same tool you used above to compress the tensioner and turn it in the opposite direction (counter-clockwise) until the spring releases.
- If you are working with a V-belt design then you will need to tension the belt manually. #*Find the middle of the belt's longest stretch.
- Move that point from side to side and the belt should have 1⁄2 inch (1.3 cm) of movement in either direction. Any less and the belt is too tight, any more and it is too loose.[10]
- Check your vehicle manual for more information. If in doubt, consult a mechanic.
Double Check Your Work
-
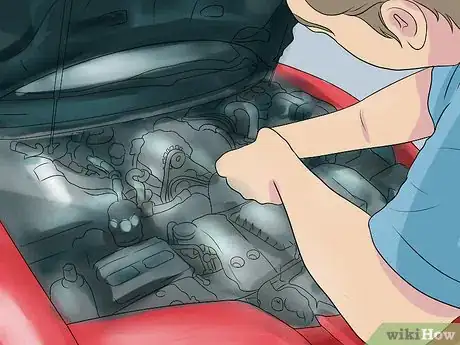
1Step back and look at the belt. Does it match the routing diagram exactly and look like the belt you took off? If the belt does not fit properly or is not installed correctly it could damage several important components of your car such as the water pump, alternator, etc.
-
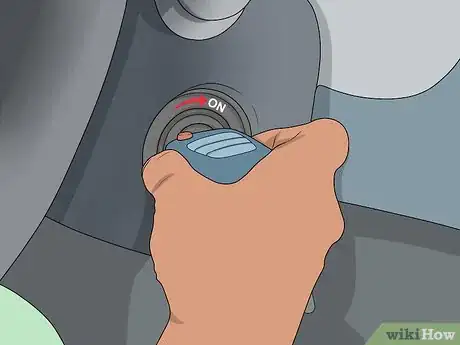
2Start your car. If possible it is best to have a friend start your car while you watch the belt. You want to be sure that it is running smoothly with no squealing or slipping.[11] Be careful to keep your hair and clothing away from any moving parts under the hood of your vehicle.
-
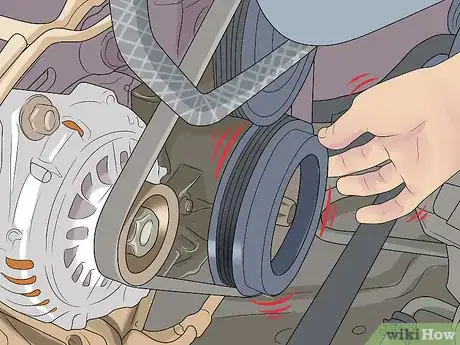
3Troubleshoot any problems. If you notice anything wrong such as slack in the belt or squealing, consult your routing diagram again. You may need to re-run the belt or make sure that it is properly tensioned. You should also check again to be sure all accessory pulleys are turning freely, including the tensioner. If you cannot diagnose the problem you should take your vehicle to a professional.
Expert Q&A
-
QuestionWhat does it mean when your serpentine belt squeals?
 Duston MaynesDuston Maynes is an Automotive Repair Specialist at RepairSmith. Duston specializes in leading a team that handles a variety of automotive repairs including replacing spark plugs, front and rear brake pads, fuel pumps, car batteries, alternators, timing belts, and starter motors. Duston holds an Associate’s degree in Automotive/Diesel Technology from The Universal Technical Institute of Arizona and is a Certified Diagnostic Technician and Automobile Mechanics Technician through BMW STEP. RepairSmith received The 2020 Big Innovation Award by Business Intelligence Group and The Startup of the Year by the American Business Awards. RepairSmith was also included in Built in LA’s 50 Startups to Watch and The Business Intelligence Group’s 52 Names Leading the Way in Customer Service. RepairSmith offers in-home services to provide car owners convenient and complete auto repair everywhere.
Automotive Repair Specialist A squealing belt could be caused by different factors, like issues with the belt tension, pulleys, or tensioner. Oil on the belt could also be the cause of the problem.
 -
QuestionHow do you put tension on a belt?
 Ed BeeryEd Beery is an Automotive Specialist and the Owner of InTechgrity Automotive Excellence based in Denver, Colorado. With more than eight years of experience, he specializes in providing maintenance and repair services for both individuals and companies. Ed and the InTechgrity Automotive Excellence Team are approved by the American Automobile Association (AAA) for repairs and are Automotive Service Excellence (ASE) certified.
Automotive Specialist Slowly release the ratchet when the belt is properly seated in the various pulleys. This allows the tensioner to once again place tension on the belt.
 -
QuestionHow do you put tension on a belt without a tensioner?
 Ed BeeryEd Beery is an Automotive Specialist and the Owner of InTechgrity Automotive Excellence based in Denver, Colorado. With more than eight years of experience, he specializes in providing maintenance and repair services for both individuals and companies. Ed and the InTechgrity Automotive Excellence Team are approved by the American Automobile Association (AAA) for repairs and are Automotive Service Excellence (ASE) certified.
Automotive Specialist Use a pry bar positioned between the alternator and the block, being careful not to pinch anything. Apply pressure to the pry bar to add tension to the belt and tighten the alternator bolts while maintaining tension with the pry bar.
Warnings
- Do not put your hand, or any part of your body, into contact with anything spinning or moving on a running vehicle.⧼thumbs_response⧽
- There is ONLY ONE configuration for a serpentine belt. Even if it appears to fit differently than is shown in your routing diagram this can lead to pulleys being turned backwards and cause serious damage to your vehicle.⧼thumbs_response⧽
- Spring loaded tensioners can release quickly and forcefully. If you do not have the proper tools or are uncomfortable releasing/tightening the tensioner then you should take your vehicle to a professional.⧼thumbs_response⧽
Things You’ll Need
- Gloves
- Hand Tools
- Wire Brush
- Brake Cleaner
- Replacement Belt
References
- ↑ Ed Beery. Automotive Specialist. Expert Interview. 19 November 2021.
- ↑ http://www.dummies.com/how-to/content/how-to-check-a-vehicles-accessory-belts.html
- ↑ http://shop.advanceautoparts.com/o/article-how-to-put-on-a-serpentine-belt
- ↑ Ed Beery. Automotive Specialist. Expert Interview. 19 November 2021.
- ↑ Duston Maynes. Automotive Repair Specialist. Expert Interview. 10 June 2021.
- ↑ http://www.popularmechanics.com/cars/how-to/a4121/4311197/
- ↑ Ed Beery. Automotive Specialist. Expert Interview. 19 November 2021.
- ↑ http://www.popularmechanics.com/cars/how-to/a4121/4311197/
- ↑ Duston Maynes. Automotive Repair Specialist. Expert Interview. 10 June 2021.
- ↑ http://www.howacarworks.com/electrical-systems/checking-adjusting-and-refitting-drive-belts
- ↑ Ed Beery. Automotive Specialist. Expert Interview. 19 November 2021.
