This article was co-authored by wikiHow staff writer, Travis Boylls. Travis Boylls is a Technology Writer and Editor for wikiHow. Travis has experience writing technology-related articles, providing software customer service, and in graphic design. He specializes in Windows, macOS, Android, iOS, and Linux platforms. He studied graphic design at Pikes Peak Community College.
This article has been viewed 29,215 times.
Learn more...
Procreate is a digital drawing and graphics editing app for iPhone and iPad. It allows you to draw raster graphics on a variety of different layers, similar to Photoshop. By adjusting the opacity of a layer, you make that layer more transparent. If you are used to using the older version of Procreate, you may have noticed that you can no longer adjust the opacity in the Adjustments tab.[1] This wikiHow teaches you how to adjust the opacity in Procreate.
Steps
Using Hand Gestures
-
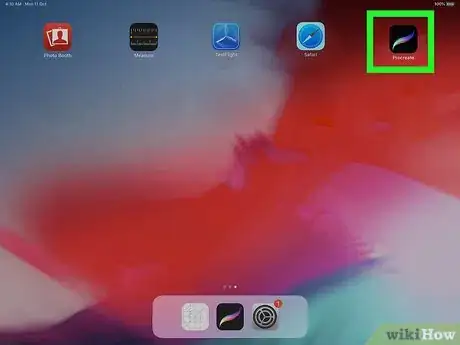
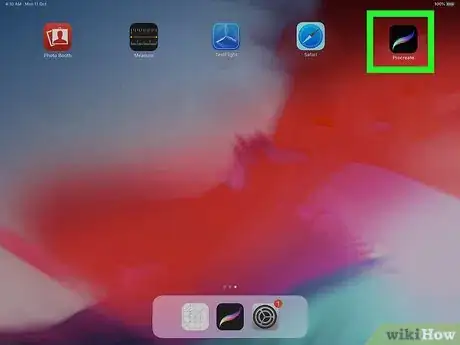
1Open Procreate. It has an icon that resembles a multi-colored brush stroke. Tap the Procreate icon on your Home screen to open Procreate.
-
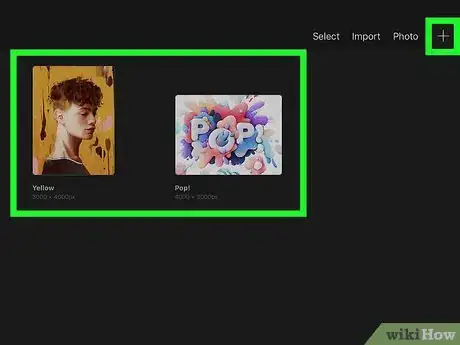
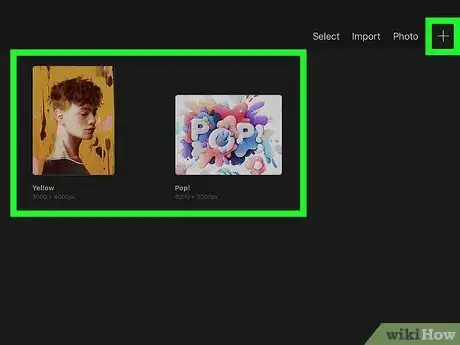
2Open or create a new art project. Use one of the following steps to create or open an art project:
- To open an art project, tap Gallery in the upper-left corner and then tap an image to open the file.
- To create a new art project, tap Gallery and then tap the plus icon (+) in the upper-right corner. Then select a canvas size.
Advertisement -
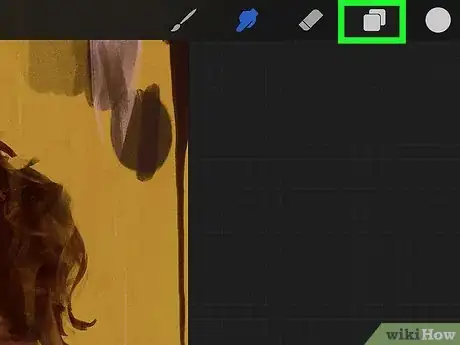
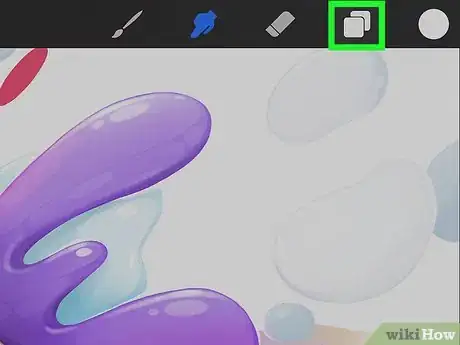
3Tap the layers icon. It's the icon that resembles two sheets of paper stacked on top of one another. It's in the upper-right corner. This displays all your layers.
-
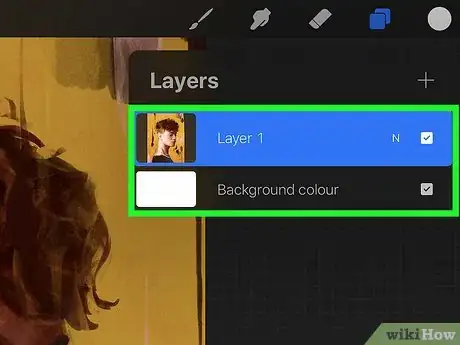
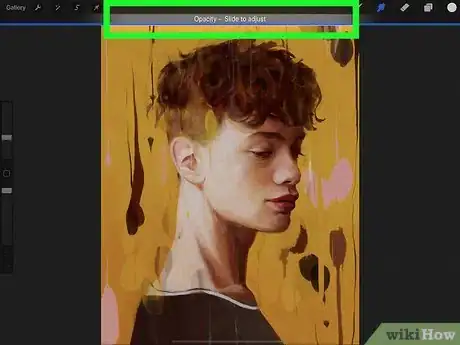
4Double-tap a layer with two fingers. This displays the opacity bar at the top of the screen.
- To create a new layer, tap the plus icon (+) in the upper-right corner of the Layers menu.
-
5Swipe left and right to change the opacity of the layer. You can use your finger, Apple Pencil, or a third-party stylus. Swipe left to lower the opacity. Swipe right to raise the opacity. The lower the opacity, the more transparent the layer is.[2]
Using the Blend Mode Panel
-
1Open Procreate. It has an icon that resembles a multi-colored brush stroke.
-
2Open or create a new art project. Use one of the following steps to create or open an art project:
- To open an art project, tap Gallery in the upper-left corner and then tap an image to open the file.
-
3Tap the layers icon. It's the icon that resembles two sheets of paper stacked on top of one another. It's in the upper-right corner. This displays all your layers.
- To create a new layer, tap the plus icon (+) in the upper-right corner.
-
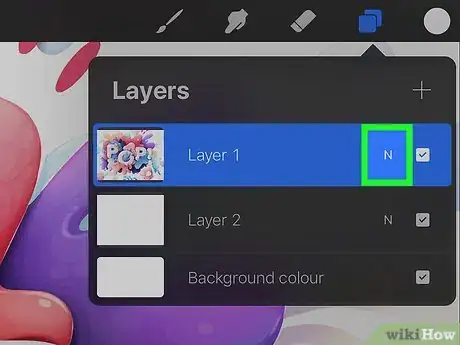
4Tap the blend mode icon next to a layer. It will be to the right of the layer name. This opens the blend mode panel.
- If the blend mode is normal, it will be an icon that resembles a small "N".
-
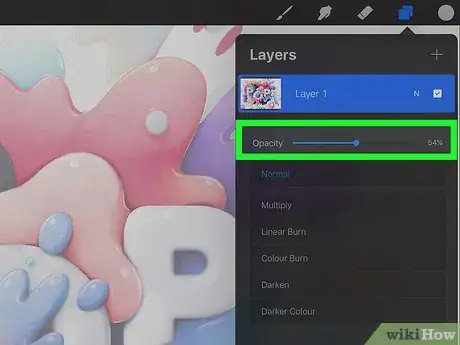
5Tap and drag the slider bar below "Opacity." It's at the top of the blend mode panel. Drag the slider bar to the left to lower the opacity. Drag the slider bar to the right to raise the opacity. The lower the opacity, the more transparent the layer is.[3]
References
About This Article
1. Tap the Procreate icon to open Pro create.
2. Tap Gallery and open or create a new art project.
3. Tap the icon that resembles two sheets of paper stacked together in the upper-right corner.
4. Double-tap a layer with two fingers.
5. Swipe left to lower the opacity and swipe right to raise the opacity.
