This article was co-authored by wikiHow staff writer, Darlene Antonelli, MA. Darlene Antonelli is a Technology Writer and Editor for wikiHow. Darlene has experience teaching college courses, writing technology-related articles, and working hands-on in the technology field. She earned an MA in Writing from Rowan University in 2012 and wrote her thesis on online communities and the personalities curated in such communities.
This article has been viewed 16,005 times.
Learn more...
Is the name on your Bumble profile incorrect or do you want to change it to a fake name? Luckily, this is something easy that you can change! This wikiHow article will teach you how to change your name on Bumble with or without Facebook.
Steps
Changing Your Name Using Facebook
-
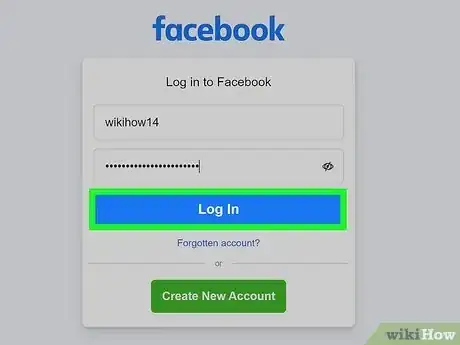
1Log in to your Facebook account. If you used Facebook to sign up for Bumble, your personal information is linked to your Facebook profile. In order to change your name on Bumble, you'll need to change your name on Facebook.
-
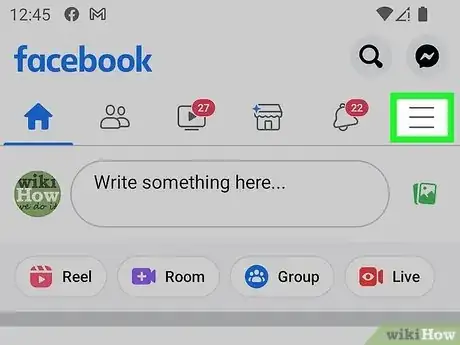
2Tap ☰. The three-line menu icon is in the top right corner of your screen on your phone.
- If you're using a computer, click the ▼ in the top right corner.
Advertisement -
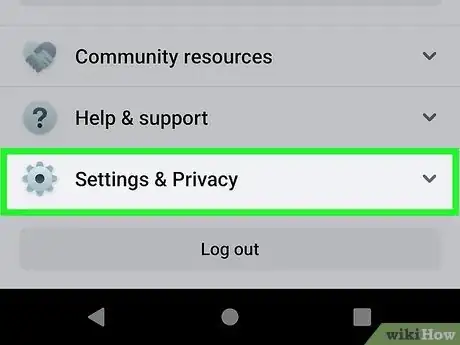
3Tap Settings & Privacy. On either a mobile device or a computer, Settings & Privacy is next to a gear icon near the bottom of the menu.
-
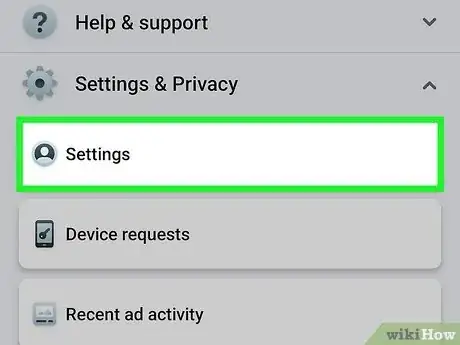
4Tap Settings. It's next to the gear icon again.
-
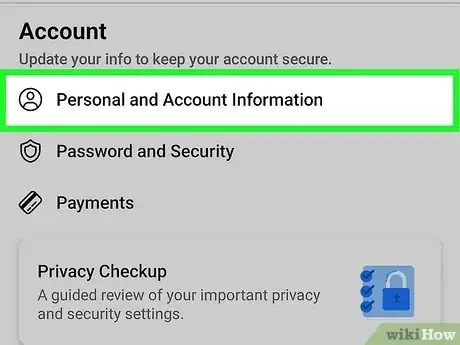
5Tap Personal and Account Information (Android and iOS only). If you're using a computer, skip this step.
-
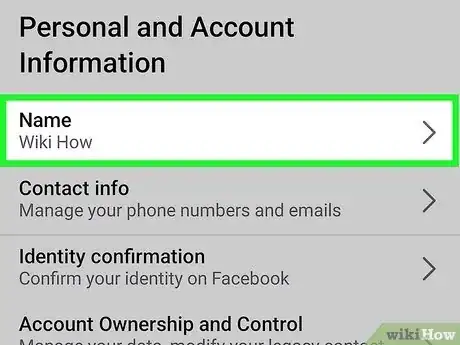
6Tap Name. Your original name will be listed there.
-
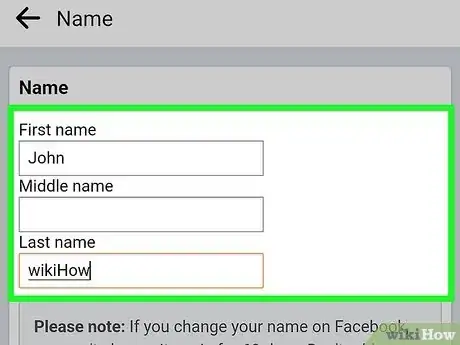
7Enter your new name and select Review Change. Make sure your new name adheres to the name standards of Facebook. For instance, you can't use a name that goes against Facebook's Community Standards (like racial slurs or derogatory terms).
- If you'd like to read more about the name standards on Facebook, you can read more here.
-
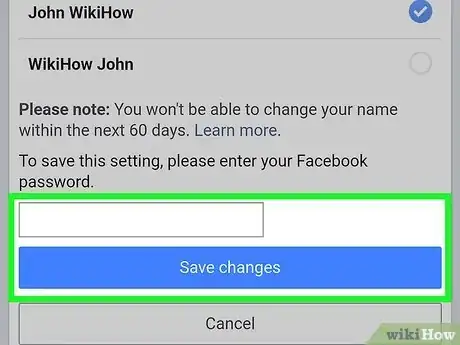
8Enter your password and tap Save Changes. The name change on Facebook should take place within 60 days, then Bumble will update to reflect the new name.
- You can only change your name on Facebook every 60 days.[1]
References
About This Article
1. Log in to your Facebook account.
2. Tap the three-line menu icon.
3. Tap Settings & Privacy.
4. Tap Settings.
5. Tap Personal and Account Information (Android and iOS only).
6. Tap Name.
7. Enter your new name and select Review Change.
8. Enter your password and tap Save Changes.
