This article was co-authored by wikiHow Staff. Our trained team of editors and researchers validate articles for accuracy and comprehensiveness. wikiHow's Content Management Team carefully monitors the work from our editorial staff to ensure that each article is backed by trusted research and meets our high quality standards.
This article has been viewed 82,305 times.
Learn more...
Whether you’re organizing an informal backyard baseball game with friends or a more serious baseball tournament, plotting out the chalk lines on your field is an important way to ensure the game is fun and fair. The lines tracing out from home base are best created using stakes and string. The lines for the batter's boxes can be easily made using a box chalker or a box template. Put the chalk lines down and you'll be ready for a great baseball game with your friends.
Steps
Choosing Your Application Method
-
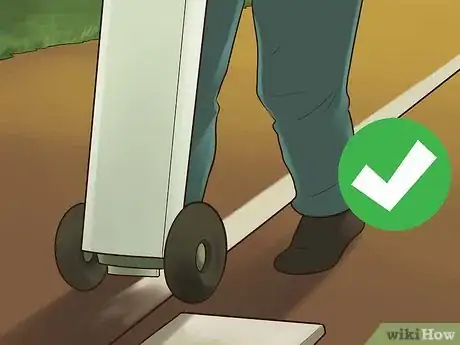
1Use a line chalker. Line chalkers are small devices used to apply chalk to baseball fields. There are many varieties of line chalkers available, and specific directions for use vary with the product you purchase. Generally, though, you can just fill the device with marking chalk, then set it to your preferred width and wheel it across the baseball field.[1]
- Line chalkers can often be set to make either a two-inch (five cm) or four-inch (10 cm) line.
-
2Use a handheld chalker if you don’t have a line chalker. The handheld chalker basically consists of a small bucket with a hole in the bottom. Fill the chalker with powdered chalk and shake it up and down along the line you want to chalk. As you shake it, chalk will come out the bottom.
- While line chalkers are guaranteed to give you straight, beautiful lines on your baseball field, they can be expensive. If you’re trying to chalk a baseball field on a budget, you might resort to a handheld chalker.
Advertisement -
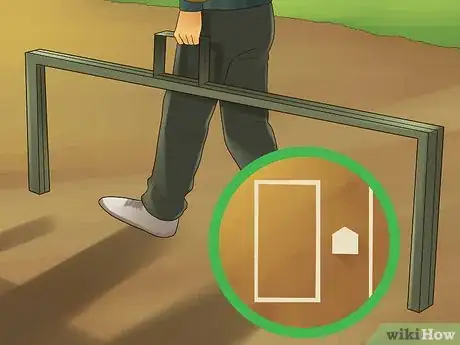
3Use a box chalker to create the batter’s box. A box chalker is a U-shaped device that allows you to quickly and easily chalk a batting box. Specific directions will vary on the product you use. Generally, however, you can fill the box chalker up with powdered chalk, then “stamp” the ground near home plate where the batter’s box should be.[2]
- Since it's shaped like a ‘U’, you’ll need to stamp the ground twice on each side of home plate (once facing toward the field and once facing away from the field) to create a closed box.
- Use the box chalker on both sides of home plate to ensure both the left and right-handed batter’s boxes are present.
Applying the Chalk
-
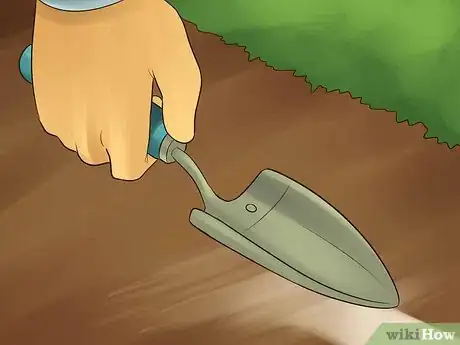
1Remove old chalk by scraping it off with a shovel. If the baseball field is new, you won’t need to remove old chalk lines. In most cases, though, you’ll need to use a shovel to remove the ragged, distorted chalk lines that were laid down previously. The best shovel will have a straight lip, though a curved or pointed lip shovel will do. Simply scrape the shovel back and forth across the chalk lines until the chalk is blended into the surrounding clay.
- Removing old chalk lines will prevent a buildup from forming down the middle of the line.
-
2Connect a string from the home plate to the rear edge of first base. Drive a stake into the ground at the pointed end of the home plate (where the catcher squats). Tie a string to it and line it up with the edge of the plate that leads to first base. When you arrive at the rear edge of the base, tie the end to another stake and drive it into the ground.
- The string will measure 90 feet (27.4 m).
-
3Connect a string from the rear point at home plate to the back of third base. Tie another string to the stake you’ve already placed at the pointed corner of home plate. Draw it parallel to the edge of the plate that leads toward third base. When you reach the back edge of third base, tie the string to another stake and drive it into the ground.
- Like the first baseline, the third baseline will measure 90 feet (27.4 m).
-
4Apply chalk along the inner edges of the strings you’ve laid. The inside edge is the edge closest to the pitcher’s mound. Move in a straight lines from home plate to the two bases.
-
5Make chalk lines two inches (5 cm) wide. Chalk lines are typically two-inches (5 cm) wide, but you could make the lines four inched (10 cm) wide if you wish. A wider line will require more chalk, but will increase visibility.[3]
- If you’re applying chalk to a field that will be used in competitive play, there might be regulations you’ll need to follow regarding the width of the lines, so consult your league handbook for more information.
-
6Use a template to chalk out the batter’s boxes. The batter’s boxes are located on either side of the home plate. A template is like a big cookie cutter in the shape of a batter’s box. Just line the template up with home base, then apply chalk along the inside of the template.
-
7Buy chalk online or at your local sporting goods store. Marking chalk is commonly sold at sporting goods stores in 50-pound bags. You will not need more than 25 pounds (11 kilograms) of marking chalk to chalk a baseball field.[4]
- Store marking chalk in a cool, dry place between uses to prevent it from clumping.
-
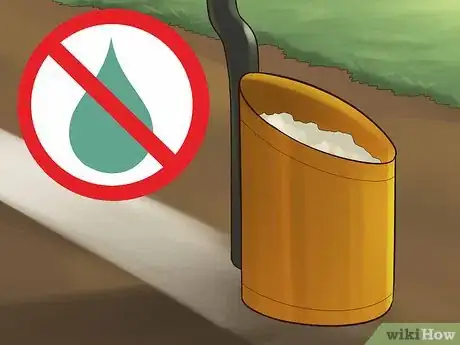
8Apply chalk when the ground is dry. If the dirt or clay is wet, the chalk settles and clumps together. Avoid applying chalk immediately after it rains or after the field’s sprinkler system was used.
-
9Avoid chalking the field too soon before a game. If you chalk the field long before the game begins, players might disturb the chalk lines during warm-ups. The final chalking should take place between warm-ups and the first pitch.
Maintaining Your Chalk Lines
-
1Rake up and down along the length of the base paths. Once your chalk lines are in place, you’ll need to rake along them on either side using a regular garden rake. This will clear the base path of debris and smooth over any uneven parts.
-
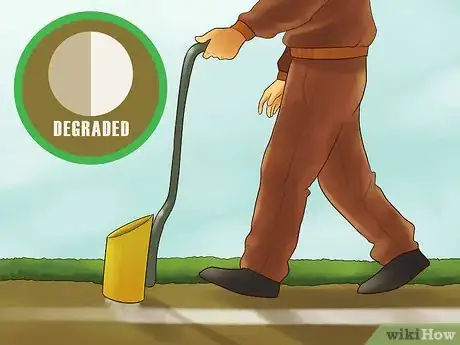
2Touch up the chalk lines as needed. As the baseball field gets used, the chalk line will gradually degrade and blend into the surrounding clay. Re-apply chalk in areas that have degraded.[5]
- You will typically not need to touch up chalk lines during a game, and will probably only apply fresh chalk between games.
-
3Remove weeds along the lines. Grip the weeds by their roots and pull them straight up. Put them in the rubbish bin. Use care to take up the whole root, otherwise the weed will soon return.
-
4Preserve your chalk lines by laying a tarp over the field when not in use. A square tarp with edges of 165’ (50 meters) should adequately cover the three bases and home plate, including your chalk lines. Lay this tarp over the field between games.
-
5Draw fresh chalk lines when they become significantly degraded. There is no regular schedule according to which you must re-draw chalk lines. Only a visual inspection can confirm whether chalk lines have been degraded beyond the point of use. Distorted or very light chalk lines should receive a completely new
- Typically, a heavy rain will require new chalk lines once the field has dried. Even rain, however, will not always require a fresh application of chalk.
Community Q&A
-
QuestionIs all of home plate in fair territory?
 Community AnswerYes, the plate is all in fair, as well as all other bases. The foul lines run from the back corner of home and down to and beyond the outside edges of 1st and 3rd.
 -
QuestionAre the foul/fair lines in fair or foul territory?
 Community AnswerOddly enough, the "foul lines" lie in fair territory. If a fly ball lands on a foul line, it's a fair ball!
 -
QuestionHow much chalk do I need for my baseball field?
 Community AnswerOne standard-sized bag of powdered chalk should last you a while. Buy more when you start running low.
Things You’ll Need
- Powdered chalk
- Chalk marker
- String
- Stakes
- Mallet (to drive the stakes)
- Batter’s box chalker or template
References
- ↑ http://www.beamclay.com/107A%20-%20Field%20Marking%20Chalk%20and%20Dry%20Line%20Marking%20Equipment.pdf
- ↑ http://www.beamclay.com/107A%20-%20Field%20Marking%20Chalk%20and%20Dry%20Line%20Marking%20Equipment.pdf
- ↑ http://dpll.net/Page.asp?n=100289&org=DPLL
- ↑ http://www.beamclay.com/107A%20-%20Field%20Marking%20Chalk%20and%20Dry%20Line%20Marking%20Equipment.pdf
- ↑ http://www.beamclay.com/107A%20-%20Field%20Marking%20Chalk%20and%20Dry%20Line%20Marking%20Equipment.pdf


