This article was co-authored by Michael Reynolds. Michael Reynolds is a Professional Fishing Instructor and the Owner of Long Beach, California Fishing Lessons by Michael Reynolds. In his over 40 years of fishing experience, Michael has become very knowledgeable about the variety of fishing methods and techniques. He is passionate about sharing his knowledge with beginners to experienced anglers. Michael has been guiding and teaching fishing for over five years and is licensed and bonded with the Department of Fish and Wildlife (DFW).
There are 20 references cited in this article, which can be found at the bottom of the page.
This article has been viewed 84,292 times.
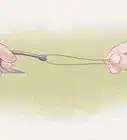
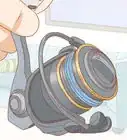
Fishing rods and reels come in 4 main types: spincasting, spinning, baitcasting, and fly-fishing. While the basic action of casting a fishing rod is similar, each of these rods comes with its own unique design elements and mechanisms, which have an impact on the technique. The key to a strong, accurate cast is familiarizing yourself with the various components of the rod you’re using and learning to handle the reel with natural ease so you can confidently send the line sailing every time.
Steps
Learning to Cast with a Spincasting Rod
-
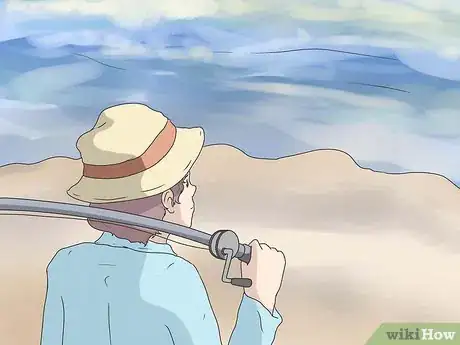
1Face the area of the water where you intend to aim your cast. Before you attempt to cast your line, you want to make sure you’re pointed in the right direction. Bend your knees a little to lower your center of gravity and give yourself a more stable base. Check to make sure your shoulders and hips are square with your target.
- If it’s more comfortable for you, you can also angle your stance slightly, with the foot of your non-dominant side in front.
-
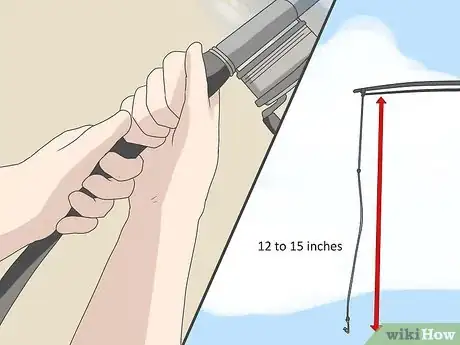
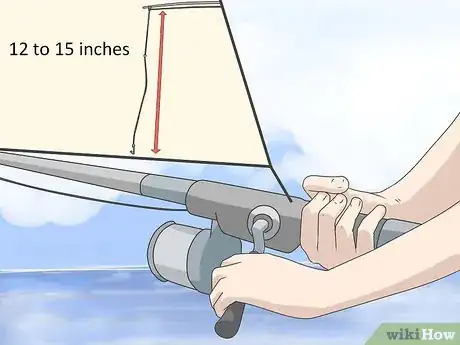
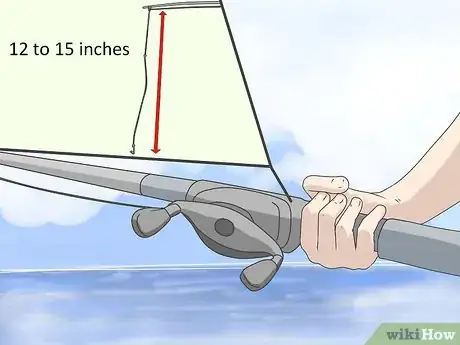
2Reel in the line so your lure is 12–15 inches (30–38 cm) from the rod tip. Turn the reel crank clockwise (away from you) until the lure is hanging about 1 foot (0.30 m) from the end of the rod. This will put the line in the right position for a good, strong cast.[1]
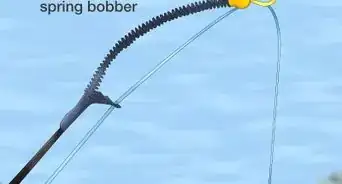
- If you have a sinker or bobber attached to the line, make sure it’s 12–15 inches (30–38 cm) from the end of the rod rather than your bait. Otherwise, your line will be too short, which will cause your cast to lose momentum.
Advertisement -
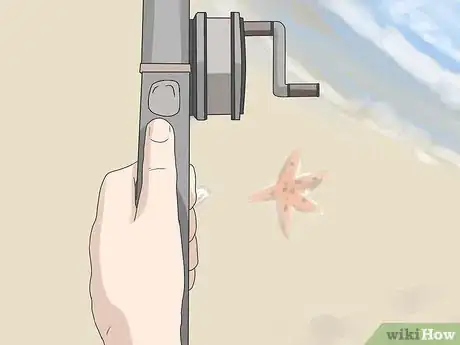
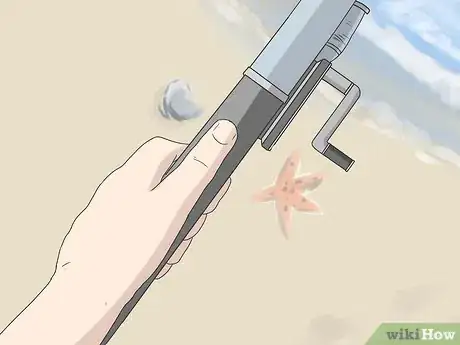
3Grip the handle of the rod with your thumb just below the reel button.[2] The handles of most spincasting rods have a recessed seat with a trigger-like projection on the underside. Wrap your index finger around this projection to ensure that your grip is secure.[3]
- You have the option to hold the rod in either your right or left hand. Most fishermen prefer to cast spincasting gear with their dominant hand.
- If you want to cast and reel with the same hand, you’ll need to change hands after your cast.
-
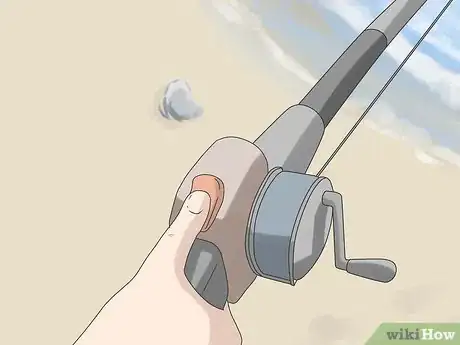
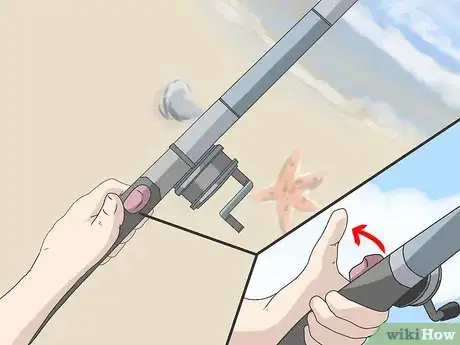
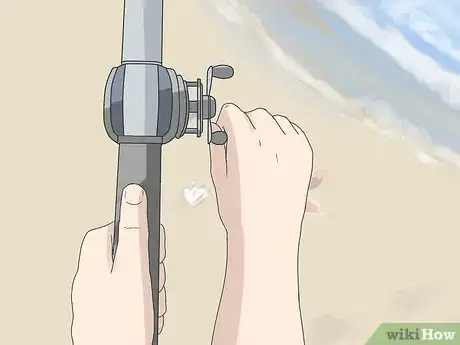
4Press and hold the button on the back of the reel. Move the thumb of your casting hand up until the pad rests over the button. Then, push down on the button firmly. Depressing the reel button disengages the spooled line, which will allow it to go flying when you start the casting motion.[4]
- The line may drop when you press the button, but it shouldn’t travel far. If it drops more than 2–3 inches (5.1–7.6 cm), it means you may not have held the button firmly enough. Reel it in and try again.[5]
-
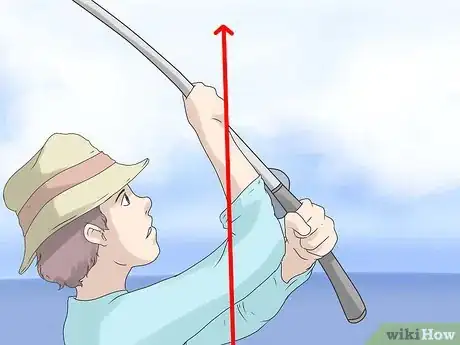
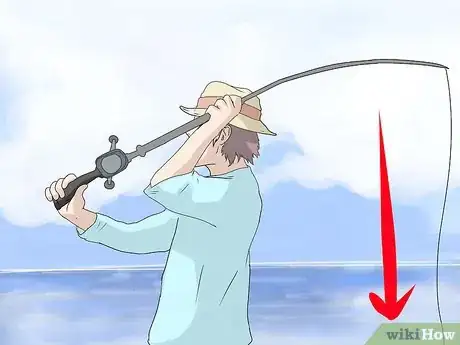
5Raise your casting arm until your hand is in front of your face. Let the movement come from your elbow rather than your shoulder—that way, you’ll get a better snap when you complete your cast. Once the hand of your casting arm is in position in front of your face, the rod itself should either be vertical or point behind you just slightly.[6]
- Be sure to keep the handle of the rod above waist level at all times.
- Avoid raising your arm too high. Doing so could cause you to accidentally hook a nearby object or some part of your clothing. It can also put unnecessary strain on your shoulder joint, which will catch up to you quickly after a long day out on the water.
- Practice casting in a wide-open area so you don't accidentally hook trees or shrubs behind you.[7]
-
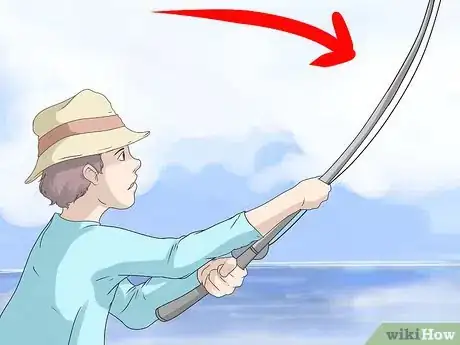
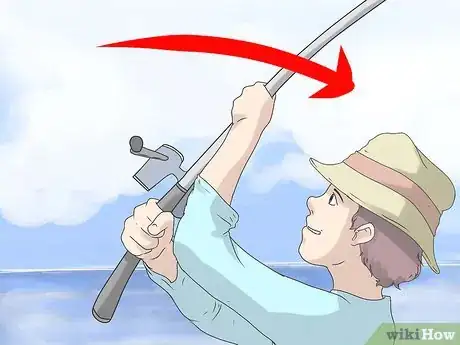
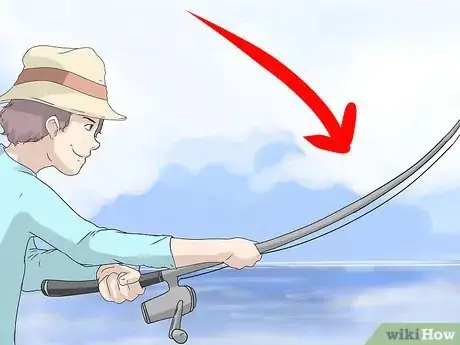
6Sweep the rod forward quickly. In one fluid motion, reverse the direction of your casting hand, holding the handle of the rod a full arm’s length in front of your face. Bring the tip of the rod to a stop at roughly a 30-degree angle, or what’s commonly known as the “10 o’clock” position.[8]
- The key to a good cast is to make your movements as smooth and effortless as possible. Jerking or being overly forceful with the rod will only throw off your accuracy and cause you to lose distance.
-
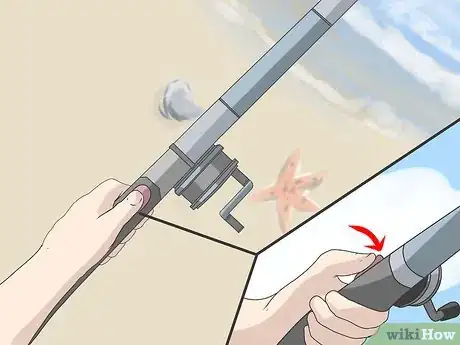
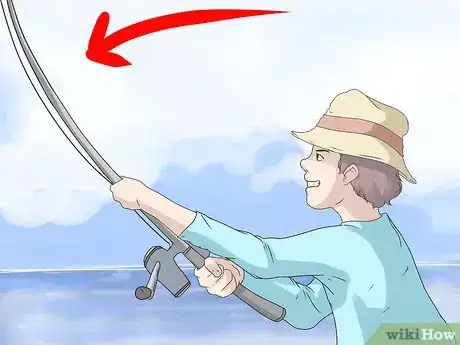
7Release the reel button as the rod comes to eye level. As you do, the momentum of the rod will propel your bait or lure forward toward your target area. The line will then continue to unspool rapidly until you press the reel button again or the bait or lure hits the water.[9]
- If your bait or lure simply plops into the water in front of you, you probably released the button too late. If it flies upward in a loose arc, you may have let go too soon.[10]
- It may be a little tricky at first to properly time your cast with your release. Don’t worry—you'll start getting the hang of it after a few attempts.
-
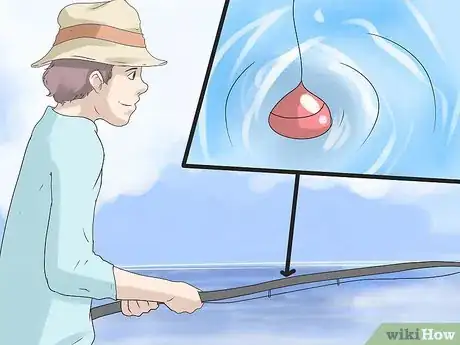
8Press the reel button again when your bait or lure reaches your target. Pressing the button a second time will slow the flight of your bait, causing it to drift down nice and easy where you want it to land. From there, it will just be a matter of patience as you kick back and wait for the tell-tale tug of a bite!
- Alternatively, you can re-engage the line locking mechanism by turning the reel crack clockwise until you feel a click.[11]
- At this point, you can transfer the rod to your opposite hand if you feel more comfortable reeling with your dominant hand.
Angling with Spinning Tackle
-
1Point your upper body in the direction you'll be casting. Face the part of the water where you want your line and lure to go, keeping your shoulders and hips in line with your target area. Assume a comfortable stance and bend your knees to increase your stability.
- Try not to let your hips or shoulders turn while you go through the casting motion. You want to stay square the whole time.
-
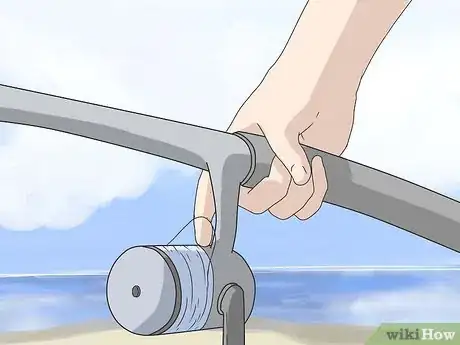
2Grip the handle of the rod with your dominant hand. Unlike spincasting reels, spinning reels are designed to be cast with one hand and reeled with the other. Take a firm grip on the reel seat, placing your index and middle finger above the projection and anchoring your ring and little fingers beneath it.[12]
- Since more people are right-handed, the majority of spinning reels are designed with the handle on the left and the reel on the right.
- If you’re left-handed, simply change the orientation of the rod so that the handle and reel are in a more natural position.
-
3Reel in the line until your lure is hanging at 12–15 inches (30–38 cm). Crank the reel clockwise to bring the lure to the right height. Avoid winding it in any closer than 6 inches (15 cm), or leaving excess slack in the line. You want the lure to dangle just enough to provide a little weight.
- Make sure you’re holding the handle of the rod in a comfortable position at about waist-level.
-
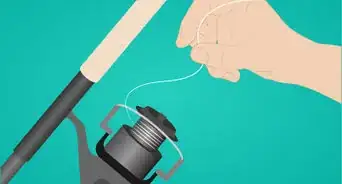
4Hook your finger over the line and pull it up against the rod. Rotate the reel bail until the coiled line is aligned with the rod and sitting as close to your casting hand as possible. Then, crook your index finger and use it to gather up the nearest section of line and pull it directly up into the rod. This will create just enough slack to allow for an effective cast.[13]
- Once you’ve snagged the line with your finger, don’t let go until you initiate the cast.
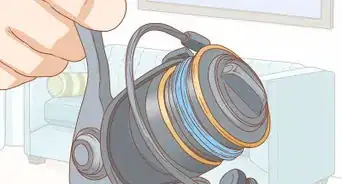
- The reel bail is the cylindrical piece that rotates freely behind the spool where the line is wound. It is responsible for gathering the line and depositing it back on the spool when you reel in.
-
5Open the reel bail with your free hand. If you’re a right-handed angler, flip the swinging metal loop over to the opposite side of the bail using your left hand. If you’re left-handed, use your right hand to open the bail. Opening the bail moves it out of the way of the line so you can freely cast your lure.[14]
- Make sure you maintain your grip on the handle of the rod with your dominant hand while flipping the reel bail open. Casting a spinning reel is a 2-handed process.
-
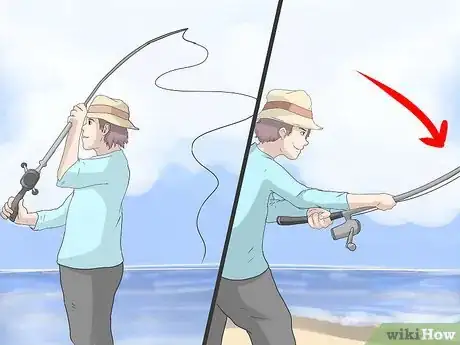
6Pull the rod back over the shoulder of your casting arm. Move both hands in unison up and out, similar to the way you would hold a baseball bat or golf club. Pause when the tip of the rod is at roughly a 30-degree angle to the ground.
- A spinning rod should generally follow more of a horizontal trajectory rather than traveling straight up and down.
-
7Let go of the line as you whip the rod out in front of you. Snap the rod back out in front of you so that both hands are extended in front of your chest. As soon as the rod passes in front of your face, release your grip on the line. The flexion of the rod’s tip will send it sailing. To improve your precision, keep your index finger pointed at the spot where you want your lure to land.
- As with a spincasting rod, be careful not to release the line too early or too late. If you let go prematurely, your lure will go up instead of out, while letting go too late will usually cause it to shoot straight down into the water.[15]
- If you’re casting with a long-handled spinning rod, like the kind used in saltwater fishing, stabilize your dominant hand as much as possible throughout the movement. It will act as a sort of fulcrum around which the rest of the rod will pivot.
Using a Baitcasting Rod
-
1Stand facing your intended target area. Square your shoulders and hips with the part of the water where you want your lure or bait to land. Plant both feet firmly side-by-side, with your toes in line with the rest of your body. This will help ensure that your line flies true.
- If you prefer, you can stagger your stance so that your dominant-side foot is in the back, since you'll be bring your rod back over your shoulder to initiate the cast. Just make sure your foot positioning doesn't throw off your alignment.
-
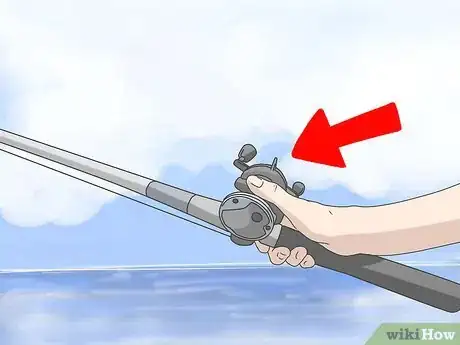
2Adjust the reel’s drag and tension. Before taking your baitcasting reel out for the first time, it’s a good idea to adjust the drag and tension settings to a level that’s comfortable for you. You can do this by turning the magnetic wheels on the backside of the rod just above the grip until you get just the right feel. That way, the line will peel effortlessly off the reel when you go to cast.[16]
- Baitcasting reels make use of a centrifugal braking system and a tension knob, which creates drag when the line is cast.
- If you’ve never cast with a baitcasting rod before, set the resistance wheel to 9. A higher level of resistance will offer greater safety and control for your first few attempts. Once you've gained a little experience, a lower setting will enable you to cast effortlessly and with greater distance.[17]
- Baitcasting rods feature a complex design, and it can be easy to throw the settings out of balance if you’re not careful. For this reason, it’s best to have them worked on by a qualified professional.
-
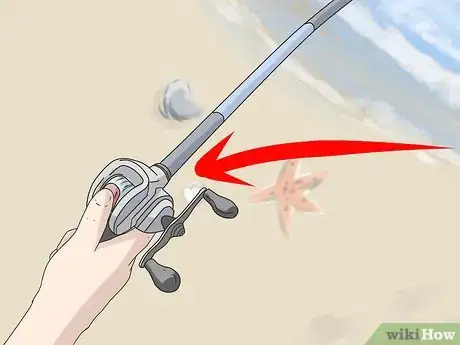
3Reel your lure in 12–15 inches (30–38 cm) from the rod tip. Turn the reel crank clockwise to shorten the line and counterclockwise to lengthen it. Get your bait or lure hanging about 1 ft (0.30 m) from the end of the rod to ensure maximum leverage and momentum on the cast.
-
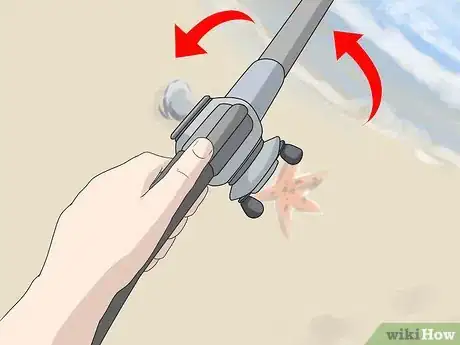
4Turn the rod so the reel crank and spool are on top. Positioning the reel mechanisms so that they’re facing upwards will allow you to use your wrist to get a good snap on the cast.
-
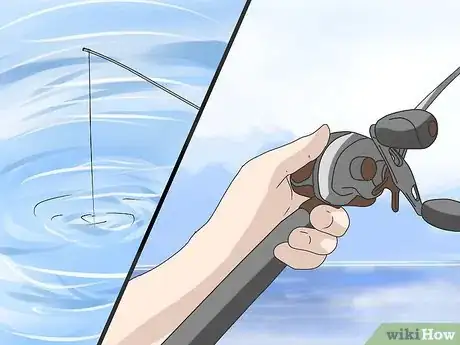
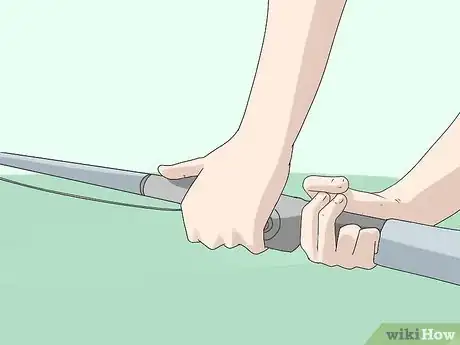
5Grip the rod with your thumb resting over the reel spool. Hold your thumb at a slight angle on the outer edge of the spool rather than pressing it flat against the line. This will keep you from accidentally obstructing the spool and give you more control over the flow of the line during the cast.
- As with spincasting rods, most fishermen cast and reel baitcasting rods with the same hand. If you decide to perform both actions with the same hand, you’ll need to switch your grip after you cast.
-
6Press the reel spool release button with the thumb of your casting hand. Hitting the spool release button disengages the spool and allows it to turn freely during the cast, making longer casts possible. Once you’ve hit the reel spool release, place your thumb over the exposed spool wheel to keep the spool from unwinding.[18]
- On most baitcasting reels, you’ll find a narrow button or bar on the back of the reel handle just below the reel spool that you can quickly find with your thumb.
- On older models, the spool release may be located on the outer spool-side edge of the rod instead.
-
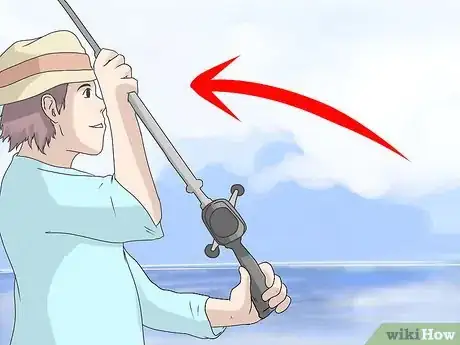
7Bring your casting arm up and back toward your shoulder. Raise the tip of the rod off to the side until it's pointing behind you at a slight angle. Crook your bent elbow out beside your face, like you’re about to throw a football.
- It’s not necessary to hold your elbow or rod at any precise angle. Just get it into whatever position feels most comfortable to you.
- If the tip of your rod dips down to waist level or below, you're probably holding it too low. Try raising it slightly so that it sits at about shoulder height when you go to cast.
-
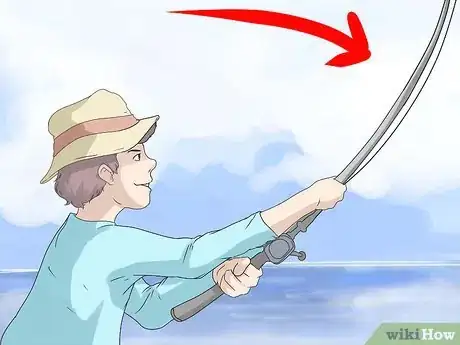
8Sweep the rod forward while removing your thumb from the spool wheel. Reverse the path of the rod with a quick whip-like motion to initiate the cast. As you take your thumb off the spool, your bait or lure will go zooming in the direction of your target, causing the line to unwind freely. Complete the cast with your rod pointing in front of you in the 10 o’clock position.
- Keep your arm relaxed and bent through the movement.
- Casting with a baitcaster is more about finesse than force. Instead of trying to throw out your bait or lure, let its own weight carry it forward effortlessly.
-
9Brake the reel spool with your thumb just before it reaches the water.[19] Press your thumb lightly against the spinning spool to “feather” the line, or slow it down smoothly and gradually. Try to make sure it has stopped turning completely before it touches down in your target area.[20]
- Another reason most anglers use their dominant hand to cast a baitcasting rod is that it gives them more control over the reel spool wheel.
- If you don’t brake your line, it will continue unraveling after your bait hits the water. This can result in a tangle of overrun line (sometimes known as a “bird’s nest”), which you’ll have to straighten out before you can retrieve your lure.
- Go ahead and move the rod over to your opposite hand if you want to reel your line in with the same hand you cast with.
Casting Fly-Fishing Tackle
-
1Position your body to face the part of the water where you'll be casting. Navigate to a part of the water where your footing is nice and secure and stand with your shoulders and hips in line with your target zone. Sink your weight to stay firmly rooted while you go to cast.
- During a fly-fishing session, there's a good chance you'll be standing directly in the water you're fishing in at some point. For this reason, it's especially important that you maintain a solid base.
- When angling in fast-moving water, make sure you're conscious of your stance and foot placement at all times. It can be very easy to slip if you're not careful!
-
2Hold your rod at waist level in front of you with your dominant hand. Make sure the rod is parallel to the ground or angled upward just slightly, with the reel facing down and your thumb resting along the top of the handle. Keep your arm loose and relaxed below the elbow.[21]
- Casting fly-fishing tackle properly requires a good deal of dexterity. For this reason, it’s recommended that you use whichever hand you’re more coordinated with.
-
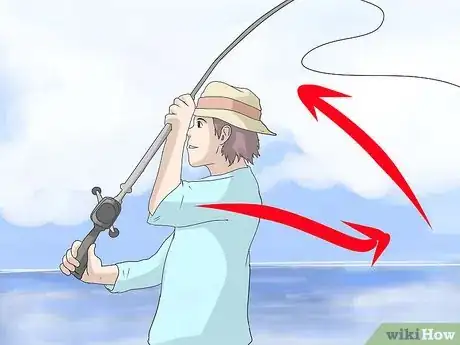
3Draw the tip of the rod back quickly using the motion of your forearm. As you sweep the rod back, it will bend slightly, and the line will go flipping back behind you in a tight arc. This whiplash effect is what generates the momentum needed to propel the lure.[22]
- When you first begin your backstroke, you can lift the tip of the rod 6–8 inches (15–20 cm) to free the loose line from the water if needed. After that, keep it as horizontal as possible throughout the movement.[23]
- Keep your upper arm fixed in place during the backstroke. Unlike with other rods, you’ll primarily be using your wrist or forearm when casting a fly-fishing tackle.
-
4Pause just long enough to let the line straighten out behind you.[24] Wait for the line to complete its arc and begin unfurling in the air. Make sure the line is clear so that it doesn’t snag your clothing or any surrounding objects as you complete the cast.[25]
- When you’re first learning to use fly-fishing tackle, it may help to look over your shoulder to watch for the line to straighten out. After a few casts, you’ll begin to recognize the gentle tug as the line reaches full extension.
- Don’t exaggerate the pause too much. If the line flutters to the ground, you’re taking too much time.[26]
- Be careful not to rush it. If you don't pause, everything will collapse and you'll have to try again.[27]
-
5Flick the tip of the rod so that your casting hand points in front of you. At this point, the rod will be “loaded” and ready to spring back in the opposite direction. With a quick snap of your wrist, the lure will go sailing out in front of you toward your target area.[28]
- For maximum power, distance, and precision, try to time the movement of your forearm and wrist with the exact moment that the rod straightens out after flexing.
- Once the road reaches the 10 o’clock position, pull back on it gently to stop its forward momentum. This will keep you from overshooting your target by accident.
-
6Lower the rod tip to set down the line, leader, and fly. As your rod comes to a stop in front of you, point the tip downward just enough to send your line fluttering down gently to the surface of the water. Keep in mind that this should only happen after you’ve completed your stroke. If your rod tip dips too soon, it will throw off your aim and distance.[29]
- Becoming skilled with fly-fishing tackle takes a firm grasp of technique and lots of practice. Don’t be discouraged if you feel like you can’t get it right on your first few outings.
-
7Repeat the backstroke and flick as needed to send out more line. One of the major advantage of angling with fly-fishing tackle is that you can increase the distance that your line travels after you’ve already finished casting. To do this, simply sweep the rod back and forth with smooth, easy strokes, stopping when the line has gone as far as you want it to go.
Expert Q&A
Did you know you can get expert answers for this article?
Unlock expert answers by supporting wikiHow
-
QuestionWhat are some tips for casting a fly fishing rod?
 Kathy Sparrow, MAKathy Sparrow is a fly-fishing instructor and adventurer at heart. Kathy is the co-founder and previous manager of the Kingfisher Inn, a fly-fishing lodge on the Lower Laguna Madre in Texas. She is the author of "On the Mother Lagoon: Flyfishing and the Spiritual Journey" and "The Whispered Teachings of Grandmother Trout” a novel conveying the feminine perspective of fly fishing. Kathy is also a Certified Canfield Trainer in Canfield Methodologies. She guides individuals through the process of embracing change by expressing confidence, awareness, and courage through the tools of writing, fly fishing, and intentional conversation. She has a MA in English with an emphasis in Literature and Cultural Studies from the University of Texas-Pan American.
Fishing Instructor
Warnings
- It’s a good idea to wear durable, long-sleeved clothing when fishing to prevent stray hooks from embedding themselves in your skin as the result of a bad cast.⧼thumbs_response⧽
Things You’ll Need
- Fishing rod
- Fishing line
- Bait or lure
- Sinker or bobber (optional)
References
- ↑ https://www.youtube.com/watch?v=aBdKNzdKfTc&feature=youtu.be&t=20
- ↑ Michael Reynolds. Professional Fishing Instructor. Expert Interview. 26 February 2021.
- ↑ https://www.youtube.com/watch?v=tOuY2gqYyOk&feature=youtu.be&t=34
- ↑ Michael Reynolds. Professional Fishing Instructor. Expert Interview. 26 February 2021.
- ↑ https://www.youtube.com/watch?v=Y-zuhXBNVZo&feature=youtu.be&t=22
- ↑ http://www.angelfire.com/ia3/fishing/howtocast.htm
- ↑ Kathy Sparrow, MA. Fishing Instructor. Expert Interview. 1 April 2020.
- ↑ http://www.angelfire.com/ia3/fishing/howtocast.htm
- ↑ https://www.youtube.com/watch?v=aBdKNzdKfTc&feature=youtu.be&t=26
- ↑ http://www.angelfire.com/ia3/fishing/howtocast.htm
- ↑ https://www.youtube.com/watch?v=Y-zuhXBNVZo&feature=youtu.be&t=37
- ↑ http://www.discoverboating.com/resources/article.aspx?id=112
- ↑ https://www.youtube.com/watch?v=MLrYQfeu88U&feature=youtu.be&t=42
- ↑ https://www.youtube.com/watch?v=11EETsbIrBw&feature=youtu.be&t=101
- ↑ http://www.discoverboating.com/resources/article.aspx?id=112
- ↑ http://www.bassmaster.com/blog/baitcasting-made-easy
- ↑ https://www.youtube.com/watch?v=u23k9P-NyTs&feature=youtu.be&t=16
- ↑ http://www.bassmaster.com/blog/baitcasting-made-easy
- ↑ Michael Reynolds. Professional Fishing Instructor. Expert Interview. 26 February 2021.
- ↑ https://www.youtube.com/watch?v=u23k9P-NyTs&feature=youtu.be&t=92
- ↑ https://midcurrent.com/techniques/fly-casting-tips/
- ↑ https://www.youtube.com/watch?v=oDJJ6W23gHw&feature=youtu.be&t=50
- ↑ https://outdoorempire.com/how-to-cast-fly-rod/
- ↑ Kathy Sparrow, MA. Fishing Instructor. Expert Interview. 1 April 2020.
- ↑ https://www.youtube.com/watch?v=oDJJ6W23gHw&feature=youtu.be&t=135
- ↑ http://troutster.com/how-to-fly-fish-for-trout/how-to-cast-a-fly-rod/
- ↑ Kathy Sparrow, MA. Fishing Instructor. Expert Interview. 1 April 2020.
- ↑ https://outdoorempire.com/how-to-cast-fly-rod/
- ↑ https://outdoorempire.com/how-to-cast-fly-rod/
About This Article
To cast a fishing pole, start by reeling in your line until the bait is about 12 inches from the tip of the rod. Next, grip the base of the rod with your thumb over the button at the back of the reel and face the area of water you want to cast into. Then, hold down the button with your thumb while you lift the rod up and over your shoulder. Finally, swing the rod forward until it’s at your eye level and release the button. For tips on casting with different types of fishing poles, read on!
