This article was co-authored by Nicole Bolin and by wikiHow staff writer, Hunter Rising. Nicole Bolin is a Crafting Specialist and the CEO of Stencil, a DIY Craft Studio in Phoenix, Arizona. Nicole specializes in interior design and various craft and DIY projects. Nicole holds a Certificate in Interior Design from the New York Institute of Art and Design. She opened Stencil in 2017 to teach others to create DIY projects that fit their home and lifestyle.
There are 9 references cited in this article, which can be found at the bottom of the page.
This article has been viewed 85,634 times.
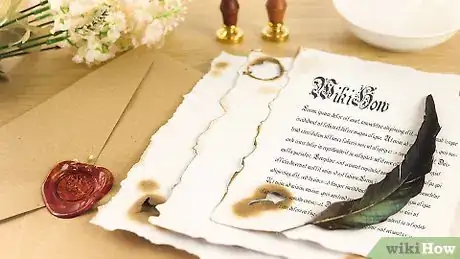
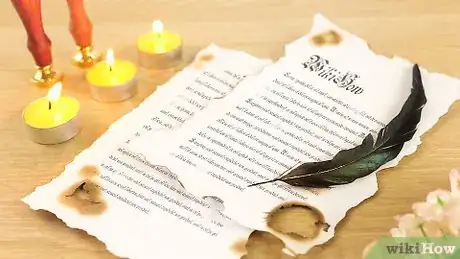
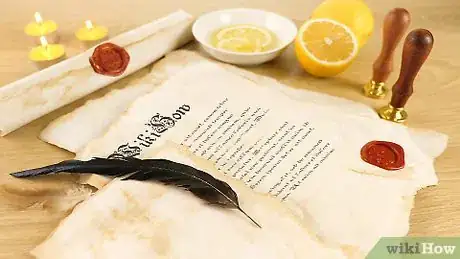
Aging paper is a fun craft to make documents or letters look like they were written years ago. Burning the edges is one technique you can use to give your paper an antique look. Using either a lighter, a candle, or even faking burns with lemon juice, you can make new paper look old!
Things You Should Know
- Wet the corner of a piece of paper then hold a lighter under it for 10 seconds. Let the paper dry then repeat the process on the other corners.
- Hold the edge of a piece of paper over the flame from a candle, then wipe the burning edge with a clean tea towel.
- To simulate the look of burned paper, tear the edges then brush them with lemon juice. Use a hair dryer to dry the paper and darken the color.
Steps
Using a Lighter and Water
-
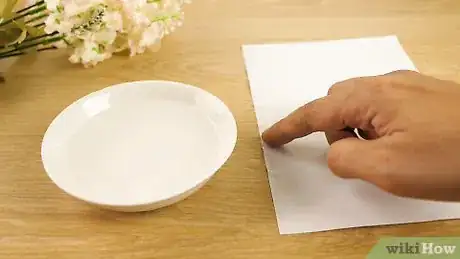
1Wet the corner of a piece of paper. Dip the bottom corner of the paper into a cup of water or pour a small amount onto the piece of paper. Spread the water gently with your fingers so the paper doesn’t get too oversaturated or rip.[1]
- Wetting the corner will let you safely burn the paper without the rest of the sheet catching aflame.
-
2Hold the end of a utility lighter underneath the wet corner for 10 seconds. Ignite the lighter by pushing forward on the top button and squeezing the trigger. Once it’s lit, move the tip of the lighter under the paper so the flame is barely touching the paper. Keep it there to darken the paper and safely burn it without the sheet catching on fire.[2]
- You can use a small lighter, but it won’t give you as much control over the flame.
- Use caution with an open flame and ask a parent for help if you’re younger.
Advertisement -
3Keep the paper over the flame longer to burn holes. Hold the flame under the paper until you see it form a hole in the corner or burn through the edge completely. Flip the paper over occasionally to check on the color of the other side.[3]
- The soot that forms on the other side can be scratched off with a fingernail, so be careful when handling it.
-
4Let the corner dry completely before wetting a different edge. Let the paper sit in a warm, dry spot for 10 minutes before moving on. If the paper gets too wet throughout, it will be flimsy and difficult to work with later on. Repeat the process as many times as you need until your paper looks the way you want.[4]
- Use a fan or a blow dryer to speed up the drying process.
Burning the Edges with a Candle
-
1Hold the edge of the paper over the flame until it singes. Light the tealight with a lighter and let it burn until the flame settles. Hold the paper on the side opposite of the one you’re planning to burn. Hold a dry tea towel in your other hand. Keep a small part of the paper’s edge over the flame and pull it away once you see the paper turn orange and start to burn.[5]
- Be careful not to burn your fingers if you’re singeing the edges of a smaller piece of paper.
-
2Wipe the burning edge immediately with a clean tea towel. After you pull the paper away from the flame, set it down on a large ceramic plate and wipe it away from the center of the page so the soot doesn’t smudge. Apply a firm pressure to extinguish the flame. The edge of the paper will now have a black char mark on it.[6]
- Bunch the towel up in your hand so the heat doesn’t transfer to your fingers when you wipe.
- Be sure to extinguish the flame right away, or else you'll burn your whole paper up.
-
3Work your way around the edge of the paper. Singe the paper in small sections no larger than 1 to 2 in (2.5 to 5.1 cm) at a time. Always wipe away from the middle of the piece of paper so it doesn’t smudge. This will help you control the burn so the whole sheet doesn’t burn.[7]
Aging Paper with Lemon Juice
-
1Tear the edges of the paper with your hands to your desired shape. Hold the edges of the paper between your thumb and index finger with each hand. Use short tears and keep your fingers near the ripped edge so you don’t lose control of which direction the tear goes.[8]
- Make your rips oddly-shaped so it doesn’t look uniform. Fire acts unpredictably, so the edge should be random.
- Look at pictures of burnt paper for ideas on what shape to make your paper.
-
2Paint the edges with a small amount of lemon juice. Put a small amount of lemon juice in a bowl and dip either a sponge or paintbrush into it. Dab the torn edge of the paper with the lemon juice so it is slightly damp, but not oversaturated.[9]
- Hold the paintbrush just above the paper and flick the bristles to create a splatter effect on your paper. This will make smaller dots of color appear later.
-
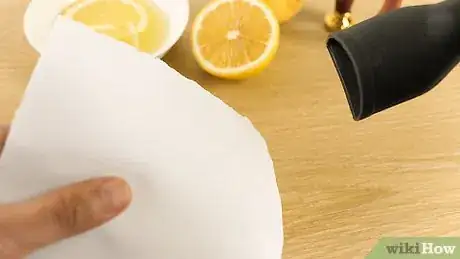
3Hold a blow dryer 1 in (2.5 cm) away from the paper to dry it. Set the blow dryer to the hot setting and hold it just above the paper. Hold the paper with your other hand or weight it down. Focus the hot air around the edges you painted. As the lemon juice heats up, the paper will start to brown.[10]
- The heat reacts with the acid in the lemon juice causing the discoloration on the paper. The same effect can be used to write in invisible ink.[11]
-
4Brown the paper until you’re happy with the color. Apply more lemon juice to the piece of paper to make a darker color. Paint the area just near the tear to resemble a charred edge. Continue to heat the paper to make the color set.[12]
Community Q&A
-
QuestionHow do I make paper look like it's old?
 Community AnswerBall up the paper to crease it, then smooth it out and lay it in tea or coffee for several minutes. Remove it from the coffee/tea and let it dry. Then lightly burn around the edges. Alternately, once the paper is removed from the liquid, tear small pieces off of the edges to create an aged effect.
 -
QuestionIs it possible to print on these? I’m assuming not, but it might look cool for my Roaring 20s project with typewriter font.
 Community AnswerCompleting the burning process after you have printed on the paper will help prevent jams or misprints.
Warnings
- Have a parent help you with an open flame if you are younger.⧼thumbs_response⧽
- Keep a fire extinguisher nearby just in case the flames spread.⧼thumbs_response⧽
Things You’ll Need
Using a Lighter and Water
- Paper
- Utility lighter
- Water
Burning the Edges with a Candle
- Paper
- Tealight candle
- Lighter
- Clean, dry tea towel
Aging Paper with Lemon Juice
- Paper
- Plastic container
- Paintbrush or sponge
- Blow dryer
References
- ↑ https://youtu.be/Knqvmv5S9DQ?t=1m34s
- ↑ https://youtu.be/Knqvmv5S9DQ?t=1m54s
- ↑ https://youtu.be/Knqvmv5S9DQ?t=2m30s
- ↑ https://youtu.be/Knqvmv5S9DQ?t=2m49s
- ↑ https://youtu.be/77vV3kz02cg?t=25s
- ↑ https://youtu.be/77vV3kz02cg?t=30s
- ↑ https://youtu.be/77vV3kz02cg?t=40s
- ↑ http://gomakesomething.com/ht/age/lemon-juice-burning/
- ↑ http://gomakesomething.com/ht/age/lemon-juice-burning/
