This article was co-authored by Victor Adrian. Victor Adrian is a Footwear Expert based in London, UK. He is a Researcher, Tester, and Editor for BestForMyFeet.com, a leading footwear and footcare blog that discusses the importance of wearing the right footwear for the right occasion. Adrian is well-versed in determining which type of footwear is ideal for a variety of work and casual environments thanks to his vast working experience in different types of industries. He teams up with footwear professionals to test products and create comprehensive product reviews and comparisons that help readers choose the ideal footwear for their needs. Additionally, he collaborates with US board-certified podiatrists and foot doctors in order to make sure the information his team provides is always accurate. Adrian studied Biochemistry at the I.E.S. Calderon de la Barca Institute.
wikiHow marks an article as reader-approved once it receives enough positive feedback. In this case, 100% of readers who voted found the article helpful, earning it our reader-approved status.
This article has been viewed 225,910 times.
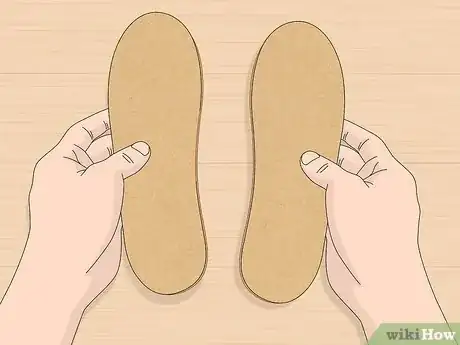
Building your own shoe insoles can save money and help recycle items you no longer need, such as cardboard or an old exercise mat. As an added bonus, if you want to vary the insole size to accommodate your own footwear needs, making your own enables you to do so. Also, swapping insoles at regular intervals may result in less moisture trapped in the shoes, possibly extending the shoes' lifespan! This article provides several ways to make shoe insoles, letting you choose the one that suits your needs best.
Steps
Cardboard insoles
-
1Remove the old insole from your shoe. Shake off any dirt or surface grime.
-
2Place the old insole over cardboard. The cardboard needs to be thick and preferably have a "cushioned" feel to it - old cartons are good.Advertisement
-
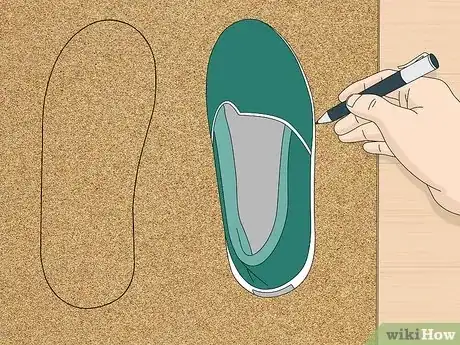
3Trace the insole shape with a pencil. Once you have the shape right, you can go over the outline with a marker to make it easier to see.
-
4Cut out the insole design. Use scissors that are sharp enough to cut cardboard easily.[1]
-
5Repeat. Make two insoles for each shoe. This will allow you to air one insole and insert the other, extending the life of both insoles.
Yoga mat insoles
-
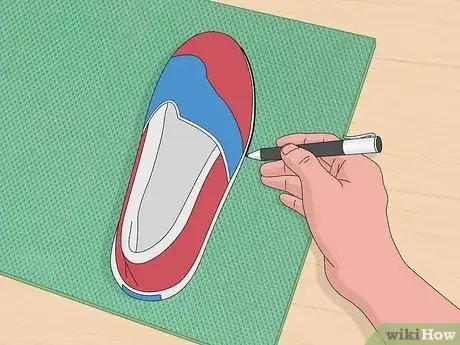
1Trace a flip flop or shoe that is your size onto the smooth side of a yoga or exercise mat. Use a mat that you no longer want; if you can't find one, look in a charity store for throwaway mats. Keep the rest of the mat in your craft cupboard for other uses.
-
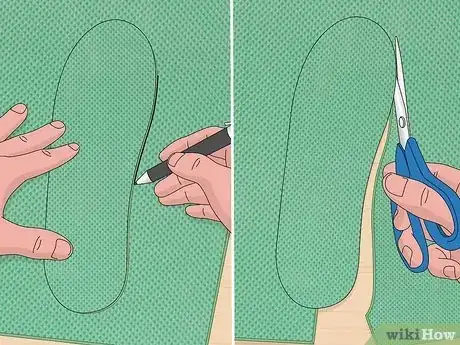
2Cut out the design that you have traced.[2]
-
3Flip over the cut insole. Trace it again on the smooth side to create the insole for the opposite foot. Cut out this insole. Now you have both a right and a left foot insole.
-
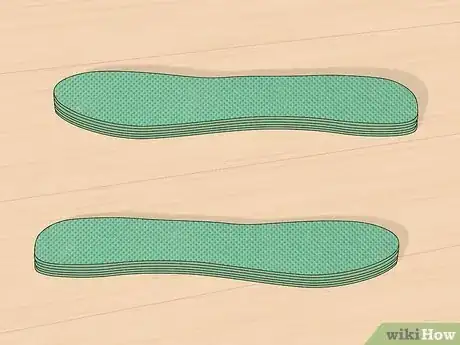
4Trace and cut out four more for both the right and left. This means that you'll have a total of five cut-outs for each foot.
-
5Stack the cut-outs for each foot. Place the textured side up.
-
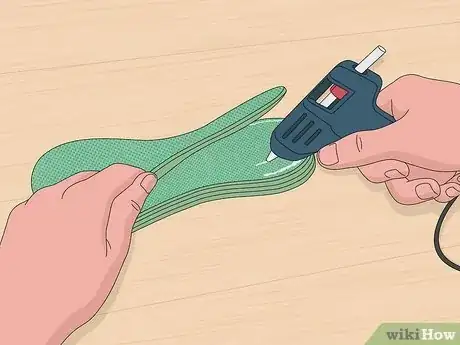
6Glue four of the layers together, using a hot glue gun. Glue a little, then press. Then glue a little more, and press. If you try to glue the whole layer at once, it'll start to dry before you push the layers together.[3]
-
7Leave to dry completely.[4] Once dry, you have new insoles!
Self adhesive cork insoles
-
1Purchase a roll of self-adhesive cork.
-
2
-
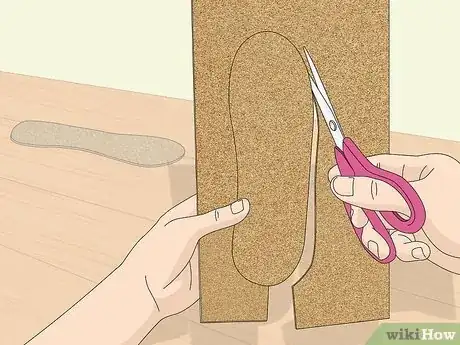
3Cut out the drawn shape.[7] If you want a thicker insert, cut out two to three layers for each shoe.
-
4If you have cut out layers, press these together with care.
-
5Line the shoe. Peel off the backing and carefully slip the insole inside the shoe. Press down to adhere.
- A little Zippo lighter fuel will make the gluey side slicker for easy insertion, and it dries quickly.
Community Q&A
-
QuestionI didn't know that cardboard could be used as insoles, that's great to know. How long does it last when it is used in flat sandals or in any type of shoe at all?
 Community AnswerIt would depend on the weather -- for instance, if it's raining all the time, cardboard sandals/flip flops wouldn't last too long. Also, the type of terrain you are walking on will have impact, and if you're a hiker, you'd probably chew through a cardboard insole very quickly. That said, durable cardboard would last longer than a weaker or flimsier type, so if you need the insole to last longer, choose good quality cardboard.
 -
QuestionHow can I make non-foam based, but effective, insoles with a warm top for foam/cold-sensitive feet?
 T. ChinsenTop AnswererFabric (anti-pill fleece/denim, your choice), a thin fusible (Heat & Bond) or spray adhesive, and metallized fabric (tissue lame or a metallic knit) needs to be layered and treated to get the base material for your insole. The key factor is the metallic layer. Its surface will reflect heat back to the foot and into the fabric layer above, creating a cushion of warmth. Even foil under an insole can prevent feet from getting chilled. Use double-sided tape or adhesive to stop the insole from sliding in the shoe.
Warnings
- Never wash your shoe insoles in a washing machine because the material can get damaged.⧼thumbs_response⧽
Things You'll Need
Method 1:
- Cardboard from a carton or similar heavyweight, durable cardboard with some give
- Pencil
- Marker
- Scissors, sharp, or craft knife
- Cutting surface, such as a cutting mat
Method 2:
- Old yoga or exercise mat
- Marker
- Scissors, sharp
- Hot glue gun
Method 3:
- 1 roll self-adhesive cork (if necessary, buy one self-adhesive roll and one roll without - use the latter for the underside)
- Pen, pencil or marker
- Scissors
- Zippo lighter fuel (optional)
Expert Interview

Thanks for reading our article! If you'd like to learn more about shoe insoles, check out our in-depth interview with Victor Adrian.
References
- ↑ https://www.thriftyfun.com/tf/Clothing/Tips/Cutting-Insoles-for-Shoes.html
- ↑ https://www.youtube.com/watch?v=5yZDeV3brZI
- ↑ http://barefootplanet.org/easy-diy-recycled-yoga-mat-emergency-huaraches/
- ↑ http://barefootplanet.org/easy-diy-recycled-yoga-mat-emergency-huaraches/
- ↑ https://www.thriftyfun.com/Repairing-Shoe-Insoles.html
- ↑ https://www.dreamalittlebigger.com/post/making-flip-flops-cork-soles-part-1-of-2.html
- ↑ https://www.thriftyfun.com/Repairing-Shoe-Insoles.html
About This Article
Building new shoe insoles is a great way to save money and recycle old materials. You can make insoles out of many materials, such as a yoga mat or cork. To start, remove the old insoles in your shoes. Then, place the old insoles on the material you want to use and trace them with a pencil. Next, use a pair of scissors to cut out the design. Make at least 3-4 layers for each shoe, then glue them together in a stack for support. Once they’re dry, put them in your shoes. To learn how to make it easier to put inserts in your shoes, read on!


