X
This article was co-authored by Chad Zani. Chad Zani is the Director of Franchising at Detail Garage, an automotive detailing company with locations around the U.S. and Sweden. Chad is based in the Los Angeles, California area and uses his passion for auto detailing to teach others how to do so as he grows his company nationwide.
This article has been viewed 69,879 times.
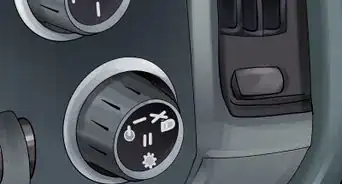
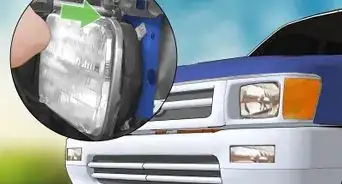
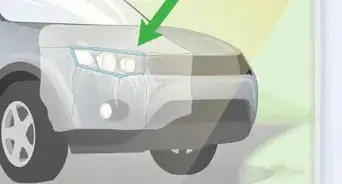
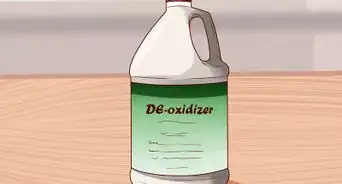
Are you having trouble seeing your headlights on a dark road? That yellowing on your headlights is Plastic/Polycarbonate oxidation. Start with Step 1 for two different methods to bring new life back into your old headlights.
Steps
Method 1
Method 1 of 2:
Headlight Lens Restorer
-
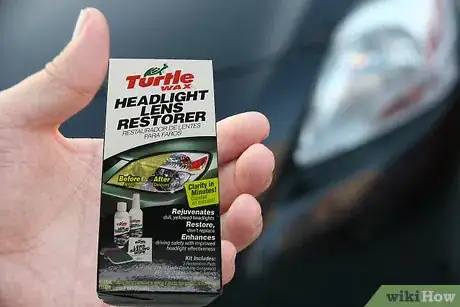
1Make a trip to your local auto parts store and pick up a headlight lens restorer.[1]
-
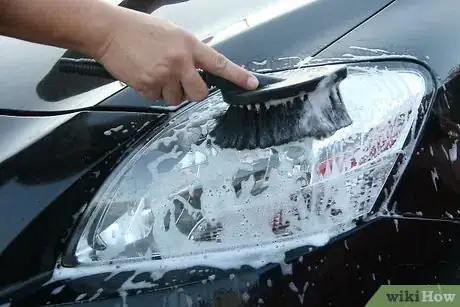
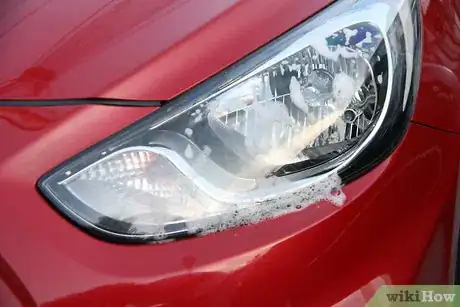
2Start off by washing the headlights and drying them. This should be done in the shade.Advertisement
-
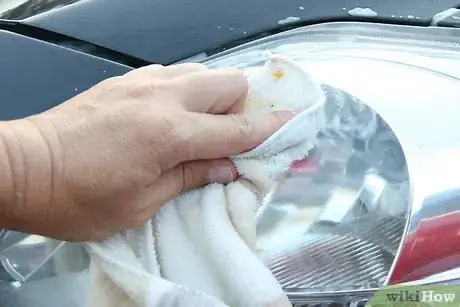
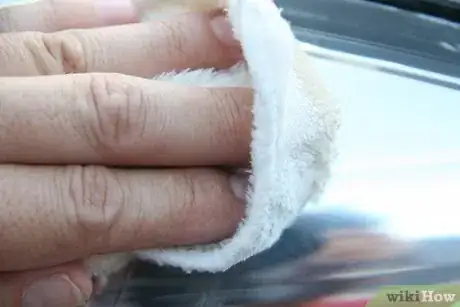
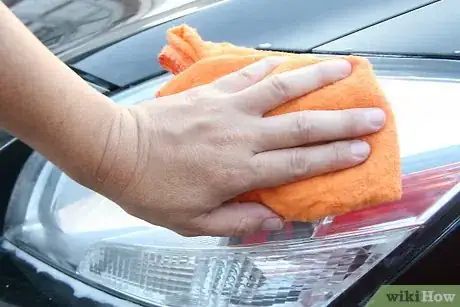
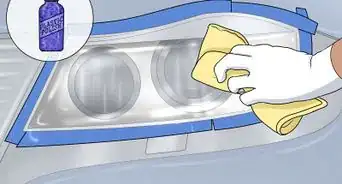
3Apply the restorer in a small amount to a cotton towel and work it in deep small circles in a small area of your lens.[2]
- It should dry as you keep working it in.
- Repeat the process in the same spot and as it is dry, use a clean spot of the towel to buff away all remaining compound.
-
4Now that you like the results, repeat the process to the entire headlight, keeping your working area small.
-
5If you were not happy with the result, you have to move on to method 2.
Advertisement
Method 2
Method 2 of 2:
Sandpaper and Clear Coat Spray Paint
-
1Get what you will need. Method 2 requires wet/dry sandpaper (800grit & 1500grit), a spray bottle filled with clean water, dry cotton towels, and a clear coat spray paint that offers UV protection.[3]
-
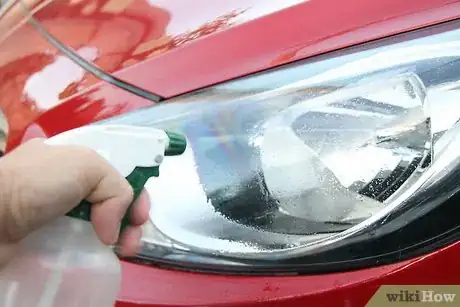
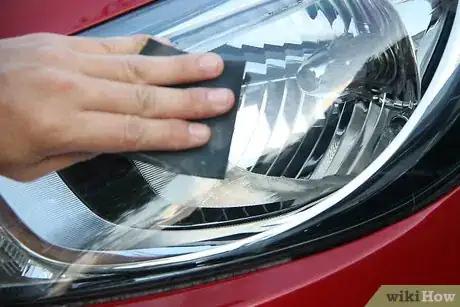
2Wash your headlights. Once clean, spray a mist of water on the 800 grit paper and start working in a light/soft slow circle motion on one headlight. *keep the paper wet at all times and spray the lens to clear off the mess.[4]
-
3Repeat the process on the same lens with the 1500 grit paper. Wash the lens off and let it dry. It will look even worse than before. Once its fully dry, spray it in an even light coat of the clear spray paint following the instructions on the can. Remember to cover your car's paint and all areas that may get paint overspray on them. Once the clear is dry, you can compare your brighter lens to your old one. Everyone says to just repeat the process on the other lens, but this is you chance to compare and decide if you want to replace or restore. It also gives you the bragging rights and ability to show loved ones the difference and what you can do.[5]
Advertisement
Community Q&A
-
QuestionWhat if the oxidation is also on the inside?
 Aherrera505Community AnswerIt would depend on what type of headlight you have. If you have one that has a removable clear lens, you would want to take that off using a heat gun, and something to pry the lens off of the housing. When you have it off I would recommend cleaning inside all of your headlight, and doing whatever you see fit to get rid of the oxidation (personally I use 1000-2500 grit sandpaper and sand the oxidation off and use Meguiars headlight repair and compound to get the scratches out caused by the sandpaper, and it usually turns out better than new).
 -
QuestionIsn't there something easy I may have at home to clean my yellowed headlights?
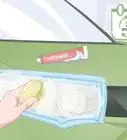
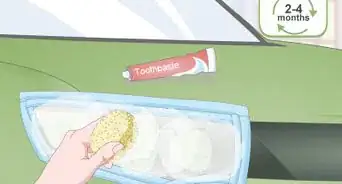
 Community AnswerToothpaste will work to remove some of the yellowing, but will not remove it completely. Apply generously and use a soft brush to gently scrub. Rinse with water, and repeat about three times to see some difference.
Advertisement
Warnings
- Do not use spray paint around a heat source, sparks, open flame, or in a closed garage.⧼thumbs_response⧽
Advertisement
References
- ↑ https://www.consumerreports.org/cro/headlight-restoration-kits/buying-guide/index.htm
- ↑ http://knowhow.napaonline.com/know-notes-using-3ms-headlight-restoration-kit/
- ↑ https://www.youtube.com/watch?v=bj4Dq61-hkQ
- ↑ https://www.youtube.com/watch?v=nnBRGbP9acU
- ↑ https://www.youtube.com/watch?v=UEJbKLZ7RmM
About This Article
Advertisement

-Step-27.webp)
